· Vehicle Cleaning · 14 min read
How To Clean Atv Plastic

Restore Your Ride: How to Clean ATV Plastic Effectively
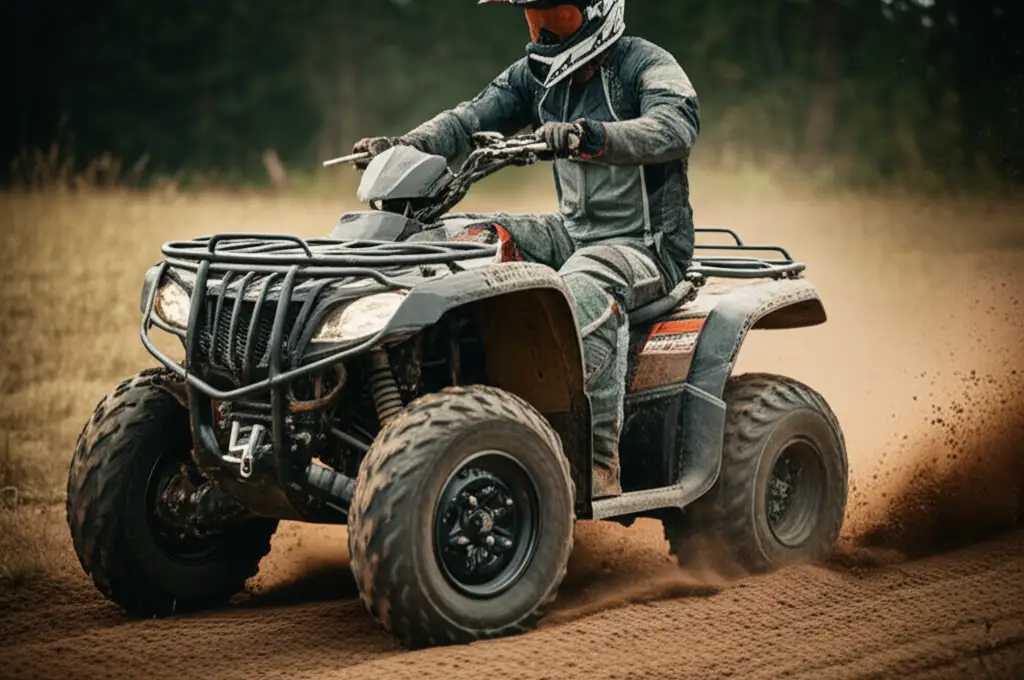
Your ATV takes on tough trails. It handles mud, dust, and debris. This adventure leaves its mark on the plastic body. A dirty ATV does not look its best. Learning how to clean ATV plastic correctly keeps your machine looking new. It also protects the plastic parts from damage.
This guide helps you make your ATV plastic shine. We cover essential tools and step-by-step cleaning methods. You will learn how to tackle tough stains and bring back faded colors. We also explain how to protect your ATV plastic for the long term. Get ready to transform your ATV.
Takeaway
- Gather the right tools and cleaning products.
- Pre-rinse to remove loose dirt and mud.
- Wash ATV plastic with proper techniques to remove grime and stains.
- Restore faded plastic with specialized products or gentle heat.
- Protect cleaned plastic with UV protectants to prevent future damage.
Cleaning ATV plastic involves a few key steps. First, remove loose dirt with a rinse. Next, wash with a suitable cleaner and soft brushes. For tough stains or fading, use specialized products. Finally, apply a protectant to keep the plastic looking good longer.
Gearing Up: Essential Supplies for Cleaning ATV Plastic
Before you start cleaning, gather your tools. Having everything ready makes the job easier. Proper supplies help you clean ATV plastic safely. They also ensure you get the best results.
You need basic washing tools. You also need specific products for plastic care. Using the wrong products can harm your ATV’s finish. Always choose items designed for ATV or plastic surfaces.
Basic Cleaning Tools
You need a few basic items for a thorough wash. A garden hose with a spray nozzle is good for rinsing. A bucket helps mix your cleaning solution. Soft brushes and sponges are important. They clean surfaces without scratching.
- Garden Hose: Use it for a strong rinse.
- Two Buckets: One for soapy water, one for rinse water. This prevents dirt from going back onto the ATV.
- Soft Brushes: A long-handle brush helps reach tough spots. A smaller detail brush cleans tight areas.
- Microfiber Towels: These are soft and absorb water well. They dry surfaces without leaving lint.
- Pressure Washer (Optional): Use with care on a low setting. High pressure can damage plastic or graphics.
Specialized Plastic Cleaners
Regular car soap might not be strong enough for ATV dirt. It also might not be best for plastic. Look for cleaners made for off-road vehicles. Many products specifically target ATV plastics. Some cleaners also have protective agents.
- ATV Wash Soap: These soaps cut through mud and grease. They are safe for plastic and painted surfaces.
- Plastic Cleaner/Degreaser: Use this for heavy grime or oil spots.
- Plastic Restorer: This product helps bring back the color on faded plastic. It often contains UV protection.
- UV Protectant Spray: This shields plastic from sun damage. It prevents fading over time.
- Scratch Remover for Plastic: Use for light surface scratches. This product fills in small marks.
Having the correct items ensures you clean ATV plastic without issues. It helps you get a deep clean. It also prepares the surface for restoration and protection. Always read product labels. Follow instructions for the best and safest use.
Initial Rinse: Removing Loose Dirt from Your ATV
The first step in cleaning ATV plastic is a thorough rinse. This removes loose dirt, mud, and debris. Skipping this step can scratch the plastic. Dirt acts like sandpaper when you rub it with a sponge. A good rinse makes the rest of the cleaning process easier.
Start from the top of your ATV. Work your way down to the tires. This lets gravity help carry dirt away. Pay attention to all plastic panels. Mud often sticks in hidden areas.
Use a garden hose with a spray nozzle. A pressure washer can also work. If using a pressure washer, use a wide-angle tip. Keep the nozzle a safe distance from the plastic. Too much pressure can damage decals or loosen plastic parts. I usually keep the nozzle at least two feet away. This gentle approach ensures safety.
Focus on spraying off all visible dirt. Get into the fender wells and under the seats. Mud can pack into these spots. Once the main bulk of dirt is gone, the plastic surfaces will appear. You can then see what areas need more attention. This initial rinse sets up the ATV for a deep wash. It makes the next steps more effective. It also prevents scratching the plastic during the scrubbing stage.
Deep Cleaning ATV Plastic: Tackling Grime and Stains
After the initial rinse, it is time for a deep clean. This step removes stubborn grime, mud residue, and general stains. Proper washing techniques ensure you clean ATV plastic without causing damage. You will get into the nooks and crannies. This brings out the true color of your ATV’s body.
Mix your ATV-specific wash soap with water. Follow the product’s directions for dilution. Use one bucket for the soapy water and another for clean rinse water. This two-bucket method keeps your wash mitt clean. A clean mitt prevents scratching the plastic.
Gentle Scrubbing Techniques
Start washing from the top of your ATV. Use a soft wash mitt or sponge. Move in straight lines or gentle circles. Do not apply too much pressure. Let the soap do the work. Rinse your mitt often in the clean water bucket. Re-dip it into the soapy water.
Wash one section at a time. Rinse each section thoroughly before moving on. This prevents soap from drying on the plastic. Dried soap can leave water spots or residue. Pay attention to areas where mud tends to cling. These include fenders, footwells, and under the seat. For textured plastic, use a soft brush. This helps agitate dirt from grooves.
Spot Treatment for Tough Marks
Some stains do not come off with regular washing. These include grease, oil, or stubborn mud stains. For these, you need a spot treatment. A specialized plastic cleaner or degreaser works well. Apply a small amount directly to the stain. Let it sit for a moment. Then, gently scrub the area with a soft brush or microfiber cloth.
For specific types of stains, tailor your approach. If you find stains on plastic, a mild all-purpose cleaner might work. Always test any strong cleaner on a small, hidden area first. This ensures it does not harm the plastic’s finish. For mold or mildew, a dedicated cleaner might be necessary. Some ATV riders encounter mold off plastic after storage. After treating the spots, rinse the area well. Ensure no cleaner residue remains. This careful approach helps you clean ATV plastic effectively. It leaves the surface pristine and ready for the next steps.
Restoring Faded ATV Plastic: Bringing Back the Shine
ATV plastic often fades due to sun exposure and harsh conditions. This fading makes the plastic look dull and old. Restoring faded ATV plastic brings back its original color and luster. This step greatly improves your ATV’s appearance. You can make old plastic look new again.
Several methods exist for restoring faded plastic. The best method depends on the severity of the fading. Products designed for plastic restoration work well. These contain special polymers or dyes. They bond with the plastic surface. They also often provide UV protection.
Using Plastic Restorers
Plastic restorers are liquids or gels. You apply them with a cloth. They penetrate the plastic. They bring out the natural oils and pigments. This makes the color appear deeper and richer. Follow the product instructions carefully. Often, you apply a thin layer and let it dry. Buffing with a clean microfiber cloth enhances the shine.
- Application: Apply restorers evenly. Use a foam applicator or microfiber cloth.
- Curing Time: Allow the product to dry completely. This might take several minutes or hours.
- Multiple Coats: Severely faded plastic may need multiple applications. Wait between coats.
Some products are specifically designed to treat fogged plastic. These help plastic that has become cloudy or hazy. They restore clarity and color.
Addressing Scratches on Plastic
ATV plastic can easily get scratches. Light surface scratches respond well to restoration. Deep scratches might require more effort. For light scratches, many plastic restorers also help fill them in. They make scratches less noticeable.
For deeper scratches, you might use a plastic scratch remover. These products contain mild abrasives. They gently smooth the plastic surface.
- Clean the Area: Ensure the plastic is free of dirt.
- Apply Product: Put a small amount of scratch remover on a soft cloth.
- Rub Gently: Rub the product into the scratch in small circles.
- Buff: Buff with a clean microfiber cloth.
In some cases, a heat gun can restore faded plastic. This method requires extreme caution. Heat can melt or distort plastic if applied incorrectly. The heat gently brings out the oils in the plastic. This darkens the color. I only recommend this for experienced users. Always keep the heat gun moving. Do not focus it on one spot for too long. Restoring faded areas helps you clean ATV plastic to its fullest potential. It gives your ATV a renewed look.
Caring for Clear ATV Plastic: Headlights and Displays
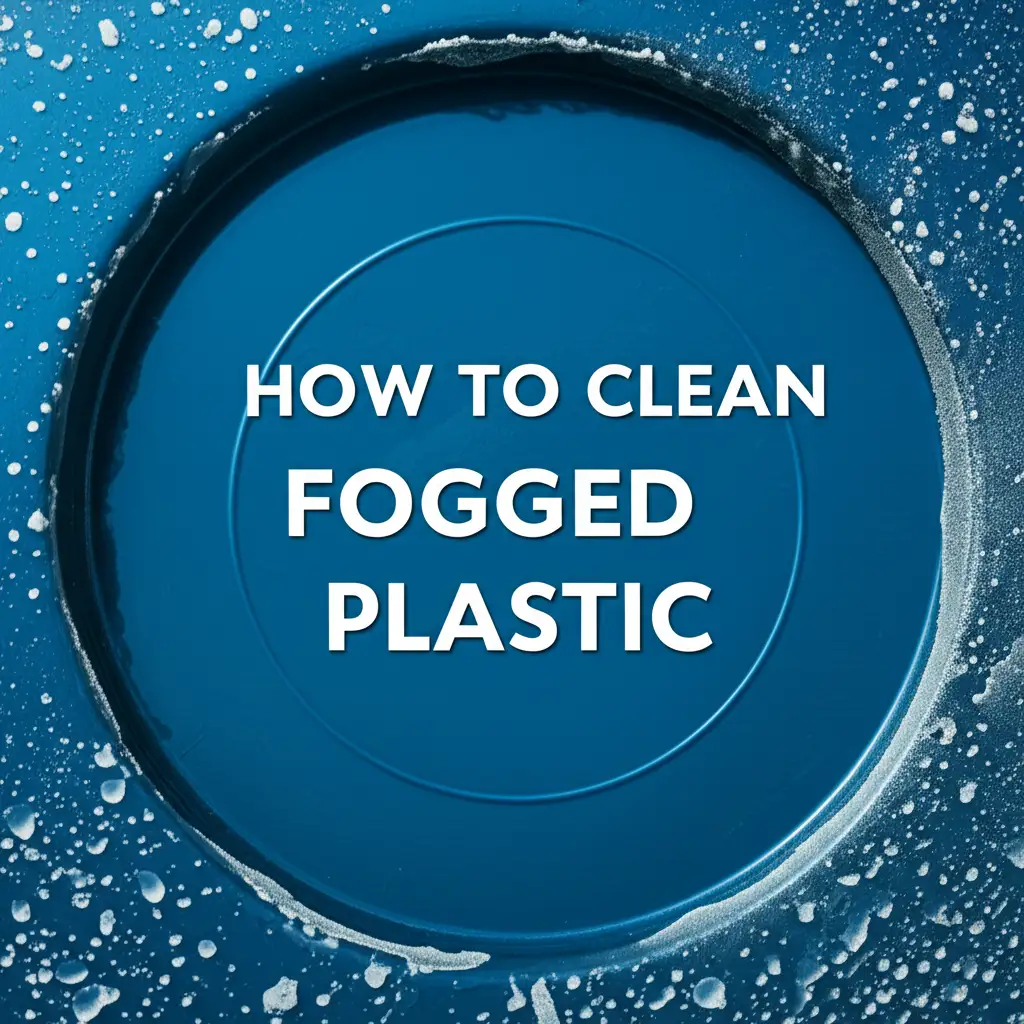
ATVs have clear plastic parts. These include headlights, tail lights, and instrument panel covers. These clear plastics are different from colored body panels. They need special care. They often become cloudy, hazy, or scratched over time. This reduces visibility. It also makes your ATV look less appealing. Learning how to clean these clear parts is crucial.
Sunlight exposure is a main culprit for clouding. UV rays degrade the plastic. This causes it to yellow or fog. Dirt and grit also cause tiny scratches. These scratches diffuse light. This makes the plastic look dull.
Safe Cleaning for Transparent Surfaces
Regular ATV wash soap is usually safe for clear plastic. Use a very soft wash mitt or sponge. Wash these areas gently. Rinse them well. Avoid harsh brushes or abrasive cleaners. These can scratch the clear surface.
For stubborn dirt or light hazing, use a specialized plastic cleaner for clear surfaces. Many car care brands offer these. They are often labeled for headlights or acrylic. Apply the cleaner with a soft microfiber cloth. Rub gently in small, circular motions. Wipe away residue with a clean, damp cloth.
- Avoid ammonia-based cleaners: These can dry out or crack clear plastic over time.
- Use dedicated clear plastic polish: These polishes remove light oxidation. They also fill in minor scratches.
- Rinse thoroughly: Ensure no cleaner residue remains.
Restoring Clarity
If your clear plastic parts are very foggy or yellowed, restoration is needed. Products for cleaning plastic headlight covers are perfect for this. These kits often include abrasive compounds. They also include a sealant.
- Clean the Surface: Start with a clean, dry headlight or display.
- Tape Off Area: Use painter’s tape around the clear plastic. This protects surrounding painted surfaces.
- Sand (If Needed): Some kits use fine-grit sandpaper. This removes the oxidized layer. Follow instructions precisely.
- Polish: Apply a polishing compound. Use a polishing pad or soft cloth. Rub until the haziness clears.
- Seal: Apply a clear plastic sealant or UV protectant. This prevents future fogging.
Regularly cleaning and protecting your clear ATV plastic keeps it transparent. This improves your visibility. It also adds to the overall clean look of your ATV. This is a vital part of knowing how to clean ATV plastic completely. It ensures all parts of your ride look their best.
Protecting Your ATV Plastic: Preventing Future Damage
Cleaning your ATV plastic is a great start. But the job is not complete without protection. Without protection, your cleaned plastic will fade and get dirty again quickly. Proper protection extends the life of your ATV’s plastic. It keeps it looking good between washes. It also makes future cleaning much easier.
The main threats to ATV plastic are UV rays and abrasion. UV rays from the sun cause fading and brittleness. Dirt, mud, and trail debris cause scratches and wear. Applying a protective layer shields the plastic from these elements.
UV Protection Application
UV protectants are sprays or wipe-on liquids. They create a barrier on the plastic surface. This barrier blocks harmful UV rays. It helps maintain the plastic’s original color. It also keeps the material from becoming brittle.
- Clean and Dry: Ensure the plastic is perfectly clean and dry before application. Any dirt trapped under the protectant will remain.
- Apply Evenly: Spray or wipe the protectant onto all plastic surfaces.
- Buff (If Recommended): Some products require light buffing with a clean microfiber cloth. This ensures an even finish and removes excess.
- Reapply Regularly: UV protectants wear off over time. Reapply them every few months. This is especially true if your ATV is stored outdoors.
Many plastic restorers already include UV protection. If you used one, check its instructions. You might not need a separate UV protectant immediately. However, a dedicated spray offers extra defense.
Regular Maintenance Tips
Protection is not a one-time step. It involves ongoing care. Regular, light cleaning prevents dirt buildup. This reduces the need for deep cleaning. It also preserves the protective layer.
- Quick Rinse After Every Ride: If possible, rinse your ATV shortly after each ride. This washes away loose dirt before it dries and sticks.
- Store Indoors: Store your ATV in a garage or under a cover. This shields it from sun and elements when not in use.
- Avoid Harsh Chemicals: Do not use abrasive cleaners or solvents. They strip away protective layers. They can also damage the plastic itself.
- Check for Minor Damage: Inspect your plastic regularly. Address small scratches or scuffs promptly. This prevents them from becoming worse.
By following these protection steps, you safeguard your investment. You keep your ATV looking sharp. This proactive approach supports your efforts to clean ATV plastic effectively. It ensures your ride is always ready for its next adventure.
FAQ Section
Can I use a pressure washer on ATV plastic?
Yes, you can use a pressure washer, but with caution. Keep the nozzle at least two feet away from the plastic surface. Use a wide-angle tip (25-degree or 40-degree). High pressure too close can damage decals, paint, or plastic. It can also force water into electrical components.
How often should I clean my ATV plastic?
Clean your ATV plastic after every muddy or dusty ride. A quick rinse removes loose dirt. For deeper cleaning, do it every few rides or as needed. If your ATV sits for a long time, clean it before storage. Regular cleaning prevents dirt from setting in.
What can I use to remove scratches from ATV plastic?
For light scratches, use a plastic polish or dedicated scratch remover. These products contain fine abrasives that smooth the surface. Apply with a microfiber cloth and buff gently. For deeper scratches, professional repair or replacement might be necessary.
Is it safe to use automotive wax on ATV plastic?
Some automotive waxes are safe, but it is best to use products made for plastic. Automotive wax may not adhere well to plastic. It might leave a residue. A dedicated plastic protectant or UV sealant offers better protection and shine for ATV plastic.
How do I prevent ATV plastic from fading?
Prevent fading by using UV protectants regularly. These products block sun rays that cause damage. Store your ATV indoors or under a cover when not in use. This limits sun exposure. Regular cleaning also helps maintain the plastic’s condition.
Can I clean mold off ATV plastic?
Yes, you can clean mold off ATV plastic. Use a solution of warm water and mild soap. A mix of white vinegar and water also works well for mold. Scrub the affected areas with a soft brush. Rinse thoroughly afterward to remove all mold and cleaning solution.
Conclusion
Cleaning your ATV plastic keeps your machine looking its best. It also helps preserve its value. We covered key steps. You start with proper preparation. Then, you move to deep cleaning. You also learn how to restore faded areas. Finally, you apply protection. Each step plays a vital role.
Remember the essential supplies. Always begin with a good rinse. Use gentle cleaning methods. Spot treat stubborn stains. Restore faded plastic with suitable products. Do not forget the clear parts, like headlights. They need special care. Applying a UV protectant is a crucial last step. It shields your ATV from sun damage. This helps maintain its vibrant color.
A clean ATV is a joy to ride. It shows pride in your machine. Regular maintenance extends your ATV’s lifespan. It ensures you have more fun on the trails. Now you know how to clean ATV plastic effectively. Go out and make your ATV shine. Get ready for your next adventure with a great-looking ride!
- ATV cleaning
- plastic restoration
- off-road vehicle care
- faded plastic