· Home Cleaning · 19 min read
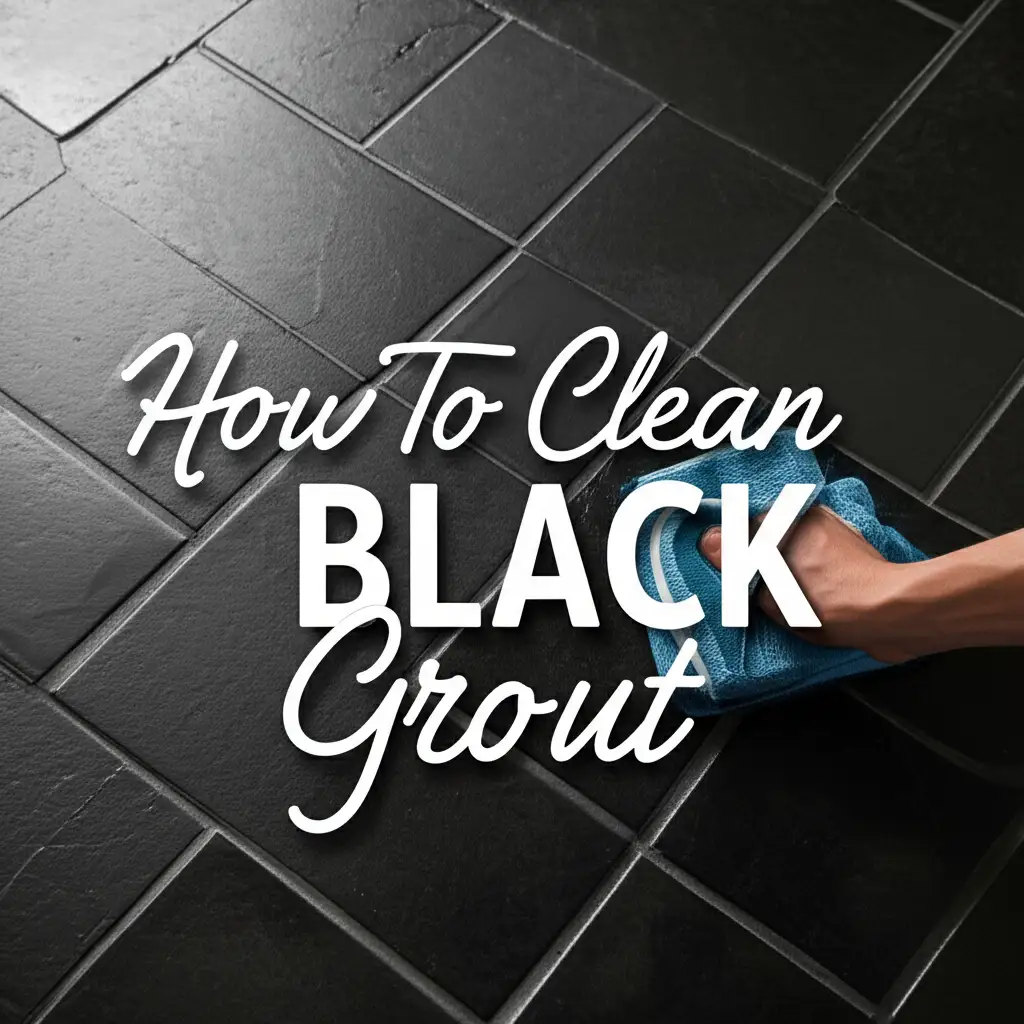
How To Clean Black Grout
Mastering the Art: How to Clean Black Grout Effectively
Do you look at your tiled surfaces and feel a sense of dread? Often, the grout lines are the first place to show dirt and grime. If your once pristine grout has turned black, you are not alone. Cleaning black grout is a common challenge for many homeowners. This discoloration comes from various sources, making it tricky to tackle without the right approach.
I understand the frustration of stubborn black stains on grout. But do not worry, I am here to help you. This article will guide you through simple, effective methods to clean black grout. We will cover everything from identifying the problem’s cause to using natural remedies and powerful commercial cleaners. You will learn safety measures, essential tools, and steps for lasting cleanliness. Get ready to bring back the shine to your tiles and grout!
Takeaway:
- Identify if discoloration comes from mold, mildew, or dirt.
- Gather necessary tools and prioritize safety during cleaning.
- Use natural solutions like baking soda or hydrogen peroxide for light stains.
- Apply commercial cleaners for tough black marks or mold.
- Follow a step-by-step cleaning process for best results.
- Maintain cleanliness with regular wiping and proper sealing.
Cleaning black grout effectively involves identifying the cause of discoloration, selecting the right cleaning agent based on the stain type and grout material, and applying a thorough scrubbing and rinsing process. Regular maintenance and proper sealing help prevent future darkening and keep grout looking fresh.
Understanding Why Black Grout Appears Dirty
Black grout is a popular choice for many homes due to its bold appearance and ability to hide minor dirt. However, even black grout can get dirty. When it looks darker or appears stained, it is not always just surface dirt. Several factors contribute to this unwelcome change. Knowing the cause helps you choose the correct cleaning method. I always start by inspecting the area closely to figure out what I am up against.
Mold and Mildew Growth
The most common reason for black grout is mold and mildew. These fungi thrive in damp, warm environments. Bathrooms, showers, and kitchens are prime spots for their growth. Mold appears as black or dark green spots. Mildew usually looks flatter and sometimes grayish-black.
Mold and mildew feed on organic matter like soap scum, skin cells, and dirt. They spread quickly if left unchecked. Simple surface cleaning often does not remove them completely. You need specific products that kill these organisms to truly clean them. Ignoring mold can also affect air quality in your home. For more specific insights on tackling these issues, you might find this article on how to clean mold from grout helpful.
Soap Scum and Dirt Buildup
Another common culprit is soap scum and general dirt accumulation. Soap scum forms from the reaction of soap with hard water minerals. It leaves a sticky film on surfaces. This film then traps dirt, dust, and even shampoo residue. Over time, this mixture creates a dark, grimy layer.
In high-traffic areas like entryways or kitchen floors, dirt and debris get ground into the grout lines. Unlike mold, this type of blackening is purely cosmetic. It does not pose health risks but definitely makes your tiles look unkempt. Regular cleaning helps reduce this buildup. However, deep cleaning is necessary when the grime has set in.
Improper Cleaning Habits
Sometimes, the way we clean our grout can actually make it appear worse. Using the wrong cleaning products might leave a sticky residue. This residue then attracts more dirt, making the problem worse. For example, some strong cleaners can strip the sealant from your grout.
Once the sealant is gone, grout becomes more porous. It absorbs water and dirt much more easily. This makes it a breeding ground for mold and stains. Also, simply wiping down surfaces is not enough for grout. It requires targeted scrubbing to lift embedded grime. Understanding these causes is the first step toward achieving truly clean black grout.
Essential Tools and Safety First for Grout Cleaning
Before you start any cleaning project, gathering the right tools is important. Having everything ready saves time and ensures a smooth process. More importantly, always put safety first. Some cleaning agents are strong, and they can cause harm if you do not handle them properly. I always make sure I have my protective gear on before I even open a cleaning bottle.
Basic Cleaning Tools
You do not need a lot of fancy equipment to clean black grout. Many effective tools are probably already in your home. Here is a list of what I typically use:
- Stiff-bristled brush or grout brush: A dedicated grout brush has thin, tough bristles that get into the grout lines effectively. An old toothbrush also works well for small areas or detail work.
- Spray bottle: This helps apply liquid cleaners evenly onto the grout. It also reduces waste.
- Buckets: You will need one for your cleaning solution and another for rinse water.
- Microfiber cloths or old towels: These are great for wiping surfaces and drying. They absorb water well and do not leave lint.
- Sponge: Useful for general wiping or spreading solutions.
For very stubborn areas, you might consider a scrub brush attachment for a drill. This offers extra power with less effort. However, use it carefully to avoid damaging tiles or grout. Remember, the right tools make a big difference in how well your cleaning job goes.
Prioritizing Safety Measures
Cleaning products can contain chemicals that irritate your skin, eyes, or respiratory system. It is crucial to protect yourself. I never skip these safety steps:
- Ventilation: Always work in a well-ventilated area. Open windows and doors. Turn on exhaust fans, especially in bathrooms. This helps dissipate fumes from cleaning solutions.
- Gloves: Wear rubber or latex gloves to protect your hands from chemicals. Some strong cleaners can cause skin irritation or burns.
- Eye Protection: Safety glasses or goggles are a must. Splashes of cleaning solution can seriously harm your eyes.
- Mask: If you are sensitive to fumes or using strong chemicals like bleach, wear a mask. This protects your lungs from inhaling harsh vapors.
- Patch Test: Before applying any cleaner to a large area, test it on an inconspicuous spot. This ensures the cleaner does not damage or discolor your grout or tiles. This is especially important if you have natural stone tiles, as some cleaners can etch or stain them. Learn more about cleaning natural stone tile and grout safely.
- Mixing Chemicals: Never mix different cleaning products unless the labels specifically say it is safe. Mixing certain chemicals, like bleach and ammonia, can create toxic fumes.
Following these safety precautions helps ensure a safe and effective cleaning experience. Your health is more important than sparkling grout. Take your time, use the right gear, and work smart.
Natural and DIY Solutions to Clean Black Grout
Sometimes, the best cleaning solutions are found right in your pantry. Natural ingredients offer an eco-friendly and often safer alternative to harsh chemicals. They are excellent for light to moderate black grout stains. I often start with these methods because they are gentle on surfaces and easy to use. These DIY solutions are surprisingly powerful against common grout problems.
White Vinegar and Baking Soda Paste
This combination is a classic for a reason. Baking soda is a mild abrasive that helps scrub away grime. White vinegar, an acid, helps break down soap scum and mineral deposits. Together, they create a fizzing reaction that lifts dirt. This method is safe for most ceramic and porcelain tiles. However, avoid vinegar on natural stone like marble, as it can etch the surface.
To use this method:
- Make a Paste: Mix about ½ cup of baking soda with a few tablespoons of warm water. Add water slowly until it forms a thick paste.
- Apply the Paste: Spread the baking soda paste generously over the black grout lines.
- Spray with Vinegar: Fill a spray bottle with undiluted white vinegar. Spray the vinegar directly onto the baking soda paste. You will see it fizz.
- Let it Sit: Allow the mixture to sit for 5-10 minutes. This gives the chemicals time to work.
- Scrub: Use a stiff-bristled brush to scrub the grout lines. You should see the black stains start to lift.
- Rinse: Wipe the area thoroughly with a damp cloth or sponge. Rinse well with clean water to remove all residue. Dry the surface with a clean towel.
This method is great for general dirt and mildew. It can significantly brighten your black grout. For grout that has turned black from years of neglect, a different approach might be needed. Read more on how to clean grout that has turned black.
Hydrogen Peroxide Power
Hydrogen peroxide is a fantastic, non-toxic alternative to bleach. It acts as a mild bleaching agent and also kills mold and mildew. It is safe for most types of grout and tiles, including natural stone, when used properly. I often reach for hydrogen peroxide for its gentle yet effective cleaning power.
Here is how to use it:
- Prepare the Solution: Pour 3% hydrogen peroxide directly into a spray bottle. You can also mix it with a small amount of baking soda to create a paste for extra scrubbing power.
- Apply to Grout: Spray the hydrogen peroxide generously onto the black grout. If using a paste, apply it directly to the lines.
- Dwell Time: Let the hydrogen peroxide sit on the grout for at least 10-15 minutes. For stubborn stains, you can let it sit for up to 30 minutes.
- Scrub: Use a stiff brush to scrub the discolored areas. The peroxide will help lift the stains.
- Rinse and Dry: Rinse the area thoroughly with clean water. Wipe it dry with a clean cloth.
Hydrogen peroxide is particularly effective at tackling mold and mildew stains on grout. It helps to sanitize the surface too. If you are specifically dealing with mold, this method is a strong contender.
Lemon Juice and Borax Mix
Lemon juice is another natural acid that can help with cleaning. It contains citric acid, which is good for breaking down soap scum and mineral deposits. Borax is a natural mineral cleaner that boosts cleaning power. This combination creates a powerful, natural grout cleaner.
To make and use this solution:
- Create the Mix: In a bowl, combine ½ cup of borax with ¼ cup of lemon juice. Stir until it forms a paste. Add more lemon juice or borax as needed to achieve the right consistency.
- Apply to Grout: Apply the paste directly onto the black grout lines.
- Allow to Work: Let the mixture sit on the grout for 15-20 minutes.
- Scrub: Scrub the grout vigorously with a brush.
- Rinse: Rinse the area completely with clean water. Dry thoroughly with a clean towel.
This mixture is excellent for brightening dirty grout and removing grime. Always test on an inconspicuous area first, especially if you have sensitive tile types. These natural solutions are a great starting point for rejuvenating your black grout without resorting to harsh chemicals.
Powerful Commercial Cleaners for Stubborn Black Grout
Sometimes, natural remedies are not enough. For tough, deep-seated black stains, professional-grade or commercial cleaners are necessary. These products contain stronger active ingredients designed to penetrate and lift stubborn grime, mold, and mildew. When I face very persistent black grout, I know it is time to bring out the stronger solutions. Always read the product labels carefully and follow the instructions for safe and effective use.
Oxygen Bleach (OxiClean) Solutions
Oxygen bleach, commonly known by brand names like OxiClean, is a popular and effective cleaner for grout. It uses oxygen to break down stains, rather than chlorine bleach. This makes it color-safe for most fabrics and less harsh on your lungs. It is great for tackling organic stains like mold, mildew, and general grime that makes grout turn black. For detailed guidance on using this powerful cleaner, check out our guide on how to clean grout with OxiClean.
To use oxygen bleach for black grout:
- Mix the Solution: In a bucket, mix a scoop or two of oxygen bleach powder with hot water. Stir until the powder dissolves completely. The ratio is usually about 2 tablespoons per gallon of water, but check your product’s specific instructions.
- Apply to Grout: Pour or spray the solution directly onto the black grout lines. Make sure the grout is saturated.
- Let it Soak: Allow the solution to sit on the grout for at least 15-30 minutes, or even longer for very tough stains. The oxygen bubbles will work to lift the grime.
- Scrub: After soaking, use a stiff-bristled brush to scrub the grout. You should see the black stains loosening and lifting away.
- Rinse Thoroughly: Rinse the entire area with plenty of clean water. Wipe down with a clean, damp cloth to remove all traces of the cleaner and lifted dirt.
- Dry: Dry the surface completely to prevent new mildew growth.
Oxygen bleach is powerful yet generally safer than chlorine bleach. It is an excellent choice for a deep clean on black grout without the strong fumes.
Dedicated Grout Cleaners
Many manufacturers produce cleaners specifically formulated for grout. These products come in various forms like sprays, gels, or concentrated liquids. They are designed to penetrate the porous surface of grout and break down different types of stains. Some are acid-based, and others are alkaline, so it is important to choose one appropriate for your grout and tile type. Always do a patch test first.
When selecting a dedicated grout cleaner:
- Read Labels: Look for cleaners that specify they are safe for your type of tile (e.g., ceramic, porcelain, natural stone). Some strong acid-based cleaners can damage natural stone or colored grout.
- Targeted Formulas: Some cleaners are specifically designed to kill mold and mildew, while others focus on soap scum and dirt. Choose one that targets your specific problem.
- Application: Follow the manufacturer’s instructions precisely. Application methods vary. Some require spraying and wiping, others need soaking and scrubbing.
General steps for using a commercial grout cleaner:
- Prepare the Area: Ensure the area is well-ventilated. Wear gloves and eye protection.
- Apply Cleaner: Apply the cleaner directly onto the black grout lines as per product instructions.
- Allow Dwell Time: Let the cleaner sit for the recommended amount of time. This allows the active ingredients to penetrate the stains.
- Agitate: Use a stiff brush to scrub the grout lines. Apply firm pressure to work the cleaner into the pores of the grout.
- Rinse Completely: Rinse the entire area thoroughly with clean water. Make sure to remove all chemical residue. Residual cleaner can attract new dirt or cause damage over time.
- Dry: Dry the cleaned area completely.
For severe black stains caused by mold and mildew, a dedicated cleaner often delivers the best results. These powerful solutions are essential tools when natural methods fall short. Remember, always prioritize safety when using strong chemical cleaners.
Step-by-Step Cleaning Process for Black Grout
Cleaning black grout effectively requires a systematic approach. Just like any good project, preparation is key. Then, applying the cleaner and scrubbing correctly makes all the difference. Finally, proper rinsing and drying ensure a lasting clean. I have found that following a clear process gives me the best results every time. It saves time and prevents re-doing work.
Preparation and Pre-Treatment
Proper preparation sets the stage for success. Do not skip these initial steps. They help the cleaning solution work better and protect your surroundings.
- Clear the Area: Remove any movable items from the tiled surface. This includes bath mats, shower caddies, or furniture. You need full access to the grout lines.
- Vacuum or Sweep: Remove loose dirt, dust, and debris from the tile surface. This prevents turning mud when you apply liquid cleaners. Use a vacuum cleaner with a brush attachment or a broom.
- Protect Nearby Surfaces: If you are using strong cleaners, protect adjacent surfaces. Use painter’s tape to cover sensitive areas. Lay down old towels or plastic sheeting to protect wood floors or painted walls from splashes.
- Pre-Wet Grout (Optional but Recommended): For some cleaners, especially those that are highly concentrated, pre-wetting the grout can be beneficial. A light mist of water helps the cleaner spread evenly and prevents it from drying too quickly. This is also important for grout that has significant build-up, as you might learn when trying to clean grout that has turned black.
Application and Scrubbing
This is where the real work happens. Applying the cleaner correctly and scrubbing with the right technique is essential to lift those stubborn black stains.
- Apply Cleaner: Generously apply your chosen natural or commercial cleaner directly onto the black grout lines. If using a spray, ensure full saturation. If using a paste, spread it evenly over the lines.
- Allow Dwell Time: Let the cleaner sit for the recommended time. This “dwell time” allows the active ingredients to penetrate the grout’s pores and break down the grime or mold. This might be 5 minutes for natural solutions or up to 30 minutes for commercial products. Read the product label carefully.
- Scrub Thoroughly: Use a stiff-bristled grout brush. Apply firm, consistent pressure. Scrub in small back-and-forth or circular motions along the grout lines. Do not press too hard, as this can damage the grout. Focus on one small section at a time. For tough spots, you might need to reapply cleaner and scrub again. The goal is to agitate the cleaner into the grout and lift the black discoloration.
- Reapply if Necessary: If the black stains are very persistent, reapply the cleaner and let it sit for a few more minutes before scrubbing again. Do not rush this step.
Rinsing and Drying
Rinsing is as important as cleaning. Leaving residue can attract new dirt or cause damage. Proper drying helps prevent mold from returning.
- Rinse Thoroughly: Use clean, warm water and a clean sponge or mop to rinse the cleaned area. Wipe away all the lifted dirt and cleaning solution. Change your rinse water frequently to avoid spreading dirty water back onto the clean grout. You can also use a wet vacuum to suck up the dirty water effectively. Ensure no residue remains.
- Inspect: Once rinsed, inspect the grout lines. Are they clean? If not, you might need to repeat the application and scrubbing steps for particularly stubborn areas.
- Dry Completely: Use clean, dry microfiber cloths or towels to dry the entire surface. Good air circulation also helps. You can open windows or use a fan. Ensuring the grout dries completely discourages mold and mildew from growing back. This step is especially critical in moisture-prone areas like showers. Learn more about how to clean grout in showers effectively.
Following these steps will help you achieve sparkling clean black grout. Patience and consistency are key to successful grout cleaning.
Specific Challenges: Cleaning Black Grout in Showers and Floors
Black grout appears in various areas of your home. Showers and floors are two common places where black grout becomes particularly challenging. The consistent presence of moisture in showers creates ideal conditions for mold. Floors, especially in high-traffic zones, collect immense amounts of dirt and grime. Each area presents unique cleaning considerations. I have tackled both, and specific approaches definitely make the job easier.
Shower Grout Cleaning Strategies
Showers are notorious for developing black grout. This is almost always due to mold and mildew. The constant moisture, warmth, and presence of soap scum create a perfect breeding ground. Simply scrubbing with water will not work. You need mold-killing power. For comprehensive tips on this specific area, our guide on how to clean shower tiles and grout offers more detail.
Here are strategies tailored for shower grout:
- Focus on Mold Killers: Choose cleaners specifically designed to kill mold and mildew. Hydrogen peroxide, oxygen bleach, or commercial mold removers are your best bets. Chlorine bleach can be effective but requires strong ventilation and careful handling.
- Apply and Let Sit: Because shower grout absorbs moisture, allow your chosen cleaner ample dwell time. Spray or apply the solution and let it sit for at least 15-30 minutes, or longer for severe cases. The product needs time to penetrate the mold.
- Ventilation is Key: Always ensure excellent ventilation. Open bathroom windows, run the exhaust fan, or even bring in a portable fan. This is crucial when using any strong cleaner, especially in a small, enclosed space like a shower.
- Targeted Scrubbing: Use a stiff grout brush to scrub directly along the grout lines. Pay extra attention to corners and areas where water pools. These are prime mold spots.
- Rinse Thoroughly: Rinse the shower walls and floor completely. Ensure all cleaner residue is gone.
- Frequent Drying: After every shower, squeegee the walls and wipe down the grout. This simple habit dramatically reduces moisture, starving mold and mildew of what they need to grow.
Floor Grout Cleaning Techniques
Floor grout faces different challenges than shower grout. It endures foot traffic, spilled food, tracked-in dirt, and general wear. Black grout on floors often means embedded grime rather than just mold. While mold can grow, dirt is the primary issue here. Our article on how to clean tile grout on floors can provide more detailed floor-specific advice.
Consider these techniques for floor grout:
- Pre-Clean the Floor: Before applying any cleaner, thoroughly sweep or vacuum the entire floor. Remove all loose dirt and debris. This prevents you from just pushing around mud.
- Section by Section: Do not try to clean the entire floor at once. Work in small, manageable sections (e.g., 3x3 foot areas). This ensures the cleaner does not dry out before you have a chance to scrub and rinse.
- Appropriate Cleaners: For general dirt and grime, baking soda and vinegar, or oxygen bleach solutions are excellent. For greasy kitchen floors, a degreasing commercial grout cleaner might be more effective.
- Power Scrubbing (Optional): For large areas or very dirty floor grout, consider using a drill brush attachment or a specialized floor grout cleaning machine. These tools make the job much faster and less physically demanding.
- Thorough Rinsing: It is vital to rinse floor grout completely. Any cleaning solution left behind will attract dirt and make the grout look worse over time. Use a clean mop and fresh rinse water. A wet vacuum is excellent for pulling up all the dirty water.
- Dry Completely: Ensure the floor dries fully before walking on it or moving items back. Good airflow helps.
Addressing the specific challenges of black grout in showers and on floors requires tailored techniques. By understanding what causes the blackening in each area, you can choose the most effective cleaning method.
Maintaining Clean Black Grout: Prevention is Key
Cleaning black grout can be hard work. After all that effort, you want to keep it looking great for as long as possible. The truth is, preventing black grout is much easier than cleaning it. Regular maintenance habits and protective measures make a big difference. I always stress this part to friends and family. It saves so much time and energy in the long run.
- black grout cleaner
- grout cleaning tips
- mold removal grout