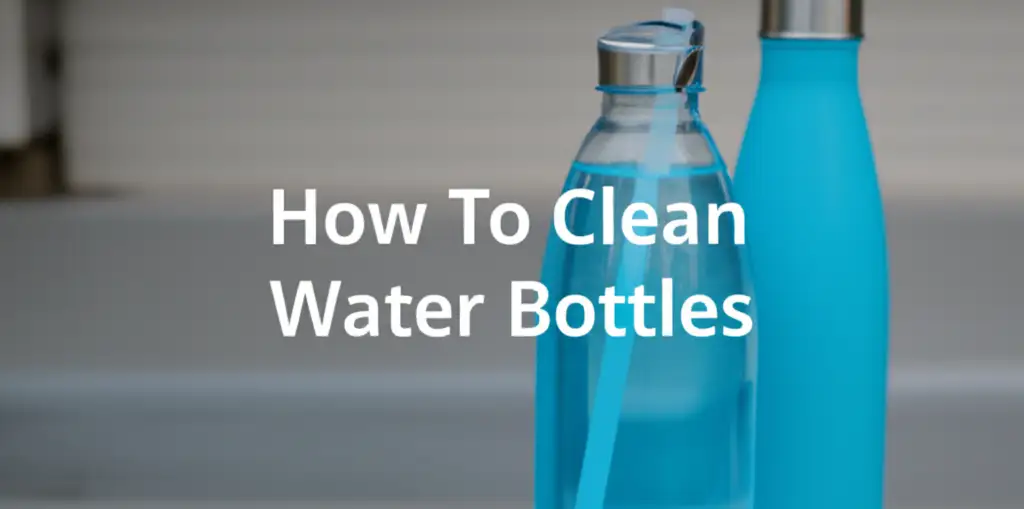
· Home Cleaning · 16 min read
How To Clean Blender Bottle
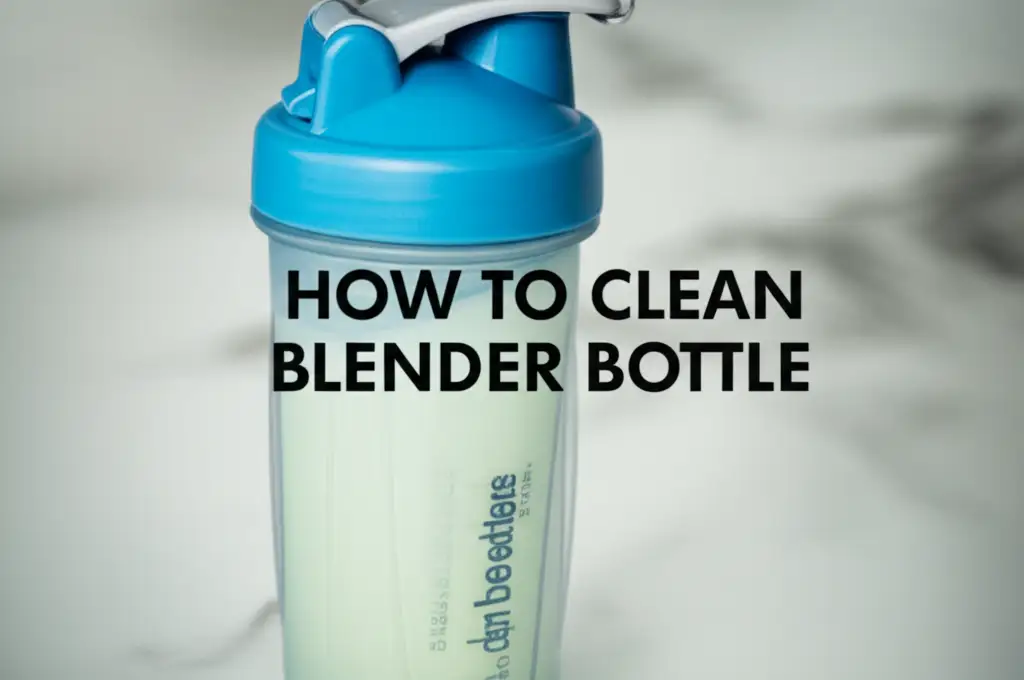
How To Clean Your Blender Bottle Effectively
My Blender Bottle is an essential part of my daily routine. It’s perfect for protein shakes, meal replacements, and even just water. However, I know they can quickly become a breeding ground for odors and grime if not cleaned properly. This happens especially when you leave protein residue inside. Maintaining your Blender Bottle’s cleanliness is not just about hygiene; it also extends its lifespan.
In this comprehensive guide, I will show you exactly how to clean your Blender Bottle. We will cover everything from quick daily rinses to deep cleaning methods for stubborn smells. You will learn about cleaning specific parts like the lid and whisk ball. I will also share tips for proper drying and storage to keep your bottle fresh. Let’s make sure your Blender Bottle stays spotless and ready for your next drink.
Takeaway:
- Rinse your Blender Bottle immediately after each use.
- Use warm water, dish soap, and a bottle brush for daily cleaning.
- Deep clean with vinegar or baking soda for stubborn odors.
- Pay special attention to the lid, gasket, and whisk ball.
- Ensure all parts are completely dry before storing to prevent mold.
The Quick Answer:
To clean a Blender Bottle, rinse it immediately after use with warm water. Then, wash it with dish soap and a bottle brush, paying attention to all parts, including the lid and whisk ball. For deep cleaning, use a mixture of vinegar and water or baking soda. Air dry completely before storing to prevent odors and mold growth.
Why Regular Blender Bottle Cleaning Matters So Much
Using a Blender Bottle daily is convenient, but it also means regular cleaning is a must. Many people overlook the importance of immediate and thorough cleaning. This oversight can lead to several problems over time. I always make sure to clean mine promptly to avoid these issues.
First, neglecting to clean your bottle allows bacteria to grow. Protein residues and other drink particles are perfect food for microorganisms. These bacteria can multiply quickly, turning your bottle into an unsanitary environment. This is a serious health concern, as consuming drinks from a contaminated bottle can make you sick. I think about my health first when it comes to cleaning.
Second, a dirty Blender Bottle quickly develops foul odors. You know that sour, lingering smell of old protein shake? It’s really unpleasant. These smells cling to the plastic and can be very difficult to remove once they set in. This makes your bottle less appealing to use, and your drinks might even pick up the odor. Nobody wants their fresh smoothie to smell like stale milk.
Finally, poor cleaning habits shorten your bottle’s lifespan. Residue buildup can degrade the plastic over time. It can also cause discoloration and make the bottle look unappealing. Mold and mildew can form in hard-to-reach areas, especially around the lid and seal. This means you might need to replace your bottle much sooner than expected. Proper cleaning saves you money and keeps your bottle looking new.
Everyday Cleaning: Quick and Easy Methods
Daily cleaning of your Blender Bottle is simple and quick. The key is to do it immediately after each use. This prevents residue from drying and sticking to the bottle’s surfaces. I always make sure to rinse mine right away.
Start by emptying any remaining liquid from your bottle. Then, rinse the bottle, lid, and whisk ball thoroughly with warm water. This initial rinse removes most of the loose protein or drink particles. It makes the next steps much easier.
Next, add a few drops of dish soap to the bottle. Fill it about halfway with warm water. Put the lid back on tightly and shake vigorously for 10-15 seconds. The whisk ball inside will help scrub the interior surfaces. This method creates a soapy solution that lifts off fresh grime.
After shaking, use a bottle brush to scrub the inside of the bottle. Make sure you reach the bottom and sides. Disassemble the lid by removing the cap and any rubber gaskets if possible. Clean these small parts with a smaller brush or a clean cloth. Pay special attention to the spout and mouthpiece area, as these can trap residue. You can find more tips on cleaning specialized drinking parts here: how to clean water bottle mouthpiece.
Finally, rinse all parts under warm running water until no soap bubbles remain. Make sure no soapy residue is left behind. This prevents any chemical taste in your next drink. Shake off excess water and place all parts on a drying rack. Allow them to air dry completely before reassembling. This daily routine keeps your bottle fresh and ready.
Deep Cleaning for Stubborn Odors and Residue
Sometimes, everyday cleaning is not enough, especially if you’ve left your Blender Bottle unwashed for a while. Stubborn odors and sticky residues can develop. When this happens, a deep clean is necessary to restore freshness. I have found a few reliable methods that work wonders.
One of the most effective deep-cleaning solutions uses white vinegar. Vinegar is a natural disinfectant and deodorizer. It breaks down residues and neutralizes unpleasant smells. To use this method, fill your Blender Bottle halfway with warm water. Then, add half a cup of white vinegar.
Put the lid on and shake the bottle well. Let this vinegar solution sit in the bottle for several hours, or even overnight, for severe odors. The longer it soaks, the better it works. I usually let mine soak overnight if the smell is really bad. After soaking, empty the vinegar solution. Scrub the inside of the bottle and all lid components with a brush. Rinse everything thoroughly with warm water and dish soap. The vinegar smell will dissipate as it dries. This process also works well for general how to clean water bottle issues.
Another powerful deep-cleaning agent is baking soda. Baking soda is excellent at absorbing and neutralizing odors. For this method, add 2-3 tablespoons of baking soda to your empty Blender Bottle. Fill the bottle with warm water. Stir the mixture until the baking soda dissolves.
Allow the baking soda solution to sit in the bottle for a few hours or overnight. This gives the baking soda time to work its magic on the stubborn smells. After soaking, pour out the solution. Scrub the bottle and lid thoroughly with a brush and dish soap. Rinse all parts completely under running water. This method leaves your bottle smelling neutral and clean.
For extremely stubborn stains or smells, you can combine baking soda and vinegar. First, put baking soda in the bottle. Then, slowly add vinegar. It will fizz, so be careful not to overfill. Let the fizzing reaction work for about 30 minutes. Then scrub and rinse as usual. This combination is a powerful cleaning duo.
Cleaning Specific Blender Bottle Parts
While the main bottle body is important, the smaller parts of your Blender Bottle often hold the most grime. The lid, gasket, and whisk ball are particularly prone to residue buildup. Neglecting these areas means your bottle will never be truly clean. I always pay close attention to these components.
The Blender Bottle lid is a complex area with many nooks and crannies. The flip cap, the spout, and sometimes a rubber gasket all need attention. Start by disassembling the lid as much as possible. Remove the flip cap if it detaches. Look for a removable rubber seal or gasket inside the lid; these trap liquid and can harbor mold. Use a small brush, like a toothbrush or a specialized bottle brush, to scrub all surfaces of the lid. Pay extra attention to the rim of the spout and the inside of the flip cap. Residue loves to hide in these tight spaces. For specific parts like the straw, you can get tips from how to clean Brita water bottle straw.
The whisk ball, often made of surgical-grade stainless steel, is usually easy to clean. However, it can still collect dried protein powder. After each use, simply rinse the whisk ball thoroughly under running water. If there’s any sticky residue, scrub it gently with a sponge and dish soap. Ensure all powder is gone from the wire coils. Leaving powder on the whisk ball can lead to a metallic odor or even rust over time.
The rubber gasket or seal, usually found inside the lid, is a common culprit for foul smells and mold. These flexible parts create a tight seal, but they also trap moisture. Gently remove the gasket from the lid if it’s designed to be removable. Wash it separately with warm water and dish soap. Use your fingers to rub off any slime or residue. If mold is present, soak the gasket in a vinegar solution for 30 minutes. Rinse it thoroughly and ensure it is completely dry before putting it back. Failing to dry this part properly is a common mistake.
Always ensure all these individual parts are fully dry before reassembling the bottle. Moisture trapped in these areas is the primary cause of mildew and odors. Taking the extra minute to clean these specific parts will greatly improve your Blender Bottle’s cleanliness and lifespan.
Dishwasher Cleaning: Tips and Cautions
Many Blender Bottle models are advertised as dishwasher safe. This can be a convenient way to clean your bottle, but there are important tips and cautions to consider. Simply tossing it in the dishwasher without thought might not give you the best results or could even damage your bottle. I rely on my dishwasher for certain items, but I use it carefully for my Blender Bottle.
First, check if your specific Blender Bottle model is indeed dishwasher safe. Most Blender Bottle brand products are safe for the top rack of a dishwasher. However, always refer to the manufacturer’s instructions for your exact model. Some older or cheaper plastic bottles might not withstand the high heat of a dishwasher. Placing them on the bottom rack can lead to warping or damage. The top rack generally has lower heat exposure, making it safer for plastics.
When loading your Blender Bottle into the dishwasher, disassemble all parts. Separate the bottle, lid, and whisk ball. This allows water and detergent to reach all surfaces effectively. Place the bottle upside down on the top rack. Secure the lid and whisk ball in the utensil basket or on the top rack where they won’t get tossed around. This ensures a thorough wash for every component.
While dishwashers offer convenience, they might not always provide a perfect deep clean. The high heat can sometimes bake on stubborn protein residues, making them harder to remove later. For very dirty bottles or those with strong odors, a pre-rinse or a manual scrub before dishwashing is always a good idea. I often give mine a quick rinse even before putting it in the dishwasher.
Dishwashers can sometimes leave water spots or a slight film, especially in hard water areas. If this happens, you might need to give your bottle a quick rinse under the tap after the dishwasher cycle. Always ensure your bottle and all its parts are completely dry before storing. Dishwashers can sometimes leave moisture in hidden areas, which can lead to mold if not air-dried afterward. If you’re cleaning multiple bottles, consider stacking them to maximize space.
Drying and Storage: Preventing Mold and Mildew
Cleaning your Blender Bottle thoroughly is only half the battle. Proper drying and storage are equally important for preventing unpleasant odors and mold growth. Moisture is the enemy when it comes to long-term freshness. I have learned that patience in drying saves a lot of trouble later.
After washing, shake off as much excess water as you can from all parts. Then, place the bottle, lid, and whisk ball on a drying rack. It is crucial to allow plenty of air circulation around each piece. Do not reassemble the bottle immediately. Trapping moisture inside a closed bottle is an invitation for mold and mildew to grow. I always keep my bottle and lid separate until they are completely dry to the touch.
For best results, turn the bottle upside down on the drying rack. This allows any residual water to drain out. You can also use a bottle drying rack specifically designed for water bottles to ensure good airflow. Some people use a paper towel or a clean, dry cloth to wipe the inside of the bottle and lid. This helps speed up the drying process. However, ensure the cloth is clean to avoid reintroducing bacteria.
Consider the environment where you are drying your bottle. A well-ventilated area is ideal. Avoid drying it in a damp, enclosed space, like a closed cupboard. This can prolong the drying time and increase the risk of mold. If you live in a humid climate, it might take longer for your bottle to dry completely.
Once all parts are bone dry, you can reassemble your Blender Bottle. Store it in a clean, dry cupboard or on a shelf. Do not store it with the lid tightly sealed if there is even a hint of moisture. For extra precaution against odors, you can store the bottle with the lid loosely placed on top or even upside down on the bottle without sealing it. This allows for continued air circulation. Proper drying and storage ensures your Blender Bottle remains fresh and hygienic for every use.
Common Cleaning Mistakes to Avoid
Even with the best intentions, it’s easy to make mistakes when cleaning your Blender Bottle. Avoiding these common pitfalls ensures your bottle stays hygienic and lasts longer. I’ve made some of these mistakes myself in the past, so I can speak from experience.
The most common mistake is not cleaning your Blender Bottle immediately after use. Leaving protein shakes or other liquids to sit for hours or overnight allows residue to dry and bacteria to multiply. This makes cleaning much harder and can lead to stubborn odors. I always make sure to rinse mine out as soon as I’m done, even if I can’t do a full wash right away. This simple step prevents a lot of future problems.
Another mistake is neglecting to disassemble the bottle completely. The lid, gasket, and whisk ball all need individual attention. Simply rinsing the assembled bottle will not reach all the hidden crevices where mold and bacteria can thrive. Always separate all parts and clean them individually. This ensures a thorough clean for every component.
Using overly harsh chemicals like bleach is also a common error. While bleach can kill bacteria, it can also degrade the plastic of your Blender Bottle over time. It can leave a strong chemical odor or taste that is hard to remove. I recommend sticking to natural cleaners like vinegar and baking soda for deep cleaning. They are just as effective without the harsh side effects.
Failing to dry the bottle completely before storage is a huge mistake. As I mentioned earlier, trapped moisture leads to mold and mildew. Always allow all parts to air dry completely. Don’t rush this step by reassembling a damp bottle. This is probably the biggest cause of persistent musty smells.
Finally, relying solely on the dishwasher can be a mistake for stubborn residue. While convenient, dishwashers might not always remove all baked-on protein or tackle strong odors effectively. For a truly clean and fresh bottle, especially after using sticky ingredients, a good manual scrub with a bottle brush is often necessary. A combination of manual and dishwasher cleaning often yields the best results. By avoiding these common mistakes, you can keep your Blender Bottle in top condition.
FAQ Section
How often should I clean my Blender Bottle?
You should rinse your Blender Bottle immediately after every single use. A full wash with soap and water should be done at the end of each day you use it. For heavy users or if you notice any lingering odors, a deep clean is recommended once a week or every two weeks.
Can I put my Blender Bottle in the dishwasher?
Most Blender Bottle brand models are top-rack dishwasher safe. Always check the manufacturer’s instructions for your specific bottle to confirm. Disassemble all parts (bottle, lid, whisk ball) before placing them in the dishwasher for a more effective clean.
How do I remove the smell from my Blender Bottle?
For stubborn smells, deep clean your Blender Bottle using white vinegar or baking soda. Fill the bottle with a solution of half water and half vinegar, or water with 2-3 tablespoons of baking soda. Let it soak for several hours or overnight, then scrub and rinse thoroughly.
What is the best way to dry a Blender Bottle?
After washing, disassemble all parts. Shake off excess water and place the bottle, lid, and whisk ball separately on a drying rack. Ensure good air circulation around each part. Allow them to air dry completely before reassembling and storing to prevent mold and mildew.
Can I use bleach to clean my Blender Bottle?
It is not recommended to use bleach to clean your Blender Bottle. Bleach can degrade the plastic over time and may leave a strong chemical odor or taste. Natural alternatives like white vinegar and baking soda are safer and just as effective for deep cleaning and odor removal.
How do I clean the rubber gasket on my Blender Bottle lid?
Gently remove the rubber gasket or seal from the lid if it is detachable. Wash it separately with warm water and dish soap, rubbing off any residue. If mold is present, soak it in a vinegar solution. Ensure it is completely dry before placing it back into the lid.
Conclusion
Keeping your Blender Bottle clean is essential for both your health and the longevity of your bottle. We’ve explored the critical reasons why regular cleaning is important, from preventing bacterial growth to eliminating unpleasant odors. By following simple daily routines and applying effective deep-cleaning methods, you can ensure your bottle remains fresh. Remember, immediate rinsing, thorough scrubbing of all parts, and proper drying are your best defenses against grime.
You now have a complete guide on how to clean Blender Bottle effectively. This includes handling everyday washes, tackling stubborn smells with natural solutions like vinegar and baking soda, and paying special attention to the lid, gasket, and whisk ball. By avoiding common cleaning mistakes and ensuring proper drying and storage, you can extend the life of your bottle significantly. Make these cleaning practices a consistent part of your routine. Your taste buds and your health will thank you for it!
- blender bottle cleaning
- protein shaker cleaning
- remove smell from blender bottle
- deep clean blender bottle
- bottle hygiene