· Home Cleaning · 14 min read
How To Clean Bottle Brush
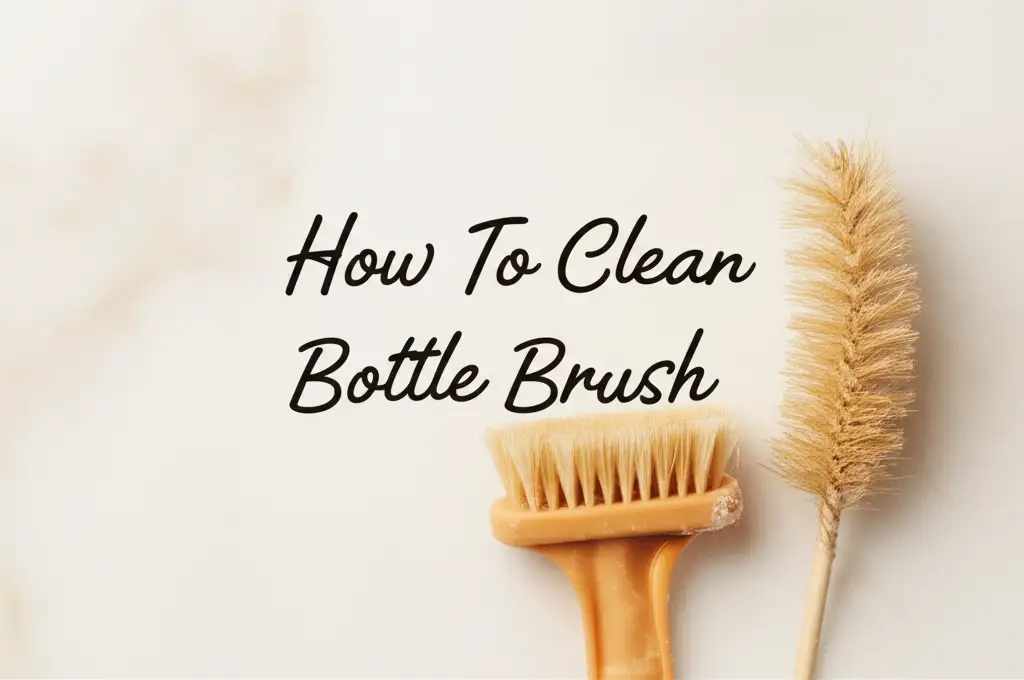
How to Clean Your Bottle Brush for Optimal Hygiene
You rely on your bottle brush to keep your bottles spotless. It reaches into narrow openings and scrubs away residue. However, the brush itself can become a breeding ground for germs if not cleaned properly. A dirty bottle brush defeats its purpose. It can transfer bacteria back onto your clean items. This is why learning how to clean bottle brush is essential for any household.
Keeping your cleaning tools clean is just as important as cleaning the items they touch. A well-maintained bottle brush ensures true cleanliness for baby bottles, water bottles, and even vases. This article will guide you through simple steps to thoroughly clean, sanitize, and care for your bottle brush. We will cover daily cleaning, deep cleaning methods, and tips for different brush types. By the end, you will know exactly how to keep your bottle brush ready for its next cleaning task.
Takeaway:
- Clean your bottle brush after every use with hot soapy water.
- Deep clean weekly using vinegar, baking soda, or a bleach solution.
- Dry your brush completely to prevent mildew and bacterial growth.
- Replace your bottle brush every 1-2 months or when bristles show wear.
To clean a bottle brush effectively, rinse it thoroughly under hot running water after each use to remove loose debris. Then, wash it with dish soap, scrubbing the bristles and handle. For deep cleaning, soak the brush in a vinegar solution or sanitize it with a diluted bleach solution before rinsing and air-drying completely.
The Importance of Cleaning Your Bottle Brush Regularly
Many people clean their bottles but forget about the tool they use. Your bottle brush works hard. It removes milk residue, protein shakes, or other stubborn grime from bottles. These substances can cling to the bristles of your brush. Over time, this buildup leads to germ growth.
Imagine scrubbing a clean bottle with a brush full of old food particles. That is exactly what happens if you do not clean your bottle brush. Bacteria and mold can thrive in damp, enclosed environments. A bottle brush, often left wet, is a perfect spot for them to grow. This can cause unpleasant odors and may even pose health risks, especially if you clean baby bottles. Regular cleaning of your bottle brush ensures that your bottles are truly clean and safe to use. It also extends the life of your brush, saving you money in the long run.
Basic Steps for Daily Bottle Brush Cleaning
Cleaning your bottle brush after each use is a quick and simple habit. This daily routine prevents most buildup. It ensures your brush stays fresh for its next job. You only need hot water and dish soap.
First, rinse the brush immediately after you finish cleaning bottles. Hold it under hot running water. This washes away loose food particles and soap residue from the bottles. Make sure water flows through all the bristles. Next, apply a few drops of dish soap directly to the bristles of the brush. Work the soap into a lather. Use your fingers to rub the soap into the bristles. You can also scrub the brush head against the side of your sink. This helps remove any sticky residue. Rinse the brush again thoroughly under hot water until no more suds appear. Make sure all soap is gone. Gently shake the brush to remove excess water. Then, place it in a well-ventilated area to air dry completely. Proper drying is key to preventing mildew. Remember, a clean brush makes clean bottles. You can also apply these principles when learning how to clean water bottle itself, ensuring all components are fresh.
Deep Cleaning Methods for Your Bottle Brush
Daily rinsing is good, but your bottle brush needs a deep clean weekly or bi-weekly. This kills persistent bacteria and removes stubborn grime. There are a few effective methods you can use, depending on what you have available.
Using Vinegar for Natural Sanitization
Vinegar is a natural disinfectant and deodorizer. It helps break down mineral deposits and kill mold. To use vinegar, fill a bowl with equal parts white vinegar and hot water. Submerge the entire bottle brush in the solution. Make sure the bristles are fully covered. Let the brush soak for at least 30 minutes. For a really thorough clean, you can let it soak overnight. After soaking, remove the brush and rinse it very well under running water. Ensure no vinegar smell remains. This method is safe and effective for regular deep cleaning. Many people also find this method useful when cleaning their Brita water bottle components, as it is gentle yet powerful.
Baking Soda for Tough Stains and Odors
Baking soda is another natural cleaner that is excellent for absorbing odors and scrubbing away stains. Create a paste by mixing a few tablespoons of baking soda with a small amount of water. Apply this paste directly to the bristles of your bottle brush. Use an old toothbrush or your fingers to work the paste into the bristles. Scrub thoroughly, paying attention to any discolored areas. Let the paste sit on the brush for 10-15 minutes. The baking soda will draw out odors and help lift stains. Rinse the brush extremely well under hot running water until all the baking soda is gone. This method is particularly effective if your brush has developed a stale smell or noticeable discoloration. You can also use similar techniques if you need to clean a stain off a brush of any kind.
Bleach Solution for Disinfection
For serious disinfection, especially if you are concerned about bacterial contamination, a diluted bleach solution is highly effective. Always use bleach with caution and ensure good ventilation. Mix one tablespoon of bleach with one gallon of water. Submerge your bottle brush in this solution for no more than five minutes. Do not leave it longer, as bleach can damage bristles or plastic over time. After soaking, rinse the brush extensively under hot running water. You must rinse it until you cannot detect any bleach smell. This method is powerful but should be used sparingly, perhaps once a month or if the brush has been exposed to something particularly unsanitary. Always let the brush air dry completely after using any of these deep cleaning methods.
Cleaning Different Types of Bottle Brushes
Not all bottle brushes are made the same. Different materials require slightly different care to ensure longevity and effective cleaning. Understanding these differences helps you care for your specific brush type properly. The goal remains the same: a clean, hygienic brush ready for its next use, whether it’s for a delicate baby bottle or a rugged copper bottle.
Silicone Bottle Brushes
Silicone brushes are durable and naturally resistant to bacteria. Their non-porous surface makes them very easy to clean. For daily cleaning, simply rinse them thoroughly under hot water with dish soap. The smooth surface allows food particles to slide off easily. For deep cleaning, silicone brushes can often be put in the dishwasher on the top rack. The high heat of the dishwasher helps sanitize them effectively. If you do not have a dishwasher, soaking in a vinegar solution works just as well. Silicone is less likely to absorb odors or stains, making them low-maintenance options for bottle cleaning. They also dry very quickly due to their material.
Bristle Bottle Brushes (Nylon or Natural)
Bristle brushes, whether nylon or natural fibers, need a bit more attention. Their many individual bristles can trap food particles more easily than silicone. After each use, rinse them well under hot water. Use your fingers to gently separate the bristles and ensure all debris washes out. Use dish soap to create a good lather and scrub the bristles against your hand or the sink. For deep cleaning, the vinegar soak or baking soda paste methods are excellent for bristle brushes. These solutions get between the bristles to remove buildup. If using a bleach solution, be mindful of the material. Natural bristles might degrade faster with harsh chemicals. Nylon bristles are generally more resilient. Always ensure these brushes are completely dry before storing to prevent mold and mildew from forming deep within the bristles.
Brushes with Wire Handles or Complex Designs
Some bottle brushes have long wire handles, multiple brush heads, or specialized tips for straws or water bottle mouthpieces. When cleaning these, pay special attention to all parts. The wire handle, especially where it meets the brush head, can trap water and grime. Ensure you scrub this area well with soap and water. For brushes with small detail cleaners or straw brushes, use the same cleaning methods as the main brush. These smaller parts often come into contact with narrow, hard-to-reach areas of bottles and straws. Therefore, they also need thorough cleaning and sanitizing. After washing, ensure all components, especially the wire handle, are completely dry. Hang them up if possible to allow air circulation around all parts, preventing rust on metal components and mildew on bristles. Cleaning tools like these also apply to specialized bottles such as a Gatorade GX bottle, which may have intricate parts.
Drying and Storing Your Bottle Brush Properly
Proper drying and storage are just as important as the cleaning process itself. A clean brush can quickly become a dirty one if left in a damp environment. Moisture is the biggest enemy of brush hygiene. It encourages the growth of mold, mildew, and bacteria. This can lead to unpleasant smells and even compromise the effectiveness of your cleaning efforts.
After you finish washing your bottle brush, shake off as much excess water as possible. Then, hang the brush or place it upright in a well-ventilated area. Many bottle brushes come with a small hole in the handle. You can use this to hang it on a hook. If no hook is available, place it in a caddy or holder where air can circulate around the bristles. Do not store your brush lying flat in a sink or a closed container. This traps moisture and prevents proper drying. Ensure the bristles are not touching any wet surfaces. Air circulation is key. Allow the brush to dry completely between uses. This typically takes a few hours. A dry brush prevents microbial growth, keeps bristles firm, and prolongs the brush’s life. Store it in a clean, dry place, away from food preparation areas if possible, to maintain its cleanliness.
When to Replace Your Bottle Brush
Even with the best cleaning and storage practices, bottle brushes do not last forever. Knowing when to replace your bottle brush is crucial for maintaining effective cleaning and hygiene. Using an old, worn-out brush can be less effective and may even harbor more germs.
You should replace your bottle brush every 1 to 2 months, especially if you use it daily. However, its condition is a better indicator than a strict timeline. Look for signs of wear and tear. If the bristles are splayed, matted, or falling out, it is time for a new brush. Splayed bristles cannot effectively reach all areas of your bottles. They also do not scrub as well. If you notice persistent discoloration or an unremovable odor, even after deep cleaning, it is a sign that bacteria or mold have become embedded in the bristles. This means the brush is no longer sanitary. If you see visible mold spots that won’t go away, replace the brush immediately. Lastly, if the brush handle is broken or damaged, it can become unsafe to use or difficult to clean. Replacing your bottle brush regularly ensures that your cleaning efforts are always effective and your bottles remain truly clean. Think of it as a small investment in your household’s health and hygiene.
Common Mistakes to Avoid When Cleaning Bottle Brushes
Cleaning a bottle brush seems simple, but small errors can reduce its effectiveness or lifespan. Avoiding these common pitfalls ensures your brush stays in top condition. By learning from these mistakes, you can improve your overall cleaning routine.
One common mistake is not cleaning the brush immediately after use. Leaving milk or food residue on the brush allows it to dry and harden. This makes it much harder to remove later. It also gives bacteria more time to grow. Always rinse and wash your brush right away. Another error is not rinsing thoroughly enough after washing. Leftover soap residue can build up on bristles. This can leave streaks on your bottles or contribute to a film. Always rinse until the water runs clear and no suds remain.
Many people also make the mistake of not drying the brush completely. Storing a damp brush encourages mold and mildew. This leads to unpleasant smells and germ growth. Always hang or stand the brush in a well-ventilated area. Do not store it in a closed cupboard or drawer while still wet. Using overly harsh chemicals or extremely hot water (boiling) on certain brush materials can also cause damage. For example, some plastics or natural bristles might degrade with constant boiling or strong bleach. Stick to recommended cleaning solutions and temperatures. Lastly, ignoring signs of wear is a mistake. Using a worn-out brush is ineffective and unhygienic. Be sure to replace your brush when its bristles are splayed or discolored. Avoiding these common mistakes will help you maintain a clean and effective bottle brush.
Frequently Asked Questions
How often should I clean my bottle brush?
You should rinse and wash your bottle brush with dish soap after every single use. For a deeper clean and sanitization, aim to deep clean it at least once a week. This regular maintenance prevents the buildup of residue and bacteria, keeping your brush hygienic and ready for its next task.
Can I put my bottle brush in the dishwasher?
Some bottle brushes, especially those made of silicone or durable plastic, are dishwasher safe. Always check the manufacturer’s instructions. If it is dishwasher safe, place it on the top rack. Dishwashers provide high heat, which helps sanitize the brush effectively. However, natural bristle brushes or those with wooden handles should not go into the dishwasher.
What are signs that my bottle brush needs replacing?
You should replace your bottle brush if the bristles become splayed, matted, or start falling out. Persistent discoloration or an unremovable odor, even after deep cleaning, also indicates it’s time for a new one. Visible mold spots or a broken handle are also clear signs for immediate replacement.
Is it safe to use bleach to clean a bottle brush?
Yes, a highly diluted bleach solution can be used for disinfection, but with caution. Mix one tablespoon of bleach per gallon of water. Soak the brush for no more than five minutes. Rinse it extremely thoroughly afterward to ensure no bleach residue remains. Use this method sparingly, perhaps once a month.
How do I prevent mold on my bottle brush?
Preventing mold on your bottle brush is simple: ensure it dries completely after every wash. After rinsing, shake off excess water. Then, hang the brush or stand it upright in a well-ventilated area. Air circulation is key. Avoid storing it in damp, enclosed spaces where moisture can get trapped.
Can I use the same brush for baby bottles and other dishes?
It is best practice to have separate brushes for baby bottles and general dishwashing. This prevents cross-contamination. Baby bottles require a higher level of hygiene. A dedicated bottle brush for baby items reduces the risk of transferring germs from other dishes to your baby’s feeding equipment.
Conclusion
Keeping your bottle brush clean is a small task with big benefits. It ensures the hygiene of your bottles and extends the life of your cleaning tool. We have covered the simple daily steps, as well as powerful deep cleaning methods using common household items like vinegar and baking soda. Remember, understanding how to clean bottle brush properly means paying attention to the type of brush you have and ensuring it dries completely after each wash.
Regular cleaning prevents the buildup of grime and bacteria, protecting your health and making your cleaning routine more effective. Don’t forget to replace your bottle brush when it shows signs of wear or persistent odors. By following these straightforward tips, your bottle brush will remain a reliable and hygienic tool in your home for a long time. Make bottle brush cleanliness a priority today for a healthier home tomorrow.
- bottle brush cleaning
- cleaning tools
- kitchen hygiene
- bottle cleaning
- brush maintenance