· Home Cleaning · 14 min read
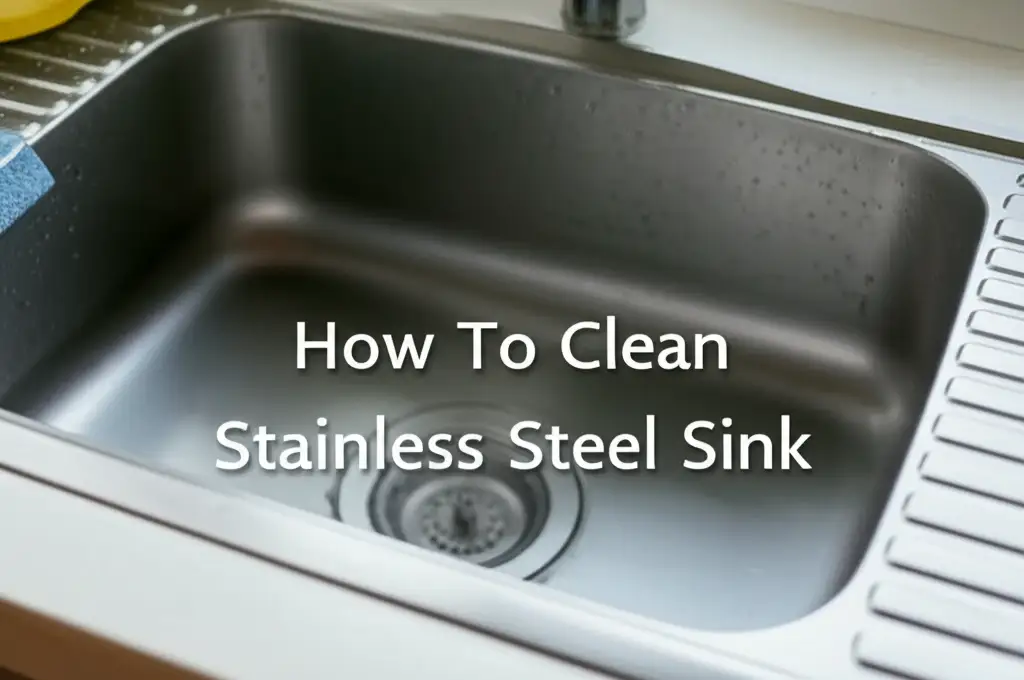
How To Clean Stainless Steel Sink

Mastering Your Stainless Steel Sink: Simple Steps to Gleaming Cleanliness
Your kitchen sink works hard every day. It handles dirty dishes, food scraps, and constant water exposure. Over time, even the most resilient stainless steel sink can lose its shine. It collects grime, water spots, and sometimes stubborn stains. Keeping it clean is not just about looks; it is about hygiene. A clean sink makes your whole kitchen feel better. I know the struggle of a dull sink. This guide will show you how to clean your stainless steel sink effectively. We will cover daily upkeep, deep cleaning methods, and how to tackle common issues. You will learn simple tricks to make your sink sparkle again. I will share my best tips to restore its original luster.
Takeaway:
- Clean your stainless steel sink daily to prevent buildup.
- Use mild cleaners like dish soap or natural solutions.
- Always wipe with the grain of the stainless steel.
- Rinse thoroughly and dry after each use to prevent water spots.
- Address stubborn stains like rust or hard water promptly.
How to clean a stainless steel sink effectively? To effectively clean a stainless steel sink, use mild dish soap and warm water for daily cleaning. For deeper cleaning, apply a paste of baking soda and water, scrubbing gently with a soft cloth along the grain. Rinse completely, then dry with a microfiber towel to prevent water spots and restore shine.
Daily Care for a Spotless Stainless Steel Sink
Maintaining a shiny stainless steel sink starts with daily habits. A little effort each day prevents bigger problems later. I always make sure to give my sink a quick clean after doing dishes. This simple routine keeps it from looking dull or developing spots. You want to remove food particles and water droplets. These are the main culprits for buildup.
Start by rinsing your sink thoroughly after each use. Get rid of any food bits or greasy residue. Then, grab a soft sponge or cloth. Apply a small amount of mild dish soap to the sponge. Wipe down the entire surface of the sink. Remember to wipe in the direction of the stainless steel grain. This helps prevent streaks and makes the cleaning more effective. The grain is usually visible; it looks like faint lines on the metal. Going with the grain helps lift dirt out of those tiny grooves.
After scrubbing, rinse the sink again with warm water. Make sure to wash away all soap residue. Soap can leave a film if not rinsed properly. The final step is crucial for preventing water spots. Dry your sink completely with a clean, dry microfiber cloth. This step takes only a moment but makes a huge difference. It leaves your sink gleaming and ready for its next use. Consistent drying is key to a spotless finish.
Deep Cleaning Your Stainless Steel Sink for Lasting Shine
While daily cleaning keeps your sink tidy, a deep clean restores its true sparkle. I find doing a deep clean once a week or every other week really helps. It removes buildup that daily washes might miss. This process uses common household items. They are safe and effective for stainless steel.
You will need baking soda and white vinegar for this job. First, rinse your sink with warm water. This wets the surface and prepares it for cleaning. Next, sprinkle a generous amount of baking soda over the entire sink basin. Make sure to cover the bottom and sides. Baking soda is a gentle abrasive. It helps lift grime without scratching the surface.
Let the baking soda sit for a few minutes. Then, dampen a soft sponge or cloth. Begin scrubbing the baking soda into the sink. Again, move your sponge in the direction of the stainless steel grain. Apply gentle pressure as you scrub. This method works wonders on general grime and minor stains. Many people use baking soda for cleaning other stainless steel items too. For instance, how to clean stainless steel pans with baking soda uses a similar principle.
After scrubbing with baking soda, rinse the sink. Now, it is time for the vinegar. Pour white vinegar into a spray bottle. Spray the entire sink surface with vinegar. You might see a fizzing reaction with any leftover baking soda. This reaction is normal and harmless. Let the vinegar sit for about 10-15 minutes. Vinegar is great for dissolving mineral deposits and killing bacteria. It also helps in removing fingerprints and streaks from stainless steel appliances. You can use vinegar for many other cleaning tasks. For example, learning how to clean stainless steel appliances with vinegar can benefit other areas of your kitchen. After the vinegar sits, rinse the sink thoroughly with water. Dry it completely with a clean microfiber cloth for a streak-free, brilliant shine.
Tackling Stubborn Hard Water Stains on Stainless Steel
Hard water stains are a common problem for many sinks. They appear as white, cloudy spots or streaks. These stains come from mineral deposits in your water. They can make even the cleanest sink look dirty. I have dealt with these many times in my own sink. The good news is they are treatable.
Vinegar is your best friend against hard water stains. Its acidic nature breaks down mineral deposits. Start by drying your sink as much as possible. This allows the vinegar to work directly on the stains. Next, soak paper towels in undiluted white vinegar. Lay these vinegar-soaked paper towels directly over the hard water stains. Make sure the paper towels fully cover the affected areas.
Let the vinegar-soaked paper towels sit on the stains for at least 30 minutes. For very stubborn stains, you can leave them for a few hours. Some people even leave them overnight. The longer the vinegar sits, the more time it has to dissolve the minerals. After the waiting period, remove the paper towels. Use a soft brush or sponge to gently scrub the area. The stains should now be much easier to remove.
Rinse the sink thoroughly with warm water. Make sure no vinegar residue remains. Any leftover vinegar can dull the finish over time. For tough, persistent spots, you might need to repeat the process. Always dry the sink completely after rinsing. This prevents new water spots from forming. Understanding how to handle these specific stains makes a big difference. If you want to dive deeper into removing various marks, learning how to clean stains on stainless steel can provide broader insights. For direct information on this specific issue, check out how to clean hard water stains from stainless steel sink.
Removing Rust and Discoloration from Your Stainless Steel Sink
Rust spots can appear on stainless steel sinks despite its “stainless” name. These spots often come from metal items left in the sink. Things like cast iron pans, tin cans, or even rusty utensils can transfer rust. When these sit in a damp sink, they can leave behind orange-brown marks. I have seen this happen too often. Dealing with rust early prevents it from becoming a bigger issue.
Do not use abrasive scrubbers or steel wool for rust. These can scratch the sink surface. They can also make the rust worse by embedding tiny steel particles. Instead, choose a gentler approach. A common household item, baking soda, works well. Make a thick paste using baking soda and a small amount of water. The paste should be thick enough to cling to the rust spot.
Apply the baking soda paste directly to the rust stain. Let it sit for about an hour. This allows the baking soda to begin breaking down the rust. After waiting, gently scrub the area with a soft cloth or a nylon brush. Use light pressure and move in the direction of the grain. You might need to reapply the paste and scrub a few times for tough rust spots. For persistent rust, you can also try lemon juice. Lemon juice is acidic and can help dissolve rust. Apply lemon juice directly to the rust spot. Let it sit for 10-15 minutes, then scrub gently and rinse.
After removing the rust, rinse the sink thoroughly with water. Dry the sink completely with a clean cloth. Preventing future rust is simple. Avoid leaving metal objects in the sink for long periods. Always wipe up standing water. Knowing how to handle rust is useful for all stainless steel items. If you are curious about broader methods, learning how to clean rust off stainless steel provides general strategies.
Banishing Grease and Oil Residue from Stainless Steel
Grease and oil are common in any kitchen sink. They can leave a sticky film on your stainless steel. This film not only looks bad but also attracts more dirt. A greasy sink feels unpleasant. Dealing with grease effectively ensures your sink stays hygienic. I always prioritize removing grease after cooking.
The best way to remove fresh grease is with hot, soapy water. Fill your sink with hot water and add a good amount of dish soap. Let the soapy water sit in the sink for a few minutes. The hot water helps loosen the grease. The dish soap cuts through the oil. Then, drain the water. Use a soft sponge or cloth to wipe down the sink. The grease should come off easily. Always wipe with the grain of the stainless steel.
For tougher, baked-on grease, you might need something stronger. You can try a baking soda paste again. Mix baking soda with a little water to form a paste. Apply this paste to the greasy areas. Let it sit for 15-20 minutes. The baking soda will absorb some of the grease. Then, scrub gently with a soft brush or sponge. Rinse thoroughly with hot water.
Sometimes, a dedicated degreaser product is helpful. Choose a degreaser specifically safe for stainless steel. Read the product instructions carefully. Always test it on an inconspicuous area first. Apply the degreaser, let it sit for the recommended time, then scrub and rinse. Remember to wear gloves when using chemical cleaners. Drying the sink completely after cleaning prevents new residue. This detailed guide to how to clean grease off stainless steel offers more insights into this specific problem.
Restoring Shine and Preventing Scratches on Your Sink
Stainless steel sinks look beautiful when they shine. Over time, scratches and dullness can appear. Restoring that luster makes a big difference. Preventing new damage is also key. I like to give my sink a polish after a deep clean. This keeps it looking new.
After cleaning your sink, make sure it is completely dry. Use a clean, dry microfiber cloth. Now, you can use a stainless steel polish or a natural alternative. Mineral oil is an excellent natural option. It helps hide minor scratches and adds a protective layer. Put a few drops of mineral oil on a clean, soft cloth. Wipe the entire surface of the sink with the oil. Move your cloth in the direction of the grain. This step makes the sink gleam. It also helps repel water and fingerprints.
To prevent scratches, be mindful of what goes into your sink. Avoid dragging heavy pots and pans across the bottom. Use a sink grid or mat if you frequently place heavy items in the sink. These grids protect the surface from direct contact. Also, never use abrasive scrubbers like steel wool. They cause tiny scratches that accumulate over time. These scratches make the sink look dull. They also make it harder to clean.
You can also use specialized stainless steel cleaners or polishes. These products often contain oils and protective agents. They clean, polish, and protect the surface. Always follow the product instructions. Apply with a soft cloth and buff to a shine. Regular polishing keeps your sink looking its best. This care helps your sink resist new smudges. For more tips on keeping surfaces clean, consider learning how to clean fingerprint-resistant stainless steel.
What to Avoid When Cleaning a Stainless Steel Sink
Knowing what to avoid is as important as knowing what to use. Certain cleaners and tools can damage your stainless steel sink. Using the wrong items can cause scratches, discoloration, or dullness. This can ruin your sink’s appearance. I always warn people about these common mistakes.
First, never use steel wool or abrasive scrubbing pads. These materials are too harsh. They will scratch the surface of your stainless steel. These tiny scratches make the sink look dull. They also create places for dirt and grime to collect. Always opt for soft cloths, sponges, or nylon brushes.
Second, avoid cleaners containing chlorine bleach. Bleach can react with stainless steel. This reaction can cause pitting, discoloration, and even rust. Even a small amount of bleach left on the surface can be harmful. If you use bleach for other tasks in your kitchen, ensure it does not come into contact with your sink. Rinse your sink immediately and thoroughly if bleach accidentally touches it.
Third, stay away from oven cleaners and harsh drain cleaners. These products contain strong chemicals. They are designed for very different surfaces. They can severely corrode and damage stainless steel. If your drain is clogged, use a gentler drain opener or call a plumber. Also, do not use silver polish on your stainless steel. It can leave a permanent film or stain.
Lastly, avoid leaving acidic foods or cleaners on your sink for long periods. Lemon juice, tomato sauce, or acidic cleaning solutions can etch the surface if left sitting. Rinse these off quickly. Being careful with what touches your sink helps maintain its integrity and shine. These practices help prevent general marks. For various issues, learning how to clean stains on stainless steel can provide a wider understanding of problematic substances.
Frequently Asked Questions
Can I use bleach on my stainless steel sink?
No, you should not use bleach on your stainless steel sink. Bleach contains chlorine, which can react with stainless steel. This reaction can cause pitting, discoloration, and even rust spots. Always opt for milder, bleach-free cleaning solutions to protect your sink’s finish.
How do I remove scratches from my stainless steel sink?
You cannot fully remove deep scratches from stainless steel. However, you can improve the appearance of minor scratches. Use a stainless steel scratch removal kit designed for sinks. Follow the product instructions carefully. Always rub with the grain of the steel.
How often should I clean my stainless steel sink?
You should clean your stainless steel sink daily with mild soap and water. A deeper clean with baking soda and vinegar is good once a week or every other week. This routine prevents mineral buildup and maintains its shine. Consistent care is key for a gleaming sink.
What causes white spots on stainless steel sinks?
White spots on stainless steel sinks are usually hard water stains. These spots are mineral deposits left behind when water evaporates. You can remove them with white vinegar. Vinegar dissolves the calcium and magnesium in hard water. Always dry your sink completely after use to prevent these spots.
Is it safe to use abrasive cleaners on stainless steel?
No, it is not safe to use abrasive cleaners on stainless steel. Abrasive cleaners, like scouring powders or steel wool pads, can scratch the sink’s surface. These scratches make the sink look dull. They can also create areas where dirt and grime accumulate more easily.
How can I keep my stainless steel sink shiny?
To keep your stainless steel sink shiny, follow proper cleaning and drying. After cleaning, apply a few drops of mineral oil or a stainless steel polish to a soft cloth. Wipe it onto the sink surface following the grain. This protects the sink and enhances its luster.
Conclusion
A gleaming stainless steel sink elevates your entire kitchen. You now have simple, effective steps to clean stainless steel sink surfaces. We covered everything from daily washes to tackling stubborn rust and hard water stains. Remember, consistent care prevents buildup. Using the right cleaners protects your sink’s finish. Avoid harsh chemicals and abrasive tools. Embrace natural solutions like baking soda and vinegar for powerful, safe cleaning. Regular drying is a small step with a big impact on shine. By following these practical tips, you can maintain your sink’s beauty for years. Your efforts will result in a hygienic and sparkling focal point. Get ready to enjoy a brilliantly clean stainless steel sink every day.
- stainless steel
- sink cleaning
- kitchen hygiene
- home maintenance
- cleaning tips


