· Water Bottle Care · 14 min read
How To Clean Brita Water Bottle
Keep Your Brita Bottle Fresh: How To Clean Brita Water Bottle
Your Brita water bottle gives you clean, filtered water every day. It is a great way to stay hydrated. Many people use these bottles for work, school, or the gym. However, like any reusable container, your Brita bottle needs regular cleaning. Learning how to clean Brita water bottle parts is important. This guide helps you keep your bottle hygienic and odor-free. We will cover why cleaning is important and provide step-by-step instructions.
Proper cleaning prevents the growth of bacteria and mold. It also removes any unpleasant smells or tastes. A clean bottle ensures your water stays fresh and safe to drink. This article will show you simple ways to deep clean your Brita bottle. We will also share tips for daily care and maintenance. You can enjoy clean water with every sip when your bottle is well-maintained.
Takeaway:
- Disassemble all Brita bottle parts for a thorough cleaning.
- Use warm, soapy water for regular washing.
- Sanitize weekly with vinegar or a bleach solution to eliminate bacteria and odors.
- Pay special attention to the straw and filter, as they collect more residue.
- Ensure all parts are completely dry before reassembling to prevent mold.
To clean a Brita water bottle, disassemble all parts, including the straw and filter. Wash the bottle, lid, and straw with warm, soapy water. Rinse them well. For sanitization, soak parts in a diluted white vinegar or bleach solution. Let all components air dry completely before reassembly to stop mold growth.
Why Your Brita Water Bottle Needs Regular Cleaning
You drink from your Brita water bottle every day. This daily use means it collects germs. Water bottles are often damp inside. This creates a perfect place for bacteria and mold to grow. These microorganisms can cause bad smells. They can also make you sick if you drink them.
Imagine leaving a dirty dish out; the bottle is similar. Lingering water and saliva mix. This mixture provides nutrients for unwanted growth. You might notice a slimy film inside the bottle. This film is biofilm, a collection of bacteria. It is important to remove this film regularly.
Not cleaning your bottle affects the water taste. Your filtered water might start to taste off. This happens because of bacterial buildup or mold. A clean bottle ensures your water tastes fresh. It maintains the quality you expect from Brita filtered water. Keeping your bottle clean protects your health.
Regular cleaning also extends your bottle’s life. Dirt and mineral deposits can damage plastic over time. They can cause staining or weaken the material. Proper care means your Brita bottle lasts longer. You save money by not replacing bottles often. A small effort in cleaning goes a long way.
Gathering Your Cleaning Tools: What You Need
Before you begin cleaning, gather the right tools. Having everything ready makes the process easy. You probably already own most of these items. A few specialized tools help with tough spots. Getting organized saves time and effort.
First, you will need dish soap. Choose a mild dish soap. It should be effective at cutting grease. Avoid harsh cleaners that could damage the plastic. Gentle soap works well for daily cleaning. It lifts away dirt and residue without leaving strong smells.
Next, you need brushes. A bottle brush is essential for reaching deep inside. Look for one with a long handle. A smaller brush or pipe cleaner helps with narrow areas. These include the straw and bottle cap crevices. Small brushes ensure no spot is missed.
You also need cleaning solutions. White vinegar is a great natural sanitizer. It helps remove odors and mineral deposits. Baking soda also neutralizes smells. For deeper sanitizing, a very dilute bleach solution can be used. Always use bleach carefully and dilute it properly.
Finally, have clean towels ready. Air drying is best, but towels help with initial drying. Microfiber towels absorb water well. They prevent water spots. Ensure your drying rack is clean too. A clean drying area prevents recontamination.
Step-by-Step Guide: How to Disassemble Your Brita Bottle
Cleaning a Brita water bottle starts with taking it apart. Disassembly ensures you reach every part. Hidden areas can collect mold and bacteria. A complete breakdown allows for a thorough clean. Do not skip this step.
First, empty your Brita water bottle. Pour out any remaining water. Rinse it quickly with plain water. This removes loose debris. It prepares the bottle for full disassembly.
Next, remove the lid. Twist or pull the lid off, depending on your bottle model. Set the lid aside carefully. Some lids have small rubber seals. Check if your lid has one. Remove this seal if it comes off easily. These seals are often prime spots for mold.
Then, take out the filter. Most Brita bottles have a small filter inside. It sits in a holder near the straw or at the top. Gently pull or twist the filter to remove it. Do not wash the filter with soap. You will clean the filter separately later.
Finally, detach the straw. The straw usually pulls out from the lid. Be gentle to avoid tearing it. Some Brita bottles have a two-part straw system. Make sure you separate both parts if applicable. All these individual pieces need their own cleaning. Now your bottle is ready for washing.
Deep Cleaning Your Brita Bottle: Manual Washing Method
Manual washing is the best way to deep clean your Brita water bottle. This method ensures you scrub every surface. Dishwashers may not reach all crevices effectively. Hand washing provides a thorough clean. This keeps your bottle sparkling and germ-free.
Start with warm, soapy water. Fill a clean sink or basin with hot water. Add a few drops of mild dish soap. The water should be warm enough to dissolve grease. Warm water also helps kill some germs. Make sure the soap creates a good lather.
Submerge all disassembled parts in the soapy water. Put the bottle, lid, straw, and any removable seals in. Let them soak for about 5-10 minutes. Soaking helps loosen any dried-on residue. It makes scrubbing easier later. This pre-soak step is important for tough grime.
Now, it is time to scrub. Use your bottle brush for the main body. Reach all the way to the bottom. Scrub the inside walls thoroughly. Pay attention to any cloudy or slimy spots. The brush helps remove biofilm. For the lid, use a smaller brush. Get into all the grooves and openings. This area often collects dirt.
Clean the straw using a straw brush or pipe cleaner. Push the brush through the entire length of the straw. Do this several times. Straws collect a lot of residue and need special attention. Clean both ends of the straw. If your bottle has a rubber seal, scrub it gently. Rinse all parts thoroughly under running water. Ensure no soap residue remains. Soap can leave a taste if not fully rinsed.
Sanitizing Your Brita Bottle: Natural Solutions
Regular washing is good, but sanitizing offers deeper germ elimination. This step removes stubborn odors and kills more bacteria. You can use natural solutions for effective sanitization. These methods are safe and chemical-free. They leave your bottle smelling fresh.
White vinegar is an excellent natural sanitizer. Its acidic nature breaks down mineral deposits. It also kills many types of bacteria and mold. Mix equal parts white vinegar and water. Fill your Brita bottle with this solution. Submerge the lid and straw in a separate bowl of the same mixture. Let all parts soak for at least 30 minutes. For strong odors, soak overnight. After soaking, rinse all parts thoroughly with clean water. The vinegar smell disappears as it dries. This method also works well for removing hard water spots that can form on the bottle.
Baking soda also fights odors effectively. It is an abrasive agent that helps scrub away grime. Make a paste with a few tablespoons of baking soda and a little water. Apply this paste inside the bottle. Scrub with your bottle brush. For the lid and straw, sprinkle baking soda directly on them. Scrub with a small brush. Let it sit for 15-20 minutes. Rinse everything very well. Baking soda is great for neutralizing sour smells.
For a powerful, yet gentle, sanitizing option, consider hydrogen peroxide. A 3% solution works well. Add about a quarter cup of hydrogen peroxide to your bottle. Fill the rest with water. Shake gently. Let it sit for 30 minutes. You can also soak the lid and straw. Hydrogen peroxide breaks down into water and oxygen. This makes it a safe option after rinsing. Always rinse thoroughly after using any sanitizing agent. Proper rinsing prevents any lingering tastes or residues.
Cleaning the Brita Filter and Straw Properly
The Brita filter and straw are crucial parts of your bottle. They need special care during cleaning. These components work hard to filter your water. They can also collect more impurities. Proper cleaning extends their life and maintains water quality.
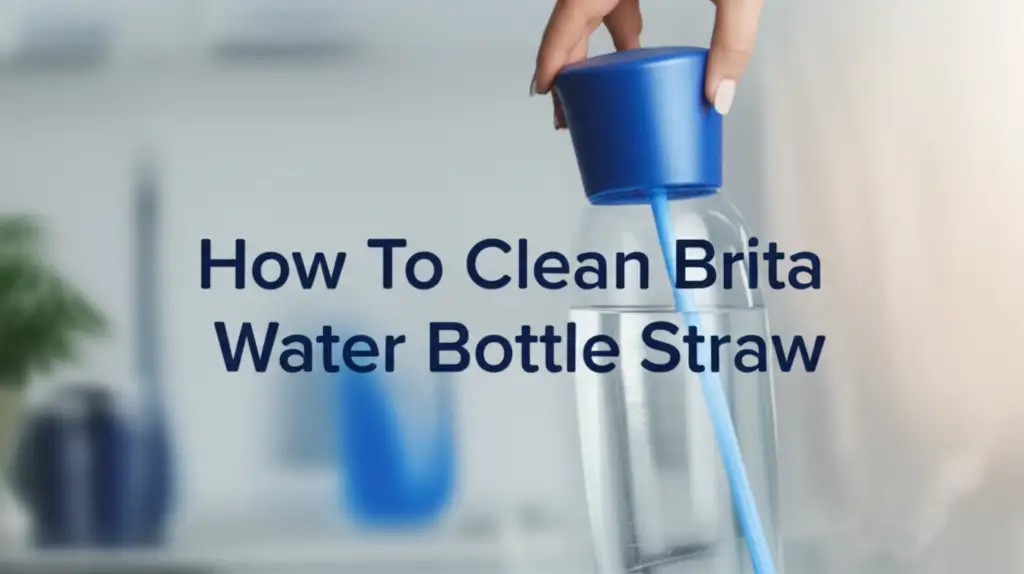
Let’s start with the straw. The straw gets a lot of use. Saliva and water constantly pass through it. This creates an environment for germ growth. You must clean the straw every time you wash your bottle. Use a thin straw brush or pipe cleaner. Push the brush through the entire length of the straw. Do this from both ends. Scrub the inside thoroughly. Make sure no visible residue remains. Rinse the straw well under running water. If your Brita bottle has a two-part straw system, separate both pieces. Clean each piece individually. General tips for cleaning straws in water bottles can also be helpful.
Now, for the Brita filter itself. Brita filters are designed to filter water, not be washed with soap. Soap can damage the filter material. It can also leave a taste. Never use soap on your Brita filter. Instead, rinse it under cold, running water. Gently rub the outside of the filter with your fingers. This removes any loose particles. You should not scrub the filter vigorously. This can compromise its filtering ability.
Remember, Brita filters have a limited lifespan. Most Brita bottle filters last about two months or 40 gallons. After this period, the filter stops working effectively. It cannot remove impurities as well. Change your filter according to Brita’s recommendations. A clean bottle with an old filter will not give you clean water. Always replace the filter when it is due. Cleaning the bottle is only one part of maintaining water quality.
Drying and Reassembling Your Brita Bottle for Freshness
Proper drying is as important as cleaning. Leaving moisture in your Brita bottle encourages mold growth. Mold thrives in dark, damp places. Always ensure your bottle is completely dry before putting it back together. This step prevents future problems.
After rinsing all parts, shake off excess water. Place each component on a clean drying rack. Ensure good airflow around all pieces. Stand the bottle upside down to allow water to drain. Separate the lid, straw, and any seals. This ensures air reaches all surfaces. A dish drying rack works well for this purpose. Avoid using a towel to dry the inside. Towel fibers can stick to the bottle. Air drying is the best method.
Patience is key during the drying process. Allow several hours for everything to dry naturally. Ideally, let them dry overnight. You can place the parts near a window for better air circulation. Avoid direct sunlight for prolonged periods. Direct sun can degrade plastic over time. You want them dry, not damaged. When parts feel completely dry to the touch, they are ready. There should be no signs of condensation or dampness.
Once dry, reassemble your Brita water bottle. First, insert the filter into its proper place. Then, attach the straw to the lid. Make sure it clicks securely. Finally, screw the lid onto the bottle. Your Brita water bottle is now clean, fresh, and ready for use. Proper drying ensures your efforts are not wasted. It keeps your filtered water tasting great and free of contaminants.
Preventing Future Buildup: Daily Habits and Tips
Consistent care prevents your Brita water bottle from getting dirty again quickly. Good daily habits make deep cleaning easier. They also keep your water tasting fresh every day. A little effort each day saves a lot of work later. You want to avoid needing extreme cleaning often.
Rinse your bottle daily after each use. This is the simplest and most effective habit. When you finish drinking, rinse the bottle with hot water. Rinse the lid and straw too. This washes away loose particles and saliva. It stops residue from drying onto the surfaces. A quick rinse takes only a few seconds. This simple step makes a big difference.
Do not leave water in the bottle for long periods. If you are not using it, empty it out. Water sitting in the bottle becomes stale. It also gives bacteria more time to multiply. Always empty your bottle when you get home. It is best to air dry it if you are not using it again soon. Leaving it uncapped helps air circulate inside.
Consider washing your bottle with soap and water every other day. This daily wash prevents serious buildup. Use a small amount of dish soap. Quickly scrub the inside with a bottle brush. Clean the lid and straw too. This routine keeps biofilm from forming. It maintains a high level of hygiene for daily use.
Perform a deep clean weekly. This means taking all parts apart. Use vinegar or a bleach solution for sanitizing. This routine kills any lingering bacteria. It ensures your bottle is truly clean and odor-free. Regular deep cleaning stops mold before it starts. Consistent cleaning habits mean your Brita bottle stays a healthy hydration tool.
Frequently Asked Questions
Can I put my Brita water bottle in the dishwasher?
Some Brita water bottles are dishwasher safe. Check your specific model’s instructions. Often, only the bottle body is safe for the top rack. The lid, straw, and filter may require hand washing. High heat can warp plastic or damage the filter. Always follow Brita’s care guide.
How often should I clean my Brita water bottle?
You should rinse your Brita water bottle daily after each use. A thorough wash with soap and water every 2-3 days is ideal. Sanitize it weekly using a vinegar or bleach solution. This prevents mold and bacterial growth effectively.
What should I do if my Brita bottle smells bad?
If your Brita bottle smells bad, it likely has bacterial or mold growth. Disassemble all parts. Soak them in a solution of equal parts white vinegar and water for several hours or overnight. You can also use a baking soda paste to scrub away odors. Rinse thoroughly.
Can I clean the Brita filter?
You should not clean the Brita filter with soap or harsh scrubbers. This can damage it. Simply rinse the filter under cold, running water. Brita filters are designed to be replaced, not deep cleaned. Replace your filter every 2 months or after 40 gallons.
How do I prevent mold in my Brita water bottle?
Prevent mold by drying your Brita bottle completely after each wash. Separate all parts and let them air dry upside down on a rack. Avoid storing the bottle with any residual moisture. Regular deep cleaning and proper drying are key to mold prevention.
Is it safe to use bleach to clean my Brita bottle?
Yes, it is safe to use a highly diluted bleach solution for sanitizing. Mix one teaspoon of bleach with one gallon of water. Soak the disassembled bottle parts for 5-10 minutes. Rinse them extremely thoroughly afterward to remove all bleach residue.
Conclusion
Keeping your Brita water bottle clean is simple. It ensures you always have fresh, safe drinking water. We discussed why cleaning is important and what tools you need. You learned how to disassemble your bottle. We also covered manual washing with soap. Sanitizing with natural solutions like vinegar or baking soda is a powerful step.
Remember to pay special attention to the straw and filter. Proper drying prevents mold. Consistent daily habits maintain cleanliness. Follow these steps to keep your Brita water bottle in top condition. Regular cleaning protects your health and extends your bottle’s life. Make cleaning your Brita bottle a regular part of your routine. You will enjoy great-tasting water every single day.
- Brita bottle
- water bottle cleaning
- sanitize water bottle
- prevent mold
- Brita filter
- cleaning tips
- hydration

