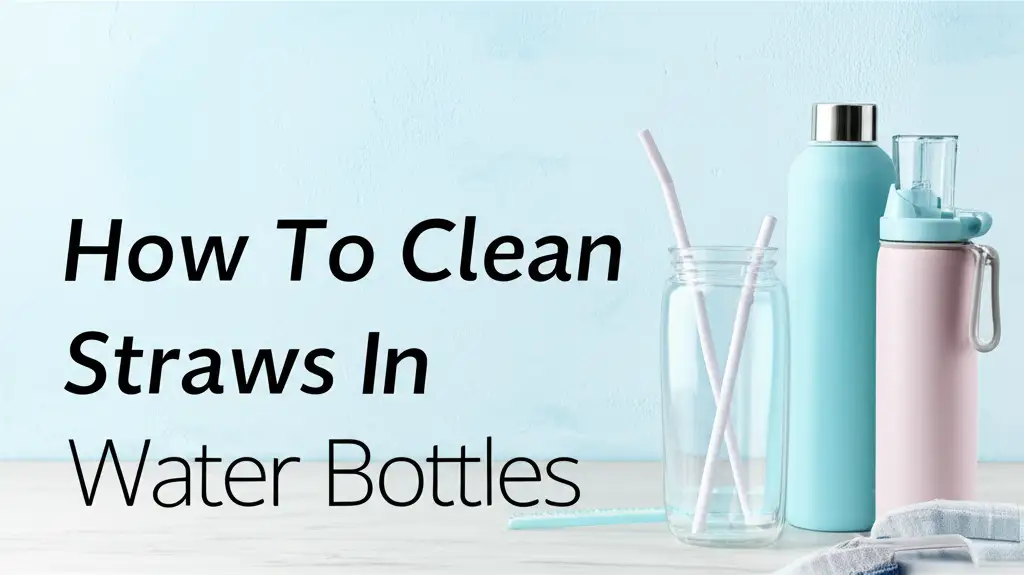
· Home Cleaning · 14 min read
How To Clean Water Bottle Mouthpiece
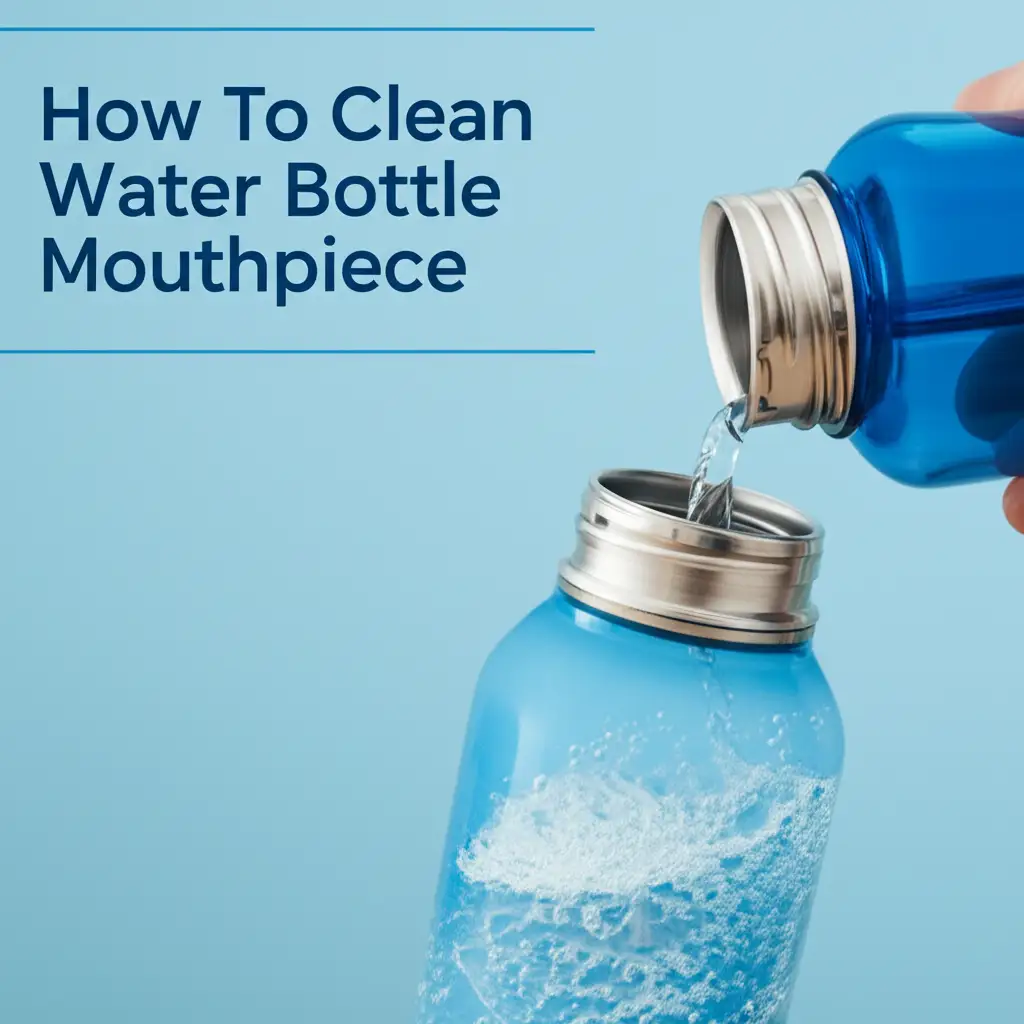
Keep Your Bottle Fresh: How To Clean Water Bottle Mouthpiece
Are you a regular water bottle user? If so, you know your bottle is essential for staying hydrated. But have you ever truly stopped to consider the cleanliness of its most direct point of contact – the mouthpiece? This small part touches your lips daily. It can become a breeding ground for germs if not cleaned properly.
Learning how to clean water bottle mouthpiece parts is not just about appearances. It helps ensure your health. A clean mouthpiece prevents bacterial growth. It also stops unpleasant odors from forming. This guide will walk you through the simple yet effective methods for daily cleaning and deep sanitization. We will help you keep your water bottle mouthpiece fresh and safe.
Takeaway:
- Regularly clean your water bottle mouthpiece to stop germ growth.
- Use simple tools like small brushes and mild soap for daily cleaning.
- Deep clean with natural agents like vinegar or baking soda to sanitize.
- Always dry the mouthpiece fully to prevent mold.
- Adjust cleaning methods for different mouthpiece types.
Cleaning your water bottle mouthpiece involves disassembling, scrubbing with soap and warm water, rinsing thoroughly, and allowing it to air dry completely. For deep cleaning, use a vinegar soak or baking soda paste to sanitize and remove stubborn residues. This keeps it hygienic.
Why Cleaning Your Water Bottle Mouthpiece Matters
Your water bottle mouthpiece is a key part of your daily hydration. It touches your mouth with every sip. This makes it prone to collecting bacteria and other germs. Ignoring this area can lead to several problems. It is vital to understand why consistent cleaning is necessary.
Water bottles hold moisture for long periods. This creates a perfect environment for microorganisms to grow. Saliva from your mouth transfers to the mouthpiece. Food particles can also stick there. These elements mix with the water. Over time, this leads to a buildup of grime.
Health Risks of Dirty Mouthpieces
A dirty mouthpiece poses real health risks. Bacteria like E. coli and Staphylococcus can thrive in moist, warm conditions. These germs can cause illnesses. You might experience stomach upsets or other infections. Mold can also develop, especially in hard-to-reach areas.
Mold looks like black or green spots. It can cause respiratory issues or allergic reactions. Drinking from a moldy mouthpiece is unsafe. It is important to clean your water bottle mouthpiece often. This protects your health.
Preventing Unpleasant Odors
Beyond health concerns, an unclean mouthpiece can create bad smells. This happens as bacteria and mold break down organic matter. The water inside might start to taste strange or stale. This makes your water less enjoyable. Nobody wants to drink from a smelly bottle.
Regular cleaning eliminates these odor-causing agents. It keeps your water tasting fresh and clean. A fresh-smelling bottle encourages you to drink more water. This helps you stay hydrated all day. I always feel better knowing my bottle is clean.
Essential Cleaning Tools and Supplies
You do not need many special items to clean your water bottle mouthpiece. Most supplies are likely already in your home. Having the right tools makes the job much easier. It also ensures a thorough clean. I find that proper tools really speed up the process.
The key is to reach all crevices. Mouthpieces often have small parts or narrow openings. Standard sponges may not fit. This is why specific brushes are helpful. Gathering your tools before you start helps the process go smoothly.
Gentle Brushes and Scrubbers
Small brushes are your best friends for cleaning mouthpieces. A bottle brush works well for the main bottle. But you need smaller brushes for the mouthpiece. Think about a straw brush or even an old toothbrush. These can reach tight spots.
Pipe cleaners also work wonders. They bend to fit into narrow tubes. Silicone brushes are good because they do not scratch surfaces. Always choose soft bristles. This protects the mouthpiece material from damage.
Natural Cleaning Agents
You can use everyday household items as effective cleaners. Mild dish soap is a primary choice. It cuts through grease and grime. Warm water helps activate the soap. These are gentle yet effective for daily cleaning.
For deeper sanitization, consider white vinegar. Vinegar is a natural disinfectant. It helps remove tough odors and mineral deposits. Baking soda is another great option. It acts as a mild abrasive and deodorizer. Combining baking soda with water forms a paste. This can tackle stubborn stains.
Step-by-Step Guide for Daily Mouthpiece Cleaning
Cleaning your water bottle mouthpiece daily is a good habit. It prevents grime from building up. This keeps your bottle fresh and hygienic. Daily cleaning is quick and simple. It extends the time between deep cleans.
Follow these easy steps each day after you use your bottle. It takes only a few minutes. I try to do this as soon as I finish using my bottle. It makes a big difference in maintaining freshness.
- Disassemble the Mouthpiece: Carefully take apart all removable parts of your mouthpiece. This might include a cap, a straw, a bite valve, or a silicone spout. Separating these pieces allows you to clean each part fully. Many mouthpieces twist or pull apart easily.
- Rinse with Warm Water: Hold each separate piece under warm running water. This helps to rinse away any loose debris or residue. Make sure to flush water through any narrow openings or tubes. A good initial rinse clears the way for effective scrubbing.
- Apply Soap and Scrub: Put a small amount of mild dish soap onto a small brush. Use the brush to scrub every surface of each mouthpiece part. Pay special attention to edges, grooves, and inside narrow sections. For straw-based mouthpieces, use a straw brush to clean the inside thoroughly. If your bottle has a straw, learning how to clean straws in water bottles is a useful skill for complete bottle hygiene.
- Rinse Thoroughly: Rinse all soap off the mouthpiece parts under warm running water. Ensure no soap residue remains. Soap left behind can affect the taste of your water. It can also attract more grime.
- Air Dry Completely: Place all cleaned parts on a clean drying rack or a clean towel. Position them so air can circulate around all surfaces. Gravity helps water drain away. Allow them to dry completely before reassembling or storing. This step is crucial for preventing mold growth. Never store a damp mouthpiece.
Deep Cleaning Your Water Bottle Mouthpiece: When and How
Daily cleaning is great, but a deep clean is also important. This removes stubborn buildup. It also sanitizes your mouthpiece more thoroughly. Aim to deep clean your water bottle mouthpiece at least once a week. You might do it more often if you use your bottle intensely or with sugary drinks. Deep cleaning restores your mouthpiece to a like-new state.
I find that a weekly deep clean makes my bottle feel truly fresh. It gives me peace of mind. This process tackles residues that daily washes might miss. It is especially useful if you notice odors or discoloration.
Using Vinegar for Deep Cleaning
White vinegar is an excellent natural disinfectant. It breaks down mineral deposits and odors. It is safe for most water bottle materials. This makes it ideal for deep cleaning.
- Prepare a Vinegar Solution: Mix equal parts white vinegar and warm water in a bowl. For example, use one cup of vinegar and one cup of warm water.
- Soak the Mouthpiece: Disassemble all mouthpiece parts. Place them into the vinegar solution. Make sure all parts are fully submerged. Let them soak for at least 30 minutes. For heavily soiled mouthpieces, you can soak them overnight.
- Scrub and Rinse: After soaking, use a small brush to scrub any remaining residue. The vinegar will have loosened it. Rinse all parts thoroughly under clean running water. Ensure the vinegar smell is completely gone.
- Air Dry: Allow all parts to air dry completely on a rack. Reassemble once dry. This deep clean helps eliminate stubborn smells and germs. For comprehensive bottle cleaning, consider adapting methods used for larger containers, such as those found in guides on how to clean 5 gallon water bottles, focusing on the mouthpiece components.
Baking Soda Power
Baking soda is another powerful natural cleaner. It is a mild abrasive and a strong deodorizer. It is especially good for tackling tough stains or lingering smells. I use it when vinegar alone is not quite enough.
- Make a Paste: Mix a few teaspoons of baking soda with a small amount of water. Create a thick paste. The paste should be easy to spread.
- Apply to Stains: Apply the baking soda paste directly to any stained or discolored areas on the mouthpiece. You can also coat the entire mouthpiece with the paste.
- Let it Sit: Let the paste sit on the mouthpiece for 15-30 minutes. For very tough stains, let it sit for a few hours. The baking soda will work to lift the grime.
- Scrub and Rinse: Use a small brush to gently scrub the paste into the surfaces. The abrasive action of the baking soda helps remove stains. Rinse thoroughly under running water until all baking soda is gone.
- Dry: Air dry all parts completely before putting the mouthpiece back together. This method leaves your mouthpiece sparkling clean and odor-free.
Special Considerations for Different Mouthpiece Types
Not all water bottle mouthpieces are the same. Different designs require slightly different cleaning approaches. Understanding these differences helps ensure a thorough clean for every part. It prevents damage to delicate components. I find knowing the type helps me clean smarter.
Some mouthpieces have many small pieces. Others are more simple. Each design has its own challenges. Taking the time to understand your specific mouthpiece makes cleaning more effective.
Straw Mouthpieces
Many water bottles feature a straw that connects to the mouthpiece. These straws are notorious for trapping moisture and debris. This can lead to mold and bacterial growth inside the straw. Cleaning the straw is as important as cleaning the mouthpiece itself.
Always separate the straw from the lid or mouthpiece. Use a dedicated straw brush for cleaning. These brushes are long and narrow. They reach the entire length of the straw. Push the brush through both ends of the straw. Scrub vigorously with soap and warm water. Rinse well and allow the straw to air dry standing upright. For Brita bottles specifically, knowing how to clean Brita water bottle straw ensures complete hygiene.
Spout and Chug Lids
Spout lids often have a flip-up or twist-open design. Chug lids have a wide opening for quick drinking. Both types can have small hinges or seals. These areas can accumulate grime. Pay close attention to the hinge mechanisms.
Use a small brush to clean around the flip-up spout or inside the wide opening. If there are rubber gaskets or seals, remove them if possible. Clean them separately with soap and water. Ensure these seals are fully dry before putting them back. This prevents mold from forming underneath.
Bite Valves
Bite valves are common on hydration packs or some sports bottles. These valves open when you bite down. They have small slits or openings. These areas are very prone to trapping saliva and particles. This makes them tricky to clean.
You will need a very small brush or even a toothpick for bite valves. Gently clean inside the slits of the valve. Flush water through by squeezing the valve. You might need to turn the valve inside out if possible. Ensure no residue remains in the tiny crevices. Soaking in a vinegar solution is especially effective for these types.
Preventing Mold and Bacteria Buildup
Cleaning your mouthpiece is only half the battle. Preventing future mold and bacteria growth is just as vital. Good habits ensure your mouthpiece stays cleaner for longer. This reduces your cleaning frequency. It also keeps your water safe and fresh.
Mold and bacteria love moisture. Eliminating damp conditions is key. I always focus on proper drying. It makes a huge difference.
Proper Drying Techniques
Drying is the most critical step in preventing mold. Mold cannot grow without moisture. After washing, never put your mouthpiece back together if it is still damp.
Place all separated parts on a clean, dry towel or a drying rack. Ensure good air circulation around each piece. You can stand straws upright. This allows water to drain out fully. If you live in a humid area, consider using a fan. Or place parts in a well-ventilated spot. Wait until everything is bone dry before reassembling. This usually takes several hours or overnight.
Regular Cleaning Schedule
Consistency is key. Establishing a regular cleaning schedule prevents major buildup. Daily quick rinses and scrubs are essential. This tackles fresh grime before it hardens.
Aim for a deep clean at least once a week. This removes any stubborn residues and sanitizes the mouthpiece. If you use your bottle for drinks other than water, clean it immediately after use. Sugary or acidic drinks promote faster bacterial growth. Adjust your cleaning frequency based on usage and environment. A consistent routine keeps your mouthpiece hygienic.
Common Mistakes to Avoid When Cleaning
Even with good intentions, people can make mistakes while cleaning. These errors can make your mouthpiece less clean. Or they can even damage it. Knowing what to avoid helps you clean effectively and safely. I learned some of these the hard way.
Avoiding common pitfalls saves you time and effort. It also protects your water bottle from damage. A little knowledge goes a long way.
Overlooking Hidden Crevices
One of the biggest mistakes is not reaching all hidden areas. Water bottle mouthpieces often have intricate designs. They have tiny grooves, seals, and hinges. These spots are perfect hiding places for mold and bacteria.
Always disassemble your mouthpiece as much as possible. Use small brushes or pipe cleaners to get into every nook. Pay close attention to rubber gaskets. Remove them if they are designed to be removable. Clean underneath them. Remember, if you can’t see it, it’s probably dirty.
Using Harsh Chemicals
It might seem logical to use strong cleaners like bleach. But harsh chemicals can damage your mouthpiece material. They can also leave harmful residues. These residues can then transfer to your water. This is unsafe for drinking.
Avoid bleach, strong detergents, or abrasive cleaners. Stick to mild dish soap, white vinegar, and baking soda. These natural options are effective and safe. They do not corrode plastic or silicone. They also rinse away completely. Protect your health and your bottle by choosing gentle cleaners.
Frequently Asked Questions
How often should I clean my water bottle mouthpiece?
You should clean your water bottle mouthpiece daily with soap and warm water. For a deeper clean, aim to sanitize it with vinegar or baking soda at least once a week. If you drink sugary beverages or notice odors, clean it more often. Consistent daily cleaning prevents germ buildup.
Can I put my water bottle mouthpiece in the dishwasher?
Many water bottle mouthpieces are dishwasher safe, especially if labeled as such. Place small parts in a mesh bag on the top rack. High heat can sometimes warp certain plastics or silicone over time. Hand washing is often gentler and ensures a more thorough clean for intricate parts. Always check manufacturer instructions first.
What if my mouthpiece still smells after cleaning?
If your mouthpiece still smells after cleaning, it might have deep-seated bacteria or mold. Try an extended deep soak in a strong white vinegar solution (equal parts vinegar and water) for several hours or overnight. You can also scrub it with a baking soda paste. Ensure it is completely dry before reassembling. Persistent smells usually mean you need a more intense sanitation process.
Is bleach safe for cleaning water bottle mouthpieces?
Bleach is generally not recommended for cleaning water bottle mouthpieces. It can damage certain plastic or silicone materials. It can also leave behind a chemical residue that is unsafe to ingest. Stick to safer, natural alternatives like white vinegar or baking soda, which are effective disinfectants and deodorizers without the risks.
How do I remove mold from a mouthpiece?
To remove mold, disassemble the mouthpiece fully. Soak all affected parts in a solution of equal parts white vinegar and warm water for at least 30 minutes, or even overnight for severe mold. Scrub the moldy areas with a small brush. Make sure to get into all crevices. Rinse thoroughly and allow the mouthpiece to air dry completely. For tough mold, a baking soda paste can also help.
Conclusion
Keeping your water bottle mouthpiece clean is a simple yet vital task. It protects your health. It also ensures your water tastes fresh. By following these steps, you can confidently enjoy every sip. Remember to clean your mouthpiece daily. Perform a deep clean weekly. This helps keep bacteria and mold away.
Gather your simple cleaning tools. Use gentle, natural cleaners like soap, vinegar, and baking soda. Take apart your mouthpiece to clean every part thoroughly. Always ensure all pieces are completely dry before reassembling. This prevents future growth. Your efforts will result in a hygienic and pleasant drinking experience. Make cleaning your water bottle mouthpiece a regular part of your routine. Your health will thank you.
- water bottle cleaning
- mouthpiece hygiene
- bottle maintenance
- cleaning tips
- hydration health