· Kitchen Cleaning · 18 min read
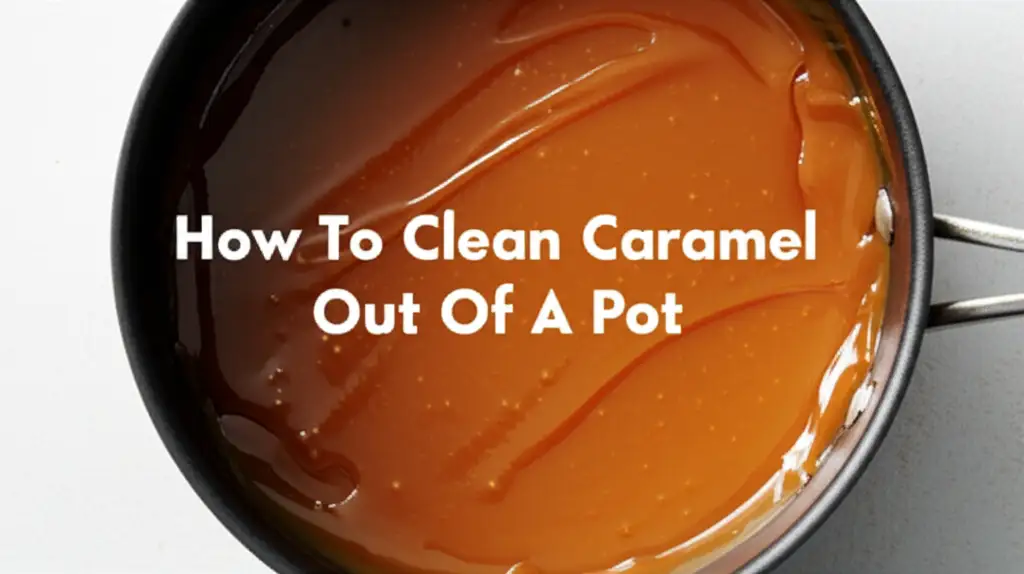
How To Clean Caramel Out Of A Pot
Effortless Ways to Clean Caramel Out of a Pot
Creating delicious caramel can bring joy to any kitchen. This sweet, golden treat is versatile and beloved. However, cleaning up the sticky, hardened residue afterward is often the less enjoyable part. I have experienced this many times, and it is a common challenge for home cooks. Learning how to clean caramel out of a pot makes your cooking life much simpler. This article provides easy, effective methods to remove even the most stubborn caramel. We will explore various techniques, from simple soaking to using household cleaning agents. You will learn the best tools to use and how to prevent future sticky situations. Get ready to conquer that caramel mess with confidence!
Takeaway
Cleaning caramel from a pot does not need to be a struggle. You can easily remove sticky caramel with common household items.
- Soak pots immediately with hot water.
- Boil water in the pot to loosen stuck caramel.
- Use baking soda and vinegar for tougher stains.
- Always avoid harsh scrubbing that damages surfaces.
Cleaning caramel out of a pot involves using heat and water to dissolve the sugar. For light messes, a simple soak in hot water often works. For tougher, burnt-on caramel, fill the pot with water and bring it to a boil. Adding baking soda or vinegar boosts cleaning power. This process softens and melts the hardened sugar, allowing for easy removal.
Understanding Caramel and Its Stickiness
Caramel is essentially sugar that has undergone a transformation. When you heat sugar, it melts and then caramelizes. This process creates a rich, sweet flavor and a distinctive brown color. The stickiness of caramel comes from its sugar content. Sugar molecules, when heated and then cooled, form a very rigid structure. This structure bonds strongly to the surface of your pot.
This bond is what makes cleaning so difficult. Cold caramel hardens quickly, clinging to metal, glass, or non-stick surfaces. Traditional scrubbing often feels ineffective against this strong adhesion. It is like trying to chip away at rock with a sponge. We need methods that break down this sugar bond. Understanding this behavior helps us choose the right cleaning approach.
The stickiness also increases with burning. If caramel burns, it creates a much harder, carbonized layer. This layer is even more challenging to remove. It demands a more robust cleaning strategy. Simply put, the more burnt the caramel, the more effort it takes to clean the pot. I always try to prevent burning, but sometimes it just happens.
The Power of Heat: Soaking and Boiling Methods
Heat is your best friend when cleaning caramel. Caramel is sugar, and sugar dissolves in hot water. This principle forms the basis of the easiest cleaning methods. Do not let the pot cool down too much after cooking. Address the mess while the pot is still warm if possible.
Simple Hot Water Soak
This is the gentlest method for light caramel residue. It works well if your caramel did not burn or harden too much.
- Empty the Pot: First, spoon out as much caramel as you can. Save it or discard it.
- Fill with Hot Water: Immediately fill the pot with very hot tap water. I like to use the hottest water my faucet provides.
- Add Dish Soap: Put a few drops of dish soap into the water. This helps break down any fat residue.
- Soak: Let the pot sit for at least 15-30 minutes. For tougher residue, you can let it soak for an hour or more. The hot water slowly dissolves the sugar.
- Rinse and Wipe: After soaking, most of the caramel should have softened. You can then easily rinse it away or wipe it with a sponge.
The Boiling Method for Tougher Stains
When soaking alone is not enough, turn up the heat. Boiling water is very effective at dissolving hardened caramel. This method applies more direct heat to the residue. It works especially well for thicker layers or slightly burnt caramel.
- Add Water to the Pot: Pour enough water into the pot to cover the stuck-on caramel completely.
- Heat on Stovetop: Place the pot back on the stovetop. Turn the heat to medium-high.
- Bring to a Boil: Let the water come to a rolling boil.
- Simmer: Reduce the heat to a simmer. Let it simmer for 5-15 minutes. You will see the caramel begin to dissolve and mix into the water.
- Cool and Clean: Turn off the heat. Let the water cool down enough to handle the pot safely. Then, pour out the water. The remaining caramel should be soft and easy to wipe away with a sponge or brush. This method is incredibly satisfying to watch in action.
This boiling technique is similar to how you would clean other stubborn, burnt residues. For instance, if you ever face a challenge like how to clean burnt sugar from a pan, the boiling method is often the first and most effective step. It harnesses the power of heat to break down organic matter.
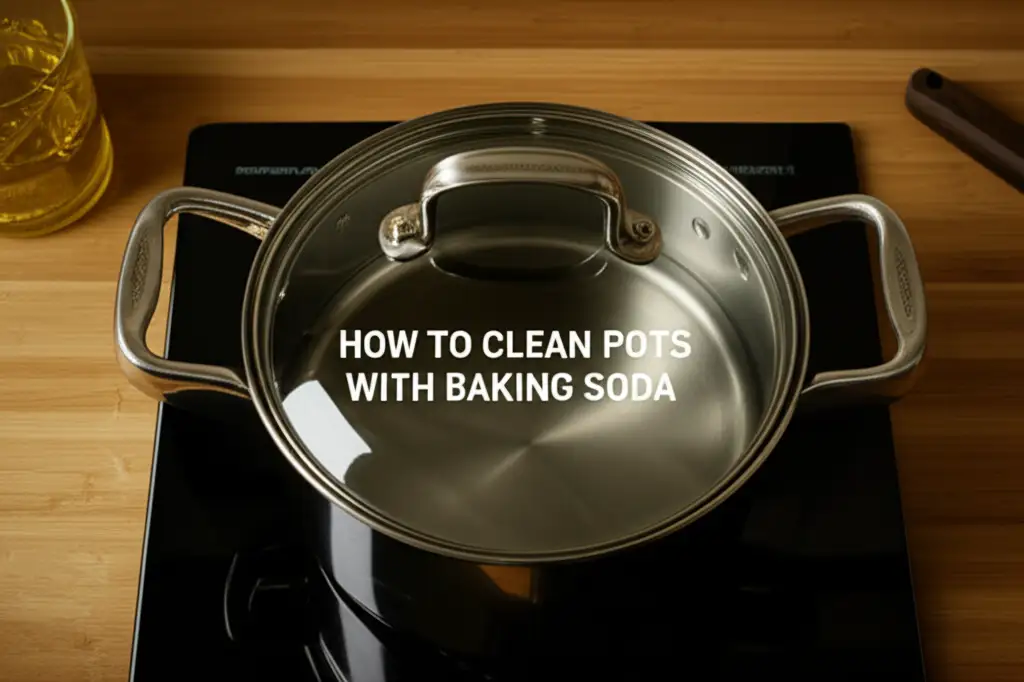
Baking Soda and Vinegar: The Dynamic Duo
Sometimes, caramel is so stubborn that even boiling water needs a boost. This is where baking soda and vinegar come in handy. This classic cleaning combination creates a fizzing reaction. This reaction helps lift and dissolve tough residue. I often use this pair for many challenging cleaning tasks around my home.
Baking Soda for Added Grit and Lift
Baking soda is a mild abrasive and a powerful odor absorber. It also helps to break down greasy residues. For caramel, it adds a gentle scrubbing action without scratching your pot.
- Remove Excess Caramel: Scrape out any loose caramel first.
- Sprinkle Baking Soda: Sprinkle a generous layer of baking soda over the remaining caramel. Make sure to cover it completely.
- Add a Little Water: Pour in just enough hot water to create a paste. Do not add too much water.
- Let Sit: Let the baking soda paste sit on the caramel for at least 30 minutes, or even a few hours for very stubborn spots. The baking soda works to loosen the bond.
- Scrub Gently: Use a non-abrasive sponge or nylon brush to scrub the softened caramel away. You will find it comes off much easier.
Vinegar for Dissolving Power
White vinegar is an acid that helps dissolve mineral deposits and certain types of grime. It works wonders on sticky sugar residues.
- Boil Water and Vinegar: For a potent solution, add about 1 cup of white vinegar to the pot along with enough water to cover the caramel.
- Bring to a Boil: Heat the mixture on the stovetop until it boils.
- Simmer: Let it simmer for 5-10 minutes. The acidic steam helps to break down the caramel.
- Cool and Clean: Turn off the heat and let it cool. The caramel should be significantly loosened. You can then easily wipe it away.
Combining Baking Soda and Vinegar
For the toughest caramel stains, a combination of baking soda and vinegar is the ultimate weapon. This method causes a bubbly, fizzing reaction. This reaction physically lifts the stubborn residue from the pot’s surface.
- Initial Cleaning: First, remove any excess caramel.
- Baking Soda Layer: Sprinkle a generous amount of baking soda over the caramel.
- Pour Vinegar: Slowly pour white vinegar over the baking soda. It will immediately begin to fizz. This fizzing action is important.
- Let React: Let the mixture fizz and work for 15-30 minutes. For very stubborn caramel, you can leave it longer.
- Boil (Optional for Extreme Cases): If the caramel is extremely stuck, add enough water to cover the caramel. Then, bring the baking soda and vinegar solution to a boil. Simmer for a few minutes.
- Scrub and Rinse: Once the reaction subsides and the pot cools, use a non-abrasive sponge or brush to scrub away the softened caramel. It should come off with minimal effort. This powerful duo is effective for many household cleaning tasks. You can read more about how this combination cleans in general by visiting a resource like how to clean with vinegar and baking soda.
Tackling Seriously Burnt Caramel
Sometimes, caramel can burn onto the pot. This creates a hard, black, carbonized layer. This type of residue is much harder to remove than just sticky, hardened caramel. It requires patience and persistence. Do not despair; even burnt caramel can be cleaned.
Scraper Method for Burnt Spots
Before resorting to chemicals, try a physical approach with care.
- Soak First: Always start by soaking the pot in hot water for a long time. Add a few drops of dish soap. This softens the edges of the burnt areas.
- Use a Non-Metal Scraper: For non-stick pots, use a plastic or silicone scraper. For stainless steel, you might use a wooden spoon or even a credit card edge. Never use metal scrapers on non-stick surfaces. This scratches the coating.
- Gentle Pressure: Apply gentle, steady pressure to the burnt spots. Try to lift the edges of the burnt caramel. Work slowly and carefully. Do not force it.
Hydrogen Peroxide Solution
Hydrogen peroxide is a mild oxidizing agent. It can help break down organic residues like burnt sugar.
- Clear Loose Bits: Remove any caramel that easily comes off.
- Pour Hydrogen Peroxide: Pour about 1/2 cup of 3% hydrogen peroxide into the pot. Make sure it covers the burnt area.
- Add Baking Soda: Sprinkle a generous amount of baking soda over the peroxide. It will form a paste.
- Let it Sit: Allow this mixture to sit for several hours, or even overnight. The peroxide slowly breaks down the carbonized sugar.
- Scrub: After soaking, use a non-abrasive scrubber. The burnt caramel should now be much easier to remove.
Cola (Carbonated Soda) Method
This might sound strange, but carbonated drinks, especially cola, can help dissolve burnt-on residue. The phosphoric acid in cola is a mild acid. It slowly works on the burnt particles.
- Pour Cola: Pour enough cola into the pot to cover the burnt caramel.
- Let Soak Overnight: Let the pot sit with the cola in it overnight. The longer it soaks, the better.
- Scrub: The next morning, empty the cola. The burnt caramel should be soft enough to scrub away with a sponge or brush. This method is effective but takes time.
When dealing with burnt residue, remember that patience is key. Aggressive scrubbing can damage your cookware. It is better to let cleaning agents do the work for you over time. This approach also applies to other difficult cleaning situations, such as when you need to clean challenging surfaces like a burnt water off glass stove top. The principle of dissolving hardened material with appropriate agents remains consistent.
Choosing the Right Scrubbing Tools and Techniques
The right tools make a big difference when cleaning sticky or burnt caramel. Using the wrong tool can scratch your pot. This can ruin its finish and cooking performance. Always choose tools appropriate for your pot’s material.
For Non-Stick Pots
Non-stick surfaces are delicate. They scratch easily.
- Soft Sponge: A regular kitchen sponge with a soft, non-abrasive side is your go-to.
- Silicone Scraper: These are excellent for gently pushing off softened caramel without causing damage. They conform to the pot’s curves.
- Nylon Brush: A dish brush with nylon bristles is also safe. It can reach into corners.
- Avoid: Never use metal scrubbers, steel wool, or abrasive cleaning pads. These will scratch and ruin the non-stick coating.
For Stainless Steel Pots
Stainless steel is much more durable than non-stick. You have more options here.
- Abrasive Sponge: The scrubbing side of a standard kitchen sponge is fine.
- Nylon Scrubber: These are safe and effective.
- Steel Wool (Fine Grade, with Caution): For very stubborn, burnt-on caramel, a fine-grade steel wool pad can be used. Use it gently and with plenty of soap and water. Test it on a small, hidden area first if you are unsure. Avoid coarse steel wool.
- Metal Scraper (with Caution): Some chefs use metal spatulas or scrapers on stainless steel. Use extreme care. Hold the scraper at a low angle to avoid digging into the metal. I usually prefer gentler methods first.
For Cast Iron Pots
Cast iron needs specific care to maintain its seasoning.
- Plastic Scraper: Always use a plastic scraper to remove stuck-on bits.
- Stiff Bristle Brush: A stiff nylon brush or even a natural fiber brush is good for scrubbing.
- Coarse Salt: For sticky residue, sprinkle coarse salt (like kosher salt) and scrub with a paper towel or sponge. The salt acts as a gentle abrasive.
- Avoid: Dish soap should be avoided for routine cleaning, as it can strip seasoning. However, for a major caramel mess, a little soap with hot water for a quick scrub is acceptable. Re-season the pot afterward. Do not use steel wool or harsh chemicals unless you plan to completely re-season.
General Scrubbing Techniques
- Soak First: Always soak the pot or use the boiling method before scrubbing. This makes the job much easier.
- Work in Circles: When scrubbing, use circular motions. This helps to lift residue evenly.
- Gentle Pressure: Start with light pressure. Increase it only if needed. Let the cleaning agent do the hard work.
- Rinse Thoroughly: After cleaning, rinse the pot thoroughly. This removes all caramel residue and cleaning agents.
Proper tool selection and technique protect your cookware. They ensure your pots last a long time. I always take a moment to consider the material before grabbing a scrubber.
Prevention is Key: Avoiding Future Caramel Messes
The best way to clean caramel out of a pot is to avoid a big mess in the first place. A little foresight during cooking can save you a lot of scrubbing time later. I have learned these lessons through experience, often the hard way!
Use a Heavy-Bottomed Pot
A heavy-bottomed pot distributes heat more evenly. This reduces hot spots. Hot spots are where sugar is most likely to burn. When heat spreads uniformly, your caramel cooks consistently. This lowers the chance of sticky, burnt-on residue. Lighter pots can lead to uneven heating, causing some parts of the sugar to caramelize faster and burn.
Constant Stirring
Caramel requires your full attention. Stirring the sugar mixture constantly helps prevent it from sticking to the bottom. It also ensures even cooking. Use a heat-resistant spatula or wooden spoon. Stirring keeps the sugar crystals moving. This prevents them from clumping and burning in one spot. I never walk away from my caramel when it is on the stove.
Do Not Overcook
Overcooking caramel is the primary reason for burnt residue. Caramel turns from golden to amber to dark brown. The darker it gets, the closer it is to burning. Learn to recognize the perfect caramel color. Remove the pot from the heat just before it reaches your desired shade. Remember, caramel continues to cook for a short time even after it is off the heat. This carryover cooking can push it over the edge into burnt territory.
Deglaze While Still Warm
After pouring out the caramel, add hot water to the pot immediately. While the pot is still warm, the residual caramel will dissolve much more easily. This is called deglazing.
- Add Hot Water: Right after emptying, pour hot water into the pot.
- Return to Heat (Optional): If needed, place the pot back on low heat.
- Scrape Gently: Use a wooden spoon or spatula to gently scrape the bottom. The caramel will release. This simple step can prevent most of the sticky mess from forming. It is an immediate action that saves a lot of hassle.
Use Non-Stick Spray (Carefully)
For recipes that do not require high heat, a very light spray of non-stick cooking spray can help. This creates a barrier between the sugar and the pot surface. Only use this if the recipe allows and the pot can handle it. Avoid high temperatures with non-stick sprays, as they can burn or leave residue. I find this less necessary with good quality, heavy-bottomed pots.
By following these simple prevention tips, you can enjoy making caramel more and dread the cleanup less. Prevention truly is the best cleaning strategy.
Maintaining Your Cookware After Cleaning
After you successfully clean caramel out of a pot, proper maintenance ensures your cookware stays in top condition. This is just as important as the cleaning process itself. Well-maintained pots perform better and last longer.
Thorough Rinsing
Always rinse your pot thoroughly after cleaning. This removes any leftover caramel, cleaning solutions, or scrubbing residue. Leftover soap can leave a film. Leftover cleaning agents can affect future cooking. Ensure the water runs clear. I always check the corners and edges for any hidden bits.
Immediate Drying
Dry your pots immediately after rinsing. Do not let them air dry, especially stainless steel or cast iron.
- Stainless Steel: Air drying can lead to water spots or mineral deposits. Use a clean, soft towel.
- Cast Iron: Immediate drying is crucial for cast iron. Moisture causes rust. After drying, apply a very thin layer of cooking oil to cast iron. This maintains its seasoning.
- Non-Stick: While less prone to rust or water spots, drying non-stick pots immediately prevents hard water marks.
Proper Storage
Store your pots carefully to prevent scratches and damage.
- Separate or Pad: Place dish towels, paper towels, or pot protectors between stacked pots. This prevents metal-on-metal or utensil-on-non-stick scratching.
- Hang: If you have space, hanging pots is an excellent way to store them. This prevents stacking damage.
- Avoid Overcrowding: Do not cram pots into tight spaces. This can lead to dings and scratches over time.
Re-seasoning Cast Iron
If you used strong methods (like vinegar or boiling for a long time) on a cast iron pot, it might need re-seasoning.
- Clean and Dry: Ensure the pot is completely clean and dry.
- Apply Oil: Apply a very thin, even layer of high-smoke point cooking oil (like vegetable oil or flaxseed oil) over the entire surface, inside and out.
- Bake: Place the pot upside down in a cold oven. Heat the oven to 350-400°F (175-200°C). Bake for 1 hour.
- Cool: Turn off the oven and let the pot cool inside the oven. This process creates a protective, non-stick layer.
Taking these steps after cleaning ensures your cookware is ready for your next culinary adventure. It is a small effort that yields big benefits in the long run.
FAQs About Cleaning Caramel Out of a Pot
Can I use steel wool on any pot?
No, you should not use steel wool on every pot. Steel wool is too abrasive for non-stick surfaces and cast iron. It can scratch and ruin the coating or seasoning. Only use fine-grade steel wool very carefully on stainless steel pots, and only for stubborn burnt-on spots. Always test a small area first.
What if I don’t have baking soda or vinegar?
If you lack baking soda or vinegar, start with the boiling water method. Simmering water alone can often dissolve most caramel. For extra help, a dish soap and water soak for an extended period can work. You can also try plain salt as a gentle abrasive with a sponge.
Is it safe to leave water in a pot overnight to soak?
Yes, it is generally safe to leave water in a pot overnight for soaking. This is often recommended for very sticky or burnt-on residues. However, for cast iron pots, avoid soaking for extended periods. Water can cause rust on cast iron. Always dry cast iron immediately after washing.
How do I prevent caramel from sticking in the first place?
To prevent caramel from sticking, use a heavy-bottomed pot for even heat distribution. Stir the caramel constantly while it cooks. Do not overcook it; remove it from heat just as it reaches your desired color. Immediately after emptying, add hot water to the pot and gently scrape it while it is still warm.
Can I put a hot pot with stuck caramel directly into cold water?
Avoid putting a very hot pot directly into cold water. This can cause thermal shock, which may warp or crack certain types of cookware, especially ceramic or glass. For stainless steel, it is less likely to crack but can still warp. Always let the pot cool slightly before adding water, or add warm water first.
What if the caramel smells burnt even after cleaning?
If the pot still smells burnt, it means some residue remains. You can try a second round of boiling with baking soda or vinegar. A paste of baking soda and water left to sit for several hours can also absorb lingering odors. Ensure you rinse and dry thoroughly. For cast iron, re-seasoning can help eliminate persistent smells.
Conclusion
Cleaning caramel out of a pot does not have to be a daunting task. We have explored several effective methods, from simple hot water soaking to the powerful combination of baking soda and vinegar. Remember, the key is to dissolve the sugar, not just scrub it endlessly. My favorite method involves a good soak and then a quick boil if needed; it usually gets the job done without much fuss.
No matter how sticky or burnt your caramel mess is, patience and the right technique will restore your pot to its sparkling clean state. By understanding how caramel behaves and using the appropriate tools, you can easily conquer even the toughest residues. Plus, with the prevention tips we discussed, you might even avoid these sticky situations in the future. So, go ahead and make that delicious caramel. Now you know exactly how to clean caramel out of a pot effortlessly. Get back to enjoying your culinary creations without the cleanup dread!
- caramel cleaning
- pot cleaning
- burnt sugar
- sticky mess
- kitchen hacks