· Lawn Mower Maintenance · 16 min read
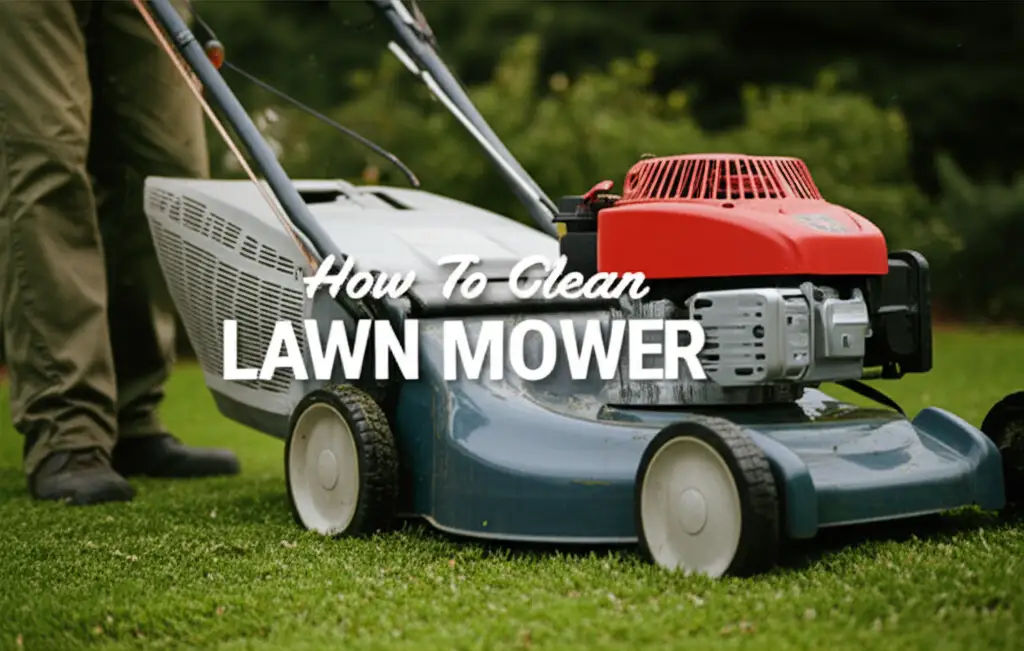
How To Clean Carburetor On Push Mower

How To Clean Carburetor On Push Mower
Does your push mower sputter, refuse to start, or run poorly? A dirty carburetor often causes these problems. Over time, fuel deposits and debris clog its small passages. This affects fuel delivery to the engine. Learning to clean carburetor on push mower saves you money and keeps your yard looking great.
A clogged carburetor stops your mower from working correctly. It causes frustrating delays in your lawn care routine. This guide gives you clear steps to clean your push mower’s carburetor. You will learn the right tools and proper techniques. We cover everything from safety to reassembly. Get ready to give your mower a new lease on life.
Takeaway
- Gather Tools: Collect proper wrenches, carburetor cleaner, and new gaskets.
- Prioritize Safety: Disconnect the spark plug wire and drain fuel before you start.
- Remove Carburetor: Carefully unbolt the carburetor from the engine.
- Disassemble and Clean: Take apart the carburetor, spray components with cleaner, and clear all passages.
- Reassemble and Test: Put parts back together precisely, then restart the mower.
Cleaning a push mower carburetor involves removing it from the engine, disassembling its components, spraying them with carburetor cleaner to remove clogs and deposits, and then reassembling and reinstalling it. This process restores proper fuel flow for smooth engine operation.
Why Your Push Mower Carburetor Needs Cleaning
A push mower carburetor mixes fuel and air for the engine. It is a vital part. Over time, this component can get dirty. Stale fuel is a common problem. Fuel left in the tank for long periods breaks down. It leaves sticky deposits inside the carburetor. These deposits can block the small fuel passages. This stops your mower from running right.
Another cause is debris. Dirt, dust, or rust particles can enter the fuel system. They travel from the gas tank to the carburetor. These small pieces can clog the jets or block the float needle. When the carburetor is dirty, the engine gets too much or too little fuel. This leads to poor performance. Your mower might run rough. It might surge or lose power. It might not start at all.
You might notice your mower struggles to start. It may need many pulls on the starter rope. Or, it starts but quickly dies. Sometimes, it runs only on choke. These are clear signs of a clogged carburetor. A dirty carburetor can also cause excessive smoke. It wastes fuel. Cleaning it helps your mower run efficiently. It extends its lifespan. Ignoring a dirty carburetor can lead to more costly repairs. A simple cleaning can prevent bigger problems. It keeps your mower reliable for every mow.
Essential Tools and Materials for Carburetor Cleaning
Before you start cleaning your push mower carburetor, gather all the necessary tools and materials. Having everything ready makes the job easier and faster. You will need a set of wrenches or sockets. These help remove bolts and nuts. A screwdriver set is also important. You will use it for different types of screws on the carburetor. Make sure you have both Phillips and flathead screwdrivers.
Carburetor cleaner is a must-have item. It comes in an aerosol can. This cleaner dissolves fuel varnish and carbon deposits. It helps clean the tiny passages inside the carburetor. Always use a cleaner specifically designed for carburetors. You will also need a small wire brush or a fine wire. This helps clear stubborn clogs from jets and tiny holes. Safety glasses are important. They protect your eyes from cleaner spray and debris. Work gloves keep your hands clean and safe.
A fuel-resistant container is needed to drain old fuel. You might also want a new fuel filter. It is a good idea to replace the fuel filter when you clean the carburetor. This helps prevent future clogs. New gaskets are often needed when you reassemble the carburetor. They create a tight seal. A parts tray helps keep small components organized. I like to use a magnetic tray to prevent screws from rolling away. Having these items ready ensures a smooth cleaning process.
- Wrench Set or Socket Set: For removing bolts and nuts.
- Screwdriver Set (Phillips and Flathead): For various screws.
- Carburetor Cleaner: Aerosol spray designed for carburetors.
- Small Wire Brush or Fine Wire: To clear clogged jets and passages.
- Safety Glasses: To protect your eyes.
- Work Gloves: To protect your hands.
- Fuel-Resistant Container: For draining old fuel.
- New Fuel Filter (Optional, but recommended): To replace old filter.
- New Gaskets/O-rings (Specific to your carburetor model): For reassembly.
- Parts Tray (Magnetic is best): To organize small components.
- Shop Rags or Paper Towels: For cleaning up spills and wiping parts.
Safety First: Essential Precautions Before You Start
Safety must be your top priority when working on any small engine. You are dealing with fuel and moving parts. Always take precautions. First, ensure the engine is cool. Never work on a hot engine. Hot parts can burn you. A cool engine also prevents accidental fuel ignition. Gasoline is highly flammable.
Next, disconnect the spark plug wire. This is a very important safety step. Pull the wire from the spark plug. Tape it away from the plug if needed. This prevents the engine from accidentally starting. An unexpected start can cause serious injury. This simple step protects you throughout the cleaning process. I always do this first.
Work in a well-ventilated area. Carburetor cleaner fumes are strong. They can be harmful if inhaled. A garage with open doors or an outdoor space is good. Avoid working in enclosed spaces. Keep all sources of ignition away from your work area. This includes open flames, sparks, and cigarettes. Gasoline fumes are heavy. They can travel to ignition sources. Have a fire extinguisher nearby, just in case. Protecting yourself from harm is crucial. Always wear safety glasses. They protect your eyes from chemicals and debris. Gloves also protect your skin. These steps ensure a safe repair experience.
Preparing Your Push Mower for Carburetor Removal
Before you remove the carburetor, you need to prepare your push mower. This step makes the removal process cleaner and safer. First, make sure the fuel tank is empty. You can run the mower until it runs out of gas. Or, you can drain the fuel into an approved container. Old or contaminated fuel is often the root cause of carburetor issues. Draining it prevents spills. It also lets you start with fresh fuel later. If your gas tank is dirty, consider cleaning it too. A dirty gas tank can introduce new debris to your newly cleaned carburetor.
Next, disconnect the spark plug wire. We discussed this in the safety section. It bears repeating. This is critical to prevent accidental starting. Then, locate the carburetor. It is usually mounted on the side of the engine, between the air filter and the engine block. You may need to remove the air filter housing first. Take pictures with your phone before you remove anything. These photos will help you remember how everything goes back together. This is a simple but very useful trick.
Note the fuel lines and linkages connected to the carburetor. There will be one main fuel line coming from the tank. There might be a primer bulb line too. There are also throttle linkages. These connect to the throttle control on the handle. Make sure to identify each one before you disconnect it. Labeling them with tape can prevent confusion during reassembly. You might also want to have a few shop rags handy. They will catch any remaining fuel drips. Being prepared saves time and frustration.
Step-by-Step Guide to Removing the Carburetor
Removing the carburetor from your push mower requires careful steps. Do not rush this part. First, you need to access the carburetor. This usually means removing the air filter cover and the air filter itself. Sometimes, you also need to remove the air filter housing. These parts are usually held by a few screws or clips. Set them aside in your parts tray. I like to keep them in order of removal.
Next, you will see the carburetor. It has one or more fuel lines connected to it. Gently squeeze the clamps on the fuel lines with pliers. Slide the clamps back. Then, carefully pull the fuel lines off the carburetor. Be ready for a small amount of fuel to drip out. Use your shop rags to catch any spills. If your mower has a primer bulb, disconnect that line too. Also, disconnect any vent lines.
Now, focus on the throttle linkages. These are usually small metal rods or springs. They connect the carburetor to the throttle control. Look closely at how they attach. Some just hook on. Others might have small clips. Use needle-nose pliers if needed. Take a clear photo of how these linkages connect. This photo is important for reassembly. Gently detach each linkage. Do not bend them. They can be fragile.
Finally, unbolt the carburetor from the engine. The carburetor is typically held in place by two nuts or bolts. These bolts usually go through the carburetor and into the engine block. Sometimes, they pass through a spacer or insulator block too. Use the correct wrench or socket for these nuts. Remove them slowly. Once the nuts are off, you can gently pull the carburetor away from the engine. Be careful not to lose any gaskets that might be between the carburetor and the engine. Keep track of all components. This helps with the putting-back-together process later.
Deep Cleaning the Carburetor Components
Once the carburetor is off, it is time for the deep cleaning. This is where most of the work happens. First, place the carburetor on a clean work surface. You need to disassemble it carefully. Start by removing the float bowl. This is the cup-shaped part at the bottom of the carburetor. It is usually held by a single screw or a retainer pin. Remove the screw or push out the pin. Gently pull the bowl off. Be careful not to damage the gasket.
Inside the float bowl, you will see the float and the float needle. The float is a lightweight piece, often made of plastic or brass. It floats on the fuel. The float needle is a small pin that controls fuel flow into the bowl. Remove the float by pulling out its hinge pin. The float needle will usually come out with it. Inspect the needle for any wear or damage. It should have a smooth, pointed tip. If it looks worn, replace it.
Now, spray all parts with carburetor cleaner. Focus on the main jet and the idle jet. These are tiny holes inside the carburetor body. They are often the first to clog. Spray the cleaner into every hole and passage you can find. Use the small wire brush or fine wire to clear any stubborn clogs. I often use a string from a wire brush to gently push through the jets. Make sure light can pass through them. Do not use anything larger than the hole. You could damage the jet.
Clean the float bowl too. Remove any old fuel residue or sediment. Spray the outside of the carburetor body. Let the cleaner work for a few minutes. Then, use compressed air to blow out all the passages. This removes any loosened debris. Make sure the air is clean and dry. Avoid using shop air directly from a compressor without a moisture trap. Clean air prevents new contamination. If you are cleaning other small engine carburetors, like those on a Stihl hedge trimmer, the principles are very similar. The internal components work much the same way. Check all gaskets and O-rings. If they are cracked or brittle, replace them with new ones. This ensures a good seal upon reassembly.
Reassembly and Testing Your Push Mower Carburetor
After cleaning all components, it is time to reassemble the carburetor. This step requires precision. Start by installing the new gaskets if you have them. Always use new gaskets for the float bowl and the engine mounting surface. This ensures a proper seal and prevents fuel leaks or air leaks. First, put the float needle back into its seat. Then, place the float back onto its hinge pin. Carefully put the hinge pin back into its slots. Test the float’s movement. It should move freely up and down.
Next, attach the float bowl to the carburetor body. Make sure the gasket is properly seated. Tighten the screw or replace the retainer pin. Do not overtighten. It can damage the gasket or the bowl. Once the carburetor is assembled, you can remount it on the engine. Refer to the photos you took during disassembly. This helps you reconnect all parts correctly. Line up the carburetor with the mounting studs on the engine block. Make sure any spacers or insulators are in place. Tighten the mounting nuts or bolts evenly.
Reconnect the throttle linkages. This can be tricky due to their small size and spring tension. Use your photos as a guide. Ensure each rod and spring goes to its correct attachment point. Reconnect the fuel lines. Push them firmly onto the carburetor nipples. Slide the clamps back into place to secure them. Reconnect the primer bulb line and any vent lines. Replace the fuel filter if you decided to get a new one.
Finally, put the air filter housing and air filter back on. Ensure the air filter is clean. A dirty air filter restricts airflow. This can mimic carburetor problems or cause new ones. Reconnect the spark plug wire to the spark plug. Now, add fresh fuel to the gas tank. Prime the carburetor a few times if your mower has a primer bulb. Start the mower. It might take a few pulls to get fuel flowing. Listen for smooth engine operation. Check for any leaks. If the mower starts and runs well, you have successfully cleaned your carburetor.
Preventative Maintenance for a Clean Carburetor
Keeping your push mower carburetor clean prevents future problems. Regular maintenance is the key. First, always use fresh fuel. Gasoline degrades over time. It leaves sticky residues that clog the carburetor. Try to use up fuel within 30 days. If you store fuel, use a fuel stabilizer. This additive slows down fuel degradation. Add it to your gas can. Add it to your mower’s fuel tank before long storage periods.
Another simple step is to run the engine dry before long-term storage. This means letting the mower run until it uses all the fuel in the tank and carburetor. This prevents stale fuel from sitting in the carburetor. Stale fuel is the primary cause of clogs. Many people overlook this step. It saves a lot of headaches in the spring.
Regularly inspect your fuel filter. The fuel filter catches debris before it reaches the carburetor. A clogged fuel filter can restrict fuel flow. It can also break down and send debris into the carburetor. Replace your fuel filter at least once a season. It is a small part but plays a big role. Also, check the fuel lines for cracks or leaks. Leaks can let air into the system. This affects fuel delivery.
Proper storage also helps. Store your mower in a dry, clean place. This prevents moisture from entering the fuel system. Moisture can lead to rust. Rust particles can then clog the carburetor. By following these simple preventative steps, you can greatly reduce the chances of needing to clean your carburetor again. This ensures your mower is ready for action whenever you need it. Regular maintenance keeps your mower running efficiently for years. This also includes checking your lawn mower spark plug for proper function.
Frequently Asked Questions
How often should I clean my push mower carburetor?
You should clean your push mower carburetor when you notice performance issues. This includes hard starting, rough running, or stalling. For preventative care, a cleaning every 1-2 years is a good idea. This is especially true if you do not use fuel stabilizer. Regular use of fresh fuel can extend this period.
What are the main signs of a dirty carburetor?
Common signs of a dirty carburetor include a mower that cranks but will not start. It might also start but quickly dies. The engine may run rough, surge, or lose power during operation. You might also notice excessive smoke from the exhaust. Sometimes the mower only runs when the choke is on.
Can I clean a carburetor without removing it from the mower?
Yes, for minor clogs, you can try cleaning the carburetor without removing it. This usually involves spraying carburetor cleaner directly into the air intake or fuel system. You can also add fuel system cleaner to the gas tank. This method works best for light deposits. However, deep clogs require full removal and disassembly. For more details, you can read about cleaning a lawn mower carburetor without removing it.
What type of carburetor cleaner should I use?
Use a specialized aerosol carburetor cleaner. These cleaners contain powerful solvents. They dissolve fuel varnish and carbon deposits. Look for products labeled “carburetor and choke cleaner.” Avoid general-purpose cleaners. They may not be strong enough or safe for carburetor components. Always follow the cleaner manufacturer’s instructions.
Is cleaning a carburetor a difficult task for a DIYer?
Cleaning a carburetor is a moderate DIY task. It requires patience and careful attention to detail. Disconnecting and reconnecting small parts can be challenging. However, with the right tools and clear instructions, most people can do it. Taking photos during disassembly helps a lot with reassembly.
What if my mower still runs poorly after cleaning the carburetor?
If your mower still runs poorly after cleaning the carburetor, other issues might exist. Check for a bad spark plug or a clogged fuel filter. Inspect the air filter for dirt. Ensure there are no leaks in the fuel lines. A thorough engine diagnostic might be needed. Sometimes, the carburetor might need a complete rebuild kit or replacement.
Conclusion
Learning how to clean carburetor on push mower is a valuable skill. It keeps your lawn mower running smoothly. We have covered the reasons for cleaning, the tools needed, and safety precautions. You now understand the steps to remove, clean, and reassemble your carburetor. This knowledge helps you tackle common engine problems yourself. Proper maintenance extends the life of your mower.
Remember, fresh fuel and fuel stabilizer are your best friends for preventing future clogs. Regular checks of your fuel filter and air filter also make a difference. Do not let a sputtering engine ruin your lawn care plans. Take action. Follow these steps. Give your push mower the attention it needs. You will enjoy a reliable machine ready for every cutting season. Get your hands dirty, save money, and keep your yard looking its best.
- push mower repair
- lawn mower carburetor
- small engine cleaning
- engine maintenance
- DIY lawn care