· Snowblower Maintenance · 16 min read
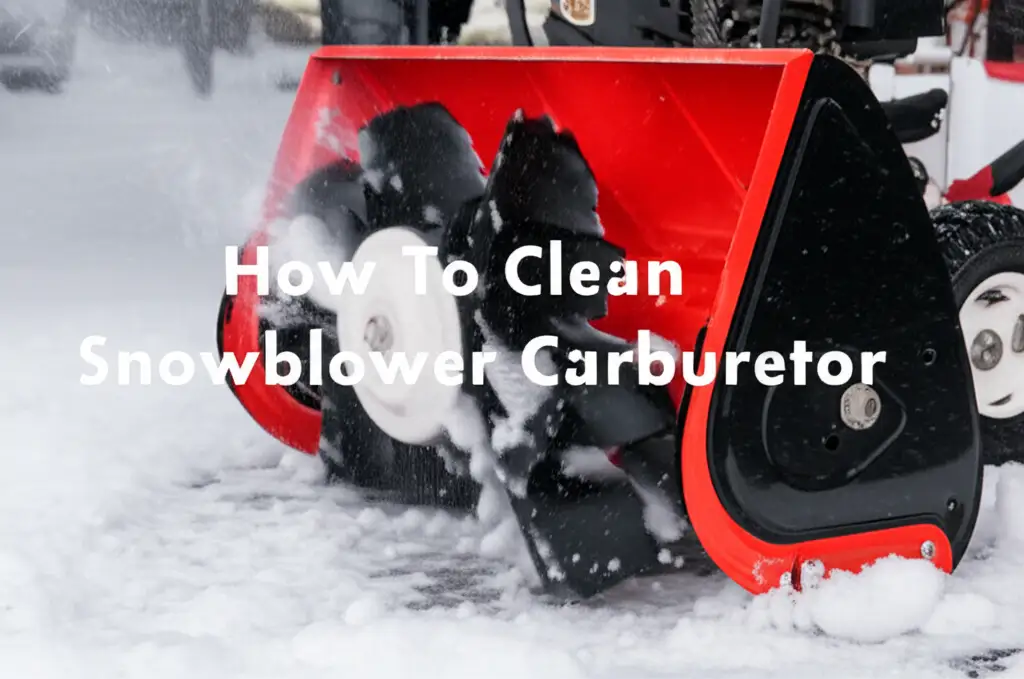
How To Clean Carburetor On Snowblower
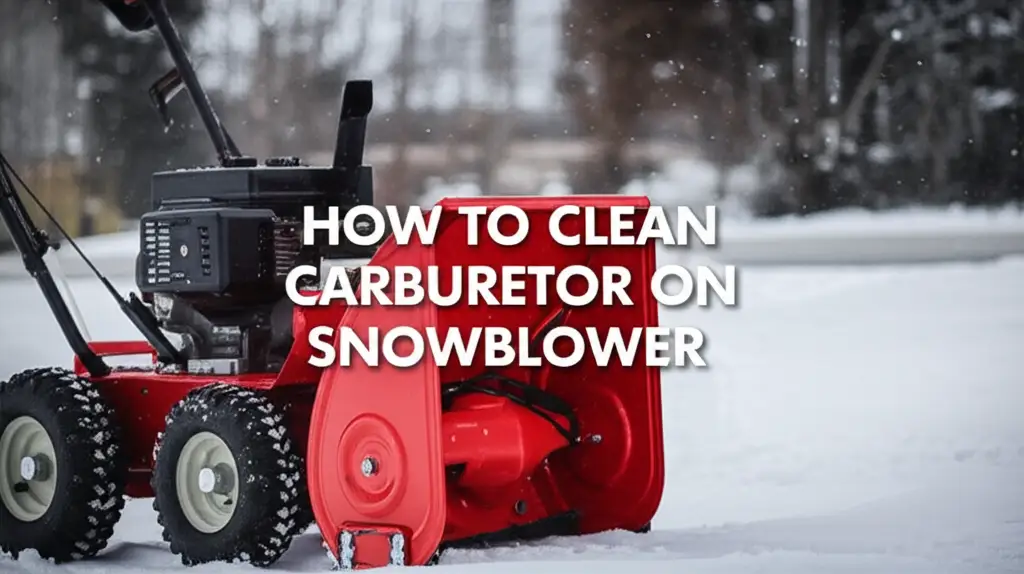
Clean Your Snowblower Carburetor: A Step-by-Step Guide
Winter’s chill approaches, and you pull out your trusty snowblower. You prime it, pull the cord, but it sputters or refuses to start. This is a common scene for many homeowners. Often, the culprit is a dirty or clogged carburetor. Old fuel can leave gummy deposits, making it hard for your engine to get the right fuel-air mixture. Knowing how to clean carburetor on snowblower can save you money and frustration. I want to help you get your snowblower running smoothly. This guide provides clear steps to clean your snowblower’s carburetor effectively. We will cover recognizing issues, gathering tools, and the full cleaning process.
Takeaway
Cleaning your snowblower’s carburetor is a vital task for reliable winter operation.
- Always prioritize safety by disconnecting the spark plug and draining fuel.
- Carefully remove and disassemble the carburetor.
- Use a proper carburetor cleaner to dissolve deposits from all components.
- Inspect jets and passages for clogs and clear them.
- Reassemble accurately and reinstall.
- Test the snowblower and consider fuel stabilizer for future prevention.
To clean a snowblower carburetor, first disconnect the spark plug and drain old fuel. Then, remove the carburetor from the engine. Disassemble it, spraying all internal parts and passages with carburetor cleaner. Use small wires or compressed air to clear stubborn clogs in jets. Reassemble the carburetor, reinstall it, and refill with fresh fuel.
Understanding Your Snowblower Carburetor’s Role
The carburetor is a vital part of your snowblower’s engine. It mixes air with fuel in the correct proportions. This mixture then goes into the engine cylinders. The engine burns this mixture to create power. A clean carburetor ensures a smooth and efficient engine operation.
Think of the carburetor as the heart of your snowblower’s fuel system. It precisely meters fuel. It allows your engine to start easily and run steadily. If this part gets dirty, the fuel flow becomes inconsistent. This leads to poor performance or a non-starting engine. Regular maintenance, especially cleaning, keeps it working right.
Why do carburetors get dirty? Old fuel is the main reason. Gasoline contains ethanol, which attracts moisture over time. This moisture can cause corrosion inside the carburetor. It also leaves behind gummy varnish deposits. These deposits can clog tiny passages and jets.
These clogs prevent fuel from reaching the engine correctly. This makes your snowblower run rough. It might surge, stall, or not start at all. Cleaning the carburetor removes these harmful deposits. It restores proper fuel flow. This makes your snowblower ready for heavy snowfalls.
Recognizing When to Clean Your Snowblower Carburetor
Your snowblower often gives clear signs when its carburetor needs attention. Knowing these symptoms helps you act quickly. Addressing these issues early prevents bigger problems. I have seen many snowblowers saved by a simple cleaning.
One major sign is difficulty starting the engine. You might pull the cord many times with no success. The engine might just sputter a bit. This often means the carburetor is not providing enough fuel. A clogged jet can prevent fuel from reaching the combustion chamber.
Another common symptom is rough running or surging. Your snowblower might run fine for a moment, then speed up, then slow down rapidly. This is called surging. It happens when fuel delivery is inconsistent. The engine struggles to maintain a steady RPM. This usually points to partial clogs in the fuel passages.
Your snowblower might also stall frequently. It could start fine, but then die after a short period. This is frustrating when you are trying to clear snow. A dirty carburetor can cause this by cutting off fuel flow. The engine just cannot get a continuous supply.
Lastly, reduced power and increased fuel consumption are signs. If your snowblower cannot cut through snow like before, the carburetor might be dirty. An improper fuel-air mixture can reduce engine power. It can also cause the engine to use more fuel than normal. If you notice any of these signs, it is time to clean the carburetor on snowblower.
Gathering Your Tools for Snowblower Carburetor Cleaning
Before you begin the cleaning process, gather all necessary tools and materials. Having everything ready saves time. It also ensures a smooth workflow. You do not want to stop halfway to find a missing item. I always make a list before starting any project.
First, you will need a good quality carburetor cleaner. This comes in an aerosol can. It dissolves fuel varnish and carbon deposits. Make sure it is safe for all carburetor parts. A can with a spray straw is very helpful for precise application.
You will need a set of basic hand tools. This includes a screwdriver set with various sizes and types. You will also need a wrench set or a socket set. These are for removing bolts and nuts on the carburetor and air filter housing. Pliers can also be useful for hoses or clamps.
For detailed cleaning, pick up some small wire brushes or carburetor cleaning wires. These tiny wires fit into small jets and passages. They help dislodge stubborn clogs. A can of compressed air is also great for blowing out passages. Safety glasses are crucial to protect your eyes from spray and debris.
Gloves protect your hands from harsh chemicals. A drip pan or old towels are necessary to catch fuel spills and cleaner runoff. Have some clean rags or shop towels ready for wiping parts. A parts tray or small containers help organize screws and small components. This prevents losing tiny pieces. Also, get a new carburetor gasket set for your specific snowblower model. Replacing old gaskets prevents future leaks.
Safety Precautions Before Cleaning Your Snowblower Carburetor
Safety is the most important part of any maintenance task. Working with fuel and engine parts needs careful attention. Following safety steps protects you from harm. I always stress safety first.
First, ensure the engine is completely cool. Never work on a hot engine. Hot parts can cause burns. A cool engine also reduces the risk of fuel ignition. Give the snowblower plenty of time to cool down.
The most critical safety step is to disconnect the spark plug wire. This prevents the engine from accidentally starting. An unexpected start can cause serious injury. Just pull the rubber boot off the spark plug. Keep it away from the plug. This isolates the ignition system.
Next, you must drain the fuel tank. Old or contaminated fuel is often the reason for carburetor issues. Use a siphoning pump or open the fuel line valve. Direct the fuel into an approved container. Never drain fuel onto the ground. Fuel is highly flammable. Make sure you are working in a well-ventilated area. Do not have any open flames or sparks nearby.
Wear proper personal protective equipment (PPE). Safety glasses protect your eyes from fuel and cleaner splashes. Chemical-resistant gloves protect your skin. If you are sensitive to fumes, consider wearing a respirator mask. Always read the safety instructions on your carburetor cleaner can. It will contain specific warnings. Following these steps helps ensure your safety throughout the cleaning process.
Step-by-Step Guide: Removing the Snowblower Carburetor
Removing the carburetor is the first practical step in the cleaning process. This allows you to access all its components. The exact steps might vary slightly by snowblower model. However, the general procedure is similar for most small engines. Take your time and be careful with small parts.
Start by locating the air filter housing. This is usually a plastic or metal box. It is mounted on the side of the engine. You will need to remove its cover and then the air filter itself. Sometimes, the housing is part of the carburetor assembly.
Next, identify the fuel line connected to the carburetor. It is a rubber hose coming from the fuel tank. You will need to pinch this line off with a clamp. This stops fuel flow. Then, carefully disconnect the fuel line from the carburetor’s inlet. Be ready for any residual fuel to drip out. Place a rag or drip pan underneath.
Now, you will need to detach the throttle and choke linkages. These are thin metal rods or wires. They connect the control levers to the carburetor. Note how they are connected. Taking a picture with your phone can be very helpful for reassembly. Gently unhook them from their pivot points on the carburetor.
Finally, unbolt the carburetor from the engine’s intake manifold. There are usually two or three bolts holding it in place. These bolts also secure the carburetor to the engine block. Once the bolts are out, carefully pull the carburetor away. Watch for any gaskets between the carburetor and the engine. These will likely need replacement. Gently set the carburetor aside on a clean surface.
Thorough Cleaning and Inspection of Carburetor Components
With the carburetor removed, you can now begin the detailed cleaning process. This is where most of the work happens. A thorough cleaning ensures your snowblower runs like new. I find this part very satisfying, as you can see the results directly.
First, find a clean workspace. Place an old towel or drip pan under the carburetor. This catches any cleaner or dissolved grime. Begin by removing the carburetor bowl. This is typically at the bottom of the carburetor. It is held on by one or more screws. Be careful not to lose the gasket under the bowl.
Inside the bowl, you will see the float and the float needle. The float regulates fuel level in the bowl. Remove the pin that holds the float in place. Then, take out the float and the needle. Inspect them for wear or damage. Pay close attention to the rubber tip of the needle. It should be smooth and conical.
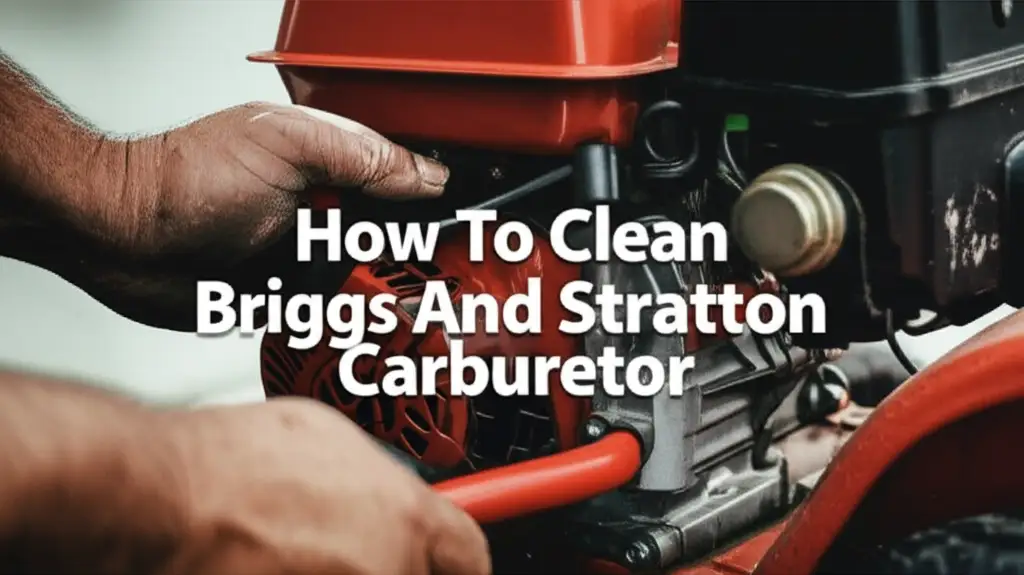
Next, remove the main jet and the idle jet. These are usually brass screws or fittings. They are located inside the carburetor body or bowl area. These jets have very tiny holes. They are crucial for fuel delivery. They are often the first parts to clog. If your snowblower has a Briggs and Stratton carburetor, these jets are key. I often advise focusing extra attention on them.
Now, spray all removed parts generously with carburetor cleaner. Also, spray thoroughly into all passages and holes in the carburetor body. Make sure the cleaner reaches every nook and cranny. Let the parts soak for a few minutes. For stubborn clogs, use tiny wires or specialized how to clean jets on carburetor tools to clear the holes. Blow compressed air through all passages to confirm they are clear. Use a soft brush for general scrubbing. Ensure no cleaner residue remains before reassembly. This detailed cleaning makes a big difference.
Inspecting for Wear and Damage
While cleaning, carefully inspect all carburetor components for any signs of wear or damage. This is a critical step. Sometimes, cleaning alone is not enough if parts are faulty. Look closely at the float. It should be free of cracks or punctures. A damaged float can cause the fuel level to be incorrect. This leads to flooding or fuel starvation. If the float is bad, it needs replacement.
Examine the float needle valve. The rubber tip must be smooth. It should be free from any grooves or indentations. A worn needle will not seal properly. This allows too much fuel into the bowl. This causes the engine to flood. A good seal is important for proper fuel regulation.
Check all gaskets and O-rings. They should be pliable and intact. Old gaskets can become brittle and crack. Cracked gaskets cause fuel leaks and air leaks. Air leaks upset the fuel-air mixture. This makes the engine run poorly. Always replace old gaskets with new ones from a carburetor rebuild kit.
Look at the main jet and idle jet closely. Their tiny holes must be perfectly round and clear. Even a slight deformation can affect fuel flow. If cleaning does not clear them, they might need replacement. Sometimes, corrosion can pit the inside of the carburetor body. If damage is extensive, a full carburetor replacement might be necessary. However, most issues are fixed with a good cleaning and new gaskets.
Reassembling and Reinstalling Your Cleaned Snowblower Carburetor
Once all parts are clean and dry, it is time to put the carburetor back together. This process requires patience and precision. Make sure you have all new gaskets ready. Always use new gaskets to prevent leaks.
Start by reassembling the internal components. Place the main jet back into its position. Then, insert the idle jet if it was removed separately. Install the float needle into its slot on the float. Then, carefully slide the float pin back through its post. Make sure the float moves freely up and down. It should not bind or stick.
Place a new gasket onto the carburetor bowl. Then, carefully attach the bowl back onto the carburetor body. Secure it with its screws. Do not overtighten. Just make it snug. Ensure the gasket is seated correctly all around. A tight seal here is vital to prevent fuel leaks.
Now, you will reinstall the carburetor onto the engine. Place a new gasket on the intake manifold where the carburetor mounts. Align the carburetor with the mounting studs or bolt holes on the engine. Carefully push it into place. Ensure no hoses or linkages get pinched.
Reinstall the mounting bolts. Tighten them evenly. Do not overtighten, as this can strip threads or damage the carburetor. Reconnect the throttle and choke linkages. Refer to your photos if you took them during disassembly. Ensure they move freely and activate the carburetor levers correctly. Finally, reattach the fuel line. Secure it with its clamp. Remove the pinch clamp you used earlier. Replace the air filter and its housing. This completes the physical reassembly.
Post-Cleaning Checks and Preventative Maintenance Tips
After cleaning and reassembling your snowblower carburetor, perform some final checks. These steps ensure everything is in order. They also help prevent future carburetor issues. My goal is for your snowblower to be reliable.
First, reconnect the spark plug wire. Ensure it is firmly seated on the spark plug. Now, refill the fuel tank with fresh gasoline. Always use fresh, high-octane, ethanol-free gasoline if possible. Ethanol can cause problems over time.
Turn the fuel shut-off valve to the “on” position if your snowblower has one. Prime the engine according to your snowblower’s instructions. Then, try to start it. It might take a few pulls for the fuel to flow through the cleaned system. Listen for a steady engine idle. Check for any fuel leaks around the carburetor or fuel lines. Address any leaks immediately before operating.
If the engine starts and runs smoothly, you have successfully cleaned the carburetor. Let it run for a few minutes. Check that it responds well to throttle changes. If it still runs rough, you might have missed a clog. Or, some component might need replacement. Sometimes, cleaning a carburetor on a push mower provides similar challenges. The principles remain the same.
To prevent future clogs, always use a fuel stabilizer. Add it to the fuel tank every time you fill it up. This is especially important for long-term storage. Fuel stabilizer prevents gum and varnish from forming. It keeps fuel fresh for longer periods. Before storing your snowblower for the off-season, run it until it is out of fuel. This empties the carburetor of fuel. An empty carburetor cannot get clogs from old fuel. This simple step can save you another carburetor cleaning next season.
FAQ Section
How often should I clean my snowblower carburetor?
You should clean your snowblower carburetor every 1-2 years, especially if you do not use fuel stabilizer. If your snowblower runs rough or struggles to start, clean it right away. Preventative cleaning before winter or after long storage periods is ideal. This ensures reliable performance when you need it most.
Can I clean a snowblower carburetor without removing it?
Yes, sometimes you can clean a snowblower carburetor without removing it. You can use a fuel system cleaner. Add it to the fuel tank. This cleaner can help dissolve minor deposits. For more stubborn clogs, you might need to spray carburetor cleaner directly into the air intake while the engine runs. This method is similar to how you might approach cleaning a lawn mower carburetor without removing it. However, a full disassembly provides the most thorough cleaning.
What are the signs of a dirty snowblower carburetor?
Common signs include difficulty starting, rough idling, or the engine surging (speeding up and slowing down). Your snowblower might also stall frequently. Reduced power or increased fuel consumption are also indicators. If you notice any of these issues, a dirty carburetor is likely the cause.
What type of cleaner should I use for a snowblower carburetor?
Use a specialized carburetor cleaner spray. These cleaners are designed to dissolve varnish, gum, and carbon deposits. They come in an aerosol can with a thin straw for precise application. Avoid using general-purpose cleaners, as they may not be effective. Ensure the cleaner is safe for rubber and plastic components.
Is it worth cleaning or should I replace the carburetor?
Most of the time, cleaning the carburetor is a cost-effective solution. Replacement carburetors can be expensive. Cleaning often resolves common issues caused by old fuel. However, if the carburetor body is cracked, or if internal parts are severely corroded or damaged, replacement might be necessary. Always try cleaning first.
How can I prevent carburetor clogs in the future?
The best prevention is using fresh gasoline mixed with a high-quality fuel stabilizer. Add stabilizer every time you fill the tank. Also, run the snowblower until it is out of fuel before storing it for extended periods. This drains the carburetor bowl. An empty carburetor cannot form clogs from stale fuel.
Conclusion
Getting your snowblower ready for winter is essential. Knowing how to clean carburetor on snowblower is a key skill for any homeowner. A clean carburetor ensures your machine starts easily and runs reliably. We have covered every step, from recognizing problems to performing a thorough cleaning. You now know the tools needed and the safety precautions to take.
Remember, a little maintenance goes a long way. Regularly cleaning the carburetor or taking preventative measures like using fuel stabilizer can prevent future headaches. Your snowblower is a significant investment. Keeping its fuel system clean will extend its lifespan. It also ensures you are ready when the snow starts falling. Do not let a dirty carburetor leave you out in the cold. Take action today and ensure your snowblower is always ready for duty.
- snowblower maintenance
- carburetor cleaning
- small engine repair
- winter preparedness
- fuel system