· Appliance Care · 13 min read
How To Clean Carpet Shampooer
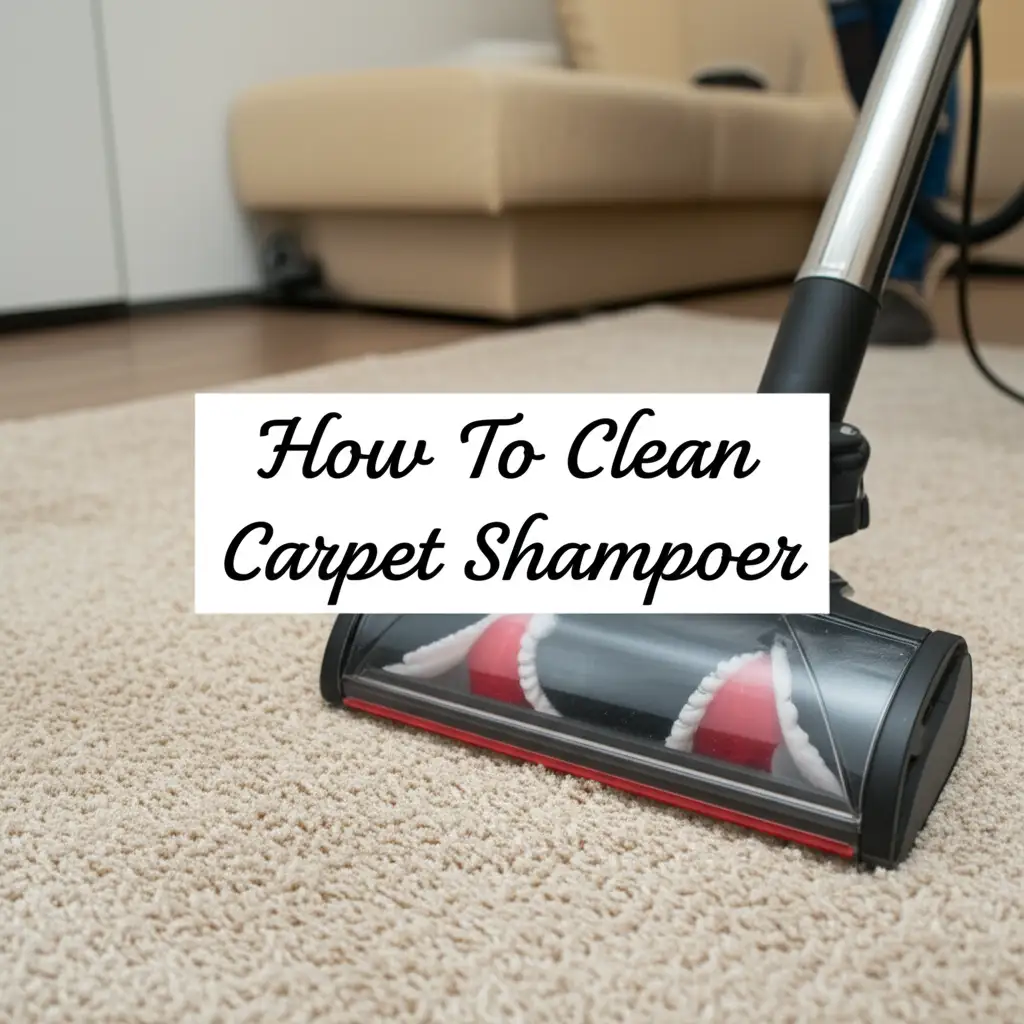
Clean Your Carpet Shampooer for Peak Performance
Has your trusty carpet shampooer started to smell a bit funky? Are you noticing less effective cleaning, or perhaps finding dirty residue left behind after a cleaning session? These are common signs your machine needs a good scrub. Learning how to clean carpet shampooer parts is not just about keeping your house fresh; it also extends the life of your valuable cleaning appliance.
A neglected carpet shampooer can harbor mold, mildew, and foul odors. These contaminants then transfer back onto your carpets during the next use. This article provides a complete guide. You will learn the exact steps to deep clean your carpet shampooer. We will cover everything from emptying tanks to scrubbing brushes. Get ready to revitalize your carpet cleaner and achieve truly spotless results.
Takeaway
- Empty and rinse tanks immediately after each use.
- Disassemble removable parts for a thorough cleaning.
- Scrub brushes and nozzles to remove dirt and hair buildup.
- Use white vinegar to eliminate odors and fight mold.
- Allow all parts to air dry completely before reassembly and storage.
How do I clean my carpet shampooer effectively?
To effectively clean your carpet shampooer, you must empty all tanks, then rinse them with hot water. Disassemble brushes and nozzles. Scrub all parts with a mild detergent or white vinegar solution. Rinse each piece thoroughly. Allow the machine and its components to air dry completely before you put them back together.
Why Cleaning Your Carpet Shampooer Matters So Much
You probably clean your carpets to remove dirt and grime. But what about the machine doing the work? Dirty water, soap residue, and fibers collect inside your carpet shampooer after every use. This buildup is not just messy. It creates a breeding ground for bacteria, mold, and mildew.
Ignoring machine cleaning leads to several problems. First, your carpet shampooer will start to smell bad. This odor can transfer to your freshly cleaned carpets. Second, clogged nozzles or dirty brushes make your machine less effective. It cannot pick up dirt or distribute cleaning solution properly. Lastly, consistent moisture and debris can damage the internal components of the machine. Regular cleaning prevents these issues. It keeps your machine working its best. It also helps you achieve cleaner, healthier carpets every time.
Essential Tools and Supplies for Cleaning Your Carpet Shampooer
Cleaning your carpet shampooer properly requires a few simple tools. Most of these items you already have around your home. Gather them before you begin. This helps make the cleaning process smooth and efficient.
Here is what you will need:
- Rubber Gloves: Protect your hands from dirt and cleaning solutions.
- Old Towels or Rags: Useful for wiping down surfaces and drying parts.
- Small Scrub Brush: Helps remove stubborn grime from tanks and crevices. A stiff bristled brush works well.
- Old Toothbrush: Perfect for reaching tight spots and cleaning nozzles.
- Mild Dish Soap: Good for general cleaning and cutting through grease.
- White Vinegar: An excellent natural disinfectant and deodorizer. It helps break down mineral deposits and kills mold.
- Clean Water: For rinsing all the parts.
- Spray Bottle (Optional): Handy for applying vinegar solution to hard-to-reach areas.
- Bucket or Sink: For rinsing smaller components.
Having these supplies ready will ensure you can tackle every part of your carpet shampooer. You will remove all the accumulated gunk and grime. These tools make the deep cleaning process much easier for you.
Pre-Cleaning Steps: Emptying and Rinsing Your Carpet Shampooer
Before you start a deep clean, you must prepare your carpet shampooer. This involves emptying all the liquids and performing an initial rinse. These first steps remove loose dirt and prevent bigger messes. I always do these steps immediately after I finish shampooing my carpets.
First, unplug your carpet shampooer from the power outlet. Safety always comes first. Then, remove the dirty water tank. Carefully pour out all the dirty water into a utility sink or toilet. You will be surprised how dark and murky the water can be, even after cleaning. Rinse this tank immediately with hot water. Swish the water around to dislodge any loose debris or hair. Pour out the rinse water.
Next, remove the clean water/solution tank. Pour out any remaining cleaning solution. Rinse this tank with warm water too. Even clean solution can leave a sticky residue. After rinsing, you can also run plain warm water through the machine itself. Fill the clean water tank with warm water and run the machine for a minute or two on a hard floor or over a drain. This helps flush out the internal hoses and lines. This simple initial rinse makes the deeper cleaning steps much easier for you.
Deep Cleaning the Dirty Water Tank and Solution Tank
The dirty water tank and the solution tank are crucial parts of your carpet shampooer. They hold water and cleaning agents. These tanks often develop bad smells or grow mold. This happens because moisture and organic matter collect inside them. You need to clean them thoroughly.
First, take both tanks off the machine. If your tanks have removable parts like filters or lids, separate them. This allows you to reach all surfaces. Use your small scrub brush and a few drops of mild dish soap with warm water. Scrub the inside of the dirty water tank vigorously. Pay close attention to the bottom and corners. These areas collect the most sludge. Rinse the tank thoroughly with hot water until no suds remain.
For both tanks, especially the dirty water tank, a white vinegar rinse helps. Vinegar kills mold and neutralizes odors. Mix equal parts white vinegar and warm water in a spray bottle or a bucket. Spray or pour the solution into the tanks. Let it sit for 10-15 minutes. Scrub again with the brush if you see any mold spots. I found that cleaning mold with vinegar works very well. Rinse the tanks completely with clean water afterward. Make sure no vinegar smell remains if you prefer. Allow them to air dry completely before putting them back on the machine. You can also apply these principles to clean your water filter effectively.
Cleaning the Nozzle, Brushes, and Exterior of Your Shampooer
After addressing the tanks, it is time to focus on the working parts of your carpet shampooer. The nozzle, brushes, and exterior see the most direct contact with carpets and dirt. They need careful attention to ensure optimal performance.
Most carpet shampooers allow you to remove the nozzle and brush assembly. Look for release clips or levers. Detach these parts carefully. The nozzle often gets clogged with carpet fibers, pet hair, and dried detergent residue. Use an old toothbrush or a small pick to clear out any blockages in the spray holes. Rinse the nozzle under running water. For tough buildup, you can soak the nozzle in warm, soapy water for a few minutes.
The brushes are perhaps the most critical part to clean. They spin and agitate the carpet, lifting dirt. They also collect a lot of hair and fibers. Use scissors to cut away any tangled hair around the brush bristles. Then, use your scrub brush and warm, soapy water to thoroughly clean the bristles. Make sure to remove all dirt and debris trapped within them. Rinse the brushes well. Some models, like the Hoover carpet cleaner, have specific cleaning steps for their brush rolls. Refer to your machine’s manual for specific removal instructions.
Finally, wipe down the exterior of your carpet shampooer. Use a damp cloth with a little mild soap. Pay attention to the wheels, the handle, and any crevices where dirt might hide. Dirt on the outside can transfer to your hands or even your clean carpets. This final step ensures your entire machine looks clean and performs its best.
Odor Elimination and Mold Prevention Tips
Even after a good scrub, some carpet shampooers can retain a lingering smell. This often indicates the presence of hidden mold or stubborn residue. Preventing mold and eliminating odors are key to keeping your machine fresh. I always make sure my carpet cleaner is completely dry before storing it away.
White vinegar is your best friend here. It is a natural disinfectant and powerful deodorizer. After cleaning all parts, you can run a vinegar solution through the machine’s internal system. Fill the clean water tank with a mixture of equal parts white vinegar and warm water. Run the machine for a minute or two on a hard, washable surface, like a tiled floor or bathtub. This flushes vinegar through the hoses and spray jets. It helps kill any remaining mold spores and neutralizes odors. This method is similar to how you might clean your shower with vinegar to prevent mildew.
The most critical step for mold prevention is thorough drying. Mold thrives in damp, dark environments. After cleaning, leave all removable parts disassembled. Place them in a well-ventilated area to air dry completely. This might take several hours, or even overnight. You can place them on an old towel or a drying rack. Ensure the main unit also gets airflow. You can leave the dirty water tank and solution tank lids off. Do not put the machine away until every single part is bone dry. This prevents any new mold growth and keeps your carpet shampooer smelling fresh. If you have ever had to clean mold in a shower, you understand the importance of complete drying.
Troubleshooting Common Carpet Shampooer Cleaning Issues
Sometimes, despite your best cleaning efforts, you might encounter issues with your carpet shampooer. Knowing how to troubleshoot these common problems helps you maintain your machine and ensures it always performs well. These tips can save you time and frustration.
One common issue is clogs. If your machine is not spraying water or picking it up properly, a clog is likely the cause. First, check the nozzle. Hair, fibers, or dried cleaning solution can block the spray jets. Use a small needle or paperclip to gently clear each hole. Then, inspect the recovery hose. This hose carries the dirty water back into the tank. It can get blocked by debris. If removable, detach it and rinse it thoroughly. You might need to use a long brush to push through any blockages.
Another problem is persistent odors. If your shampooer still smells musty after cleaning, you may have missed a spot. Mold spores can hide in tiny crevices or within the machine’s internal components. Try running a stronger vinegar solution through the machine. You can use undiluted white vinegar for this, letting it sit in the tanks and lines for a longer period (30 minutes to an hour) before rinsing. Ensure all parts are completely dry before reassembly. If possible, dismantle parts further. Some screws may hold panels that hide more areas where mold can grow.
Finally, consider maintenance frequency. How often should you clean your machine? After every single use, you should at least empty and rinse the tanks. A deeper clean, like the one described in this article, should happen every 3-5 uses, or whenever you notice a decline in performance or a bad smell. Regular, immediate maintenance prevents major issues from developing. This proactive approach keeps your carpet shampooer in top working order.
Post-Cleaning Assembly and Storage
You have put in the work to deep clean your carpet shampooer. Now, proper reassembly and storage are essential. This final step ensures your machine stays clean and ready for its next use. It also extends its overall lifespan.
Before you put anything back together, double-check that all components are completely dry. This is paramount for preventing mold and mildew growth. If any part feels even slightly damp, give it more time to air dry. You can use a clean, dry towel to pat down surfaces, but air drying is the most effective.
Once dry, carefully reassemble all the parts you removed. This includes the brushes, nozzles, tanks, and any covers. Ensure everything clicks into place correctly. Refer to your owner’s manual if you are unsure about any specific assembly steps for your model. Incorrect assembly can lead to leaks or poor performance.
Finally, store your clean carpet shampooer in a dry, well-ventilated area. Avoid damp basements or humid garages if possible. A closet or utility room works well. Leaving the tank lids slightly ajar during storage can also help with airflow and prevent moisture buildup. This simple practice helps keep your machine fresh and ready to tackle your next carpet cleaning job. You have invested time in cleaning it; proper storage protects that investment.
FAQ Section
How often should I clean my carpet shampooer?
You should empty and rinse the dirty water tank and solution tank immediately after every use. A deeper, more thorough cleaning, as described in this article, is recommended every 3 to 5 uses or at least once a month if you use it regularly. This prevents buildup and odors.
Can I use bleach to clean my carpet shampooer?
No, you should avoid using bleach to clean your carpet shampooer. Bleach can damage the plastic components, rubber seals, and internal mechanisms of the machine. It can also leave behind a residue that may harm your carpets. Stick to mild soap, white vinegar, or cleaners specifically designed for appliance maintenance.
Why does my carpet shampooer smell bad after cleaning?
A bad smell after cleaning often means mold, mildew, or old cleaning solution residue is still present. This usually happens when parts are not fully dried, or hidden areas have been missed. Perform a deeper clean, especially using white vinegar, and ensure all components are completely air-dried before reassembly and storage.
Is it okay to leave water in my carpet shampooer?
No, never leave water or cleaning solution in your carpet shampooer tanks for extended periods. Stagnant water creates a perfect environment for mold, mildew, and bacteria to grow. Always empty and rinse both tanks immediately after each use. Store them empty and dry to prevent issues.
How do I prevent mold growth in my carpet cleaner?
To prevent mold, always empty and thoroughly rinse all tanks and removable parts after each use. Allow all components to air dry completely for several hours or overnight before reassembling the machine. Store the machine in a dry, well-ventilated area. Running a vinegar solution through the machine periodically also helps.
What kind of cleaner should I use for general maintenance?
For general maintenance, use mild dish soap mixed with warm water to scrub tanks and brushes. For disinfection and odor elimination, white vinegar is an excellent natural choice. Avoid harsh chemicals or abrasive cleaners that could damage your machine’s parts or leave harmful residues.
Conclusion
Taking the time to clean your carpet shampooer truly makes a difference. It is more than just a chore; it is an investment in your home’s cleanliness and your appliance’s longevity. By following these steps, you prevent common issues like bad odors, mold growth, and reduced performance. You also ensure your machine works at its best, giving you cleaner carpets every time.
Remember to empty and rinse tanks immediately after use. Perform a deep clean of all removable parts regularly. Always allow every component to dry completely before you store the machine. This attention to detail will keep your carpet shampooer running efficiently for years. A clean machine means a truly clean home. Start cleaning your carpet shampooer today and experience the difference!
- carpet shampooer cleaning
- appliance maintenance
- deep cleaning guide
- prevent mold
- home cleaning tips
- carpet cleaner care

