· Car Maintenance · 17 min read
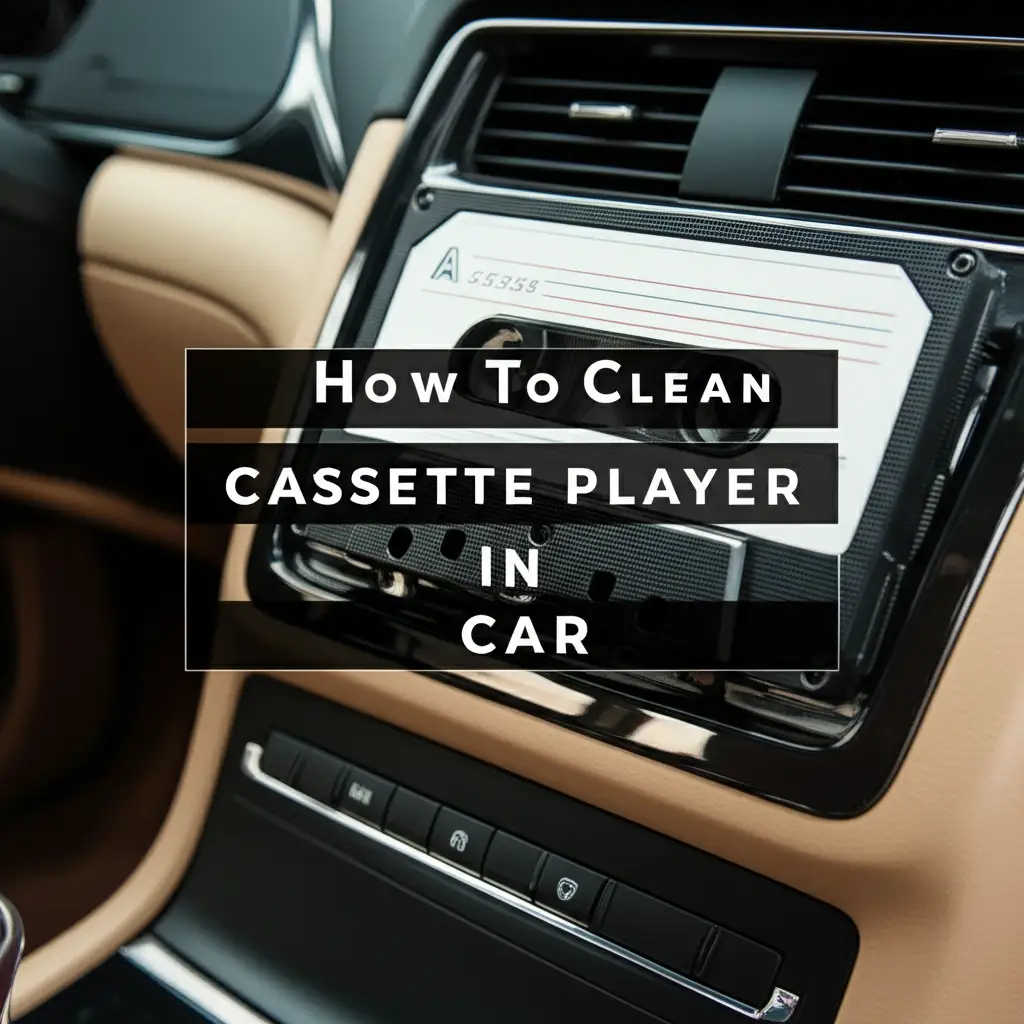
How To Clean Cassette Player In Car
Getting Your Car Cassette Player Clean
Do you miss the warm, analog sound of your old cassette tapes? Many classic cars still have factory-installed cassette players. Over time, these players collect dust, dirt, and tape residue. This buildup reduces sound quality and can damage your tapes. You can restore your car’s audio system. Learning how to clean a cassette player in car can bring your music back to life.
A clean cassette player offers many benefits. It improves sound clarity, prevents tape tangles, and extends the life of your unit. This guide shows you how to clean your car cassette player. We will cover necessary tools, safety steps, and specific cleaning methods. You will learn to clean tape heads, capstans, and pinch rollers. Proper cleaning restores function. It makes your car audio enjoyable again. Follow these steps for a clearer listening experience.
Takeaway
Cleaning your car’s cassette player improves sound quality and extends its life.
- Always disconnect power before you begin.
- Use specific tools like rubbing alcohol and cotton swabs for internal parts.
- Focus on tape heads, capstans, and pinch rollers.
- Regular maintenance prevents future issues and keeps your music clear.
Cleaning a car cassette player involves careful removal of dirt and residue from its internal components. Use specialized cleaning tools and isopropyl alcohol. Focus on the tape heads, capstans, and pinch rollers. This process restores sound clarity and ensures smooth tape playback.
Why Clean Your Car’s Cassette Player?
Your car’s cassette player works hard. It plays music from magnetic tapes. Over time, tapes shed tiny particles. These particles are tape oxides. They build up on the player’s internal parts. Dust and dirt also enter the system. This combination creates a sticky film on critical components.
This film causes several problems. Sound quality drops noticeably. Music may sound muffled or distorted. Tapes can also start to drag. They might even get tangled inside the player. This ruins your tapes and frustrates you. Dirty parts also put stress on the player’s motor. This shortens the unit’s overall lifespan. Regular cleaning stops these issues before they start. It keeps your beloved tape collection safe. It also ensures your car’s audio system works its best. Ignoring these signs leads to bigger repair jobs. A little cleaning effort now saves you from costly repairs later.
Common Signs Your Player Needs Cleaning
You can tell your car cassette player needs cleaning in several ways. The sound might become muffled. You may hear static or a fluctuating volume. Tapes could start to slow down. They might even get eaten by the player. These are all clear signals of dirt buildup. A dirty tape head cannot read the magnetic signals correctly. Dirty capstans and pinch rollers cannot move the tape smoothly. If your tapes sound bad, cleaning is likely the answer.
We often focus on visible dirt, but internal grime is the real enemy. This invisible buildup harms your sound. It reduces the magnetic contact. This directly affects how music sounds. Preventing damage to your tapes is also key. A dirty player can stretch or crease tapes. This makes them unplayable. Cleaning protects your investment in physical media. It ensures every note sounds clear.
Gathering Your Cleaning Tools: What You Need
Before you start cleaning your car’s cassette player, gather all your supplies. Having everything ready makes the process smoother. You will need specific items to clean the delicate internal parts. Do not use harsh chemicals or abrasive materials. These can damage your player. Instead, choose gentle, effective cleaning agents.
First, get some high-purity isopropyl alcohol. Look for 90% concentration or higher. This alcohol evaporates quickly and leaves no residue. It is safe for electronic components. You will also need lint-free cotton swabs. Q-tips work well, but ensure they are tightly wound. Loose fibers can get stuck inside. Small, soft brushes are also useful. These help remove loose dust. You might also want a can of compressed air. Use it carefully to blow away dust. Never shake the can before use. Never hold it too close to the components.
Essential Cleaning Supplies
Here is a list of the tools you need:
- High-Purity Isopropyl Alcohol (90% or higher): This is your main cleaning solvent. It dissolves tape residue. It also evaporates quickly.
- Lint-Free Cotton Swabs: Use these to apply alcohol and wipe components. Regular cotton swabs can leave fibers.
- Soft-Bristle Brush: A small, clean paintbrush or a dedicated electronics brush works. Use it for dusty areas.
- Compressed Air Can: This helps dislodge loose dust and debris. Use short bursts from a distance.
- Small Flashlight: This helps you see inside the dark cassette bay. Proper lighting is essential.
- Microfiber Cloth: Use this for wiping the exterior and for general clean-up.
You might also consider a specialized cassette deck cleaning kit. These kits often include a cleaning cassette. A cleaning cassette usually has a non-abrasive tape with a cleaning solution. You simply insert it like a regular tape. It cleans the tape heads automatically. While convenient, manual cleaning is more thorough. It allows you to clean parts a cassette cleaner cannot reach. For tackling general buildup and grime on external surfaces of your car, understanding how to clean similar sticky situations can be helpful. For example, learning how to clean buildup on a faucet provides insight into removing stubborn deposits. Always prioritize solutions specific to electronics for internal parts.
Safety First: Power Off Before Cleaning
Before you touch any part of your car’s cassette player, ensure safety. Electronic devices carry electrical current. Working on them with power connected is dangerous. You could get an electric shock. You could also short-circuit the player. This would cause permanent damage. Disconnecting the power is the most important first step. It protects both you and your equipment. Do not skip this part.
Most car cassette players are integrated into the car’s stereo system. This means they get power from the car’s battery. The simplest way to disconnect power is to remove the car stereo’s fuse. Consult your car’s owner manual for the fuse box location. Find the specific fuse for the car stereo or audio system. Pull it out carefully. If you are unsure, disconnect the negative terminal of your car battery. Use a wrench for this step. This completely cuts power to all car electronics. Always put the fuse back or reconnect the battery terminal after you finish cleaning. Safety comes first.
Steps to Disconnect Power Safely
- Turn Off Your Car: Ensure the ignition is off. Remove the key from the ignition. This prevents accidental power surges.
- Locate the Fuse Box: Your car’s fuse box is usually under the dashboard, in the engine bay, or in the trunk. Check your owner’s manual for its exact location.
- Identify the Audio Fuse: The fuse box cover or the manual will have a diagram. Find the fuse labeled for “Audio,” “Radio,” “Stereo,” or “Accessory.” It often has a specific amperage rating.
- Remove the Fuse: Use a plastic fuse puller. Most fuse boxes include one. If not, small pliers work. Gently pull the identified fuse straight out. Keep it in a safe place.
- Alternative: Disconnect Battery: If you cannot find the fuse or prefer a complete power cut, disconnect the negative terminal of your car battery. Use a wrench to loosen the nut. Then lift the cable away from the terminal. Wrap the cable end in a cloth to prevent accidental contact.
These steps ensure no power reaches the cassette player during cleaning. They make the cleaning process safe. This prevents any accidental damage. It also protects you from electrical hazards. Once you finish cleaning, you can reinsert the fuse. Or, you can reconnect the battery terminal. This restores power. Always double-check connections.
Cleaning the Tape Heads for Clear Sound
The tape heads are the most important part of your cassette player. They read the magnetic signals on your tapes. They also write new signals if you record. Over time, tape oxide builds up on the heads. This sticky film blocks the magnetic signal. It causes muffled sound. It can also lead to distorted audio. Cleaning the tape heads restores signal clarity. It ensures crisp sound reproduction. This step is vital for good audio quality.
To clean the tape heads, you need high-purity isopropyl alcohol and lint-free cotton swabs. First, open the cassette player’s door. Look inside the cassette bay. You will see shiny, metal components. The tape heads are usually in the center. They are small and rectangular. Dip a cotton swab into the isopropyl alcohol. Do not soak it. It should be damp, not dripping. Gently rub the cotton swab over the tape head surface. You will see brown or black residue on the swab. This is the tape oxide. Use a fresh swab for each pass until no more dirt appears. The head should look clean and shiny.
Detailed Head Cleaning Process
- Access the Cassette Bay: Open the cassette player door. If it is a pull-out unit, remove it from the dashboard. Use a flashlight to see clearly inside.
- Locate Tape Heads: Identify the small, metallic, often rectangular parts. These are usually in the middle, facing where the tape would pass.
- Dampen a Swab: Dip a lint-free cotton swab into 90% or higher isopropyl alcohol. Squeeze out any excess liquid. The swab should be damp, not wet.
- Gently Wipe Heads: Carefully rub the swab across the surface of the tape heads. Apply light pressure. You will see brownish-black residue on the swab.
- Use New Swabs: Discard the dirty swab. Use a fresh, clean swab for each new wipe. Continue until no more residue comes off. The tape heads should appear clean and shiny.
- Allow to Dry: Let the alcohol evaporate completely. This takes only a few minutes. Do not insert a tape until the heads are dry.
This process removes the main source of poor sound. It makes a big difference in audio clarity. Many people find their old tapes sound new again. Remember, be gentle. Tape heads are delicate. Applying too much force can cause misalignment. This can damage the player. Also, remember that certain cleaning tasks, like removing tough, sticky residue, share common principles with other household cleaning challenges. For example, tackling sticky buildup on a faucet often requires patience and the right solvent, similar to what you apply here.
Restoring Capstans and Pinch Rollers: Smooth Playback
After cleaning the tape heads, focus on the capstans and pinch rollers. These components are essential for tape movement. The capstan is a small metal shaft. The pinch roller is a rubber wheel. Together, they grip the tape and pull it evenly across the heads. If they get dirty, the tape can slow down. It might even slip. This leads to wobbling sound, known as “wow and flutter.” It can also cause tapes to get tangled. Keeping them clean ensures smooth, consistent tape playback.
Like tape heads, capstans and pinch rollers collect tape residue and dust. The pinch roller, being rubber, can become sticky. This stickiness reduces its grip. Use isopropyl alcohol and lint-free cotton swabs for these parts. For the capstan, rub the alcohol-dampened swab along the metal shaft. Ensure you get all around it. For the pinch roller, gently press the swab against its rubber surface. Rotate the roller with your finger to clean its entire circumference. You will likely see dark, gummy residue come off. This is a sign of effective cleaning. Continue with fresh swabs until the roller is black and clean.
Steps for Capstan and Pinch Roller Cleaning
- Locate Capstans and Pinch Rollers: Look for one or two shiny metal posts (capstans) and a corresponding rubber wheel (pinch roller) near the tape heads. They activate when you insert a tape.
- Clean the Capstan: Dip a cotton swab in isopropyl alcohol. Gently rub the swab along the capstan shaft. Rotate the capstan slightly with your finger if possible to clean all sides. Remove all visible grime.
- Clean the Pinch Roller: The pinch roller often collects more sticky residue. Dampen a new cotton swab with alcohol. Gently press the swab against the rubber surface of the pinch roller. Use your finger to rotate the roller. This ensures you clean the entire surface.
- Repeat Until Clean: Change swabs frequently. Continue wiping until no more black or brown residue appears on the swab. The pinch roller should feel smooth and clean, not sticky.
- Inspect for Wear: While cleaning, check the pinch roller for cracks or hardening. Old, stiff rubber needs replacement. Hardened rollers do not grip the tape well.
- Allow to Dry: Let the alcohol evaporate completely. This prevents any residue from transferring to your tapes.
Cleaning these parts greatly improves tape transport. It reduces the chance of tapes getting tangled. It also ensures consistent sound pitch. Many common household cleaning products, such as those that use vinegar as a cleaning agent, demonstrate the power of simple solutions to dissolve grime. While vinegar is not for delicate electronics, the principle of gentle, effective cleaning with the right solvent applies.
Exterior and Cassette Bay Cleaning: A Polished Look
While internal components are crucial for sound, the exterior and cassette bay also need attention. A clean exterior improves the car’s interior appearance. A clean cassette bay prevents dust and debris from entering the player’s mechanism. Dust can accumulate quickly in a car environment. It comes from open windows, air vents, and general use. Keeping these areas clean reduces the chances of future internal contamination. This also makes your car’s audio system look well-maintained.
Start with the cassette player’s exterior. Use a soft, damp microfiber cloth. Wipe down the faceplate, buttons, and display screen. You can use a mild all-purpose car interior cleaner if needed. Apply the cleaner to the cloth first, not directly to the player. For tight spots around buttons, use a cotton swab dampened with water. Avoid getting liquid into any openings. Next, move to the cassette bay itself. Use a can of compressed air. Direct short bursts into the bay to dislodge loose dust. Be careful not to blow dust deeper into the unit. Follow up with a dry, soft brush to sweep out any remaining particles.
Steps for Exterior and Bay Cleaning
- Wipe Exterior Surfaces: Dampen a clean microfiber cloth with a small amount of car interior cleaner or plain water. Gently wipe the entire outer surface of the cassette player. This includes the faceplate, buttons, and any visible plastic or metal parts.
- Clean Button Crevices: Use a slightly damp cotton swab or a soft brush to clean around buttons and in tight crevices. This removes dust and grime that builds up over time.
- Use Compressed Air in Cassette Bay: Hold a can of compressed air a few inches away from the cassette bay opening. Use short, controlled bursts. This dislodges loose dust, hair, and small debris inside the bay. Avoid prolonged sprays which can create condensation.
- Brush Away Remaining Debris: After using compressed air, use a soft-bristle brush. Gently sweep out any remaining dust or particles from the cassette bay.
- Clean Cassette Door/Flap: Wipe the inside and outside of the cassette player’s door or flap with a damp cloth. Ensure no dirt or fingerprints remain.
- Final Wipe Down: Use a dry microfiber cloth for a final wipe. This removes any streaks and leaves a polished finish.
This external cleaning contributes to the overall cleanliness of your car’s interior. It also serves as a first line of defense against dirt entering the sensitive internal mechanisms. A clean exterior reflects proper car care.
Testing and Preventative Measures: Keeping it Clean
After you finish cleaning your car’s cassette player, it is time to test it. Reconnect the power to your car stereo. Reinsert the fuse you removed earlier. Or, reattach the negative battery terminal. Turn on your car’s ignition. Insert a cassette tape. Listen carefully to the sound quality. Check if the tape plays smoothly. Notice any improvements in clarity or playback consistency. If you still hear muffled sound or issues, a second, more focused cleaning might be necessary. Sometimes stubborn residue needs extra passes.
Regular cleaning prevents future problems. Do not wait until sound quality degrades significantly. Set a cleaning schedule. Cleaning your car cassette player every 3-6 months is a good practice. If you use your player often, or drive in dusty environments, clean it more frequently. You can also use a cleaning cassette periodically between manual cleanings. These cassettes provide a quick, easy way to maintain tape heads. Store your tapes properly. Keep them in their cases. This protects them from dust and dirt. Avoid leaving tapes exposed in the car. Direct sunlight and extreme temperatures can damage both tapes and the player.
Tips for Longevity and Performance
- Regular Cleaning Schedule: Make a habit of cleaning your cassette player. Every few months is a good frequency. Frequent cleaning prevents heavy buildup. This extends the life of your unit.
- Use a Cleaning Cassette: Between thorough manual cleanings, use a specialized cleaning cassette. These offer a convenient way to clean tape heads quickly. Follow the product instructions.
- Store Tapes Properly: Always return cassette tapes to their cases after use. This keeps dust and dirt off the tape itself. Clean tapes mean less residue inside your player.
- Avoid Extreme Temperatures: Do not leave tapes or the cassette player exposed to direct sunlight or extreme heat/cold for long periods. Temperature fluctuations can warp tapes. They can also damage player components.
- Inspect Tapes Before Play: Briefly check old tapes for signs of mold or sticky residue before inserting them. Playing dirty tapes will immediately contaminate your clean player. If you find sticky tape, do not use it.
- Consider Professional Service for Major Issues: If cleaning does not resolve the problems, or if you notice mechanical issues, seek professional help. Complex repairs require expert knowledge.
By taking these preventative steps, you keep your car cassette player in top condition. You ensure clear, enjoyable audio for years to come. This approach not only maintains the player but also preserves your cherished tape collection.
Frequently Asked Questions
Q1: How often should I clean my car cassette player?
A1: Clean your car cassette player every three to six months. If you use it often, or if your car is in dusty areas, clean it more frequently. Regular cleaning prevents dirt and tape residue buildup. This maintains good sound quality. It also extends the player’s life. Do not wait for sound problems to appear.
Q2: Can I use regular rubbing alcohol for cleaning?
A2: Use high-purity isopropyl alcohol, 90% concentration or higher. Regular rubbing alcohol (often 70%) contains more water. This leaves residue and takes longer to dry. High-purity alcohol evaporates quickly and leaves no film. This makes it safe for electronic components inside your cassette player.
Q3: What if my cassette player still sounds bad after cleaning?
A3: If sound quality remains poor after a thorough cleaning, other issues may exist. The tape heads might be worn out. They could be misaligned. The motor or belts might need replacement. For these problems, professional repair service is often necessary. Cleaning solves most common sound issues.
Q4: Will cleaning my cassette player damage my tapes?
A4: Proper cleaning techniques do not harm your tapes. In fact, a clean player prevents tape damage. Dirty parts can stretch or tangle tapes. Using high-purity alcohol and lint-free swabs is safe. Ensure components are dry before playing tapes. This avoids any moisture transfer to your valuable collection.
Q5: Can a cleaning cassette replace manual cleaning?
A5: A cleaning cassette offers a quick, convenient way to maintain tape heads. It is useful for routine upkeep. However, it cannot replace thorough manual cleaning. Manual cleaning allows you to directly clean pinch rollers, capstans, and other areas. It removes stubborn, sticky residue a cleaning cassette might miss.
Q6: Is it safe to clean a cassette player with the car on?
A6: No, it is not safe. Always turn off your car and disconnect power before cleaning your cassette player. You can remove the car stereo fuse. Alternatively, disconnect the negative battery terminal. This prevents electric shock and accidental short circuits. Safety comes first when working with electronics.
Conclusion
Bringing your car’s cassette player back to life is a rewarding project. It lets you enjoy your classic tape collection with clear, rich sound once more. You have learned how to clean a cassette player in car thoroughly. This includes identifying crucial components like tape heads, capstans, and pinch rollers. You now understand the right tools to use. You also know the vital safety steps for a successful cleaning process.
Regular maintenance extends the life of your car’s audio system. It ensures every note sounds as intended. Remember to clean often, use the correct materials, and store your tapes well. By following these simple yet effective steps, you will keep your car’s cassette player performing its best. Enjoy the improved audio quality on your next drive.
- Car Audio Cleaning
- Cassette Player Maintenance
- Car Stereo Care
- Tape Deck Cleaning
- Vintage Car Audio