· Home Maintenance · 15 min read
How To Clean Chimney Pipe
Clean Your Chimney Pipe Safely: A Complete Guide
Maintaining a safe and efficient home often means tackling tasks many homeowners overlook. One critical job is cleaning your chimney pipe. This task is more than just tidying up; it is about ensuring the safety of your home and family. Creosote buildup inside your chimney pipe poses a serious fire risk.
Learning how to clean chimney pipe correctly helps prevent dangerous chimney fires. It also ensures your heating system operates efficiently. A clean chimney allows smoke and harmful gases to escape properly. This guide provides a comprehensive, step-by-step approach to cleaning your chimney pipe. We will cover necessary tools, safety precautions, and detailed cleaning methods. You will gain the confidence to handle this important maintenance task yourself.
Takeaway
- Prioritize Safety: Always wear protective gear and take necessary precautions.
- Gather Proper Tools: Use the correct brush size and cleaning equipment.
- Choose a Method: Decide between top-down or bottom-up cleaning.
- Remove Creosote: Scrape and brush away buildup effectively.
- Inspect Regularly: Check your chimney pipe for signs of needed cleaning.
Clear Answer to Main Query
To clean a chimney pipe, first gather essential tools like a chimney brush, rods, protective gear, and a vacuum. Prepare your work area by covering openings and furniture. Then, use either a top-down approach (from the roof) or a bottom-up method (from the fireplace) to scrub away creosote and soot buildup.
Why Cleaning Your Chimney Pipe Matters for Home Safety
Many people enjoy the warmth of a fireplace or wood stove, especially during colder months. However, enjoying these comforts comes with a responsibility: regular chimney maintenance. Neglecting your chimney pipe can lead to severe consequences. The main danger comes from creosote, a tar-like substance that builds up inside the pipe.
Creosote forms when wood smoke cools and condenses. It can be flaky, sticky, or hard and glassy. This substance is highly flammable. A thick layer of creosote can ignite, causing a chimney fire. Such fires burn very hot and can spread quickly to your home’s structure. Chimney fires often cause structural damage to the chimney itself, leading to cracks or collapses. This compromises the integrity of your entire heating system.
Beyond fire risk, a dirty chimney pipe reduces efficiency. A buildup of soot and creosote restricts airflow. This means your fireplace or wood stove cannot draw air properly. It will burn less efficiently, consuming more fuel to produce less heat. This also leads to more smoke entering your living space. Restricted airflow can also cause dangerous carbon monoxide to build up inside your home. Regular cleaning ensures safe and efficient operation of your heating appliance. Understanding the importance of this task is the first step toward a safer home. It helps you protect your family and your property from preventable dangers. You protect your investment in your heating system by keeping it clean.
Gathering Your Tools: Essential Chimney Cleaning Supplies
Before you begin the task of cleaning your chimney pipe, having the right tools makes the job much easier and safer. You cannot effectively remove creosote without specific equipment. Gathering everything beforehand saves time and prevents interruptions. I always make a checklist to ensure I have every item ready.
First, you need a chimney brush. The brush’s size must match your chimney pipe’s diameter. Round brushes work for round flues, and square brushes for square flues. Brushes come in various materials, like wire for masonry chimneys or polypropylene for metal flues. Using the wrong brush material can damage your chimney pipe liner. Always check your chimney type before buying a brush.
Next, you will need flexible chimney rods. These rods screw together to extend the brush’s reach. You push them up or down the chimney. Make sure you have enough rod sections to cover the entire length of your chimney pipe. A rotary cleaning system is another option; it uses a drill to spin the brush. This can make cleaning faster, especially for heavy buildup.
For safety, personal protective equipment (PPE) is essential. This includes safety goggles to protect your eyes from falling debris, a respirator or high-quality dust mask to avoid inhaling soot particles, and heavy-duty gloves to protect your hands. Old clothes that you do not mind getting dirty are also a must. You will also need drop cloths or plastic sheeting to cover furniture and floors around your fireplace. A heavy-duty shop vacuum with a HEPA filter is crucial for cleaning up the fallen soot. Other useful items include a bucket or large trash bag for debris, a flashlight or inspection camera for pre- and post-cleaning inspection, and a small hand brush and dustpan for detailed cleanup. Having these items prepared ensures a smooth and effective chimney cleaning process. It sets you up for success.
Preparing for Chimney Pipe Cleaning: Safety First
Safety is paramount when cleaning your chimney pipe. This job involves working with soot and potentially on a roof, so proper preparation prevents accidents and keeps your home clean. I always emphasize safety steps before starting any cleaning project. Skipping these steps can lead to injuries or significant messes.
First, protect your living space. Soot and creosote are fine, black powders that can spread everywhere. Lay down drop cloths or plastic sheeting generously around your fireplace opening. Cover all nearby furniture, carpets, and valuable items. Seal the fireplace opening completely with plastic sheeting and painter’s tape. This creates a barrier, preventing soot from escaping into your room. You can also use a large tarp or old blanket.
Next, prepare yourself with personal protective equipment (PPE). Always wear safety goggles to protect your eyes from flying debris and falling soot. A high-quality N95 respirator or dust mask is crucial to avoid inhaling harmful particles. Creosote dust can irritate your lungs. Wear thick work gloves to protect your hands. Old, durable clothing is also a must, as it will get very dirty. Consider wearing a head covering as well.
If you are cleaning from the roof, ensure roof safety. Use a sturdy ladder placed on a stable, level surface. Have someone spot you if possible. Wear appropriate footwear with good grip. Avoid working on wet, icy, or excessively windy days. Use a safety harness if you feel unsure or if your roof pitch is steep. Clear any leaves or debris from the roof around the chimney. Before starting, remove the chimney cap, if you have one. This allows access for the brush. Ensure pets and children are away from the work area to prevent accidental exposure to soot or tools. Proper preparation makes the cleaning process safer and more efficient. It protects both you and your home from unnecessary risks.
Step-by-Step Guide: How to Clean Your Chimney Pipe Effectively
Cleaning your chimney pipe can be done in two main ways: from the top down or from the bottom up. Both methods are effective, but one might be more suitable for your specific chimney setup. I will walk you through the process for each. Always remember to prioritize safety during these steps.
Cleaning from the Top Down
This method is generally considered more effective for dislodging heavy creosote. Gravity helps the debris fall downwards.
- Access the Roof: Carefully climb onto your roof with your chimney brush, rods, and a flashlight. Ensure your ladder is stable. If you are not comfortable on a roof, consider hiring a professional.
- Remove Chimney Cap: If present, remove your chimney cap. Place it securely on the roof so it does not slide off.
- Insert Brush: Attach the chimney brush to the first rod section. Carefully lower the brush into the flue opening.
- Extend Rods: Add more rod sections as you push the brush further down the chimney. Use a steady up-and-down motion to scrub the interior walls of the pipe. Focus on all sides of the flue liner.
- Scrub Thoroughly: Work the brush along the entire length of the chimney pipe multiple times. You should hear creosote and soot falling. Continue until the brush moves freely with little resistance.
- Retrieve Tools: Once you reach the bottom, slowly pull the brush and rods back up, detaching sections as you go.
- Reattach Cap: Replace your chimney cap securely.
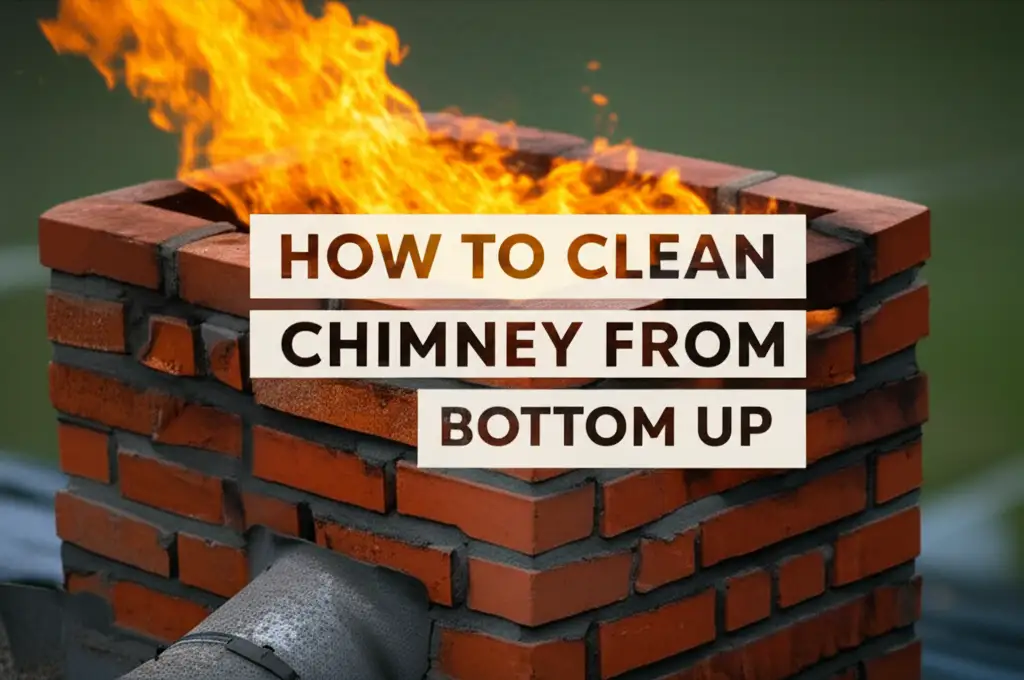
Cleaning from the Bottom Up
This method is safer as it does not require roof access. It is often preferred by homeowners who do not feel comfortable working at heights. You can also learn more about cleaning your chimney from the bottom up in detail.
- Prepare Fireplace Opening: Ensure the fireplace opening is completely sealed with plastic sheeting and tape. Leave a small flap or opening for inserting the brush.
- Access from Below: Open the damper or remove the smoke shelf if possible. You may need to access the flue through a cleanout door at the base of the chimney.
- Insert Brush: Attach the chimney brush to the first rod section. Carefully insert it into the chimney pipe through your access point.
- Extend Rods: Push the brush upwards, adding rod sections as you go. Use a firm, circular, or up-and-down motion to scrub the pipe walls.
- Scrub Thoroughly: Work the brush along the entire length of the chimney pipe, from bottom to top. Listen for falling debris. Continue scrubbing until you feel less resistance.
- Retrieve Tools: Slowly pull the brush and rods back down, detaching sections.
- Clean Firebox: Use a small hand brush and dustpan to clean out the firebox and smoke shelf area.
Final Steps for Both Methods
After either cleaning method, allow the loosened soot and creosote to settle for about 30 minutes. Then, carefully remove the plastic sheeting from your fireplace opening. Use your heavy-duty shop vacuum to thoroughly clean all fallen debris from the firebox and the surrounding area. Pay close attention to corners and crevices. A bright flashlight or an inspection camera helps you check for any remaining buildup. Ensuring a thorough clean prevents future issues. Remember, consistently cleaning your chimney pipe helps maintain a safe home environment.
Disposing of Creosote and Soot: Proper Waste Management
After successfully cleaning your chimney pipe, you will find a significant amount of soot and creosote. Proper disposal of this waste is crucial. It ensures safety and prevents environmental contamination. Do not simply throw it into your regular household trash without care.
Creosote and soot are not ordinary household waste. Creosote contains harmful chemicals, and soot particles are extremely fine. These particles can easily become airborne again, causing respiratory irritation. They can also stain surfaces permanently. Therefore, handling them with caution is essential.
My approach involves using a sturdy, sealable container. A heavy-duty contractor bag or a thick trash bag works well. Carefully shovel or vacuum all the fallen creosote and soot into this bag. Ensure the bag is free of holes to prevent leakage. You can also use a metal bucket with a tight-fitting lid. Once all debris is collected, seal the bag securely. Twist the top of the bag and tie it tightly with a zip tie or strong knot.
Check with your local waste management facility about their specific guidelines for disposing of creosote and soot. Some areas classify it as hazardous waste due to its flammability and chemical composition. They might require special drop-off locations or collection days. Other areas may allow it in regular trash if it is double-bagged and clearly marked. Never dispose of it in a compost pile or garden. The chemicals can harm plants and contaminate soil. Proper disposal helps keep your community clean and safe. This final step is as important as the cleaning itself.
When to Call a Professional Chimney Sweep
While cleaning your chimney pipe yourself can save money, there are times when calling a professional chimney sweep is the wisest decision. Recognizing these situations protects your home and ensures thorough work. Sometimes, a DIY approach is not enough for proper chimney maintenance.
One major reason to call a professional is heavy creosote buildup. If you find a thick, tar-like, or glassy layer of creosote, it is often too difficult for a homeowner’s brush to remove completely. Professionals have specialized tools and chemicals for these stubborn deposits. These advanced tools ensure complete removal, reducing fire risk significantly.
Another sign is any suspected damage to your chimney. If you notice cracks in the flue liner, missing mortar, or water stains, stop using your chimney and call a pro. A professional can perform a thorough inspection, often using video cameras to examine the interior of the flue. They can identify and repair hidden damage that affects safety and performance. This is crucial for structural integrity.
If your chimney has animal nests or significant blockages, a professional can handle these safely. Animals like birds or squirrels often build nests inside chimneys. These nests can block the flue, causing smoke to back up into your home. This creates a carbon monoxide hazard. Professionals have the right equipment to remove these obstructions without harming the animals or your chimney.
Finally, if you simply lack the comfort or physical ability to perform the cleaning safely, hire a professional. Working on a roof or in confined spaces can be dangerous. A professional chimney sweep has the training, experience, and insurance to perform the job safely and effectively. They also provide official inspection reports, which can be valuable for insurance purposes. You might find that maintaining other vent pipes or even cleaning furnace exhaust pipes can be done by yourself, but chimney work often requires specialized knowledge. Your safety is worth the investment.
Maintaining a Clean Chimney Pipe: Preventative Measures
Cleaning your chimney pipe is an essential annual task, but proactive measures can significantly reduce the buildup of creosote and soot. By adopting good habits, you extend the time between major cleanings and ensure continuous safe operation. I always advise homeowners to think about prevention first.
The type of wood you burn makes a big difference. Burn only seasoned firewood. Seasoned wood has been dried for at least six months to a year. It has a lower moisture content. Wet or green wood produces more smoke, which leads to greater creosote buildup. You can test wood dryness by striking two pieces together; seasoned wood makes a clear, ringing sound. Using a wood moisture meter is also helpful; aim for less than 20% moisture.
Avoid burning trash, cardboard, or treated wood. These materials create excessive smoke, harmful chemicals, and can cause rapid creosote accumulation. They also release toxic fumes. Only burn natural, unpainted, untreated wood in your fireplace or wood stove. This practice reduces the amount of residue deposited in your chimney pipe.
Maintain a hot fire. A hot fire burns more efficiently and produces less smoke. This minimizes creosote formation. Avoid letting your fire smolder. Ensure adequate airflow by keeping your damper fully open when starting a fire and adjusting it as needed to maintain a strong draft. A weak draft indicates a smoldering fire. You should see little to no smoke coming from your chimney top once the fire is established.
Consider using creosote-reducing chimney treatments. These products, often in powder or log form, contain catalysts that modify creosote, making it less flammable and easier to remove. They do not replace manual cleaning but can help reduce buildup between sweeps. Always follow product instructions carefully.
Regularly inspect your chimney pipe. Even between full cleanings, visually check your flue from the firebox and from the top (if safe to do so). Use a bright flashlight to look for signs of creosote buildup. If you see a layer of creosote thicker than 1/8 inch, it is time for a cleaning. Consistent vigilance ensures your chimney pipe remains safe and efficient. These preventative steps save you time and potential headaches in the long run.
Frequently Asked Questions
How often should I clean my chimney pipe?
You should clean your chimney pipe at least once a year. If you use your fireplace or wood stove frequently, or if you burn softwoods, you might need to clean it more often. Many experts recommend cleaning after every cord of wood burned. Regular inspection helps determine the exact frequency.
What is creosote and why is it dangerous?
Creosote is a highly flammable residue that forms inside your chimney pipe from unburned wood particles and condensed smoke. It can range from flaky to sticky or glassy. Creosote is dangerous because it is the primary fuel for chimney fires, which can burn extremely hot and spread to your home.
Can I clean my chimney pipe myself or should I hire a professional?
You can clean your chimney pipe yourself if you have the right tools, knowledge, and comfort with heights. However, for heavy creosote buildup, suspected damage, or if you prefer not to do it yourself, hiring a professional chimney sweep is recommended. They have specialized equipment and training.
What tools do I need to clean a chimney pipe?
Essential tools include a chimney brush (sized for your flue), flexible chimney rods, safety goggles, a respirator mask, heavy-duty gloves, drop cloths, and a heavy-duty shop vacuum. A flashlight or inspection camera is also useful for checking the flue.
What are the signs of a dirty chimney pipe?
Signs include difficulty starting a fire, smoke backing up into your room, a strong burning smell even when the fire is out, visible creosote buildup (1/8 inch or more) when inspecting the flue, or a decrease in heating efficiency from your fireplace or stove.
Conclusion
Taking the time to understand how to clean chimney pipe is an investment in your home’s safety and efficiency. This critical maintenance task prevents dangerous creosote buildup, reduces the risk of chimney fires, and ensures your heating appliance operates at its best. We covered everything from gathering the right tools to executing the cleaning process and disposing of waste safely.
Remember, consistent cleaning and proactive preventative measures are key. Burning seasoned wood, maintaining hot fires, and conducting regular inspections will keep your chimney pipe cleaner for longer. While DIY cleaning is possible for many, know when to call a professional for complex situations or heavy buildup. By following the guidelines in this comprehensive guide, you protect your home, your family, and your peace of mind. Prioritize chimney pipe cleaning today; it truly makes a difference. Ensure your chimney is ready for safe use by giving it the attention it deserves.
- chimney cleaning
- creosote removal
- chimney maintenance
- home safety
- fireplace care