· Home Cleaning · 15 min read
How To Clean Construction Dust From Floors
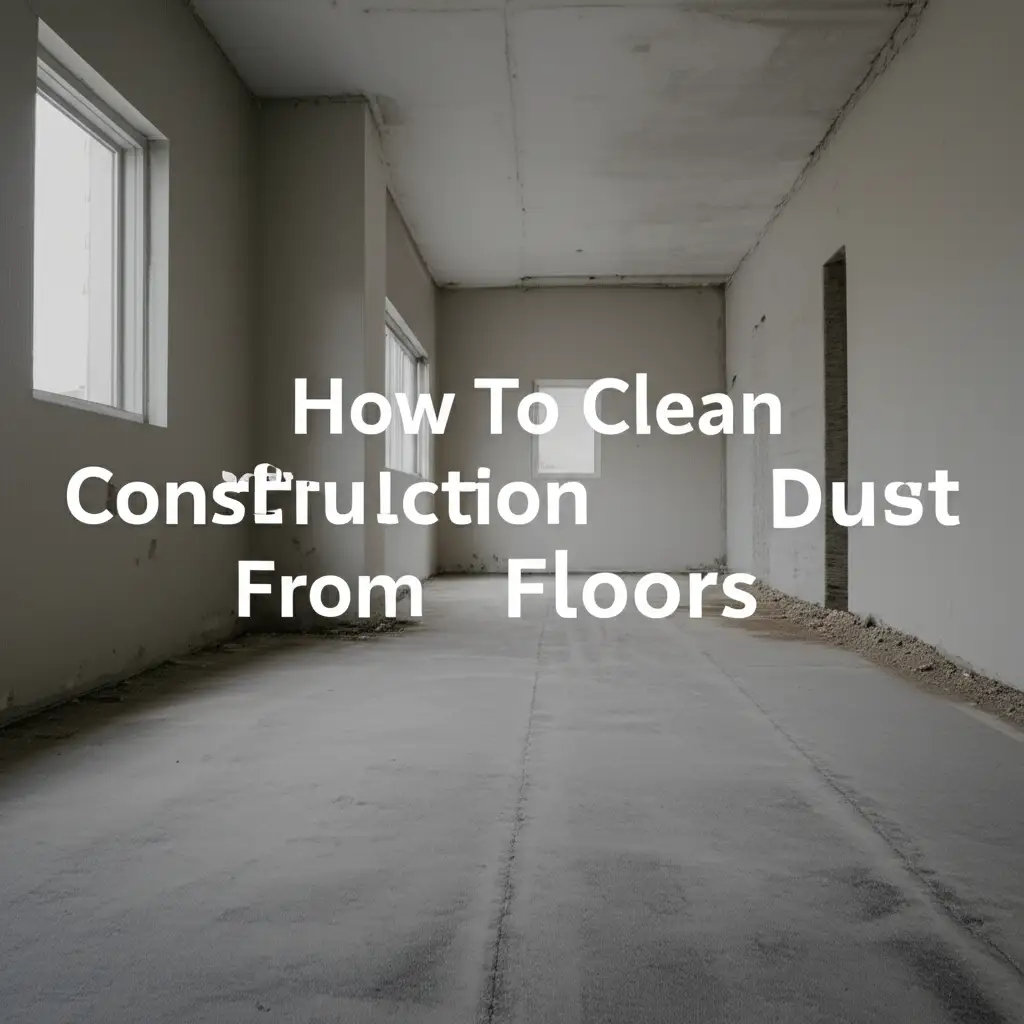
Clean Construction Dust: A Floor-Cleaning Guide
Just finished a renovation? Great! But now your floors are covered in a fine, stubborn layer of construction dust. It feels overwhelming, right? I know that feeling. This isn’t just regular dust; it’s drywall particles, wood shavings, concrete dust, and more, which stick to everything. Knowing how to clean construction dust from floors effectively is crucial for a healthy, dust-free home.
In this guide, I will walk you through the entire process. We will cover essential tools you need and step-by-step methods to tackle even the finest dust. You will also learn about specific approaches for different floor types. My goal is to help you restore your home’s cleanliness and enjoy your newly renovated space without the lingering mess.
Takeaway
To effectively remove construction dust from floors:
- Always start with thorough dry vacuuming using a HEPA filter to pick up fine particles.
- Follow dry cleaning with targeted wet cleaning appropriate for your specific floor material.
- Address dust on all surfaces, not just floors, to prevent re-settling.
- Avoid common mistakes like using too much water or a standard vacuum.
Cleaning construction dust from floors involves a two-phase approach: first, remove all loose, dry dust using a HEPA-filtered vacuum and microfiber tools. Second, wet-clean surfaces with appropriate cleaners and minimal moisture to pick up residual grime. This process ensures thorough dust elimination without creating mud or damaging floors.
Gearing Up: Essential Tools for Construction Dust Removal
Cleaning construction dust from floors demands more than just a regular broom and mop. This type of dust is very fine and can damage surfaces if not handled correctly. Gathering the right tools before you start saves time and makes the job much easier. I always advise people to invest in specific items for this heavy-duty cleaning task.
First, personal protective equipment (PPE) is vital. Dust masks, safety goggles, and gloves protect your eyes, lungs, and skin from irritants. Construction dust contains tiny particles that can cause respiratory issues or eye irritation. Wearing a good quality N95 mask is not optional; it is a necessity.
Next, a powerful vacuum cleaner is your best friend. A shop vac with a HEPA filter attachment is ideal. Standard household vacuums often lack the suction power for heavy debris and can release fine dust back into the air. A HEPA filter traps tiny particles, preventing them from recirculating. This is key for truly clean air and surfaces.
You also need micro-fiber cloths and mops. These tools excel at trapping fine dust particles, unlike traditional cotton cloths that might just push dust around. Buckets, squeegees, and appropriate cleaning solutions for your specific floor type will complete your arsenal. Having everything ready means you can move through the cleaning process efficiently.
Strategic Dry Removal: The First Critical Step
Beginning with dry dust removal is the most important step when you clean construction dust from floors. Skipping this part and going straight to wet cleaning creates a muddy mess that is harder to clean. It also pushes abrasive dust particles deeper into your floor’s surface or grout lines. I always start dry to minimize damage and maximize efficiency.
First, use your shop vac with the HEPA filter. Start from the highest points in the room and work your way down to the floors. This includes ledges, window sills, and any exposed joists or pipes. Vacuuming high surfaces first prevents dust from falling onto your freshly cleaned floor. For the floors themselves, vacuum slowly and thoroughly. Overlap your passes to ensure you pick up every last particle. Pay special attention to corners, baseboards, and any cracks where dust loves to hide.
After vacuuming, follow up with a dry microfiber dust mop. This tool picks up the microscopic dust that the vacuum might miss. Microfiber mops use static electricity to attract and hold fine particles. Move the mop in a consistent pattern, lifting it frequently to shake off collected dust into a trash can or vacuum it directly from the mop head. Regular vacuuming and dry mopping during and after construction will make a huge difference in the final cleanup process. This careful dry approach prevents smearing and prepares the surface for wet cleaning.
HEPA Filters: Your Dust Defense
HEPA filters are a must for cleaning construction dust. These filters trap 99.97% of airborne particles 0.3 microns or larger. This includes fine dust, pollen, mold spores, and pet dander. Without a HEPA filter, your vacuum could simply blow fine dust back into the air, making your cleaning efforts less effective. I always recommend using a vacuum with a certified HEPA filter. It protects your lungs and ensures a truly clean environment.
Microfiber Mops: Trapping Fine Particles
Microfiber mops are incredibly effective for picking up tiny dust particles. Their unique fiber structure creates a large surface area with many tiny hooks. These hooks grab and hold onto dust, dirt, and even microscopic debris. Traditional cotton mops often just push fine dust around, but microfiber traps it. For cleaning porcelain tile floors without streaks, a dry microfiber mop is an excellent initial step before wet cleaning. Always use a clean microfiber mop head for the best results.
Targeted Wet Cleaning: Addressing Different Floor Types
Once you have removed all visible dry dust, it is time for wet cleaning. This step removes the stubborn film of dust that adheres to surfaces. The key here is to use the right cleaning solution and minimal moisture for your specific floor type. Using too much water can damage certain flooring materials, especially wood. I always test any new cleaning solution in an inconspicuous area first.
For most surfaces, a mild, pH-neutral cleaner mixed with water is sufficient. Avoid harsh chemicals like bleach or ammonia, as they can damage finishes or leave residues. Use two buckets: one for your cleaning solution and one with clean rinse water. Dip your mop into the cleaning solution, wring it out until it is barely damp, and clean a small section. Immediately follow up by wiping with a clean, damp mop or cloth rinsed in the clean water bucket. This two-bucket method prevents spreading dirty water.
Work in small sections, changing your rinse water frequently. You might need to repeat this process several times until your mop comes away clean. For really sticky residues, a light scrub with a soft brush might be needed. Remember, the goal is to lift the dust, not just push it around. This careful wet cleaning process reveals the true cleanliness of your floors.
Wood Floors: Gentle and Effective Methods
Cleaning wood floors after construction requires extra care. Wood is sensitive to excess moisture. I always recommend using a wood floor cleaner specifically designed for your floor type – solid, engineered, or laminate. Apply the cleaner directly to a microfiber mop or cloth, not directly onto the floor. This controls moisture. Mop in the direction of the wood grain. For everyday maintenance or even after construction, many people find success with gentle methods. If you are curious about how to clean wood floors with vinegar, remember to dilute it heavily and use it sparingly. For engineered wood, specific products are often recommended. Knowing how to clean engineered wood floors with Bona can be very helpful, as Bona products are designed to be gentle yet effective on these surfaces. Always wipe the floor dry immediately after cleaning to prevent water damage or streaks.
Tile and Stone: Deep Cleaning Solutions
Tile and stone floors are more durable than wood but still require the right approach. For ceramic, porcelain, or natural stone tiles, a pH-neutral cleaner is generally safe. Mix the cleaner according to product directions. Use a damp mop, not soaking wet, to clean small sections. Pay extra attention to grout lines, where construction dust can settle deeply. A grout brush and a stronger grout cleaner might be necessary for stubborn areas. Rinse thoroughly with clean water to prevent soap residue, which can attract more dirt. For cleaning porcelain tile floors without streaks, a final wipe with a clean, dry microfiber cloth can make a big difference. Natural stone, like marble or granite, is porous. It requires cleaners specifically formulated for stone to avoid etching or discoloration. Always seal natural stone after a thorough cleaning to protect it from future stains.
Laminate and Vinyl: Careful Mopping
Laminate and vinyl floors are water-resistant but not waterproof. Like wood, they can warp or swell if exposed to too much moisture. I use a slightly damp microfiber mop with a mild floor cleaner. Never use abrasive cleaners, wax, or steam cleaners on these surfaces. They can damage the finish. Wipe up spills and wet spots immediately. For stubborn spots, a little rubbing alcohol on a clean cloth can work. Always refer to the manufacturer’s cleaning recommendations to keep these floors looking their best after a renovation.
Beyond the Floor: Comprehensive Dust Control
Construction dust does not just settle on floors; it travels everywhere. To truly clean construction dust from floors and your home, you must address all surfaces. If you clean only the floors, dust from higher surfaces will simply fall back down, making your efforts useless. I always tell people to think from top to bottom when cleaning a dusty space.
Start with ceilings and walls. Use a soft brush attachment on your vacuum or a dry microfiber mop to remove dust from ceilings. For walls, a clean, dry microfiber cloth or a damp mop (depending on wall paint type) works wonders. Wipe gently from top to bottom. Remember to clean light fixtures, ceiling fans, and window treatments. Dust loves to cling to these items. If you are wondering how to clean a ceiling, starting with a vacuum followed by a damp cloth is often effective, just be careful not to oversaturate.
Next, focus on cabinets, countertops, and appliances. Wipe them down with a damp microfiber cloth. Pay attention to inside cabinets and drawers, as dust can infiltrate even closed spaces. Clean all vents and air returns. Construction dust can accumulate in these areas, circulating back into your home. Learning how to clean black dust around air vents is important for improving air quality. Finally, consider running an air purifier with a HEPA filter for several days after cleaning. This helps capture any remaining airborne particles, ensuring cleaner, healthier air inside your home.
High Surfaces: Clearing Settled Dust
Dust settles on high surfaces first. This includes ceiling fans, light fixtures, tops of cabinets, and crown molding. I use a vacuum cleaner with a brush attachment or a long-handled duster with a microfiber head to reach these areas. Always dust from top to bottom, allowing gravity to work for you. This way, dust falls onto surfaces you haven’t cleaned yet. After dry dusting, a wipe with a damp microfiber cloth ensures all fine particles are removed.
Air Quality: Filtering the Fine Particles
Even after vacuuming and wiping surfaces, fine construction dust particles can remain suspended in the air. This impacts your home’s air quality. I recommend changing your HVAC filter to a high-efficiency MERV 11 or higher filter. Run your HVAC system fan continuously for several days. Additionally, a standalone air purifier with a HEPA filter can significantly reduce airborne dust. Place it in the most used rooms. This step makes a noticeable difference in how clean your home feels and smells.
Common Mistakes to Avoid During Post-Construction Cleanup
Cleaning construction dust from floors and your entire home is a big job. Making common mistakes can make the process longer and less effective. I have seen many people fall into these traps. Being aware of them helps you avoid unnecessary frustration and ensures a better result.
One major mistake is using too much water. Oversaturating floors, especially wood or laminate, can lead to warping, swelling, or water damage. Remember my advice: use a barely damp mop. Another error is using a standard household vacuum without a HEPA filter. These vacuums are not designed for fine construction dust. They often release the tiny particles back into the air, making the dust problem worse. Always use a shop vac with a HEPA filter or a high-quality upright with sealed filtration.
Rushing the process is another common pitfall. Cleaning construction dust requires patience and thoroughness. You need to vacuum, wipe, and often re-wipe surfaces multiple times to get them truly clean. Do not forget to clean from top to bottom. Starting with floors and then cleaning ceilings just means dust from above will fall onto your freshly cleaned surfaces. Lastly, not protecting your belongings before renovation or during cleanup can be a mistake. Cover furniture and seal off rooms to minimize the spread of dust in the first place. These simple precautions can save you a lot of time and effort in the long run.
DIY Cleaning Solutions: Natural Alternatives for Dust
Sometimes, you might prefer to use natural, homemade cleaning solutions to clean construction dust from floors. These options are often eco-friendly and use ingredients you probably already have at home. While commercial cleaners are effective, DIY solutions offer a gentler approach. I find them very useful for general clean-up after the initial heavy dust is gone.
For most general cleaning, a simple mix of warm water and a few drops of mild dish soap works well. This solution is effective for wiping down hard surfaces like tile, vinyl, and even sealed concrete floors. The dish soap helps to break down greasy residues and lift fine dust particles. Always make sure to wring out your mop or cloth thoroughly. You want it damp, not soaking wet. Rinse with clean water afterward to prevent any soapy residue from attracting more dirt.
Vinegar is another powerful natural cleaner. A solution of equal parts white vinegar and water can cut through grime and dust film. It is excellent for tile floors and non-porous surfaces. However, avoid using vinegar on natural stone, marble, or unsealed grout, as its acidity can cause damage. For tough spots or sticky residues on suitable surfaces, a paste of baking soda and water can provide gentle abrasion. You can learn more about how to use vinegar and baking soda for cleaning in various applications. Always test any DIY solution on an inconspicuous area first to ensure it does not damage your specific flooring material.
Maintaining Cleanliness: Long-Term Dust Management
After the intense post-construction cleanup, you want to keep your home dust-free. Cleaning construction dust from floors is not a one-time event; ongoing maintenance is essential. Implementing a few simple habits can drastically reduce future dust accumulation. I always emphasize preventive measures to my clients because they save so much effort in the long run.
First, regular vacuuming is paramount. Even after a deep clean, some fine particles might settle over time. Use your HEPA-filtered vacuum at least once or twice a week. This picks up dust before it builds up or gets tracked around. Focus on high-traffic areas and corners. A robotic vacuum can be a great help for daily maintenance.
Second, ensure your home’s HVAC system is equipped with high-quality air filters. Replace them regularly, every 1-3 months, especially after a renovation. Higher MERV-rated filters trap more airborne particles, preventing them from circulating and settling on your floors. Third, use good quality doormats at all entryways. Encourage family members and guests to wipe their feet thoroughly. This simple step traps a significant amount of dirt and dust before it even enters your home. Finally, consider sealing any small gaps or cracks in walls, windows, and doors. This prevents outdoor dust, pollen, and other pollutants from entering your living space. These small, consistent efforts will help you enjoy a cleaner home for much longer.
FAQ Section
How long does construction dust stay in the air?
Construction dust can linger in the air for days, or even weeks, after a renovation. Fine particles settle slowly. Running a HEPA-filtered air purifier and your HVAC fan with a clean filter helps remove airborne dust faster. Regular cleaning is also essential for settling particles.
Can I use a regular vacuum for construction dust?
I do not recommend using a regular household vacuum for construction dust. Most household vacuums lack the power for heavy debris. They also often lack a HEPA filter, meaning they can blow fine dust particles back into the air. A shop vac with a HEPA filter is much more effective and safer.
What’s the best way to clean wood floors after construction?
For wood floors, first vacuum thoroughly with a HEPA-filtered vacuum. Then, use a slightly damp microfiber mop with a pH-neutral wood floor cleaner. Avoid excess water and harsh chemicals. Wipe dry immediately. This prevents moisture damage and preserves the finish.
Why does dust keep coming back after cleaning?
Dust often reappears because it settles from higher surfaces like ceilings, walls, or vents. Incomplete initial cleaning, lack of HEPA filtration, or poor HVAC filters also contribute. To truly eliminate it, clean from top to bottom and maintain good air quality.
Is construction dust harmful?
Yes, construction dust can be harmful. It often contains silica, wood particles, and other irritants. Inhaling these fine particles can cause respiratory issues, allergies, or worsen existing conditions. Always wear a mask and ensure good ventilation when cleaning.
Should I clean before or after the dust settles?
You should clean after the bulk of the construction work is done and the dust has had a chance to settle. However, for a truly clean space, a multi-phase cleaning approach is best. Vacuum and clean multiple times as dust continues to settle over several days.
Conclusion
Cleaning construction dust from floors can seem like a daunting task, but with the right approach, it is absolutely manageable. I hope this guide has given you the confidence and knowledge to tackle your post-renovation cleanup. Remember to always start with thorough dry vacuuming using a HEPA filter. Follow this with careful wet cleaning, tailoring your methods to your specific floor type. Do not forget to clean all surfaces, not just the floors, to truly eliminate lingering dust.
Patience and persistence are key when you are learning how to clean construction dust from floors. It might take several passes and a few days to achieve a completely dust-free environment. But the effort is worth it. A clean home is a healthy home. Take these steps, and you will soon enjoy your newly renovated space without any dust-related worries. Your floors will shine, and your air will feel fresh.
- construction dust removal
- floor cleaning
- post-renovation cleanup
- dust control
- home maintenance