· Appliance Care · 15 min read
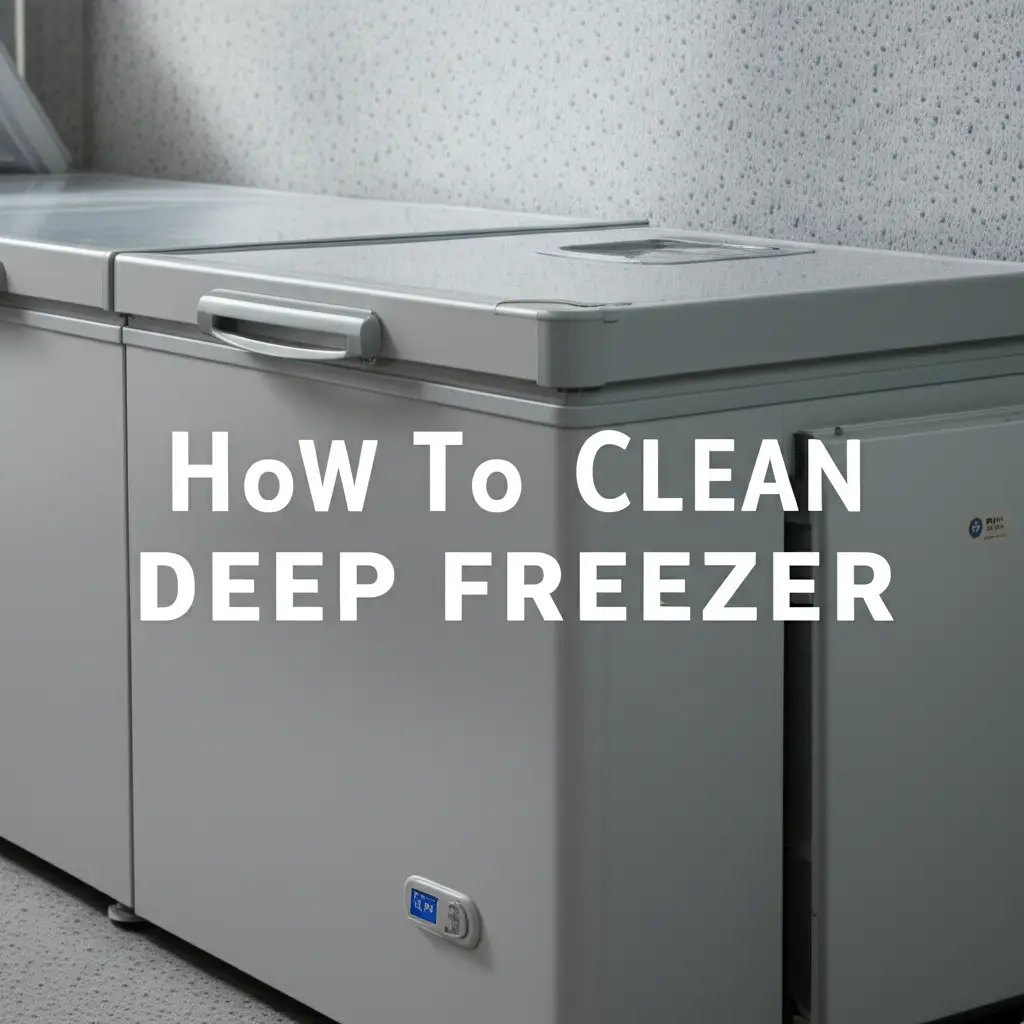
How To Clean Deep Freezer
Deep Freezer Cleaning: A Complete Guide for Freshness
Have you ever opened your deep freezer only to be met with a frosty wilderness or a faint, unidentifiable smell? Deep freezers are essential for preserving food, but they often get overlooked in our cleaning routines. A dirty deep freezer reduces efficiency and can even affect your food’s taste. Keeping your deep freezer clean is a simple task that yields big rewards. This guide will show you how to clean your deep freezer thoroughly. We will cover everything from preparation to maintenance tips.
Takeaway
Keeping your deep freezer clean ensures food freshness and extends the appliance’s life. Here are the key actionable messages:
- Prepare Adequately: Empty and store all food safely before starting.
- Defrost Completely: Allow all ice to melt for easy cleaning.
- Clean Thoroughly: Use a mild cleaning solution on all interior surfaces.
- Dry Completely: Ensure no moisture remains to prevent ice buildup and odors.
- Maintain Regularly: Implement a cleaning schedule for lasting freshness and efficiency.
To clean your deep freezer, first unplug it and empty all contents. Allow the freezer to defrost completely. Then, wipe down the interior with a mild cleaning solution of baking soda and warm water. Finally, dry all surfaces thoroughly before plugging it back in and restocking your items.
Getting Ready: Essential Steps Before You Clean Your Deep Freezer
Before you begin to clean your deep freezer, proper preparation is key. This initial phase makes the entire cleaning process smoother and safer. You want to avoid any surprises once you start. Taking a few moments now saves a lot of hassle later.
First, you must manage your food supply. A deep freezer holds a lot of items. Think about where you will store all this food temporarily. Using insulated coolers with ice packs or moving items to another freezer is a good option. You do not want food to spoil during the cleaning process. This step is critical for food safety.
Next, find a good time to clean. Defrosting takes time, especially for a heavily frosted deep freezer. Choose a day when you have several hours available. This ensures you can complete the entire process without rushing. Weekends often work well for this task.
Gather all your cleaning supplies before you start. You will need a few basic items. These include towels, sponges, buckets, and a mild cleaning solution. Having everything ready means fewer interruptions. It makes the job more efficient.
Finally, place old towels or newspapers around the deep freezer’s base. Defrosting creates a lot of water. These materials will catch drips and prevent water damage to your floor. This simple step protects your home. It makes cleanup easier after you finish the main task.
Defrosting Your Deep Freezer: The Crucial First Step
Defrosting is perhaps the most important part when you want to clean your deep freezer. You cannot properly clean a deep freezer full of ice. This step removes all frost and ice buildup. It also prepares the surfaces for washing.
The first action is to unplug the deep freezer from the wall outlet. Safety comes first when working with appliances. This prevents electric shock. It also begins the defrosting process.
Once unplugged, open the lid or door. Many deep freezers have a drain plug at the bottom. Locate this plug and remove it. Place a shallow pan or tray under the drain to catch the melting ice water. If your freezer does not have a drain, you will need more towels. You will manually sponge up the water as it melts.
Defrosting can take several hours, especially if there is significant ice buildup. Patience is important here. You can speed up the process slightly. Place bowls of hot water inside the freezer. Close the lid for about 15-20 minutes. The steam helps loosen the ice. You can also use a fan directed into the open freezer. Never use sharp objects to chip away at ice. This can damage the freezer’coils or liner. You could also use a hairdryer on a low, cool setting. Keep the hairdryer away from water.
As the ice melts, regularly empty the pan under the drain. You can also use a sponge or old towels to soak up excess water from the bottom of the freezer. This prevents water from overflowing onto your floor. Continue this process until all ice has melted. All interior surfaces should be free of frost.
Cleaning the Interior: Methods for a Spotless Deep Freezer
Once your deep freezer is fully defrosted, it is time for the real cleaning. The interior of your freezer needs special attention. You want it clean but also free from harsh chemical residues. These residues can affect food or leave strong odors.
Start by preparing your cleaning solution. I find a simple mixture works best. Mix warm water with baking soda or white vinegar. For a baking soda solution, use two tablespoons of baking soda per quart of warm water. For vinegar, use equal parts white vinegar and warm water. Both options are natural and effective. They also help with odors. You can read more about cleaning with vinegar to understand its power for various surfaces, even those outside your kitchen, like when you clean shower with vinegar.
Dip a clean cloth or sponge into your chosen solution. Begin wiping down all interior surfaces. This includes the walls, floor, and lid or door. Pay close attention to corners and crevices. These spots often hide grime and food spills. You might find sticky spots or dried-on food particles. Apply a little extra solution and let it sit for a few minutes. Then, gently scrub them away. If you find yourself needing to tackle the very bottom of your freezer, our guide on how to clean freezer floor offers even more targeted advice.
After scrubbing, rinse the surfaces thoroughly. Use a separate clean cloth dipped in plain warm water. Wipe away all cleaning solution residue. You do not want any soap or vinegar smell to linger. This step is important for food safety. Make sure all surfaces feel smooth and clean.
Finally, dry the interior completely. Use clean, dry towels for this. Ensure every surface is bone dry. Any remaining moisture will turn into ice as soon as you plug the freezer back in. This defeats the purpose of your deep clean. A dry interior also helps prevent mold and mildew growth. You can even leave the lid open for a short time to air dry before plugging it back in.
Tackling Stubborn Odors and Stains in Your Deep Freezer
Even after a good cleaning, deep freezers can sometimes hold onto odors or stubborn stains. These issues often come from spilled food or long-forgotten items. Addressing them ensures your freezer smells fresh and looks its best. You want your food to smell clean, not like old freezer contents.
First, let us talk about odors. A persistent smell often means a thorough deodorizing is needed. After you have cleaned the interior surfaces, sprinkle a generous layer of baking soda on the bottom of the freezer. Leave the baking soda there for at least 24 hours. You can even leave it for a few days with the lid slightly ajar if possible. Baking soda is a natural odor absorber. It works wonders. Alternatively, you can place an open bowl of activated charcoal or crumpled newspaper inside. These also absorb smells. For stronger odors, a vinegar solution can be very effective as vinegar is known for its deodorizing properties, just like when you need to clean mold with vinegar in other areas of your home.
Next, consider stubborn stains. Sometimes food dyes or liquids can leave marks. For these, a paste of baking soda and a little water works well. Apply this paste directly to the stain. Let it sit for about 15-20 minutes. Then, gently scrub with a soft brush or sponge. The abrasive nature of baking soda, combined with its cleaning power, helps lift the stain without damaging the freezer’s surface. Avoid harsh abrasive cleaners or scouring pads. They can scratch the freezer liner.
If odors or stains persist, repeat the cleaning and deodorizing steps. Sometimes, a second application is necessary for tough cases. Make sure the freezer is completely dry before plugging it back in. Trapped moisture can trap odors or lead to new ones. A clean, fresh-smelling freezer is a joy to use. It gives you peace of mind that your food is stored in the best conditions.
Cleaning the Exterior and Maintaining Your Deep Freezer’s Health
While the interior is crucial, don’t forget the outside of your deep freezer. The exterior also gathers dust and grime. Cleaning it improves its appearance. It also helps the appliance run more efficiently. A well-maintained exterior contributes to the overall health of your deep freezer.
Start by wiping down the outer casing. Use a damp cloth with a mild all-purpose cleaner. For stainless steel finishes, use a specific stainless steel cleaner to avoid streaks. Pay attention to the lid handle, as this is touched frequently and can accumulate grease and fingerprints. A clean exterior reflects a well-cared-for appliance.
Next, focus on the condenser coils, if your model has accessible ones. These are usually located on the back or bottom of the freezer. Dust and pet hair can collect on these coils. This buildup makes the freezer work harder to cool, wasting energy. Use a vacuum cleaner with a brush attachment to gently remove dust from the coils. For areas under appliances, like a refrigerator, you might even find tips on how to clean under a refrigerator useful, as the principles of accessing and cleaning tight spaces are similar. Be gentle to avoid damaging the coils. Cleaning these coils annually can significantly improve efficiency.
Inspect the door gasket or seal. This is the rubber seal around the lid that keeps cold air in. Over time, it can accumulate dirt or become brittle. Wipe it down with a damp cloth and mild soap. Check for any cracks or tears. A damaged gasket lets cold air escape. This forces the freezer to run more often. You might need to replace a damaged gasket to maintain efficiency.
Finally, consider the area around the freezer. Ensure there is enough space for proper airflow. Do not push the freezer too close to a wall. Good ventilation helps the condenser coils dissipate heat effectively. This makes your deep freezer run more efficiently and prolongs its lifespan. Regular exterior cleaning and maintenance keep your deep freezer looking good and performing its best.
Organizing and Restocking Your Clean Deep Freezer
After all your hard work cleaning your deep freezer, the final step is to organize and restock it. This part is about more than just putting food back. It is about creating an efficient storage system. A well-organized freezer makes finding items easy. It also prevents food from getting lost or forgotten.
Before putting anything back, check your food items. Discard anything that is past its prime or freezer-burned. This is an excellent time to re-evaluate your freezer inventory. Look for items that might be too old or not properly sealed. It ensures only fresh, quality food goes back into your clean space.
Consider using storage bins or baskets. These can help categorize your food. For example, you can have one bin for meats, another for vegetables, and a third for baked goods. This prevents items from piling up randomly. When you need something, you simply pull out the relevant bin. It makes accessing items much simpler. This is especially helpful in chest freezers, where items can get buried at the bottom.
Labeling everything is a game-changer. Use freezer tape or labels. Write the item name and the date it was frozen. This prevents confusion later. You will know exactly what something is and how long it has been stored. This helps with proper food rotation, reducing waste. It ensures you use older items first.
When restocking, try to place frequently used items on top or near the opening. Less frequently accessed items can go at the bottom. Leave a little space for air circulation. A fully packed freezer is efficient. However, leaving a small gap helps the cold air move around. This maintains a consistent temperature throughout the freezer. Organizing saves you time and ensures your food remains at its best quality.
Preventative Measures for a Cleaner Deep Freezer
Cleaning your deep freezer thoroughly is a big project. You want to make sure your hard work lasts. Implementing preventative measures reduces how often you need to do a deep clean. These simple habits keep your freezer fresh and efficient year-round. You will save time and energy in the long run.
Firstly, manage your food inventory actively. Avoid overloading your freezer. While a full freezer is more energy-efficient than an empty one, overstuffing can block airflow. This leads to inconsistent temperatures and potential frost buildup. Keep an inventory list on the outside of your freezer. Mark items off as you use them. This helps you know what you have. It also helps you rotate food efficiently.
Secondly, always use airtight containers or freezer bags. Proper packaging is critical. It prevents freezer burn. It also stops food odors from spreading. Leaky packages cause spills and introduce moisture. This moisture quickly turns into ice. Ensure all containers are sealed tightly before placing them inside. This simple step keeps your freezer cleaner and your food fresher.
Thirdly, wipe up spills immediately. Accidents happen. A small spill of juice or sauce can turn into a sticky, frozen mess. As soon as you notice a spill, clean it up. Use a warm, damp cloth. Quick action prevents stains and odors from setting in. It stops the spread of bacteria.
Fourthly, perform mini-cleanings regularly. You do not need a full defrost every month. Take a few minutes once a month to do a quick wipe-down. Remove a few items, wipe the shelves or baskets, and check for any minor spills. This keeps small issues from becoming big problems. It maintains overall cleanliness.
Lastly, consider a yearly defrost and deep clean. Even with preventative measures, some frost will accumulate. A yearly deep clean ensures your freezer runs at peak efficiency. It also gives you a chance to inspect the coils and door seals. This proactive approach saves energy. It also extends the life of your appliance. A little regular effort means less big clean-up work.
FAQ Section
How often should I clean my deep freezer?
You should aim for a full deep clean and defrost at least once a year. If your freezer accumulates frost quickly or you notice persistent odors, you might need to clean it every six to nine months. Regular monthly spot cleaning and immediate spill cleanup help extend the time between full deep cleans.
What is the best way to speed up deep freezer defrosting?
The safest way to speed up defrosting is to place bowls of hot water inside the freezer and close the lid for 15-20 minutes to generate steam. You can also use a fan to blow cool air into the open freezer. Never use sharp objects or harsh heat sources, as these can damage the freezer’s interior.
Can I use harsh chemical cleaners in my deep freezer?
No, you should avoid harsh chemical cleaners inside your deep freezer. Chemicals can leave residues that may contaminate food or damage the freezer lining. A solution of warm water with baking soda or white vinegar is safe and effective for cleaning and deodorizing all interior surfaces.
How do I prevent ice buildup in my deep freezer?
Prevent ice buildup by ensuring the deep freezer door seal is clean and intact, as a compromised seal allows warm, moist air inside. Always use airtight containers or freezer bags for all food items. Avoid overloading the freezer, which can block airflow. Wipe up any spills immediately.
What should I do with food during deep freezer cleaning?
During deep freezer cleaning, store all frozen food in insulated coolers with ice packs. You can also move items to a second freezer or a neighbor’s freezer if available. Ensure food remains at a safe temperature below 0°F (-18°C) to prevent thawing and spoilage.
What if my deep freezer still smells after cleaning?
If your deep freezer still smells after cleaning, repeat the deodorizing step. Place an open box of baking soda, activated charcoal, or crumpled newspaper inside the empty freezer for several days. Ensure the freezer is completely dry inside before adding any deodorizing agents.
Conclusion
Cleaning your deep freezer is more than just a chore; it is an essential part of maintaining a healthy home and ensuring food safety. We have walked through every step, from preparing your space and defrosting, to thoroughly cleaning the interior and exterior. Tackling stubborn odors and stains is also part of this process. An organized and clean deep freezer keeps your food fresh and extends the life of your appliance. Remember that a clean freezer runs more efficiently, which saves you money on energy bills.
By following these simple steps and incorporating regular maintenance, you ensure your deep freezer remains a reliable tool for food preservation. Make cleaning your deep freezer a regular habit. You will appreciate the fresh smell and organized space every time you open it. Start today and give your deep freezer the attention it deserves. Your food, and your wallet, will thank you.
- deep freezer cleaning
- defrost freezer
- freezer maintenance
- food storage tips
- home cleaning guide