· Tech Maintenance · 12 min read
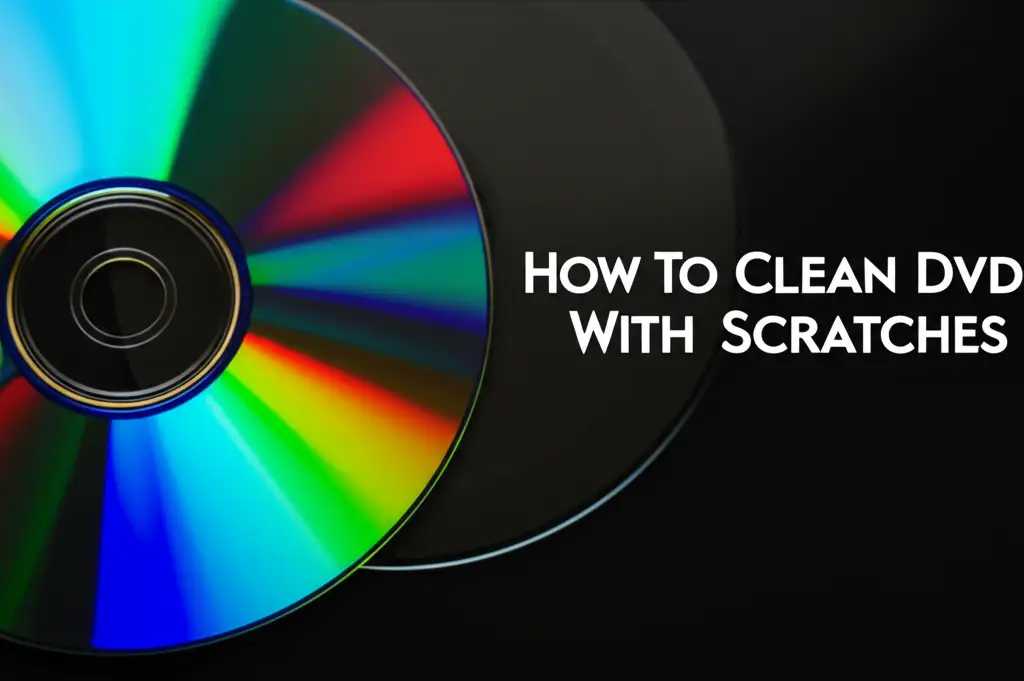
How To Clean Disc Scratches

Fix Your Discs: How To Clean Disc Scratches
Have you ever pulled out a favorite movie or game, only to find it won’t play? A disc that skips or freezes often has scratches. These tiny marks block the laser from reading data. Nobody likes to replace a disc they love. We can often fix this problem right at home.
This guide helps you clean disc scratches effectively. We will look at why discs get scratched. Then, we will explore tools and simple cleaning steps. We will cover methods for light and deeper scratches. You will learn specific care for different disc types. We also discuss when to seek professional help. Finally, we will share tips to prevent future damage. Let us bring your discs back to life.
Takeaway
Here is the key message to take away from this article:
- Assess Scratch Severity: Understand if scratches are light or deep before choosing a method.
- Gentle Cleaning First: Always start with the least abrasive cleaning solution.
- Proper Technique: Wipe from the center outwards, never in circles.
- Prevent Future Damage: Store discs in cases and handle them by the edges.
How do you clean disc scratches?
To clean disc scratches, gently wipe the disc from the center outwards with a soft, lint-free cloth and a small amount of water or rubbing alcohol. For light scratches, this can clear debris or minor surface marks. Deeper scratches might need very mild abrasive materials like toothpaste, applied carefully, followed by thorough rinsing and drying to restore playback.
Understanding Disc Scratches and Their Impact
Discs, like CDs, DVDs, and Blu-rays, are sensitive. They store information digitally on their surface. A laser reads this information. When a disc gets scratched, the laser cannot read the data correctly. This causes playback issues. You might see skipping, freezing, or errors.
Scratches come in different forms. Some are very light, just on the surface. These often look like smudges or minor abrasions. Others are deep grooves. These cut into the data layer. Light scratches are easier to clean. Deep scratches are much harder to repair.
Scratches can also run in different directions. Radial scratches go from the center to the edge. These usually cause more trouble. Circular scratches go around the disc. These can sometimes be less damaging if they do not interrupt too many data tracks. Knowing the scratch type helps in choosing the right repair method. Proper handling helps avoid scratches. Always pick up discs by their edges. Never touch the shiny side.
Essential Tools and Preparations for Cleaning
Before you start to clean disc scratches, gather your tools. Having everything ready makes the process smoother. You do not need many special items. Most are found around your home. We use simple tools for simple tasks.
First, get a microfiber cloth. This cloth is soft and lint-free. It will not scratch your disc further. Avoid using paper towels or rough cloths. They can leave more tiny scratches. Next, you need a cleaning agent. Plain water is often enough for light dust or smudges. For tougher grime or very light scratches, isopropyl alcohol works well. It evaporates quickly and leaves no residue. Make sure it is at least 70% concentration.
You might also want cotton swabs. These are good for applying cleaners to small areas. A soft, dry cloth or a can of compressed air helps for initial dust removal. Always work on a clean, flat surface. This prevents adding more dirt or damage to your disc. Wash your hands before you begin. Oils from your skin can leave fingerprints. Fingerprints can also cause playback issues, just like scratches.
Remember safety first. Do not use harsh chemicals. Avoid anything abrasive. These can permanently damage your disc. Our goal is to fix the problem, not make it worse. Prepare your area. Get your materials. You are ready to start.
Gentle Cleaning Methods for Light Scratches
Light scratches are often simple to fix. They are usually on the disc’s protective layer. The first step is always the gentlest. This helps avoid further damage. We begin with a simple water rinse. This removes dust and loose debris. Hold the disc under cool, running tap water. Use your clean fingers to gently wipe the surface. Wipe from the center outwards.
After rinsing, dry the disc with a clean microfiber cloth. Again, wipe in a straight line from the center to the edge. Do not wipe in circles. Circular motions can create more scratches. If the disc still skips, move to the next step. Sometimes, a simple cleaning is all it needs. It can remove tiny particles that mimic scratches.
For slightly more stubborn marks, use isopropyl alcohol. Apply a small amount to your microfiber cloth. Never pour alcohol directly onto the disc. Gently wipe the disc surface from the center to the edge. The alcohol helps remove grease and fingerprints. It also cleans minor surface blemishes. This method is safe for most disc types. It works well for DVD discs too. Learn more about how to clean DVD disc properly for best results. After cleaning with alcohol, let the disc air dry. Or use a clean, dry part of your microfiber cloth. Test the disc to see if the issue is gone.
Advanced Techniques for Deeper Scratches (Home Remedies)
Sometimes, light cleaning does not work. Deeper scratches need a bit more effort. These methods aim to gently polish the disc surface. This helps smooth out the scratch. Toothpaste is a popular home remedy. You must use the right kind. Choose a non-gel, non-abrasive white toothpaste. A pea-sized amount is usually enough.
Apply the toothpaste to a cotton swab or a soft cloth. Gently rub the toothpaste onto the scratch. Work from the center of the disc outwards. Apply light pressure. Do this for about 10-20 seconds. The fine abrasives in the toothpaste act as a mild polish. They buff out the small ridges of the scratch. This makes the surface smoother for the laser.
After rubbing, rinse the disc thoroughly under cool, running water. Make sure all toothpaste is gone. Any residue can harm your disc. Dry the disc carefully with a clean microfiber cloth. Wipe from the center to the edge. Test the disc. You might need to repeat this process once or twice. But do not overdo it. Too much polishing can damage the disc. This method is often helpful for how to clean DVDs with scratches when they are not playing right.
Another method involves a very thin layer of petroleum jelly. This is not a cleaning method. It is a scratch-filling method. Apply a tiny amount to the scratch. Wipe it gently. The jelly fills the groove. This allows the laser to glide over it. This is a temporary fix. It may not work for all scratches. Always try the gentler methods first.
Specific Disc Types: DVDs, Blu-rays, and CDs
Different disc types have different structures. This affects how you clean disc scratches. Each type needs specific care. Understanding these differences helps prevent further damage. Let us look at CDs, DVDs, and Blu-rays.
CDs (Compact Discs) are older and have a simpler design. The data layer is very close to the label side. The clear plastic layer on the reading side is thinner. This means scratches on CDs can be quite damaging. However, their less dense data storage can sometimes make them more forgiving of minor surface imperfections. Gentle cleaning methods work well for CDs. Avoid aggressive scrubbing.
DVDs (Digital Versatile Discs) are more complex. They have two polycarbonate layers bonded together. The data layer is in the middle. This design makes DVDs more resistant to surface scratches. A scratch on a DVD might look bad but might not reach the data. The toothpaste method or simple wiping often works for DVDs. Make sure you are always wiping from the center to the edge. This protects the data pathways.
Blu-ray discs are the most advanced. They store much more data. Their data layer is very close to the surface. This makes them highly sensitive to scratches. However, Blu-ray discs have a hard, protective coating. This coating makes them scratch-resistant. Despite this, deep scratches can still occur. When they do, they are difficult to fix. For Blu-ray discs, stick to very gentle cleaning. Use only water and a microfiber cloth first. If you need to clean Blu-ray disc that is scratched, professional repair might be the best option for deeper marks. Avoid abrasive methods like toothpaste on Blu-rays. Their coating is specific.
Always be gentle. Start with the mildest cleaning solution. Increase intensity only if necessary. Each disc type responds differently to cleaning. Knowing your disc helps you choose the right approach.
When to Seek Professional Repair or Replace Your Disc
Home remedies are great for minor issues. But sometimes, they are not enough. There are limits to what you can do at home. If a disc has very deep scratches, home methods may fail. A deep scratch often looks like a significant groove. You can feel it with your fingernail. Such damage usually goes through the protective layer. It reaches the data itself.
If you have tried the gentle cleaning methods and a mild abrasive like toothpaste, and the disc still does not work, consider professional help. Many video game stores or electronics repair shops offer disc repair services. They use specialized machines. These machines can resurface the disc. They polish away a thin layer of plastic. This removes the scratch entirely. This service usually costs a small fee. It is often much cheaper than buying a new disc.
However, sometimes even professional repair cannot save a disc. If the data layer itself is damaged, the disc is beyond repair. You can tell this if the scratch looks white or opaque. This indicates severe damage. In such cases, replacing the disc is the only option. Weigh the cost of repair against the cost of a new disc. For rare or expensive discs, repair is often worth it. For common or cheap discs, replacement might be simpler.
It is important to know when to give up. Spending too much time on a ruined disc is not efficient. A new disc will always perform best. Understanding the severity of the damage helps you make a smart choice. Do not feel bad if you cannot fix every disc. Some damage is just too severe.
Preventing Future Disc Scratches
The best way to deal with disc scratches is to prevent them. Good habits keep your discs safe. Prevention saves you time and money. It also keeps your favorite media playable. We can all learn simple ways to protect our disc collection.
Always store discs in their original cases. Jewel cases or DVD/Blu-ray cases offer the best protection. They keep dust away. They also prevent physical damage. Do not stack discs on top of each other. This causes scratches. Avoid placing discs on rough surfaces. Always put them back in their case immediately after use. Discs lying around are prone to damage.
Handle discs by the edges. Never touch the shiny data side. Your fingers have oils and dirt. These can leave smudges. Smudges can also make a disc unreadable. When inserting or removing a disc, hold it gently. Avoid bending the disc. Bending can cause cracks. Cracks are often irreparable.
Clean your disc player regularly. A dirty disc reader can scratch discs. Dust inside the player can also cause issues. Use a disc cleaning kit made for your player type. This keeps the player working well. It also protects your discs. If you use a game console, consider how to clean Wii disc reader or other console readers.
Keep discs away from extreme temperatures. Heat can warp discs. Cold can make them brittle. Store them in a stable environment. Away from direct sunlight and heaters. Following these simple rules keeps your discs in top condition. It prevents the need to clean disc scratches in the first place. A little care goes a long way.
FAQ Section
Q1: Can toothpaste really fix deep disc scratches? A: Toothpaste, especially non-gel and non-abrasive types, can help with light to medium scratches. It acts as a mild abrasive to polish the surface. However, it is unlikely to fix very deep gouges that penetrate the data layer. Always use it gently and sparingly, and rinse thoroughly afterwards.
Q2: Is it safe to use rubbing alcohol on all types of discs? A: Isopropyl alcohol (70% or higher) is generally safe for CDs, DVDs, and Blu-rays. It effectively removes fingerprints and grime. However, for Blu-ray discs, which have a special protective coating, it is best to use water first and only alcohol if necessary. Always apply it to a microfiber cloth, not directly to the disc.
Q3: What causes discs to skip even after cleaning? A: A disc might still skip if the scratches are too deep, or if the data layer itself is damaged. Sometimes, the disc player’s laser might be dirty or failing. Ensure you clean the disc properly from the center outwards. If issues persist, consider professional repair or player maintenance.
Q4: How can I tell if a scratch is too deep to fix at home? A: A scratch is likely too deep if you can feel it with your fingernail. If it appears white or opaque, it often indicates damage to the reflective data layer underneath the plastic. Home remedies typically cannot fix these types of severe scratches.
Q5: Should I try multiple home remedies if one does not work? A: It is best to stick to one method at a time, starting with the gentlest. Repeatedly trying different abrasive home remedies can cause more damage to the disc surface. If gentle cleaning and a mild polish like toothpaste fail, then professional repair or replacement are better options.
Conclusion
Dealing with disc scratches can be frustrating. But as we have explored, many solutions exist. You can often bring your favorite CDs, DVDs, and Blu-rays back to life. We started by understanding what causes scratches. We then learned about essential cleaning tools. Simple methods, like using water and a microfiber cloth, are often effective for light damage. For tougher marks, mild abrasives like non-gel toothpaste can help to clean disc scratches.
Remember to tailor your approach to the disc type. Blu-rays need more gentle care than DVDs or CDs. We also learned when to consider professional help. Some damage is just too severe for home repair. Ultimately, prevention is the best strategy. Proper storage and handling keep your discs in excellent condition. By applying these tips, you can extend the life of your disc collection. Do not let a few scratches ruin your entertainment. Take action and restore your discs today.
- disc cleaning
- remove disc scratches
- repair disc
- CD repair
- DVD repair
- Blu-ray cleaning
- fix scratched disc