· Dyson Maintenance · 16 min read
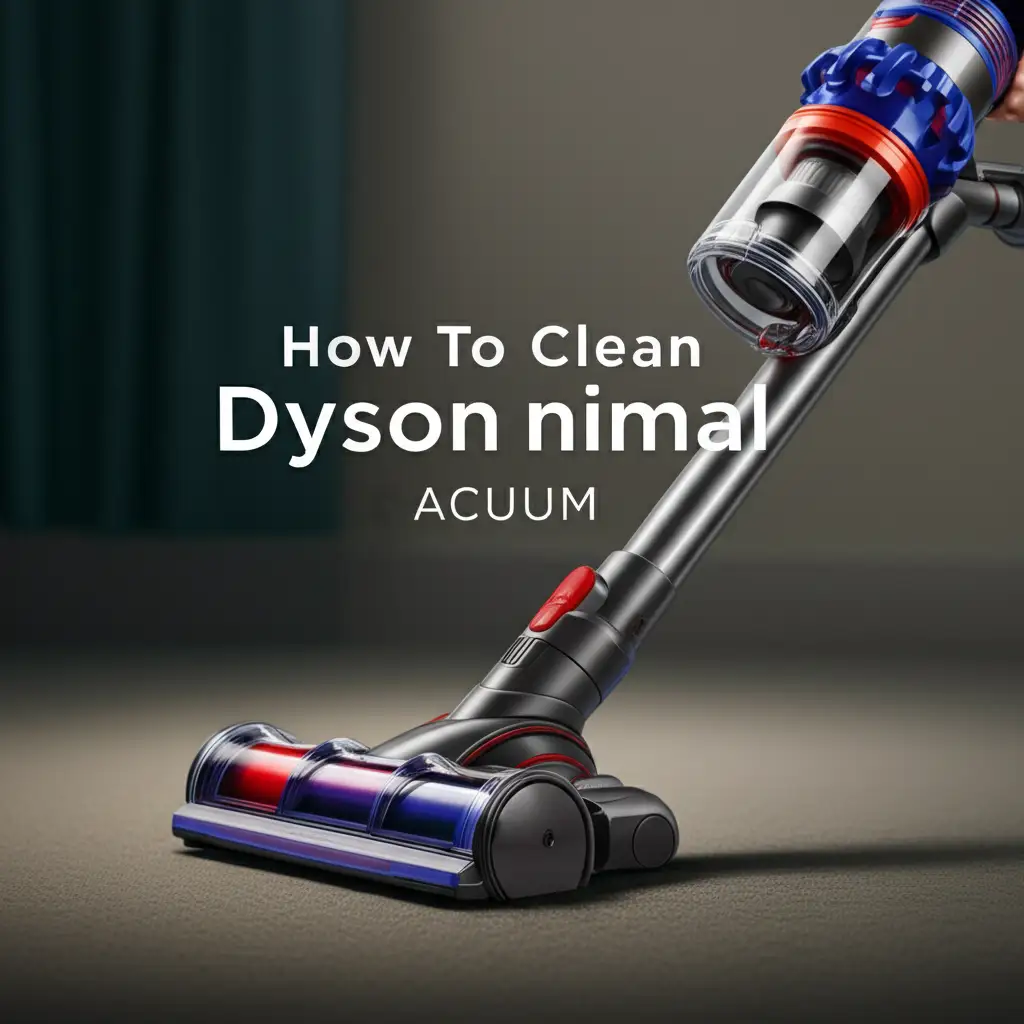
How To Clean Dyson V8
Unlock Peak Performance: How To Clean Your Dyson V8 Vacuum
Your Dyson V8 vacuum is a powerful cleaning tool. Over time, dust, debris, and tangled hair can reduce its efficiency. Many Dyson V8 owners notice a drop in suction power. This often happens because parts get dirty. Regular cleaning ensures your Dyson V8 works its best. It also helps your vacuum last longer. I will guide you through a complete cleaning process. We will cover the filter, dust bin, brush bar, and attachments. You will learn easy steps to restore your Dyson V8’s power. Let’s get your Dyson V8 cleaning like new again.
Takeaway: Restore your Dyson V8’s power and extend its life with simple cleaning steps.
- Clean the filter regularly for optimal suction.
- Empty the dust bin after each use and wipe it clean.
- Remove tangled hair from the brush bar to prevent motor strain.
- Keep all attachments clear of debris.
- Allow all washed parts to dry completely before reassembly.
The Problem and The Solution
A Dyson V8 losing suction usually means it needs cleaning. The most common issues are a clogged filter, a full dust bin, or a tangled brush bar. You can fix these problems easily. Regular maintenance brings back strong suction. It keeps your Dyson V8 working perfectly.
Why Your Dyson V8 Needs Regular Cleaning for Peak Performance
A Dyson V8 provides incredible suction. It picks up dirt and dust from your floors effectively. However, this dirt does not just disappear. It collects inside the vacuum components. Over time, accumulated dust clogs filters. Hair wraps around the brush bar. This buildup restricts airflow. Your Dyson V8 then loses its powerful suction. The motor works harder to compensate. This extra strain can shorten the vacuum’s lifespan.
Regular cleaning is a simple solution. It maintains air circulation within the machine. A clean filter allows air to pass freely. A clear brush bar spins without resistance. This means your vacuum operates at its peak. You get consistently strong suction. Your home becomes cleaner. You also breathe cleaner air. A well-maintained Dyson V8 lasts many years. Neglecting cleaning leads to poor performance. It can even lead to costly repairs. I always clean my Dyson V8 often. It saves me money and keeps my floors spotless.
Think of your Dyson V8 like a high-performance car. You would not drive a car without changing its oil. Similarly, you should not use your Dyson V8 without cleaning it. Each component plays a role in its function. When one part is dirty, the whole system suffers. This simple maintenance keeps your vacuum efficient. It ensures your cleaning routine is effective. You deserve a vacuum that works perfectly every time. Keeping it clean is the key.
Essential Tools and Supplies for Cleaning Your Dyson V8
Before you start cleaning your Dyson V8, gather the necessary items. Having everything ready makes the process smooth. You will not need many special tools. Most items are common household supplies. I always prepare my workspace first. This saves time and keeps me organized.
Here is what you will need:
- A Soft Brush: A small, soft-bristled brush is good. An old toothbrush works well for tight spaces. It helps dislodge stubborn dust.
- Scissors or a Seam Ripper: These are crucial for cutting tangled hair. They make quick work of removing hair from the brush bar. Be careful when using sharp tools.
- Microfiber Cloths: These cloths are gentle and absorbent. They are perfect for wiping down surfaces. They do not leave lint behind.
- Mild Detergent or Soap: A small amount of dish soap can be used. It helps clean stubborn grime. Only use it when instructed.
- Clean Water: You will need water for rinsing parts. Ensure it is clean.
- Dry Towel or Drying Rack: These are for drying washed components. Proper drying is very important.
- A Coin or Flathead Screwdriver: Some Dyson V8 models might need a coin. This helps open certain compartments. Check your specific model if unsure.
Always ensure your Dyson V8 is unplugged. Remove it from the charger before starting. This step is important for your safety. It prevents accidental activation. A clean and safe workspace helps you clean better. Once you have these tools, you are ready to begin. These simple tools will make your Dyson V8 cleaning much easier. They help you reach every dirty spot.
How to Clean the Dyson V8 Filter for Maximum Suction
The filter is vital for your Dyson V8’s suction power. It traps fine dust and allergens. A dirty filter restricts airflow. This makes your vacuum work harder. Cleaning the filter regularly brings back strong suction. Your Dyson V8 has one main filter located at the top. Some older models might have a second filter. Check your manual if you are unsure. I make sure to clean this filter at least once a month. More frequent cleaning is needed for pet owners.
Removing the Filter
First, unplug your Dyson V8 from the charger. This is a safety precaution. Locate the filter unit. It is usually found at the top of the main body. It often has a blue color or a similar accent. Twist the filter counter-clockwise to unlock it. Pull the filter straight up to remove it from the housing. Be gentle as you remove it. Dust might fall out, so do this over a trash can.
Washing the Filter
Once removed, tap the filter gently. This shakes off any loose dust. Now, hold the filter under cold running water. You want to see clean water running through it. Squeeze the filter to work the water through. Do this until the water runs clear. Do not use detergent or soap on the filter. Water alone is sufficient for proper cleaning. The filter is designed to be washed with water only. Avoid twisting or bending the filter. This can damage the filter material.
For more detailed guidance on filter care, you can read our guides on how to clean Dyson air filter or how to clean Dyson vacuum filter. If you own other cordless models, you might find our article on how to clean Dyson cordless filter helpful too.
Drying the Filter
This step is critical. The filter must be completely dry before reinserting it. Water inside the vacuum can damage the motor. Place the filter in a warm, dry place. Allow it to air dry for at least 24 hours. Some recommend even 48 hours for complete dryness. Do not use a dryer or a heater. Direct heat can damage the filter material. Check for any dampness before putting it back. I usually leave my filter drying overnight. I check it in the morning. If it feels even slightly damp, I let it dry longer. A fully dry filter ensures your Dyson V8 works perfectly. It protects your vacuum from damage. Once dry, place it back into your Dyson V8. Twist clockwise to lock it in place. Your vacuum will have strong suction again.
Emptying and Thoroughly Cleaning the Dyson V8 Dust Bin
The dust bin is where all the dirt collects. Emptying it regularly is a basic step. It should be emptied after every cleaning session. A full dust bin reduces suction immediately. However, simply emptying it is not enough. Fine dust and debris can stick to the bin’s inner surfaces. This buildup can also affect performance over time. I always take a few extra minutes to clean the bin properly.
First, remove any attachments from the wand. Hold the vacuum over a trash can. Locate the red lever on top of the dust bin. Pull this lever upwards firmly. The bottom flap of the bin will open. This releases the collected dirt. Shake the vacuum gently to ensure all debris falls out. Close the bottom flap until it clicks.
Now, you can clean the bin more thoroughly. Most Dyson V8 models allow you to remove the entire dust bin. Look for a small release button or latch. It is usually located near the handle connection. Press this button while sliding the bin away from the main body. Once removed, you can wipe it down. Use a damp microfiber cloth to wipe the inside surfaces. Focus on areas where dust might cling. This includes the cyclone shroud within the bin. Do not use harsh chemicals. Plain water or a very mild soap solution works best. Make sure the cloth is only damp, not dripping wet.
If there is stubborn grime, use a soft brush. An old toothbrush can help reach tight corners. Gently scrub any caked-on dirt. Do not submerge the entire dust bin in water. Only wipe its surfaces. Ensure all parts are completely dry before reattaching. A dry bin prevents mold or mildew growth. It also protects internal components from moisture damage. Reattach the dust bin by sliding it back into place. Listen for a click, indicating it is secure. A clean dust bin provides maximum space for dirt collection. It also ensures consistent airflow through your vacuum. This simple step makes a big difference in performance.
Maintaining the Dyson V8 Brush Bar and Vacuum Head
The brush bar is crucial for picking up dirt. It spins rapidly to agitate carpets and sweep debris. Over time, hair, strings, and fibers wrap around it. This tangling prevents the brush bar from spinning freely. It strains the motor and reduces cleaning effectiveness. Your Dyson V8 vacuum head also collects dirt. Keeping both clean ensures efficient dirt pickup. I clean my brush bar every few weeks. This depends on how much hair and string my vacuum picks up.
Detaching the Brush Bar
First, detach the cleaner head from the vacuum wand. You can then access the brush bar more easily. On most Dyson V8 models, the brush bar is removable. Look for a small latch or coin slot on the side of the cleaner head. Use a coin or a flathead screwdriver to unlock it. Gently pull the brush bar out from the cleaner head. It should slide out easily.
Removing Tangles
Once the brush bar is out, you will likely see tangled hair. Use scissors or a seam ripper to cut through the hair. Be careful not to cut the bristles or the brush bar itself. Slide the scissors under the tangled hair and cut along the length of the brush bar. After cutting, simply pull the hair away. It should come off in large sections. Remove any small debris stuck between the bristles. You can also use your fingers to untangle tough spots. Ensure the brush bar is completely free of obstructions. A clean brush bar spins freely. This allows it to agitate carpets effectively. It picks up more dirt and debris.
For more detailed instructions, check our article on how to clean Dyson brush head.
Cleaning the Vacuum Head
While the brush bar is out, clean the vacuum head itself. Use a damp microfiber cloth to wipe the interior of the head. Pay attention to the airway where the dirt passes through. Remove any visible dust or debris. You can use a soft brush to dislodge stubborn dirt. Check the small wheels on the bottom of the cleaner head. Hair can often get tangled around these wheels. Use scissors to cut and remove any hair from them. Do not wash the entire vacuum head under water. It contains electrical components. Only wipe down its surfaces. Allow any wiped parts to air dry completely.
Reinsert the brush bar once it is clean and the head is dry. Push it back into the cleaner head until it clicks into place. Relock the latch or coin slot. Reattach the cleaner head to your Dyson V8. A clean brush bar and head make a huge difference. They restore your Dyson V8’s ability to clean deeply. It helps prevent future clogs and motor strain. You can also learn more about general vacuum head maintenance from our guide on how to clean Dyson vacuum head.
Cleaning the Dyson V8 Attachments and Troubleshooting Common Issues
Your Dyson V8 comes with various attachments. These tools help you clean different surfaces. Examples include the crevice tool, combination tool, and mini-motorized tool. These attachments also accumulate dust and debris. Cleaning them ensures they perform their best. It also prevents dirt from transferring back to your clean surfaces.
Maintaining Attachments and Accessories
Most attachments are simple to clean. For standard tools like the crevice tool or combination tool, simply wipe them down. Use a damp microfiber cloth to remove dust and grime. For tools with bristles, like the combination tool’s brush, you can use a soft brush to remove stuck debris. Ensure these attachments are dry before storing them.
For the mini-motorized tool, you might need to do more. This tool often has a small internal brush bar. Check your Dyson manual for specific instructions. Generally, you can open a latch to access this small brush bar. Remove any tangled hair or fibers. Wipe the housing clean. Do not submerge motorized attachments in water. They contain electrical parts. A quick wipe-down usually suffices. Keeping your attachments clean means they are ready for use whenever you need them. They help your Dyson V8 be versatile.
Troubleshooting Common Dyson V8 Cleaning Issues
Even with regular cleaning, you might face some issues. Here are a few common problems and solutions:
- Reduced Suction After Cleaning: Did you dry the filter completely? A damp filter will block airflow. Let it dry for another 24 hours. Check all parts for proper reassembly. Ensure the dust bin is fully clicked into place. Look for any remaining clogs in the wand or cleaner head. Sometimes a small piece of debris can get stuck in the main airway. Use a broom handle or similar object to push it through gently.
- Unusual Noises: A vibrating noise often indicates a blockage. Check the filter, dust bin, and brush bar thoroughly. A clean vacuum runs quietly. If the noise persists, contact Dyson support.
- Vacuum Not Turning On: Check if the battery is charged. Ensure the vacuum is correctly assembled. If parts are not clicked into place, safety mechanisms might prevent it from starting. Try fully charging the battery again. If the issue continues, it might be a battery or motor problem.
Always refer to your Dyson V8 user manual for specific details. Manuals provide diagrams for disassembly and reassembly. They also offer model-specific troubleshooting tips. Following these guidelines helps keep your Dyson V8 running smoothly. It saves you from frustration and costly repairs. A little attention to detail during cleaning goes a long way. Your vacuum will thank you with superior performance.
Final Steps: Reassembling Your Dyson V8 and Completing Your Cleaning Cycle
You have cleaned all the vital components of your Dyson V8. Now, it is time to put everything back together. Proper reassembly is as important as the cleaning itself. It ensures your vacuum operates safely and efficiently. This final step is quick but crucial. I always double-check everything before using my vacuum again.
First, ensure all washed parts are completely dry. This includes the filter and any wiped sections of the dust bin. Even slight dampness can cause issues. Moisture can lead to mold or damage electrical components. Patience is key here. If you are unsure, let parts air dry for another few hours. You want them bone dry.
Begin by reinserting the main filter. Slide it back into the top housing. Twist it clockwise until it locks firmly into place. You should feel a distinct click. Next, reattach the dust bin if you removed it. Align the bin with the main body. Slide it on until it clicks into place securely. A loose dust bin can cause suction loss. Ensure the red lever is fully closed.
Now, reinsert the brush bar into the cleaner head. Push it in until it clicks. Relock the small latch or screw with your coin. Finally, reattach the cleaner head to the vacuum wand. Push it firmly until it clicks into place. Ensure all connections are secure. You should not see any gaps.
Once fully reassembled, do a quick visual check. Look over your Dyson V8. Are all parts seated correctly? Is the dust bin flap closed? Are there any loose pieces? This quick scan helps catch any forgotten steps. Now, you can place your Dyson V8 back on its charging dock. Allow it to fully charge. After charging, test your vacuum. Turn it on briefly. Listen for normal operation. Feel the strong suction power. You will notice a significant improvement. Your Dyson V8 is now ready to tackle more dirt. Regular cleaning extends its life. It also keeps your home wonderfully clean. Enjoy the refreshed performance of your Dyson V8.
FAQ Section
How often should I clean my Dyson V8 filter? You should clean your Dyson V8 filter at least once a month. If you have pets or use your vacuum heavily, clean it more often. A dirty filter reduces suction significantly. Regular cleaning helps maintain peak performance. It also extends the life of your filter.
Can I wash all parts of my Dyson V8 with water? No, you cannot wash all parts with water. Only the filter is designed for full washing. The dust bin can be wiped with a damp cloth, but do not submerge it. The brush bar can be removed and cleaned manually. Do not get electrical components or the main motor wet.
Why is my Dyson V8 losing suction after cleaning? If your Dyson V8 loses suction after cleaning, the filter is likely still damp. The filter must be completely dry, often taking 24-48 hours. Also, check for any remaining blockages in the wand or cleaner head. Ensure all parts are reassembled correctly and securely.
How do I remove tangled hair from the brush bar? First, remove the cleaner head from the vacuum. Then, unlatch the brush bar from the cleaner head. Use scissors or a seam ripper to carefully cut through tangled hair. Pull the cut hair away from the brush bar. This restores the brush bar’s free rotation.
What are the signs my Dyson V8 needs cleaning? Signs your Dyson V8 needs cleaning include reduced suction power. You might notice visible dirt on the filter or inside the dust bin. The vacuum may make unusual noises or feel warmer than usual. If the brush bar is not spinning correctly, it also needs cleaning.
Where is the second filter on a Dyson V8? The Dyson V8 typically only has one washable post-motor filter, located at the top of the main body, often blue. Unlike some older Dyson models or other series that might have a pre-filter and a post-filter, the V8 primarily relies on this single main filter for filtration.
Conclusion
Keeping your Dyson V8 clean is simple, yet powerful. It is not just about aesthetics. A clean Dyson V8 performs better. It lasts longer. You save money by avoiding repairs or replacements. We covered every key area: the filter, dust bin, brush bar, and attachments. Each step is easy to follow. You can do this at home with common tools.
Remember, a clean filter is the heart of strong suction. An empty dust bin provides maximum capacity. A clear brush bar ensures effective cleaning. Make cleaning your Dyson V8 a regular habit. You will notice the difference. Your home will be cleaner. Your vacuum will stay powerful. I encourage you to set a cleaning schedule. Check your Dyson V8’s filter monthly. Empty its bin after every use. Give its brush bar a quick check weekly. These small efforts bring big rewards. Maintain your Dyson V8 for lasting performance. Enjoy a truly clean home every day.
- Dyson V8 cleaning
- vacuum maintenance
- Dyson filter cleaning
- brush bar cleaning
- cordless vacuum care