· Beauty & Personal Care · 16 min read
How To Clean Eyelash Curler
How To Clean Your Eyelash Curler for Healthier Lashes
Did you know your eyelash curler could be a hidden source of trouble? It is true. This simple beauty tool touches your delicate eye area every single day. Over time, it gathers mascara, dead skin, and oils. This buildup not only makes your lashes stick together but can also invite bacteria. Bacteria can lead to eye infections. Cleaning your eyelash curler properly protects your eyes and helps your lashes look their best.
I want to help you maintain clean beauty tools. This article provides simple steps to clean your eyelash curler. You will learn what supplies you need. We will cover basic daily cleaning and deeper sanitation methods. You will also discover tips for different curler types and common mistakes to avoid. Let us ensure your lash routine is both beautiful and safe.
Takeaway
- Daily Wipe Down: Use a cotton pad with makeup remover after each use.
- Weekly Deep Clean: Disassemble, wash with soap and water, and disinfect.
- Disinfect Regularly: Alcohol or specialized cleaners kill germs.
- Replace Pads: Change silicone pads every 3-6 months.
- Store Properly: Keep curler in a clean, dry place.
To clean your eyelash curler, wipe it after each use with a makeup remover wipe. Weekly, disassemble the curler. Wash it with mild soap and warm water, then rinse well. Disinfect with rubbing alcohol. Air dry completely before storing to prevent germ growth and ensure hygienic lash curling.
Why Cleaning Your Eyelash Curler Matters
Many people clean their makeup brushes. Yet, the eyelash curler often gets overlooked. This small tool holds a surprising amount of gunk. Every time you curl your lashes, you transfer product from your mascara wand to the curler. You also transfer oils from your skin and sometimes even tiny bits of dead skin.
This buildup creates a breeding ground for bacteria. Using a dirty curler near your eyes can cause various problems. Eye infections like pink eye or styes are a real risk. A dirty curler also performs poorly. Lashes may stick, look clumpy, or not curl as well. Regular cleaning ensures safety and better lash results.
A clean curler grips lashes better. It allows for a smoother, more defined curl. Think about it. You would not use a dirty spoon to eat. Why use a dirty tool near your eyes? Proper hygiene extends the life of your curler too. It keeps the silicone pad soft and effective.
Gathering Your Cleaning Supplies
Cleaning your eyelash curler does not require many special items. You likely have most of these things at home already. Having the right tools makes the cleaning process easy and effective. Before you start, gather everything in one place. This saves time and ensures you do not miss any steps.
Here is a list of common household items you will need:
- Mild soap: Dish soap or a gentle hand soap works well.
- Warm water: For rinsing and washing away debris.
- Rubbing alcohol (isopropyl alcohol): A powerful disinfectant for killing bacteria.
- Cotton pads or cotton balls: For applying alcohol and wiping surfaces.
- Cotton swabs (Q-tips): Great for reaching small crevices and tight spots.
- Soft cloth or paper towel: For drying your curler.
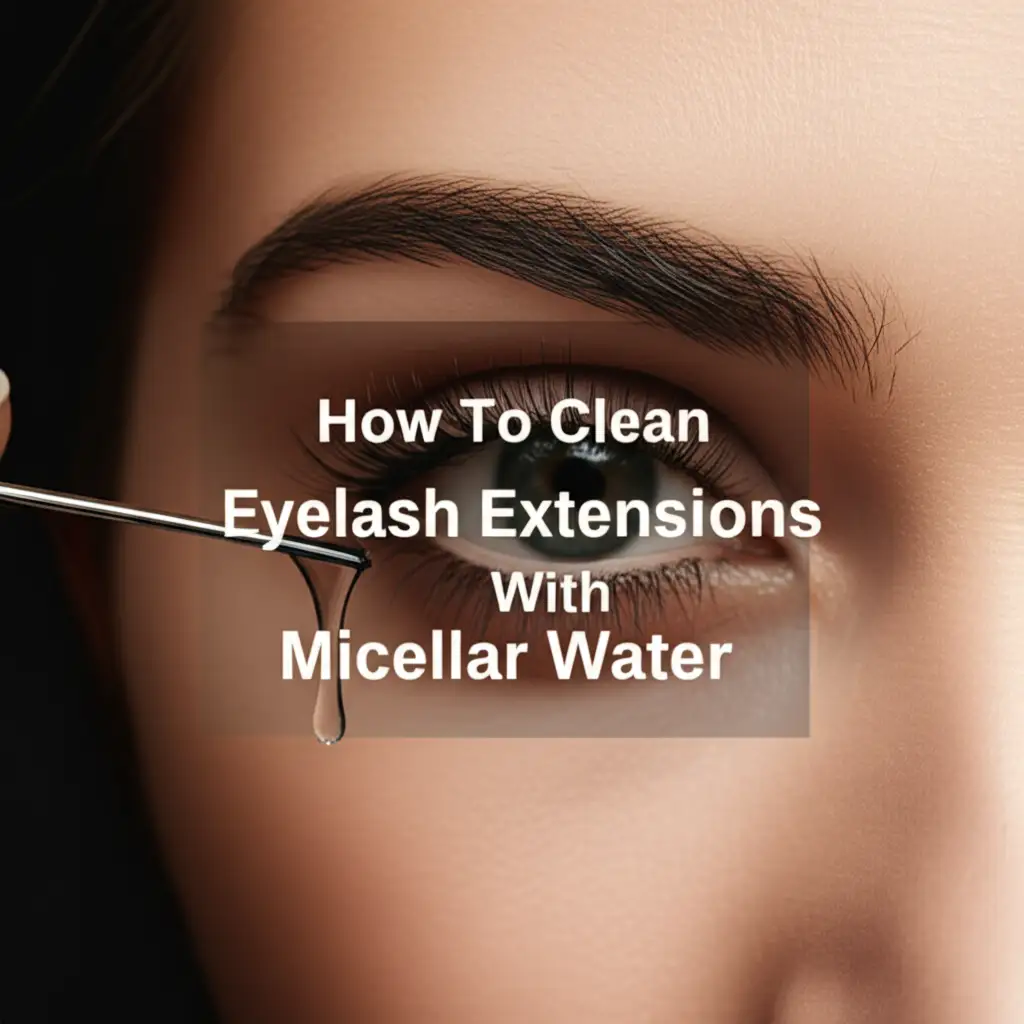
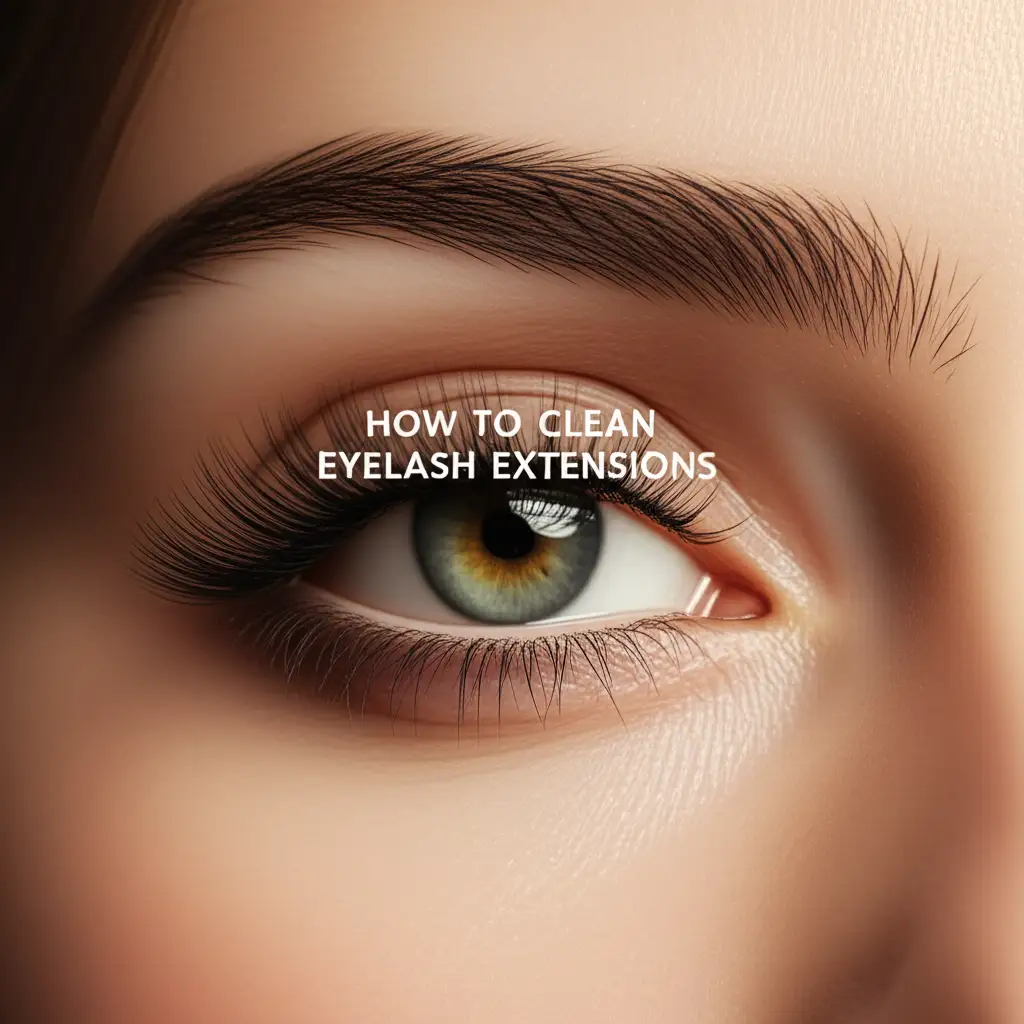
- Makeup remover (optional): For quick daily cleaning of fresh mascara. You might use micellar water, which is gentle and effective for makeup removal. Cleaning eyelash extensions with micellar water also shows the power of micellar water for delicate eye areas.
Some people prefer a dedicated makeup brush cleaner. These often have antibacterial properties. However, regular rubbing alcohol is usually sufficient. Remember, never use harsh chemicals like bleach. These can damage your curler and irritate your eyes. Using the right supplies protects your tool and your eye health.
Step-by-Step Guide: Basic Daily Cleaning
Basic daily cleaning of your eyelash curler is simple and quick. This step prevents product buildup from hardening. It also removes fresh bacteria before they multiply. Making this a habit after each use keeps your curler much cleaner. This daily habit reduces the need for frequent deep cleaning.
First, gently remove any visible mascara or eyeliner residue. Use a dry tissue or a clean microfiber cloth. Wipe the silicone pad and the metal frames carefully. You want to get off any fresh product that is still soft.
Next, take a cotton pad. Dampen it with makeup remover. I often use micellar water for this because it is gentle. Micellar water is excellent for cleaning delicate items, like around the eyes. Gently wipe down the silicone pad and all parts of the metal frame that touch your lashes. Pay special attention to the areas where the lashes sit. The makeup remover dissolves any lingering makeup or oil.
Finally, use a clean, dry part of the cotton pad or a fresh tissue. Wipe off any remaining moisture or makeup remover residue. Allow the curler to air dry completely. This quick process takes less than a minute. It makes a big difference in maintaining your curler’s hygiene. Your eyes will thank you for this simple daily step.
Deep Cleaning Your Eyelash Curler
Deep cleaning your eyelash curler is important for thorough sanitation. This process removes stubborn buildup. It also kills bacteria that daily wipes might miss. I recommend doing a deep clean at least once a week. If you use your curler daily or share it (which is not recommended), clean it more often.
First, you need to disassemble your curler. Most curlers have a removable silicone pad. Gently slide this pad out of its groove. Sometimes it takes a little wiggle. This step ensures you can clean all parts of the curler effectively.
Next, wash the parts with mild soap and warm water. Place the metal frame and the silicone pad in a small bowl. Add a few drops of mild soap, like dish soap. Fill with warm water. Use your fingers or a cotton swab to scrub away any visible grime. Focus on the curves and crevices of the metal. For the pad, rub it gently to remove mascara residue. Think of it like cleaning any other household item, a bit like how you might clean a bottom of a pan with soap and water to remove grime.
After washing, rinse both parts thoroughly under running warm water. Make sure all soap residue is gone. Soap left behind can irritate your eyes. Now, it is time to disinfect. Soak a cotton pad or ball in rubbing alcohol. Wipe down the entire metal frame. Also, gently wipe the silicone pad. Alcohol kills germs effectively. For hard-to-reach areas, use a cotton swab dipped in alcohol. This is similar to how alcohol can be used to clean stainless steel surfaces, providing a sterile finish.
Finally, allow all parts to air dry completely. Place them on a clean paper towel or cloth. Do not reassemble until everything is dry. Moisture can lead to rust on metal parts or harbor bacteria. Once dry, put the silicone pad back into its slot. Your eyelash curler is now fresh and ready for use.
Cleaning Different Eyelash Curler Types
Not all eyelash curlers are the same. Metal curlers are the most common. But heated curlers and plastic curlers also exist. Each type requires slightly different cleaning care. Understanding these differences ensures you clean your specific tool safely and effectively.
Metal Eyelash Curlers
Metal eyelash curlers, often made of stainless steel, are durable. They are the most common type. Their sturdy build allows for thorough cleaning. You can typically disassemble them easily by removing the silicone pad. This makes deep cleaning very simple.
For these curlers, follow the deep cleaning steps mentioned earlier. Use mild soap and water to wash away visible debris. Rinse well. Then, disinfect with rubbing alcohol. Alcohol is a powerful germ killer for metal surfaces. Make sure to dry thoroughly to prevent rust. Cleaning stainless steel items this way helps them last longer and remain hygienic. The techniques for how to clean stainless steel are very effective here.
Heated Eyelash Curlers
Heated eyelash curlers use warmth to help curl lashes. These curlers are electric. They often look like a wand or a comb. Because they have electrical components, you cannot submerge them in water. Water can damage the heating element and create a safety hazard.
For heated curlers, focus on dry cleaning or very minimal damp cleaning. First, ensure the curler is turned off and completely cool. Use a dry cotton swab or a clean, soft cloth to wipe away any mascara or residue. For tougher spots, lightly dampen a cotton swab with rubbing alcohol. Carefully wipe the heated comb or pad, avoiding any electrical parts. Do not let any liquid drip into the battery compartment. Let it air dry completely before turning it on again. This method prevents damage to the electronics while still sanitizing the parts that touch your lashes.
Plastic Eyelash Curlers
Plastic eyelash curlers are lightweight and often more affordable. They might not come apart as easily as metal ones. Some have removable pads, others are molded as one piece. Their plastic material is generally resistant to water and many cleaning agents.
If your plastic curler has a removable pad, take it out. Wash both the plastic body and the pad with mild soap and warm water. If the pad is not removable, simply wash the entire curler. Use a cotton swab to get into small areas. Rinse thoroughly. You can disinfect plastic curlers with rubbing alcohol, just like metal ones. Alcohol generally does not harm plastic. This is similar to how you might clean other plastic items, like a plastic shower, with gentle cleaners. After cleaning, dry completely with a clean cloth or air dry.
No matter the type, always ensure your curler is completely dry before storage or use. This prevents germ growth and protects the tool.
Maintaining Eyelash Curler Hygiene
Cleaning your eyelash curler is not just a one-time event. It is an ongoing practice. Regular maintenance ensures your tool stays hygienic and effective. It protects your eyes from potential infections. Establishing a routine makes this task simple and easy to remember.
First, consider how often you use your curler. If you curl your lashes daily, a quick wipe-down after each use is essential. This removes fresh mascara and prevents buildup. Think of it like wiping down your kitchen counter after cooking. It is a small step that prevents bigger messes.
Next, schedule your deep cleaning sessions. For daily users, a weekly deep clean is ideal. This involves disassembling, washing with soap and water, and disinfecting with alcohol. If you use your curler less often, you might deep clean it every two weeks or once a month. The goal is to prevent the accumulation of old product and bacteria.
Replacing the silicone pads is another crucial part of maintenance. These pads flatten and lose their effectiveness over time. They also collect more grime than the metal parts. Most manufacturers recommend replacing the pads every three to six months. If your lashes are not curling as well, or if the pad looks worn, it is time for a change. Replacement pads are usually inexpensive and readily available.
Finally, proper storage is key. Always store your clean, dry eyelash curler in a clean, dry place. A drawer or a dedicated makeup bag is good. Avoid leaving it exposed on a dusty counter. Dust and airborne particles can settle on the curler. This reintroduces bacteria before you even use it. A clean storage environment keeps your curler pristine between uses.
Common Mistakes to Avoid When Cleaning
Cleaning your eyelash curler seems simple enough. However, some common mistakes can actually harm your curler or make your cleaning less effective. Avoiding these pitfalls ensures your tool stays in top condition. It also protects your delicate eye area.
One major mistake is not cleaning it often enough. Many people only clean their curler when they see visible grime. By then, it is likely teeming with bacteria. Regular daily and weekly cleaning prevents this. As I mentioned, an ounce of prevention is worth a pound of cure. Skipping regular cleanings increases your risk of eye irritation or infection.
Another common error is using harsh chemicals. Bleach, strong solvents, or abrasive cleaners can damage the curler’s finish. They can also degrade the silicone pad. More importantly, residues from these chemicals can transfer to your eyes. This causes severe irritation. Stick to mild soap, water, and rubbing alcohol. These are effective and safe.
Not drying your curler completely is also a mistake. Moisture promotes bacterial growth. It can also cause rust on metal curlers. Always ensure all parts are air dry before reassembling or storing. Placing them on a clean towel in a well-ventilated area helps speed this process. Patience here pays off.
Forgetting to replace the silicone pad is a big one. The pad is designed to protect your lashes and provide a cushion. Over time, it hardens, cracks, or loses its shape. A worn-out pad can crimp your lashes instead of curling them. It can even cut them. Replace these pads regularly, usually every few months. This keeps your curler performing at its best.
Finally, some people forget to disassemble the curler for deep cleaning. Product and bacteria can hide in the crevices where the pad sits. Taking the curler apart allows for a thorough clean. It reaches every surface, ensuring complete sanitation. Always take the extra minute to do this.
Troubleshooting Eyelash Curler Cleaning Issues
Even with the best intentions, you might face some challenges when cleaning your eyelash curler. Stubborn buildup, rust concerns, or tricky-to-reach spots can make the process frustrating. Knowing how to troubleshoot these issues helps you maintain a truly clean tool.
One common issue is extremely stubborn mascara buildup on the silicone pad or metal parts. If a regular wash with soap and water does not remove it, try soaking. Disassemble the curler. Soak the metal frame and silicone pad in a small bowl of warm, soapy water for 10-15 minutes. This softens the dried product. After soaking, use a cotton swab or an old toothbrush to gently scrub the remaining gunk. The bristles of a toothbrush can reach into textures and remove dried-on substances effectively.
Rust on metal curlers is a concern. While stainless steel is generally rust-resistant, prolonged moisture can cause issues. If you spot a tiny bit of rust, try to remove it immediately. Use a cotton swab with a small amount of rubbing alcohol and gently rub the rusted area. For persistent rust, it might be time to consider replacing the curler. Prevention is better than cure; always ensure your curler is completely dry before storing.
Reaching tight spots can be difficult. The hinges and the narrow gap where the silicone pad sits often collect grime. This is where cotton swabs truly shine. Dip a cotton swab in rubbing alcohol. Use its fine tip to meticulously clean these hard-to-reach areas. The alcohol helps dissolve the gunk. You can also try using a toothpick for larger chunks of dried product. Be gentle to avoid scratching the metal.
What if your silicone pad feels sticky even after cleaning? This usually means there is still some product residue. Try washing it again with more soap. You can also try a small amount of oil-based makeup remover on a cotton pad, then wash it again with soap to ensure all oil is removed. A sticky pad will not curl lashes effectively. It can also attract more dirt.
Lastly, some people worry about damaging their curler during cleaning. Always use gentle pressure. Avoid harsh scrubbing pads or metal brushes. These can scratch the surface or damage the silicone. A soft cloth or cotton swab is usually sufficient. Remember, the goal is to sanitize, not to polish aggressively.
The Importance of Replacing Your Eyelash Curler
While cleaning your eyelash curler is vital, there comes a time when replacement is necessary. No tool lasts forever. Knowing when to get a new one ensures you maintain peak performance and hygiene. It protects your lash health in the long run.
First, consider the performance. If your lashes are no longer curling effectively, even with a clean curler and a fresh silicone pad, the curler itself might be worn out. The hinges could be loose, or the frame might be bent. A curler that does not close properly will not grip lashes evenly. This leads to weak or inconsistent curls. Your beauty routine should be easy, not a struggle against a worn tool.
Next, examine the condition of the metal parts. Rust is a clear sign it is time for a new curler. Even if it is just a tiny spot, rust can irritate your skin or eyes. It also weakens the metal. A broken curler could potentially pinch or cut your lashes. Scratches or pitting on the metal frame that touches your lashes are also warning signs. These rough surfaces can damage delicate lash strands.
The silicone pads are designed to be replaced, as mentioned earlier. However, if the curler body cannot hold a new pad securely, or if the groove for the pad is damaged, you need a new curler. A loose pad can make curling dangerous. It may slip during use, leading to uneven curls or pinching.
Think about hygiene. If your curler has been through a severe eye infection, like a bad stye or conjunctivitis, it is best to replace it. Even with thorough cleaning, some bacteria or viruses might linger. A fresh start helps prevent reinfection. This is a small cost for peace of mind.
Finally, old makeup tools, including curlers, can harbor bacteria resistant to basic cleaning over time. If your curler is several years old, regardless of its appearance, consider an upgrade. Technology improves, and newer models might offer better design or materials. Replacing your eyelash curler when needed is a smart part of a healthy beauty routine. It keeps your lashes looking their best and your eyes safe.
Conclusion
Cleaning your eyelash curler is a small step with a big impact. We have covered why this simple task is so important for your eye health and lash appearance. Regular cleaning prevents nasty eye infections and ensures your curler works its best. It truly makes a difference in your daily beauty routine.
Remember the simple steps: a quick wipe-down after each use and a thorough deep clean weekly. Disassemble your curler, wash it with mild soap, and disinfect it with rubbing alcohol. Always let it air dry completely. And do not forget to replace those silicone pads every few months. These habits will keep your eyelash curler hygienic and your lashes looking fantastic.
Do not let your eyelash curler become a forgotten germ magnet. Make cleaning your eyelash curler a regular part of your beauty ritual. Your beautiful, healthy lashes deserve it! Start today and enjoy cleaner, safer curling.
- eyelash curler hygiene
- beauty tool cleaning
- makeup tool sanitation
- clean beauty tools
- lash care