· Beauty & Personal Care · 17 min read
How To Clean Face Sponge
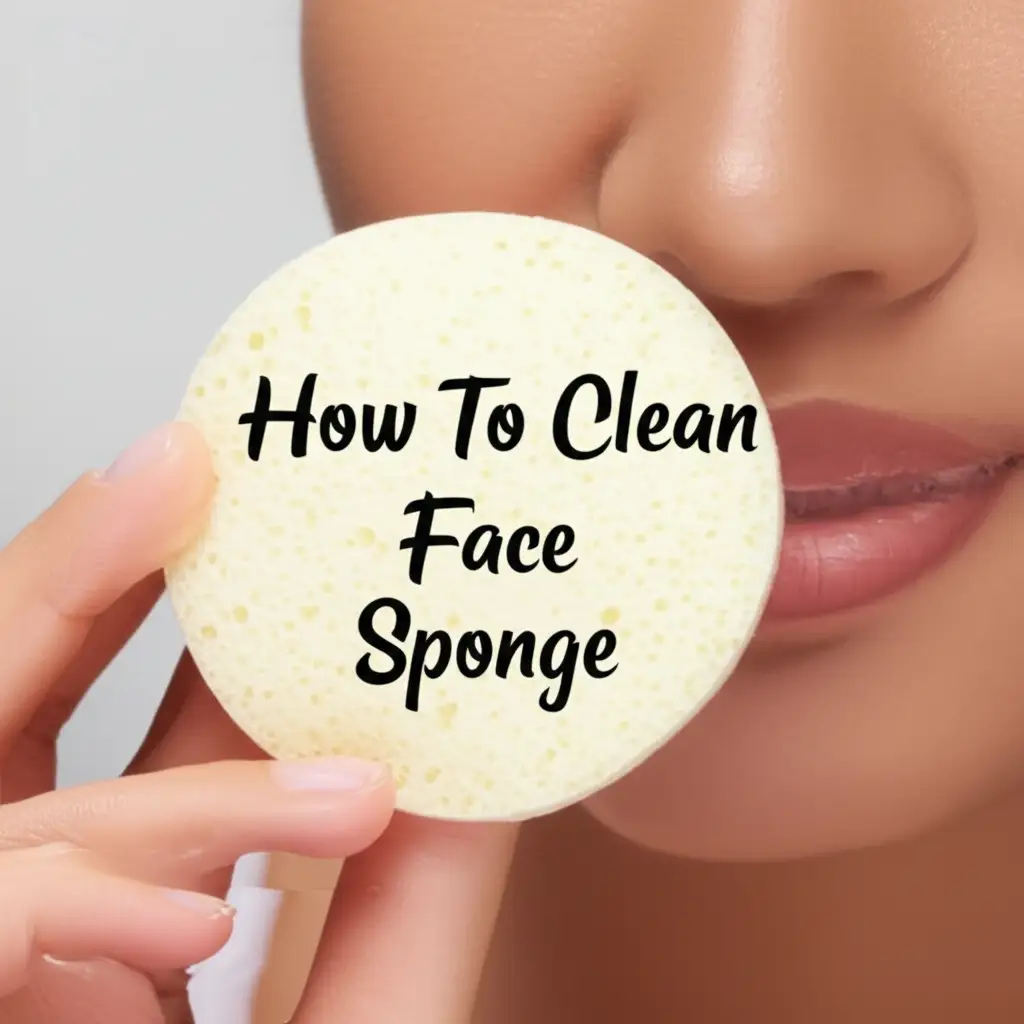
Mastering Face Sponge Care: How To Clean For Flawless Skin
Have you ever considered the invisible life living on your beauty tools? Your face sponge, a daily companion in your beauty routine, can become a breeding ground for bacteria if not cleaned properly. This invisible buildup directly affects your skin health. Neglecting to clean face sponge regularly leads to clogged pores, breakouts, and even skin infections.
I learned this the hard way myself, dealing with unexpected blemishes until I focused on tool hygiene. Proper cleaning extends the life of your sponge and ensures a smoother makeup application. This comprehensive guide helps you keep your sponges pristine. We will discuss why cleaning matters, essential supplies, step-by-step methods, and vital drying techniques. You will also learn how often to clean your sponge and common mistakes to avoid. Let’s make your beauty routine cleaner and your skin happier.
Takeaway: Keep Your Face Sponge Pristine
- Clean your face sponge after every use or at least once a week.
- Use mild soap and warm water for effective removal of makeup and bacteria.
- Always dry your sponge completely in an open, airy space to prevent mold growth.
- Replace your sponge every 3-6 months, even with regular cleaning.
How do you clean a face sponge?
To clean a face sponge, simply wet it under warm running water. Apply a small amount of mild liquid soap, baby shampoo, or a dedicated sponge cleanser. Gently squeeze and massage the sponge to work the product through. Rinse under water until all makeup and suds are gone. Squeeze excess water and air dry completely.
Why Cleaning Your Face Sponge Matters Deeply
Your face sponge touches your skin directly. It picks up makeup, dead skin cells, oils, and environmental dirt. Each time you use it, these elements transfer onto the sponge. A dirty sponge then transfers bacteria back onto your face. This cycle can cause significant skin issues. I noticed a big improvement in my skin when I started cleaning my sponges diligently.
Unclean sponges are a primary cause of acne and skin irritation. Bacteria multiply rapidly in damp, warm environments. Your makeup sponge offers the perfect home for these germs. Using a dirty sponge can introduce harmful bacteria like Staphylococcus aureus and E. coli to your skin. These can lead to infections or worsen existing skin conditions. Keeping your sponge clean prevents these problems. It supports clearer, healthier skin.
Cleaning your face sponge also impacts your makeup application. A dirty sponge cannot blend makeup smoothly. It leaves streaks and patches. The leftover product on the sponge blocks new product from absorbing properly. This wastes your expensive foundations and concealers. A clean sponge ensures an even, flawless finish. It helps your makeup look its best every time.
Lastly, regular cleaning extends the life of your face sponge. Makeup residue breaks down the sponge material over time. It can make the sponge stiff and less effective. Cleaning removes these residues. It keeps the sponge soft and bouncy. This means you replace your sponges less often. It saves you money in the long run. Proper care ensures your tools work optimally for a longer period.
Essential Supplies for Cleaning Your Face Sponge Effectively
Before you start cleaning, gather the right materials. Having everything ready makes the process smooth and efficient. You do not need many specialized items. Most are likely already in your home. I always keep these basic supplies handy for my cleaning routine. This ensures I can clean my sponges without delay.
The most important item is a gentle cleansing agent. Many options work well for this purpose. Mild liquid soap is a great choice. Look for one designed for sensitive skin or even baby shampoo. These are gentle enough not to damage your sponge. They effectively break down makeup and oils. Some people even use gentle dish soap for tougher stains. However, be cautious with dish soap as some formulations can be too harsh. Test it on a small area first if you are unsure.
Dedicated makeup sponge cleansers are also available. These products are formulated specifically for beauty tools. They often come in liquid or solid soap forms. Solid cleansers are great for rubbing the sponge directly onto. They create a good lather and rinse clean. While not strictly necessary, they can offer a convenient option. They often contain ingredients that are safe for both the sponge and your skin.
You will also need warm water. Warm water helps to loosen makeup and oils. It makes the cleaning process more effective. You can use running tap water or fill a bowl. A clean bowl is useful if you prefer to soak your sponge briefly. I often fill a small basin with warm water when I have multiple sponges to clean at once. This method helps to conserve water too.
Finally, prepare a clean towel or paper towels. These help to squeeze out excess water after rinsing. They prepare the sponge for air drying. A drying rack or a well-ventilated surface is also important. This ensures your sponge dries completely and evenly. Proper drying prevents mildew and bacterial growth. Gathering these simple supplies makes cleaning your face sponge straightforward and successful.
Step-by-Step Guide: The Basic Hand-Washing Method
The hand-washing method is the most common and effective way to clean face sponge. It is simple, quick, and can be done after every use. I rely on this method for my daily cleaning. It ensures my sponges are always ready for fresh makeup application. Follow these steps for a thorough clean.
First, wet your face sponge thoroughly with warm water. Hold the sponge under running water. Squeeze it gently a few times to allow water to penetrate all its layers. The sponge will expand as it absorbs water. Make sure it is fully saturated. This step prepares the sponge to release makeup and dirt effectively. Do not use hot water, as it can damage the sponge material over time. Warm water is perfect.
Next, apply your chosen cleaning agent. Squeeze a small amount of mild liquid soap or baby shampoo directly onto the wet sponge. You only need a pea-sized amount to start. If using a solid cleanser, rub the wet sponge directly onto the soap bar. Work the soap into the sponge by gently squeezing and massaging it. You will see makeup residues start to emerge from the sponge. Foam will begin to form. Concentrate on areas with more visible makeup.
Continue squeezing and massaging the sponge under warm running water. This action helps to dislodge stubborn makeup and dirt. Keep squeezing until the water runs clear. It might take several rinses. Be gentle, avoid twisting or pulling the sponge forcefully. Aggressive squeezing can tear the sponge or deform its shape. The water coming out should be completely free of makeup color. Once the water runs clear, you know the sponge is clean.
Finally, gently squeeze out all excess water. Use a clean towel or paper towel to help absorb more moisture. Press the sponge firmly but carefully. You want to remove as much water as possible without damaging the sponge. Shape the sponge back to its original form if needed. Then, set it aside to air dry completely. Proper drying is crucial to prevent mold and mildew. This basic hand-washing method keeps your sponges hygienic and extends their lifespan.
For more tips on cleaning other beauty tools, you can explore guides on how to clean face brush. Maintaining all your tools ensures a truly clean beauty routine.
Alternative Cleaning Methods for Face Sponges
While hand-washing is the standard, sometimes you need different approaches. For stubborn stains or deeper sanitization, alternative methods can be useful. These techniques offer more intensive cleaning for your beloved beauty tools. Always choose the method that best suits your sponge type and level of dirtiness.
Dish Soap Method
For heavily stained sponges, dish soap can be surprisingly effective. Dish soap cuts through grease and oil, making it great for oil-based makeup. I use this method occasionally when my sponge has extra stubborn foundation marks. Apply a small drop of gentle dish soap directly onto the wet sponge. Work it in thoroughly, similar to the hand-washing method. You will notice the makeup dissolving quickly. Rinse under warm water until all suds and makeup are gone. Ensure you rinse very well, as dish soap can be harsher and leave residue. This method provides a powerful clean for challenging buildup.
Microwave Method for Sanitization
The microwave method offers a quick way to sanitize your sponge. This process uses heat to kill bacteria. Place your wet, soapy sponge in a microwave-safe bowl filled with water. The water should completely cover the sponge. Microwave for 30-60 seconds on high power. Be cautious when removing the bowl; the water will be very hot. Let the sponge cool in the water before touching it. Gently squeeze out the water and let it air dry. This method kills germs effectively, but it can shorten the sponge’s lifespan if done too frequently. Use this method sparingly, perhaps once a month for deep sanitization.
Washing Machine (Net Bag) Method
Some durable sponges can be cleaned in a washing machine, but with extreme caution. This method is generally not recommended for delicate sponges like Beautyblenders. If you have a very robust, dense foam sponge, you might consider it. Place your sponge in a small, mesh laundry bag. This protects it from getting lost or damaged by the machine’s agitator. Use a gentle cycle with cold water and mild detergent. Do not use hot water or harsh bleaches. Always air dry the sponge completely afterward. I personally avoid this method due to the risk of damage. It is better to stick to hand-washing or microwave for safety. This option is a last resort for very resilient sponges only.
Each of these methods provides distinct benefits. Choose wisely based on your sponge’s material and how much cleaning it needs. No matter the method, thorough rinsing and proper drying are always key.
Proper Drying Techniques: Crucial for Longevity and Hygiene
Cleaning your face sponge is only half the battle. Proper drying is just as important, if not more so, for hygiene and longevity. A damp sponge is a perfect environment for mold, mildew, and bacteria to thrive. This can negate all your cleaning efforts. I always make sure my sponges are completely dry before putting them away. This step cannot be skipped.
Air drying is the best method for your face sponge. After thoroughly rinsing and squeezing out excess water, place your sponge in a well-ventilventilated area. Do not store it in an enclosed container or drawer immediately. This traps moisture and encourages microbial growth. Think about how easily mold can grow in damp, enclosed spaces, like in a shower that isn’t properly ventilated; a wet sponge is no different. You want air to circulate freely around the entire surface of the sponge.
Consider using a drying rack or stand specifically designed for beauty sponges. These often have open designs that allow air to reach all sides. If you do not have a specialized rack, placing your sponge on a clean, dry paper towel or cloth on a flat surface works too. Just ensure it is not in direct sunlight, which can degrade the material. Placing it near a window with good airflow is ideal. I often leave mine on my vanity counter, away from direct heat or humidity.
It is vital to ensure the sponge is completely dry before its next use or before storing it. Depending on humidity levels, this can take several hours, often overnight. Squeeze the sponge gently to test for any lingering dampness. If it feels even slightly damp, continue air drying. Putting away a partially damp sponge invites bacteria. This can lead to unpleasant smells and potential skin issues.
Avoiding moisture is your primary goal. This prevents the growth of mold and mildew within the sponge itself. Mold can cause skin irritation and even respiratory problems. If you ever notice black spots or a musty smell, it is a sign of mold. At that point, you should discard the sponge immediately. Do not try to clean moldy sponges; it is not worth the health risk. Proper drying completely eliminates this risk.
Maintaining a dry environment for your tools helps keep your skin healthy. It is similar to how you would prevent mold in other damp areas. Understanding how to tackle mold in your home can also inform your general cleaning habits, like how to clean mold in shower or how to clean mold off walls. By applying the same principles to your beauty tools, you ensure they are truly clean and safe to use.
How Often Should You Clean Your Face Sponge?
The frequency of cleaning your face sponge significantly impacts your skin health. There is no one-size-fits-all answer, but general guidelines exist. I have found that adjusting my cleaning schedule based on usage works best. Regular cleaning prevents buildup and maintains hygiene.
Ideally, you should clean your face sponge after every single use. This is especially true if you use it daily for liquid foundations or concealers. Each application transfers makeup, oil, and dead skin cells onto the sponge. A quick rinse and gentle squeeze with soap immediately after use removes most of this residue. This prevents bacteria from multiplying. It ensures your sponge is fresh for the next day. This daily habit greatly reduces the risk of breakouts and keeps your sponge performing at its best.
If daily cleaning is not feasible for your routine, aim for at least once a week for a thorough deep clean. This weekly deep clean is essential even if you perform quick rinses daily. A weekly session allows you to penetrate deeper into the sponge’s core. It removes more stubborn makeup stains and disinfects the sponge more effectively. I dedicate a specific time each week to clean all my beauty tools, including my face sponges. This routine helps me stay consistent.
Several factors influence how often you should clean your sponge. Your skin type plays a role. If you have oily or acne-prone skin, more frequent cleaning is necessary. Oily skin produces more sebum, which can clog pores and feed bacteria. Using a clean sponge helps manage these issues. For those dealing with excess oil, even your general skincare routine, such as how to clean oily face, becomes more critical, highlighting the interconnectedness of personal hygiene.
The type of makeup you use also matters. Liquid foundations and cream products transfer more residue onto the sponge. They require more frequent cleaning compared to powder products. If you only use your sponge for powder application, you might get away with slightly less frequent cleaning. However, even powders can mix with skin oils and create a breeding ground for bacteria.
Consider the environment where you store your sponge. If it is in a humid bathroom, it needs more frequent cleaning to combat potential mold growth. Ultimately, listening to your skin and observing your sponge’s appearance guides your cleaning frequency. When in doubt, clean it more often. A clean sponge is a happy sponge, and happy skin follows.
Common Mistakes to Avoid When Cleaning Face Sponges
Cleaning your face sponge seems straightforward, but certain practices can damage your sponge or make it less effective. Avoiding these common mistakes helps extend the life of your sponge and ensures proper hygiene. I learned some of these lessons through trial and error myself.
First, using harsh chemicals or detergents is a big mistake. While strong cleaners might seem effective, they can quickly degrade the delicate material of your face sponge. Products containing bleach, strong alcohols, or abrasive particles can break down the foam. This leads to tears, loss of bounce, and a shorter lifespan for your sponge. Stick to mild soaps, baby shampoos, or cleansers specifically designed for beauty tools. These are formulated to be gentle yet effective.
Secondly, improper drying techniques are detrimental. As discussed earlier, leaving a sponge damp invites mold and bacteria. Conversely, trying to speed up drying with excessive heat, like a hairdryer or direct sunlight, can also damage the sponge. High heat can melt or deform the material, making it stiff and unusable. Always opt for air drying in a well-ventilated area. Patience during the drying process pays off in sponge longevity and hygiene.
Another common error is aggressive squeezing or twisting. When cleaning, it is tempting to wring out the sponge with force. However, this can tear the foam, especially at stress points. Gentle squeezing and massaging are sufficient to work the soap through and remove water. Treat your sponge with care, just as you would any delicate item. Imagine you are gently massaging a baby’s skin, not wringing out a dishcloth.
Lastly, not replacing your sponge often enough is a mistake, even with diligent cleaning. Over time, all sponges wear out. The material loses its elasticity, becomes less effective at blending, and can harbor deep-seated bacteria that even the best cleaning cannot remove. Most experts recommend replacing your face sponge every three to six months, depending on use. If you notice tears, a persistent odor, or a significant change in texture, it is definitely time for a new one.
By avoiding these pitfalls, you ensure your face sponges remain effective, hygienic, and last longer. Proper cleaning and care contribute significantly to a healthier complexion and a smoother makeup application experience.
FAQ Section
Can I use dish soap to clean my face sponge?
Yes, you can use a small amount of gentle dish soap for heavily stained sponges. Dish soap is good at breaking down oils and stubborn makeup. However, rinse the sponge thoroughly afterward. Some harsh dish soaps can be too strong and potentially degrade the sponge’s material over time. Always prioritize mild, gentle cleansers for regular cleaning.
How often should I clean my face sponge?
For optimal hygiene, clean your face sponge after every use, especially if you apply liquid foundation daily. If daily cleaning is not possible, aim for a thorough deep clean at least once a week. This frequency prevents bacterial buildup, ensures clearer skin, and maintains the sponge’s effectiveness.
How long does a face sponge last?
With proper cleaning and care, a good quality face sponge typically lasts between three to six months. Signs it is time to replace your sponge include tears, a change in texture (it might feel less bouncy or more rigid), or a lingering odor even after cleaning. Replacing it regularly ensures hygienic makeup application.
Can I clean my face sponge in the washing machine?
Cleaning a face sponge in a washing machine is generally not recommended. The agitation can damage delicate sponges, causing them to tear or lose their shape. If you have a very durable, dense foam sponge, you could place it in a mesh laundry bag on a gentle, cold cycle, but hand-washing is always safer and more effective.
Why does my sponge still look dirty after cleaning?
Your sponge might still look dirty after cleaning for several reasons. It could have deep-set, old makeup stains that are very difficult to remove completely. If you used a dark foundation, some pigment might remain. Sometimes, old sponges simply stain more easily. Also, insufficient rinsing can leave product residue. Consider a deeper clean with a specialized cleanser or replacing the sponge if it persists.
How can I dry my beauty blender fast?
The safest way to dry your beauty blender is by air drying. After squeezing out excess water, place it on a clean, dry surface or a sponge drying rack in a well-ventilated area. Avoid direct sunlight or high heat sources like hairdryers, as these can damage the sponge material. For slightly faster drying, ensure maximum air circulation around it.
Conclusion
Mastering how to clean face sponge is an essential step for anyone who uses makeup tools. It goes beyond just aesthetics; it is a fundamental practice for maintaining healthy skin and extending the life of your valuable beauty investments. We have covered the critical reasons why cleaning matters, from preventing breakouts to ensuring flawless makeup application. We explored the simple supplies you need and walked through effective hand-washing and alternative cleaning methods. Remember that proper drying is just as important as the wash itself.
By implementing the guidelines in this guide, you will safeguard your skin from unseen bacteria and prolong the efficacy of your favorite sponges. Make a habit of cleaning your face sponge regularly, adjust based on your usage, and always ensure it dries completely. Your skin will thank you for the care. Take action today: gather your mild soap, warm water, and dedicate a few minutes to clean your face sponge. Enjoy the benefits of clearer skin and perfectly blended makeup!
- face sponge cleaning
- beauty blender care
- makeup sponge hygiene
- skincare routine
- clean beauty tools
- sponge cleaning tips