· Device Maintenance · 18 min read
How To Clean G Pen Connect
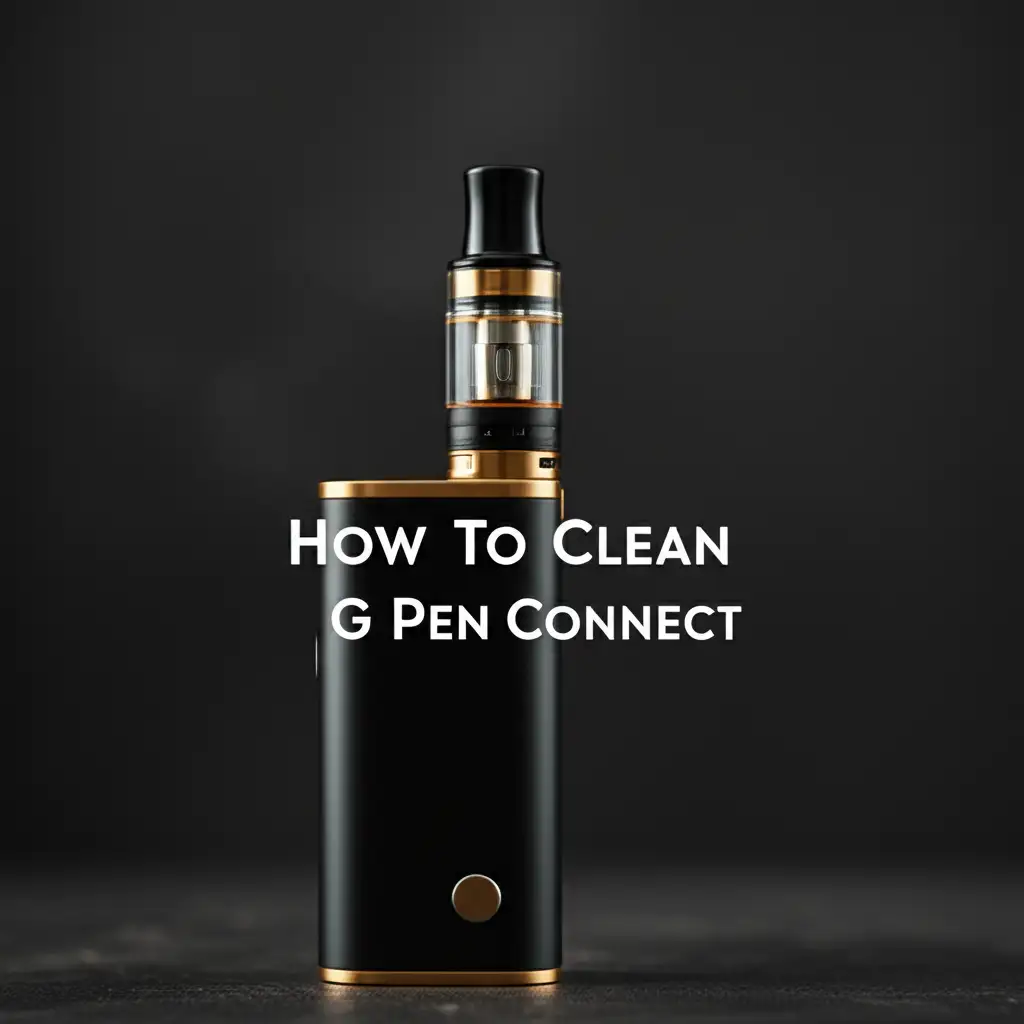
Cleaning Your G Pen Connect: A Full Guide
Your G Pen Connect enhances your concentrate experience. Regular cleaning keeps it in top shape. Old residue builds up inside. This buildup impacts flavor and device function. I will show you how to clean G Pen Connect completely. This guide covers all parts. You will learn the right tools and steps. This helps your device last longer. A clean device delivers the best vapor quality.
Takeaway
Keeping your G Pen Connect clean makes it work better. Regular maintenance prevents clogs and poor performance. Follow these key steps:
- Disassemble the device carefully.
- Soak glass and metal parts in isopropyl alcohol.
- Use cotton swabs for smaller areas.
- Dry all components completely before reassembly.
- Clean your device regularly for best results.
Clear Answer
To clean your G Pen Connect, disassemble its components. Soak glass and metal parts in 90% or higher isopropyl alcohol. Use cotton swabs and pipe cleaners for atomizer and airpath. Ensure all parts are completely dry before reassembly to maintain function and hygiene.
Why G Pen Connect Cleaning Matters: Boost Performance
Keeping your G Pen Connect clean offers many benefits. A clean device always works better. Old residue from concentrates can harm its function. This section explains why cleaning your G Pen Connect is important. I want your device to perform its best.
Concentrate residue builds up inside. This buildup reduces vapor quality. Your vapor might taste burnt or weak. This happens because residue blocks airflow. It also affects the heating element. A clean device gives pure, strong vapor. It feels like new again.
Regular cleaning also extends device life. Residue can cause clogs. It might strain internal components. This leads to early device failure. Cleaning prevents these issues. It protects your investment. You save money by not replacing parts often. My own devices last much longer with good care.
Dirty devices can pose health risks. Mold or bacteria can grow in old residue. You inhale whatever is in your device. Cleaning removes these harmful elements. This ensures a healthier experience. A clean device means a clean breath.
Airflow issues are common with dirty devices. Residue blocks air paths. This makes drawing vapor difficult. You might not get a satisfying hit. Cleaning opens up these paths. It restores smooth airflow. Your G Pen Connect will draw easily again.
Heat distribution also suffers from dirt. The heating element cannot work efficiently. Some spots get too hot, others not enough. This wastes your concentrates. A clean atomizer heats evenly. You get full vaporization from your material. This ensures no waste.
I always notice a difference after cleaning my G Pen Connect. The device heats faster. It feels more responsive. The magnetic connections snap firmly. Every part fits together well. This makes usage much more enjoyable. It also helps prevent common device malfunctions that come from blockages. Cleaning simply makes the G Pen Connect experience superior. It is a necessary task for anyone who uses this device often.
Gathering Your G Pen Connect Cleaning Essentials
Before you start cleaning your G Pen Connect, gather the right tools. Having everything ready saves time. It makes the cleaning process smooth. Using correct supplies protects your device. I always make sure I have these items on hand.
You will need high-purity isopropyl alcohol. Look for 90% concentration or higher. This alcohol dissolves concentrate residue well. It evaporates quickly. This leaves no harmful traces. Do not use rubbing alcohol with lower percentages. Those contain more water. Water can damage electronics.
Cotton swabs are essential. They help clean small areas. Choose ones with sturdy sticks. They should not leave cotton fibers behind. Look for pointed swabs for tight spots. I find these very useful for the atomizer.
Pipe cleaners are also helpful. They bend to reach curved paths. Use them to clear airflow tubes. Choose ones without metal wires sticking out. Metal can scratch delicate surfaces. Some stores sell specific cleaning brushes. These brushes often come with vaporizer kits.
Small glass or ceramic dishes work best for soaking. Plastic can react with isopropyl alcohol. It might absorb odors or degrade. A small glass bowl is perfect. You can soak parts without worry. Ensure the dish is clean before use.
A soft cloth or paper towels are needed for drying. Microfiber cloths are good. They absorb well and do not leave lint. Avoid rough materials. They might scratch glass components. I prefer using lint-free cloths for my glass.
For stubborn residue, you might need a small, non-abrasive brush. A soft toothbrush can work. Make sure it is clean and dedicated to cleaning. This helps remove sticky spots without damage. Sometimes, extra wax residue needs a bit of gentle scrubbing. You can also learn how to clean wax off a dab pen if you have other devices.
Lastly, you might want gloves. Isopropyl alcohol can dry out skin. Concentrates can be sticky. Gloves keep your hands clean. They also protect your skin. I always wear disposable gloves for this task. Having all these items ready ensures a thorough and safe cleaning of your G Pen Connect.
Disassembling Your G Pen Connect Safely
Disassembling your G Pen Connect is the first step in cleaning. It needs care. You want to avoid damage to any part. Each component separates easily with the right technique. I always follow these steps to take my device apart.
First, ensure your G Pen Connect is turned off. Disconnect it from any power source. Remove the concentrate tank. This part holds your material. It usually twists off or pulls away from the main battery. Set it aside for separate cleaning.
Next, remove the glass adapter. The Connect typically includes different sizes. These adapters secure to your water piece. They usually pull straight out or twist gently. Be careful. Glass is fragile. Place it on a soft surface. If you need tips on general glass cleaning, consider how to clean wax off glass surfaces.
Then, detach the male glass adapter, if using one. This piece connects the Connect to a water pipe. It is also glass. Handle it with the same care as the main glass piece. Place it with the other glass parts.
Separate the battery housing from the atomizer. The atomizer is the part with the heating coil. It usually unscrews from the battery section. Twist counter-clockwise to loosen. Once separated, set the battery housing aside. You will clean this part differently. Do not submerge the battery.
Now, you have the atomizer fully exposed. This part often has a ceramic or quartz heating dish. Gently pull any silicone rings or seals off. These are usually removable. They need separate cleaning. Be gentle not to tear them.
Finally, check for any smaller filters or screens. Some models have tiny screens near the mouthpiece. If present, remove these carefully. They often just pop out. These tiny pieces collect a lot of residue.
Lay out all disassembled parts on a clean towel. Group similar materials together. Keep glass parts separate. This prevents scratches. You are now ready to clean each component thoroughly. Proper disassembly sets the stage for a great clean.
Deep Cleaning G Pen Connect Atomizer and Glass
The atomizer and glass components collect the most residue. These parts require the most attention. A thorough clean here ensures the best performance. I focus on these parts first during a deep clean.
Start with the glass parts. Place all glass adapters and any glass mouthpiece sections into a small glass dish. Pour 90% or higher isopropyl alcohol over them. Make sure the alcohol fully submerges the glass. Let them soak for at least 30 minutes. For heavily soiled parts, soak for a few hours or even overnight. This dissolves the sticky concentrate residue. If you encounter tough residue on other glass items, learning how to clean glass without streaks can also be helpful.
While glass soaks, clean the atomizer. The atomizer contains the heating element. You cannot soak the entire atomizer. This can damage the electronics. Instead, use cotton swabs dipped in isopropyl alcohol. Gently wipe the ceramic or quartz dish. Swab around the heating coil. Be careful not to apply too much pressure. You do not want to break the coil.
For hard-to-reach areas within the atomizer, use a pipe cleaner. Dip the pipe cleaner in isopropyl alcohol. Carefully push it through any small holes or air paths. Twist it gently to scrub the inside. This removes any trapped residue. Check the area where the atomizer connects to the battery. Wipe away any buildup there too.
After soaking, remove the glass parts from the alcohol. Use clean water to rinse them thoroughly. This removes all alcohol and dissolved residue. Hold them under running water. Make sure no alcohol remains. Leftover alcohol can affect flavor.
Inspect all parts for remaining residue. If you see any, repeat the cleaning. You might need fresh alcohol for very dirty parts. Use new cotton swabs for a final wipe. Ensure all surfaces are spotless. Every bit of residue impacts vapor quality.
Once clean, let all parts air dry completely. Place them on a clean, lint-free towel. Allow several hours for drying. You can also use a fan to speed up the process. Do not reassemble while wet. Moisture can short circuit the device. It also harms flavor. Patience during drying leads to the best results.
Cleaning G Pen Connect Airpath and Mouthpiece
Cleaning the airpath and mouthpiece is crucial for hygiene and performance. These parts come into direct contact with vapor and your mouth. Keeping them clean prevents blockages and ensures a pure taste. I always give these areas special attention.
The G Pen Connect’s airpath is often internal. It leads from the atomizer to the mouthpiece. This path can collect sticky residue. Use a pipe cleaner or a thin brush to clean it. Dip the pipe cleaner in isopropyl alcohol. Gently push it through the airpath openings. Twist and pull to dislodge buildup. Repeat this several times with clean pipe cleaners. You want to see no residue on the cleaner when it comes out.
For the mouthpiece, if it is a removable glass or plastic piece, soak it. If it is glass, you can soak it with the other glass parts. If it is plastic or silicone, wipe it down. Dip a cotton swab in isopropyl alcohol. Wipe all surfaces of the mouthpiece. Pay attention to the interior opening. Residue often accumulates here. Make sure to clean all corners and crevices.
Some G Pen Connect models have silicone seals or gaskets. These parts are important for airtight connections. Remove them carefully during disassembly. Wipe them with a cotton swab dipped in isopropyl alcohol. You can also rinse them under warm water. Check them for tears or wear. Replace them if they look damaged.
After cleaning the airpath and mouthpiece, rinse them well. Use warm running water. Ensure no alcohol remains. Alcohol can be harsh on plastic or silicone over time. It also leaves an unpleasant taste. Rinse until you cannot smell any alcohol.
Allow these components to dry completely. Place them on a clean, lint-free towel. Air drying is best. Make sure no moisture remains before reassembly. Even a tiny bit of water can affect performance. It can also lead to mold growth in humid environments.
Regular cleaning of these parts prevents airflow issues. It also keeps your device hygienic. A clean mouthpiece feels good to use. A clear airpath ensures smooth draws. This contributes to the overall pleasantness of your G Pen Connect experience. I prioritize these steps for a reason.
Reassembling and Testing Your Clean G Pen Connect
After all parts are clean and completely dry, it is time for reassembly. Putting your G Pen Connect back together correctly is important. It ensures proper function and safety. I take my time with this step.
First, gather all your dried components. Make sure every piece is bone dry. This is critical. Any moisture can cause issues. Begin by reattaching any small silicone seals or gaskets. They fit into specific grooves. Ensure they are seated properly. These seals prevent leaks and maintain proper airflow.
Next, screw the atomizer back onto the battery housing. Turn clockwise until it feels snug. Do not overtighten. Overtightening can damage the threads. A gentle twist is enough to secure it. This connection provides power to the heating element.
Now, reattach the glass adapter. This is the piece that connects to your water pipe. Gently push it into place. If it twists, turn it carefully. Align any ports or openings correctly. You should feel a secure fit. Remember, glass is fragile. Handle it with care to avoid breaking it.
Attach the concentrate tank if it is a separate piece. It usually twists onto the atomizer. Make sure it aligns perfectly before twisting. This tank holds your material. A good seal here prevents leaks.
Finally, reattach the mouthpiece. It usually snaps or twists onto the glass adapter or top of the tank. Ensure it feels secure. A loose mouthpiece can lead to weak draws. It can also detach unexpectedly.
Once assembled, give your G Pen Connect a visual check. Look for any misaligned parts. Ensure everything appears correctly seated. Double-check all connections. A quick visual inspection can prevent problems.
Now, it is time to test your device. Turn on your G Pen Connect. Observe the indicator lights. Make sure it powers on correctly. Initiate a heating cycle without any concentrate. Watch for proper heating. You should see the coil glow if visible. Listen for any unusual sounds. Take a dry draw. You should feel clear airflow. No blockages should be present.
If everything works well, your G Pen Connect is ready for use. It should now deliver the best possible performance. A properly reassembled and tested device ensures a great experience. I always feel confident using my device after this process.
Maintaining Your G Pen Connect: Daily Care Tips
Regular, light maintenance keeps your G Pen Connect performing optimally between deep cleans. Small actions daily prevent major buildup. This saves time and effort in the long run. I incorporate these simple habits into my routine.
After each use, do a quick wipe-down. While the atomizer is still slightly warm, use a dry cotton swab. Gently wipe out any leftover concentrate residue. Warm residue is much easier to remove. This prevents it from hardening. It stops significant buildup from forming. This simple step makes a big difference.
Do not overfill your concentrate tank. Using too much material can cause spills. It can also lead to clogs in the airpath. Only load enough for your session. This prevents waste and keeps the device cleaner. I find less is often more.
Store your G Pen Connect properly. Keep it upright when not in use. This prevents any melted concentrate from leaking. Store it in a clean, dust-free place. A protective case is ideal. This keeps the device safe from debris. It also prevents accidental damage.
Avoid excessive heat. Do not leave your G Pen Connect in direct sunlight. High temperatures can cause concentrates to become very liquid. This increases the chance of leaks. It can also strain the battery. Keep it in a cool, dry place.
Check connections regularly. Ensure all parts are screwed in tightly. Loose connections can lead to poor performance. They might also allow residue to seep into unintended areas. A quick check takes seconds.
Perform a mini-clean once a week. This is less involved than a deep clean. Disassemble the glass parts. Soak them quickly in isopropyl alcohol for 10-15 minutes. Wipe down the atomizer and mouthpiece. This prevents major residue accumulation. It keeps your device fresh without much effort.
Inspect for wear and tear. Look at your silicone seals. Check the heating coil. If anything looks worn or damaged, consider replacing it. A small tear in a seal can affect performance greatly. Proactive replacement prevents bigger issues.
By following these daily care tips, your G Pen Connect will stay in excellent condition. You will need deep cleans less often. Your device will always be ready for use. Consistent care ensures longevity and superior vapor quality. This simple routine keeps my device running perfectly.
Solving G Pen Connect Cleaning Challenges
Sometimes, even with regular cleaning, you might face tough challenges. Stubborn residue or performance issues can arise. Knowing how to troubleshoot these problems saves frustration. I have encountered a few common issues and found solutions.
One common challenge is sticky, hardened residue. If old concentrate has become solid, it is hard to remove. For this, longer soaking times are key. Submerge glass and metal parts in isopropyl alcohol for several hours. You can even let them soak overnight. This gives the alcohol more time to dissolve the material. Gentle scraping with a non-abrasive tool might be needed. A small plastic pick or a wooden toothpick works well. Avoid metal tools.
Atomizer clogs can be frustrating. The heating element might not produce vapor. Or airflow feels completely blocked. This often means residue built up around the coil. Use a thin pipe cleaner or a dental pick. Gently clear the air holes. Be extremely careful not to touch the heating coil itself. You could damage it easily. Dip the pick in isopropyl alcohol for better results. Wipe away dislodged debris immediately.
A bad taste after cleaning might happen. This usually means alcohol residue remains. Even small amounts can affect flavor. Re-rinse all components thoroughly with warm water. Let them air dry for a longer period. Sometimes, a “burn-off” cycle helps. Run the device without any concentrate. This evaporates any lingering moisture or alcohol. I always do this after a deep clean.
Battery issues are not usually cleaning-related. But, a dirty connection point can cause problems. Wipe the battery contacts with a dry cotton swab. Ensure they are free of lint or residue. A clean connection ensures power flows correctly. If battery problems persist, it might be a hardware issue.
Difficulty reassembling parts means something might be misaligned. Double-check all seals and threads. Ensure no residue is preventing parts from fitting. Sometimes, a tiny piece of concentrate gets stuck in a thread. Clean that spot thoroughly. Do not force parts together. This can cause damage.
If your device still performs poorly after a thorough clean, check for damaged parts. A cracked glass piece can affect airflow. A worn-out heating coil will not vaporize efficiently. Replacing a single worn component can bring your device back to life. G Pen sells replacement parts. By addressing these cleaning challenges directly, you ensure your G Pen Connect always performs at its peak.
Frequently Asked Questions
How often should I clean my G Pen Connect?
You should clean your G Pen Connect regularly. A quick wipe after each use is good. Perform a mini-clean weekly. Do a full deep clean every 1-2 weeks. This depends on how often you use it. Frequent use requires more frequent cleaning.
Can I use water to clean my G Pen Connect?
Water alone is not effective for concentrate residue. It does not dissolve sticky wax. You can use warm water for rinsing after using isopropyl alcohol. Never submerge the battery or electronic parts in water. Water can cause damage.
What kind of alcohol is best for cleaning?
Use 90% or higher isopropyl alcohol. This strength dissolves concentrate residue most effectively. Lower percentages contain more water. They can leave residue behind. High-purity alcohol evaporates quickly and leaves no traces.
Can I clean the G Pen Connect atomizer coil?
You can clean around the atomizer coil. Use cotton swabs and pipe cleaners with isopropyl alcohol. Be very gentle. Do not touch or scrape the coil directly. The heating coil is delicate. It can break easily.
What if my G Pen Connect still smells after cleaning?
A lingering smell usually means residue remains. It can also indicate alcohol residue. Re-clean the parts thoroughly. Rinse them very well with water. Allow extra drying time. A “burn-off” cycle (heating empty device) can help evaporate remaining odors.
How do I know when my G Pen Connect is completely dry?
All parts should look and feel dry. There should be no visible moisture. You should not smell any alcohol. Place parts on a clean, lint-free towel. Allow several hours for air drying. A fan can speed this up. Patience ensures safety.
Conclusion
Cleaning your G Pen Connect is not just a chore. It is an investment in your device’s performance and lifespan. A clean G Pen Connect delivers better flavor and stronger vapor. It also prevents common issues like clogs and poor airflow. I know from experience that regular cleaning truly makes a difference.
We covered why cleaning matters. We discussed the essential tools you need. You learned how to disassemble your device safely. We went through deep cleaning the atomizer and glass parts. Cleaning the airpath and mouthpiece was also covered. Finally, we looked at reassembly, testing, and daily maintenance tips. We also addressed common cleaning challenges.
Make G Pen Connect cleaning a regular part of your routine. It takes little time but offers big rewards. You will enjoy a consistently excellent experience. Your device will stay in top condition. Take these steps today. Keep your G Pen Connect performing at its best. Get the most out of every session.
- G Pen Connect cleaning
- vaporizer maintenance
- dab pen cleaning
- vape upkeep

