· Cleaning Tips · 7 min read
How To Clean Green Machine Head
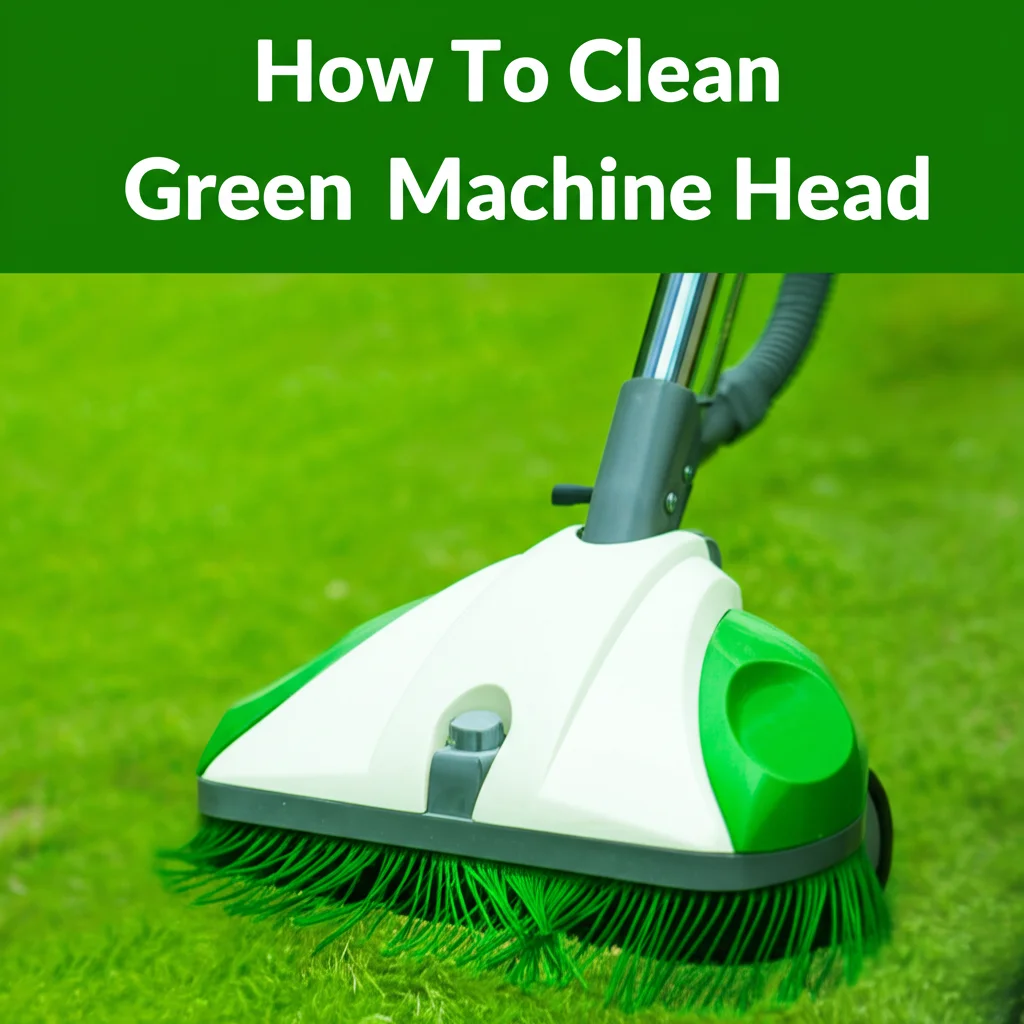
Keeping Your Cleaning Powerhouse Fresh: How To Clean a Green Machine Head
Is your Green Machine not performing as well as it used to? A dirty machine head could be the culprit! Many people focus on the tanks and brushes, but often overlook the crucial component that distributes the cleaning solution – the head itself. Cleaning your Green Machine head regularly ensures optimal performance and extends the life of your machine. This article will guide you through a simple, step-by-step process to get your Green Machine head sparkling clean, restoring its cleaning power. We’ll cover everything from daily maintenance to deep cleaning techniques, so you can keep your floors looking their best.
Takeaway:
- Regularly rinse the head after each use.
- Deep clean monthly with a mild detergent and warm water.
- Remove and inspect spray nozzles for clogs.
- Properly store the machine to prevent buildup.
What’s the quickest way to clean a Green Machine head?
A quick rinse with warm water after each use prevents buildup. For a deeper clean, detach the head and soak it in warm, soapy water for 15-20 minutes, then scrub gently with a soft brush and rinse thoroughly.
Why Cleaning Your Green Machine Head Matters
The Green Machine head is responsible for spraying the cleaning solution onto your floors. Over time, residue from detergents, hard water, and dirt can accumulate, clogging the spray nozzles and reducing the effectiveness of your cleaning. This buildup can lead to uneven cleaning, streaking, and even damage to your machine. A clean head ensures consistent spray patterns and optimal cleaning performance. Plus, regular cleaning prevents corrosion and extends the lifespan of this vital component. Think of it like this: a clogged spray nozzle is like trying to water your garden with a kinked hose – it just won’t work efficiently!
Daily Maintenance: A Quick Rinse is Key
After each use of your Green Machine, a quick rinse is all it takes to prevent major buildup. Simply detach the head (refer to your machine’s manual for instructions) and rinse it thoroughly with warm water. Pay special attention to the spray nozzles, ensuring they are clear of any debris. This simple step takes only a few minutes but can significantly reduce the need for more intensive cleaning later on. Don’t underestimate the power of prevention! A little effort each time saves a lot of scrubbing later. If you’re looking for more ways to maintain your floors, check out this guide on https://www.beacleaner.com/how-to-clean-vinyl-plank-flooring/ for tips on keeping your entire flooring system in top shape.
Monthly Deep Cleaning: Removing Stubborn Residue
Once a month, give your Green Machine head a more thorough cleaning. Start by detaching the head and soaking it in a solution of warm water and a mild detergent for 15-20 minutes. Avoid harsh chemicals or abrasive cleaners, as these can damage the plastic components. After soaking, use a soft brush (an old toothbrush works well) to scrub away any remaining residue. Pay close attention to the spray nozzles and any areas where buildup is particularly stubborn. Rinse thoroughly with clean water and allow to air dry completely before reattaching. This deep clean ensures all traces of detergent and grime are removed, restoring optimal spray function.
Inspecting and Clearing Spray Nozzles
Clogged spray nozzles are a common cause of uneven cleaning. Regularly inspect the nozzles for any blockages. You can use a small pin or needle to gently clear any debris. Be careful not to enlarge the nozzle openings, as this can affect the spray pattern. Another helpful trick is to run warm water through the nozzles to flush out any remaining particles. If you’re dealing with particularly stubborn clogs, you can try soaking the head in a vinegar solution (equal parts vinegar and water) for a few hours before attempting to clear the nozzles. For more information on tackling tough cleaning challenges, see https://www.beacleaner.com/how-to-clean-floor-grout-without-scrubbing/.
Using a Nozzle Cleaning Tool
Consider investing in a small nozzle cleaning tool specifically designed for cleaning spray nozzles. These tools are inexpensive and can make the process much easier and more effective. They typically have a variety of small wires and brushes that can reach into the nozzles and dislodge any debris. Using the right tool for the job can save you time and effort, and ensure a more thorough cleaning.
Proper Storage to Prevent Buildup
How you store your Green Machine can also impact the cleanliness of the head. Always empty the tanks and rinse the head thoroughly after each use. Store the machine in a dry, well-ventilated area. Avoid storing it in direct sunlight or extreme temperatures. If possible, store the head separately from the machine to allow for better air circulation. This prevents moisture buildup and reduces the risk of mold or mildew growth. Proper storage is a simple yet effective way to maintain the cleanliness of your Green Machine head and ensure it’s ready to go when you need it.
Troubleshooting Common Issues
Sometimes, even with regular cleaning, you may encounter issues with your Green Machine head. Here are a few common problems and how to address them:
- Uneven Spray Pattern: This is usually caused by clogged spray nozzles. Follow the instructions above to inspect and clear the nozzles.
- Reduced Spray Pressure: This could be due to a buildup of mineral deposits. Try soaking the head in a vinegar solution.
- Leaking Head: Check the seals and connections for any damage. Replace any worn or damaged parts.
If you’re still experiencing problems, consult your Green Machine’s manual or contact the manufacturer for assistance. Don’t hesitate to seek professional help if you’re unsure about any repairs. Maintaining your machine properly will save you money in the long run. If you’re having issues with other parts of your cleaning routine, you might find this article helpful: https://www.beacleaner.com/how-to-remove-mold-from-painted-walls/.
Frequently Asked Questions (FAQ)
Q: How often should I deep clean my Green Machine head?
A: We recommend deep cleaning your Green Machine head monthly. This helps remove stubborn residue and maintain optimal performance. Regular rinsing after each use will reduce the need for frequent deep cleans.
Q: Can I use bleach to clean my Green Machine head?
A: No, avoid using bleach or harsh chemicals, as they can damage the plastic components of the head. Stick to warm water and a mild detergent.
Q: What if the spray nozzles are still clogged after cleaning?
A: Try soaking the head in a vinegar solution overnight. If that doesn’t work, you may need to replace the nozzles.
Q: How do I know if my Green Machine head needs to be replaced?
A: If the head is cracked, damaged, or consistently malfunctioning despite cleaning, it’s time to replace it.
Q: Is it okay to use hot water for cleaning?
A: While warm water is ideal, avoid using excessively hot water, as it could potentially warp or damage the plastic components of the head.
Conclusion: A Clean Head for a Sparkling Clean Floor
Maintaining a clean Green Machine head is essential for optimal cleaning performance and extending the life of your machine. By following the simple steps outlined in this guide – daily rinsing, monthly deep cleaning, and regular nozzle inspections – you can ensure your Green Machine continues to deliver sparkling clean floors for years to come. Don’t underestimate the importance of this often-overlooked component! A little preventative maintenance goes a long way. Ready to tackle other cleaning challenges? Explore our other helpful articles, like this one on https://www.beacleaner.com/how-to-clean-hardwood-floors-with-vinegar/, for more cleaning tips and tricks.
- floor cleaner
- hardwood floor cleaning
- cleaning machine head