· Home Cleaning · 12 min read
How To Clean Grout Before Sealing
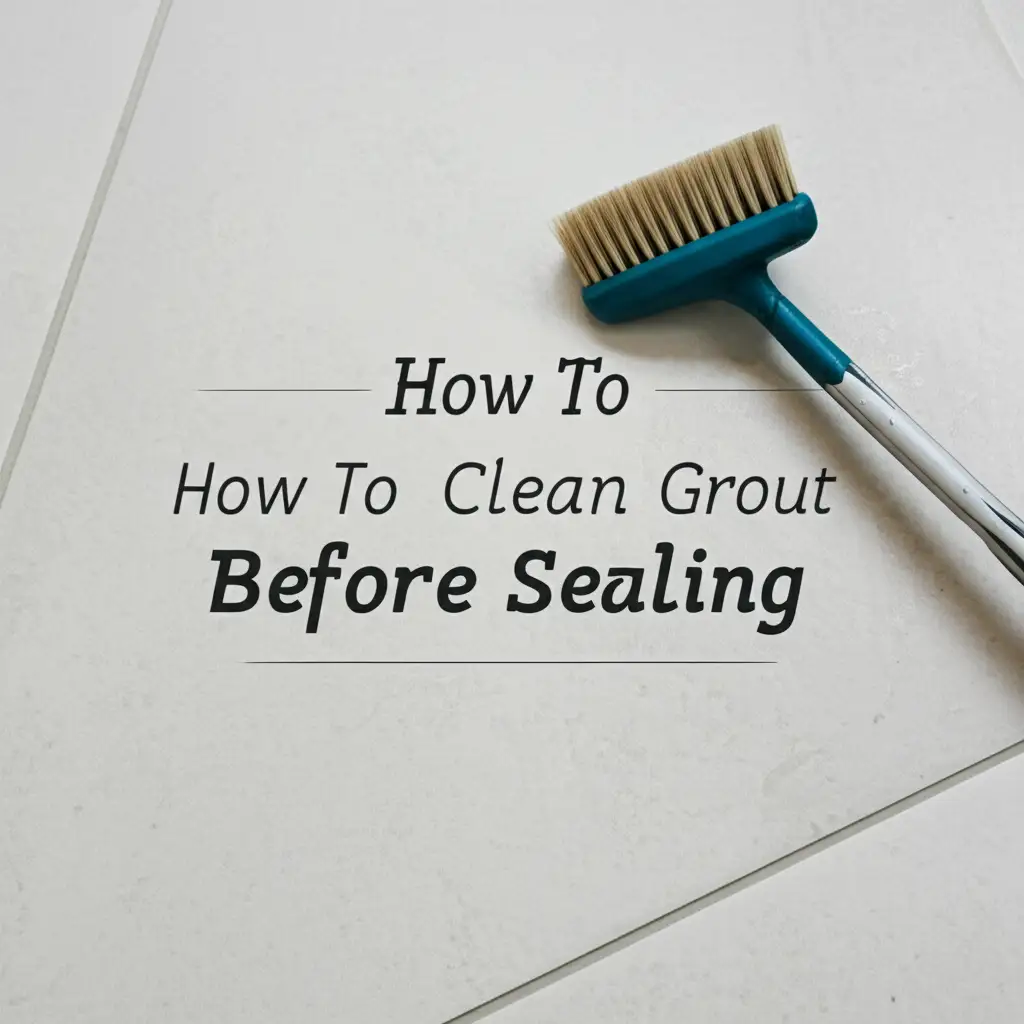
Prep Your Grout: How To Clean Grout Before Sealing
Imagine your beautiful tiled surfaces. Over time, the grout lines can collect dirt, grime, and even mold. This makes your tiles look dull. Before you apply a sealant, you must ensure the grout is perfectly clean. Sealing dirty grout traps the stains underneath, which makes your cleaning efforts useless. I have learned this the hard way myself.
This guide will show you how to clean grout before sealing. We will cover the steps, the tools you need, and the best cleaning solutions. You will also learn how to tackle tough stains and avoid common mistakes. My goal is to help you achieve a spotless finish that lasts. A clean foundation ensures the sealant works as it should.
Takeaway:
- Clean grout thoroughly before sealing.
- Use the right tools and cleaning solutions.
- Address stubborn stains with specific treatments.
- Ensure grout is completely dry before applying sealant.
To clean grout before sealing, remove all dirt, grime, and stains from the grout lines. This process prepares the surface for the sealant. A clean surface allows the sealant to bond properly, offering lasting protection.
Understanding Why Grout Needs Cleaning Before Sealing
Why is a spotless grout line so important before sealing? Think of it like painting a wall. If the wall is dirty, the paint will not stick well. The dirt might even show through. Grout works the same way. When you clean grout before sealing, you create a smooth, clean surface.
If you seal dirty grout, you trap the dirt inside. This means the stains become a permanent part of your floor. They are very difficult to remove later. A dirty surface also stops the sealant from sticking. This makes the sealant less effective. It will not protect your grout as it should. This can lead to quicker wear and more damage.
Proper cleaning makes the sealant last longer. It helps the sealant form a strong bond with the grout. This bond helps keep out moisture and stains. It makes future cleaning much easier. New grout also needs cleaning. It can have haze or construction dust. You can learn more about this process by reading our guide on how to clean grout after tiling. This step ensures the grout is ready for its protective layer.
Gathering Your Essential Tools and Cleaning Solutions
Before you start cleaning, gather all your supplies. Having everything ready makes the job easier and faster. I always make sure my tools are within reach. You will need a few basic items. These items help you clean effectively and safely.
First, get some scrubbing brushes. A stiff-bristled brush works well for general cleaning. You might want a smaller brush, like an old toothbrush, for tight spots. Buckets are important for mixing solutions and rinsing. Always have at least two buckets: one for cleaning solution and one for rinse water. Microfiber cloths are great for wiping and drying. They absorb water well and do not leave lint.
Next, consider your cleaning solutions. A pH-neutral cleaner is often a good start. It is gentle enough for most grout types. For tougher dirt, you might need an alkaline cleaner. These cleaners break down grease and oil. If you have stubborn stains like mold or mildew, an acidic cleaner might be necessary. However, always test acidic cleaners in a small, hidden area first. They can damage certain types of tiles. Some specific cleaners like hydrogen peroxide can also be very effective for brightening grout lines. Learn more about its uses in our guide on how to clean grout with hydrogen peroxide.
Safety is important. Wear rubber gloves to protect your hands from chemicals. Safety glasses are also a good idea, especially when using stronger cleaners. Make sure the area is well-ventilated. Open windows or use a fan. This helps clear fumes. Proper preparation ensures a smooth and safe cleaning process.
Step-by-Step Guide to Deep Cleaning Grout
Cleaning grout deeply before sealing is a careful process. Each step builds on the last one. Following these steps helps you get the best results. I find that a systematic approach saves time and effort. This method works for floors, showers, or any tiled area.
Start with a dry clean. Use a vacuum cleaner with a brush attachment to remove loose dirt. You can also use a stiff broom. This step stops dirt from turning into mud when you apply liquid cleaners. It makes the next steps more effective. Skipping this step means you are just moving dirty water around.
Next, apply your chosen cleaning solution. Read the product instructions carefully. Often, you will spray or pour the solution directly onto the grout lines. Let it sit for the recommended time. This dwell time allows the cleaner to break down dirt and grime. Do not let the solution dry on the grout. If it starts to dry, apply a little more.
Now, it is time to scrub. Use your stiff-bristled brush. Scrub in a back-and-forth motion along the grout lines. Apply firm pressure. For very dirty areas, you might need to scrub multiple times. Take your time with this step. It is where most of the cleaning work happens. If you are cleaning floors, check out our tips on how to clean tile grout on floors. If you are working on a shower, we have specific advice on how to clean grout in the shower.
Finally, rinse the grout thoroughly. Use a bucket of clean water and a mop or cloth. Rinse the area multiple times to remove all cleaning solution residue. Dirty water can leave streaks. Change your rinse water often to keep it clean. You want to remove all traces of the cleaner and loosened dirt. This prepares the grout for the crucial drying phase.
Tackling Stubborn Stains and Discoloration
Some grout stains need extra attention. Regular cleaning might not remove them completely. These stains often include mold, mildew, or oil spots. They can be very tough. I have dealt with many of these myself, and I know how frustrating they can be. But with the right approach, you can eliminate them.
For mold and mildew, a bleach-based cleaner or a hydrogen peroxide solution often works best. Apply the solution directly to the affected area. Let it sit for 10-15 minutes. This gives the chemical time to break down the organic growth. Then, scrub vigorously with a stiff brush. Be careful when using bleach. Ensure good ventilation and protect surrounding surfaces. You can find more targeted advice on how to treat these specific issues by reviewing our article on how to clean grout that has turned black.
Oil and grease stains require a different approach. An alkaline degreaser is effective here. Apply the degreaser to the stain. Allow it to penetrate for a few minutes. Then, scrub well. You might need to repeat this process for old or deep stains. A paste made from baking soda and water can also help lift oil stains. Apply the paste, let it dry, then scrub and rinse.
Always test any strong cleaning agent in an inconspicuous area first. This is especially important for natural stone tiles. Marble, granite, and other natural stones are sensitive to acidic cleaners. They can etch or discolor the surface. For these materials, use pH-neutral cleaners or specialized stone cleaners. Our guide on how to clean natural stone tile and grout provides more details. If you are unsure, consult a professional. Targeting stains correctly ensures your grout is perfectly clean before sealing.
Drying Grout Properly Before Sealing
After cleaning, drying the grout is a critical step. This step is just as important as the cleaning itself. If the grout is not completely dry, the sealant will not bond correctly. It can lead to poor adhesion. This means the sealant will not protect your grout effectively. I always make sure the grout is bone dry before moving on.
Moisture trapped under the sealant can cause many problems. It can lead to bubbling or peeling of the sealant. It can also encourage mold or mildew growth under the new seal. This is because moisture creates a perfect environment for these issues. You want to avoid this at all costs. An improper seal can also lead to more frequent reapplication.
Allow the grout to air dry completely. This usually takes at least 24 to 48 hours. The exact time depends on humidity levels and air circulation. In humid environments, it might take even longer. You can speed up the drying process. Use fans directed at the tiled area. A dehumidifier can also help pull moisture from the air. Open windows to create airflow.
To check for dryness, touch the grout. It should feel completely dry to the touch. You can also press a piece of paper towel onto the grout. If the paper towel shows any sign of dampness, the grout needs more time. Patience here pays off. A fully dry surface ensures the sealant performs at its best. This creates a strong, lasting barrier.
Common Mistakes to Avoid During Grout Cleaning
When cleaning grout, some mistakes can undo your hard work. Avoiding these errors helps ensure a good result. I have seen many people make these mistakes, and the outcome is never good. Being aware of them can save you time and frustration.
One common mistake is using harsh chemicals without testing them first. Strong acids or bleach can damage certain types of grout or tile. They might also remove the existing color from your grout. Always test a small, hidden spot before applying any cleaner to a large area. This simple step prevents irreversible damage.
Another error is not rinsing the grout thoroughly. If you leave cleaning solution residue, it can attract dirt. It can also prevent the sealant from adhering properly. You need to rinse until all suds and chemical traces are gone. Use fresh, clean water for rinsing. Change your rinse water often.
Not allowing the grout to dry completely is a big mistake. As discussed, moisture beneath the sealant causes problems. Always give grout enough time to air dry. Rushing this step is a common cause of sealing failures. Using fans or dehumidifiers helps, but patience is key.
Ignoring a test patch for the cleaner or sealant is also risky. Always test products in an inconspicuous area. This confirms they are safe for your specific grout and tile. Different materials react differently to cleaners. A test patch shows you how your surface will respond. Avoiding these common mistakes sets you up for successful grout sealing.
When to Consider Professional Grout Cleaning
Sometimes, your grout might be beyond a DIY deep clean. There are situations where professional help makes sense. A professional cleaner has tools and knowledge that a homeowner might not. I consider calling in experts for certain tough jobs.
If your grout has severe discoloration or deep-set stains, a professional might be necessary. They have access to commercial-grade cleaners and equipment. These tools can remove stains that consumer products cannot. They can also handle large areas much faster than you can. This saves you significant time and effort.
Another reason to call a professional is if you have specialized grout types. Some epoxies or delicate natural stone grouts need specific care. Using the wrong product can damage them. Professionals know which cleaning solutions are safe for different materials. They prevent costly errors. For instance, cleaning grout on marble floors requires a very gentle approach.
Consider professional help if you have a large area of tiling. Cleaning an entire house full of grout is a big job. It can be physically demanding and time-consuming. Professionals can clean large surfaces quickly and efficiently. They ensure a consistent level of clean across all your grout lines. Investing in professional cleaning ensures your grout is perfectly prepared for sealing. This gives you peace of mind.
FAQ Section
How often should I clean grout before sealing?
You only clean grout thoroughly before sealing it, not regularly. Sealing happens every 1-3 years, depending on traffic and sealant type. Your main goal is a perfect clean surface for new sealant to bond. Regular cleaning maintains sealed grout between applications.
Can I use vinegar to clean grout before sealing?
Vinegar is a mild acid. It can clean some dirt and soap scum from grout. However, it is not recommended for grout on natural stone tiles like marble. It can also weaken cement-based grout over time. Test it first, and rinse thoroughly if you do use it.
What if my grout is already sealed and dirty?
If your grout is already sealed and dirty, you likely need to deep clean it. You might need to strip the old sealant first. Use a grout stripper product if needed. Then, follow the cleaning steps outlined in this guide. After cleaning, reapply a new sealant.
How long does grout need to dry before sealing?
Grout needs to be completely dry before sealing. This usually takes 24 to 48 hours. High humidity or poor ventilation can extend this time. Ensure no moisture remains to allow the sealant to bond correctly. Use fans or a dehumidifier if necessary.
Does new grout need cleaning before sealing?
Yes, new grout needs cleaning before sealing. This removes any grout haze, dust, or construction debris. A clean surface helps the sealant bond correctly. Always allow new grout to cure fully before cleaning and sealing it. Curing typically takes 24-72 hours.
Conclusion
Cleaning grout before sealing is a vital step in tile maintenance. It prepares the surface for the sealant. A clean surface allows the sealant to bond effectively. This ensures long-lasting protection against dirt and moisture. I hope this guide helps you achieve a spotless finish.
We covered why cleaning is important and what tools you need. You now know the step-by-step process for deep cleaning grout. We also discussed how to tackle stubborn stains and the importance of proper drying. Avoiding common mistakes helps ensure a successful outcome. Remember that professional help is an option for tough jobs. By following these steps on how to clean grout before sealing, you will extend the life and beauty of your tiled surfaces. Take the time to clean properly. Your grout will thank you for it.
- grout cleaning
- grout sealing
- tile maintenance
- DIY cleaning
- home improvement