· Home Cleaning · 19 min read
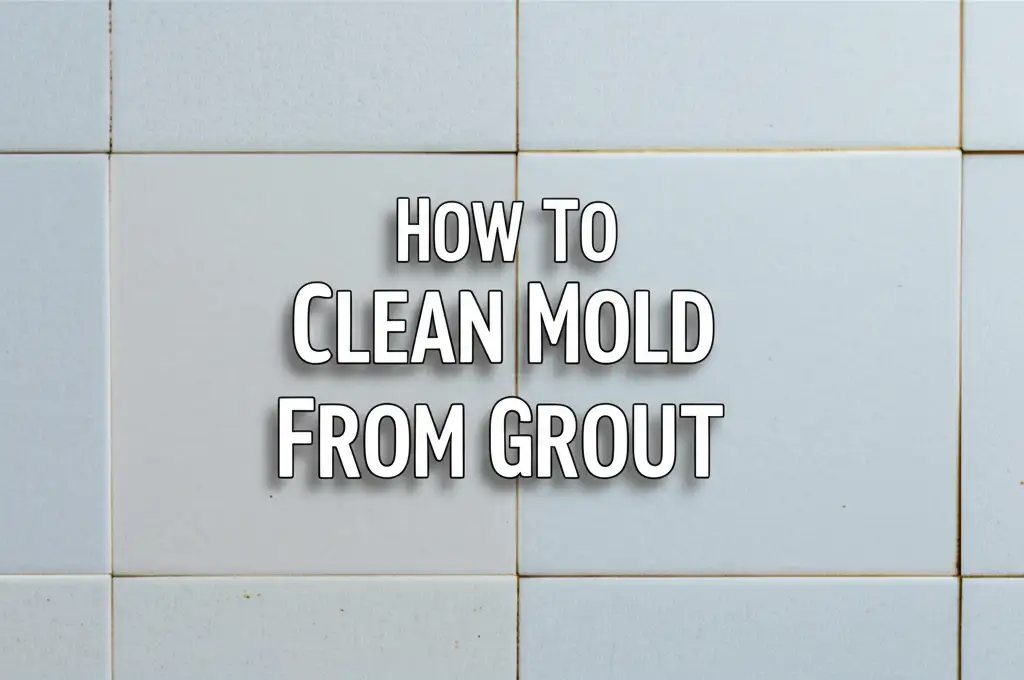
How To Clean Grout That Has Turned Black
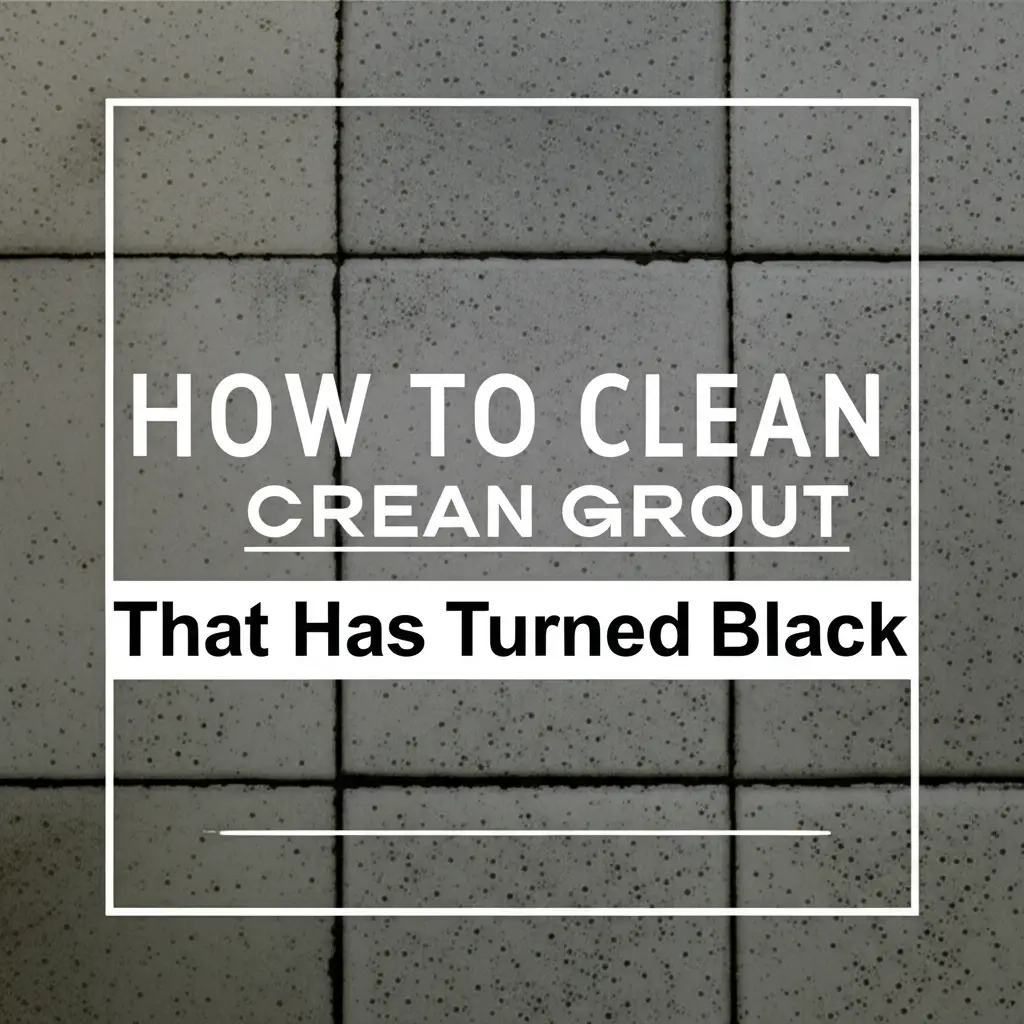
Restore Your Grout: Effective Ways to Clean Black Grout
Walking into a bathroom or kitchen only to see the once-bright grout lines now appear dark and dirty can be disheartening. Grout, the material filling the spaces between tiles, is porous. It easily absorbs dirt, grime, soap scum, and moisture. Over time, this absorption often leads to discoloration, turning the grout black. This black appearance usually signals a deeper problem, often mold or mildew growth.
Learning how to clean grout that has turned black is essential for maintaining a hygienic and visually appealing home. Ignoring black grout allows these issues to worsen. Mold and mildew can spread, potentially affecting air quality and causing damage to your surfaces. This comprehensive guide will explain the causes of black grout and provide clear, actionable steps. We will cover natural remedies, stronger solutions, and preventive measures. You will find your grout looking fresh and clean again.
Takeaway: Restore Your Grout
- Identify the Cause: Understand if black grout is from dirt, mildew, or mold.
- Choose the Right Method: Select natural, chemical, or commercial cleaners based on the stain’s severity.
- Prioritize Safety: Always use protective gear and ensure good ventilation during cleaning.
- Use Proper Tools: A stiff brush, specialized grout brush, or steam cleaner improves effectiveness.
- Implement Prevention: Seal grout, improve ventilation, and clean regularly to stop future blackening.
Grout turning black usually signals mold, mildew, or deep-seated dirt. To clean black grout, identify the cause, then use appropriate methods like baking soda paste, vinegar, hydrogen peroxide, or commercial cleaners, combined with a stiff brush and thorough rinsing. Regular maintenance prevents recurrence.
Understanding Black Grout: Causes and Concerns
Black grout often alarms homeowners. It typically indicates more than just surface dirt. The porous nature of grout makes it a prime candidate for moisture absorption. This moisture creates an ideal breeding ground for microscopic organisms. Mold and mildew are common culprits behind black grout.
Mold spores are present everywhere in the air. When they land on damp grout lines, they begin to multiply. Mildew, a specific type of mold, often appears as a fuzzy or powdery black growth. These growths thrive in warm, humid environments, like bathrooms and kitchens. Without proper ventilation, moisture lingers, feeding these fungi.
Besides biological growth, regular dirt and grime also contribute to black grout. Soap scum, shampoo residue, and general foot traffic can build up over time. These substances become embedded within the grout’s tiny pores. They create a dark, unsightly layer that resists ordinary cleaning. Hard water stains can also cause discoloration. When mineral deposits build up, they can trap dirt and create a dark appearance. Understanding the cause helps you choose the most effective cleaning method. For instance, removing black stuff in a toilet bowl due to mold has similar underlying principles to tackling black grout caused by mold, requiring targeted approaches to eliminate biological growth.
Addressing black grout is important for health reasons. Mold and mildew can release spores into the air. These spores may trigger allergies, asthma attacks, or other respiratory issues for sensitive individuals. Removing these growths improves indoor air quality. It creates a healthier living space for everyone. Regular inspection and prompt action keep your home safe and clean.
Safety First: Preparing for Grout Cleaning
Before you begin any serious grout cleaning project, safety must be your top priority. Grout cleaning often involves strong chemicals or abrasive actions. Protecting yourself and your home is crucial. Always read the labels on any cleaning products you plan to use. Understand their specific instructions and warnings.
Adequate ventilation is critical, especially when using chemical cleaners. Open windows and doors to allow fresh air to circulate. Use an exhaust fan if one is available. Good airflow helps disperse fumes, preventing irritation to your respiratory system. If you are cleaning a small, enclosed space, consider taking breaks for fresh air.
Protect your skin and eyes from chemical splashes. Wear rubber gloves to shield your hands from harsh chemicals. Safety glasses or goggles are also a must. These protect your eyes from accidental splashes or airborne particles during scrubbing. Old clothing is also advisable. Cleaning agents can bleach or stain fabrics.
Test any cleaning solution on a small, inconspicuous area of your grout first. Apply a small amount and wait a few minutes. Check for any discoloration or damage to the grout or surrounding tiles. This step helps prevent costly mistakes. Different types of grout and tile may react differently to cleaners. Always ensure compatibility before proceeding with the entire area.
Remove any nearby items that could be damaged by splashes or fumes. This includes towels, rugs, and personal items. Cover any sensitive surfaces like wooden cabinets or painted walls with plastic sheeting. Preparing your area properly makes the cleaning process safer and more efficient. Taking these precautions protects both you and your home.
Gentle Approaches: Natural Cleaning Solutions for Black Grout
Many people prefer natural cleaning solutions for their homes. These options are often safer for families and pets. They also reduce exposure to harsh chemicals. For moderately discolored grout, natural cleaners can be surprisingly effective. These methods typically involve common household ingredients.
Baking soda is a versatile cleaning agent. It is mildly abrasive and helps scrub away grime. To use baking soda, create a thick paste by mixing it with a small amount of water. Apply this paste generously over the black grout lines. Let it sit for about 10-15 minutes. This allows the baking soda to penetrate the grime. Then, use a stiff brush to scrub the paste into the grout. Rinse thoroughly with clean water afterward. You will see a visible difference.
Vinegar is another powerful natural cleaner. Its acidic nature helps break down dirt, mold, and mildew. Mix equal parts white vinegar and water in a spray bottle. Spray the solution directly onto the black grout. Let it sit for 10 minutes. For tougher stains, you can spray vinegar first, then apply a baking soda paste on top. This creates a fizzing action that helps lift stubborn grime. After applying, scrub with a brush and rinse well. Remember that vinegar is acidic and should not be used on natural stone tiles like marble or travertine. It can etch the surface.
Lemon juice offers similar acidic cleaning power to vinegar. It also leaves a fresh scent. You can use undiluted lemon juice for tough spots. Apply it directly to the grout and let it sit before scrubbing. Hydrogen peroxide is a mild bleach and disinfectant. A 3% hydrogen peroxide solution can be effective against mold and mildew. Apply it to the grout and let it sit for about 10-15 minutes before scrubbing and rinsing. Its oxidizing action helps whiten the grout.
Combining baking soda and vinegar is a classic cleaning duo. For more details on using these common items for cleaning around your home, you can learn more about how to clean with vinegar and baking soda. These natural methods offer an eco-friendly way to restore your grout’s appearance. They are a great starting point before considering stronger options.
Powerful Solutions: Tackling Stubborn Black Grout Stains
When natural methods fall short, you may need to escalate your approach. Stubborn black grout stains often require more potent cleaning agents. These stains can be deeply embedded mold, mildew, or years of accumulated grime. Using stronger solutions effectively breaks down and removes these tough discolorations. Always remember to prioritize safety when working with these chemicals.
Hydrogen peroxide is a versatile and effective cleaner for black grout. A 3% hydrogen peroxide solution works well. It acts as an oxidizing agent, helping to whiten and disinfect the grout. For very dark stains, you can apply undiluted 3% hydrogen peroxide directly to the grout lines. Let it sit for at least 15-30 minutes, or even longer for severe cases. The longer contact time allows it to penetrate and lift the stains. After soaking, scrub the grout thoroughly with a stiff brush. Rinse the area completely with clean water to remove all residue. Hydrogen peroxide is also safer than chlorine bleach for many surfaces and less likely to cause discoloration.
Oxygen bleach is another powerful option. It is gentler than chlorine bleach but very effective at removing mold, mildew, and tough stains. Look for products containing sodium percarbonate. Mix the oxygen bleach powder with warm water according to the product’s instructions. This usually creates a paste or a thick liquid. Apply the solution directly to the black grout lines. Allow it to sit for several hours, or even overnight, for deeply stained grout. The longer dwell time allows the oxygen bubbles to lift and break down the grime. After the soaking period, scrub the grout vigorously. Finish by rinsing the area thoroughly with fresh water. Oxygen bleach is color-safe, making it suitable for most colored grout and tiles.
For extremely persistent mold or mildew, a diluted chlorine bleach solution can be used as a last resort. Mix one part bleach with ten parts water. Apply this solution carefully to the grout using a cotton swab or a small brush. Let it sit for a short period, no more than 5-10 minutes. Do not allow it to sit for too long, as it can damage the grout or discolor it. Scrub well and rinse completely. Never mix chlorine bleach with other cleaners, especially ammonia or vinegar, as this can create dangerous fumes. The goal is to lift the black stains without damaging the grout or surrounding tiles.
Commercial Cleaners: When You Need Extra Strength
Sometimes, homemade remedies and powerful household chemicals are not enough. For extremely stubborn black grout that resists other methods, commercial grout cleaners can be the answer. These products are specifically formulated to penetrate porous grout and break down tough stains, mold, and mildew. They often contain strong degreasers, bleaches, or acidic compounds designed for this purpose.
When choosing a commercial grout cleaner, consider the type of tile you have. Some cleaners are formulated for ceramic and porcelain tiles, while others are safe for natural stone like marble or granite. Acidic cleaners can etch natural stone, so always check product labels carefully. Look for cleaners specifically labeled for mold and mildew removal if that is the primary cause of your black grout. Many products come in spray bottles, making application easy.
To use a commercial cleaner, first, ensure the area is well-ventilated. Wear appropriate protective gear, including gloves and eye protection. Spray or apply the cleaner directly onto the black grout lines. Follow the manufacturer’s instructions for dwell time. This is the amount of time the cleaner needs to sit on the grout to work effectively. Dwell times can vary from a few minutes to several hours, depending on the product’s strength and the stain’s severity.
After the specified dwell time, use a stiff brush or a dedicated grout brush to scrub the treated areas. The cleaner will have loosened the grime, making it easier to scrub away. Rinse the area thoroughly with clean water to remove all cleaner residue. Multiple applications may be necessary for very deep or old stains. Some commercial products also contain brightening agents that help restore the original color of the grout.
Consider using enzymatic cleaners for persistent organic stains like mold or soap scum. These cleaners contain enzymes that break down organic matter, making them highly effective without harsh chemicals. Follow the same application and rinsing steps as other commercial cleaners. While commercial cleaners provide powerful results, always adhere strictly to their safety warnings and usage directions. This ensures effective cleaning without damage or harm.
The Right Tools: Brushes and Techniques for Effective Cleaning
Having the right tools is just as important as choosing the correct cleaning solution. The physical act of scrubbing plays a major role in dislodging ingrained dirt and mold from porous grout. Using inappropriate tools can be ineffective or even damage your grout and tiles. Investing in specialized tools makes the cleaning process much easier and more efficient.
A dedicated grout brush is essential. These brushes have stiff, narrow bristles designed to fit perfectly into the grout lines. Their firm bristles provide the necessary abrasive action to scrub away tough grime without scratching the surrounding tiles. Regular household brushes might be too wide or too soft to clean the narrow grout lines effectively. Look for brushes with ergonomic handles for a comfortable grip during extended scrubbing. A toothbrush can be a good substitute for very small or intricate areas, but it lacks the power for large sections.
For larger areas, a scrub brush with a handle or a utility brush can be helpful. Choose one with stiff nylon bristles. If you have a drill, consider attachment brushes specifically designed for grout. These power brushes significantly reduce the manual effort required. They provide high-speed scrubbing action that can tackle even the most stubborn black grout. Ensure the drill brush bristles are appropriate for your grout’s hardness to avoid damage.
Steam cleaners offer a chemical-free way to clean and sanitize grout. The high-temperature steam helps to loosen dirt, melt soap scum, and kill mold and mildew spores. Direct the steam nozzle close to the grout line. Follow up with a brush to scrub away loosened debris. A steam cleaner is particularly effective for maintenance and light cleaning, but it may require pre-treatment for very deeply stained black grout. The heat also helps to disinfect the area, which is a bonus for mold-prone spaces.
Pressure washing can clean outdoor grout or very durable indoor tile and grout. Use extreme caution. High pressure can damage grout, forcing water behind tiles. Use a low-pressure setting and maintain distance. This method is generally not recommended for indoor residential use due to potential damage and water control issues. Focus on manual scrubbing, power brushes, or steam cleaners for most home applications. The right tool, combined with the proper cleaning solution and technique, ensures thorough and lasting results for your black grout.
Step-by-Step Grout Cleaning Process
Cleaning grout that has turned black requires a systematic approach. Following a clear step-by-step process ensures thorough cleaning and effective removal of stains and growth. This method combines preparation, application, scrubbing, and rinsing for optimal results. Let me guide you through the process.
Step 1: Prepare the Area. First, clear the area of any movable objects like rugs, bath mats, or furniture. Sweep or vacuum the tiled floor to remove loose dirt and debris. This prevents dirt from turning into muddy streaks during cleaning. Ensure the room has good ventilation by opening windows or turning on exhaust fans. Put on your protective gear: gloves, safety glasses, and old clothing.
Step 2: Test Your Cleaning Solution. Before applying any cleaner to the entire area, test it in an inconspicuous spot. Apply a small amount of your chosen natural or commercial cleaner to a small section of black grout. Wait for the recommended dwell time, then rinse. Check for any adverse reactions, such as discoloration or etching of the grout or tile. If everything looks good, proceed.
Step 3: Apply the Cleaner. Generously apply your chosen cleaning solution directly to the black grout lines. Whether you are using a baking soda paste, a vinegar solution, hydrogen peroxide, or a commercial cleaner, ensure the grout is fully saturated. For thick pastes, you can use a small spatula or even your gloved fingers to spread it evenly. Allow the cleaner to sit for the recommended dwell time. This is crucial for the solution to penetrate the stains and loosen the grime.
Step 4: Scrub the Grout. Once the dwell time is complete, it is time to scrub. Use a stiff-bristled grout brush. Apply firm, consistent pressure. Scrub in small back-and-forth or circular motions along the grout lines. You will see the black grime begin to lift. For very stubborn spots, you may need to apply more cleaner and scrub for a longer duration. If using a power drill brush, move it steadily along the grout lines, letting the tool do the work.
Step 5: Rinse Thoroughly. After scrubbing, it is vital to rinse the area completely. Use clean water and a sponge or mop to wipe away all the loosened grime and cleaner residue. Change your rinse water frequently to avoid spreading dirty water back onto the clean grout. You might need to rinse multiple times to ensure all traces of the cleaning agent are gone. Leaving residue can attract more dirt or cause a sticky film.
Step 6: Inspect and Repeat (If Necessary). Once the area is dry, inspect the grout lines. If some areas are still discolored, you may need to repeat the process. For extremely stubborn spots, consider applying a stronger cleaner or allowing a longer dwell time. Sometimes, a second application works wonders. Once satisfied, move on to preventive measures.
Preventing Future Black Grout: Maintenance Tips
Once you have successfully cleaned your black grout, maintaining its pristine condition is key. Prevention is always easier than deep cleaning. Implementing a few simple habits can significantly extend the life of your clean grout and prevent future discoloration. This saves you time and effort in the long run.
Seal Your Grout: Grout is porous. This means it absorbs liquids and dirt easily. Applying a good quality grout sealer creates a protective barrier. This barrier repels moisture, spills, and grime. It makes the grout less likely to absorb contaminants that cause blackening. Apply sealer to newly cleaned and thoroughly dried grout. Reapply it every 1-2 years, or as recommended by the product manufacturer. Sealing is perhaps the most important step in prevention.
Improve Ventilation: High humidity is the primary cause of mold and mildew growth in grout. Ensure good airflow in areas like bathrooms and kitchens. Use exhaust fans during and after showers or cooking. Keep them running for at least 15-20 minutes after use. Open windows whenever possible to allow fresh air to circulate. Reducing humidity levels helps keep mold spores from thriving on your grout.
Regular Cleaning: Do not wait until the grout turns black again. Regular, light cleaning helps prevent buildup. Wipe down tiled surfaces regularly, especially after spills or moisture exposure. Use a mild all-purpose cleaner or a solution of water and white vinegar for routine cleaning. This proactive approach tackles dirt and grime before it has a chance to set into the grout.
Wipe Up Spills Immediately: Any liquid spill, especially colored ones, can quickly seep into unsealed grout. Wipe up spills as soon as they happen. This prevents stains from forming. For highly pigmented liquids like coffee or red wine, blot the spill rather than wiping. Wiping can spread the stain.
Use a Squeegee in Showers: After showering, use a squeegee to remove excess water from tiled walls. This simple action significantly reduces the amount of moisture that sits on the grout lines. Less moisture means less opportunity for mold and mildew to grow. It also helps prevent soap scum buildup.
Avoid Over-Wetting During Cleaning: When cleaning your tile floors, avoid using excessive amounts of water. Too much water can penetrate the grout and sit there, promoting mold growth. Use a damp mop or cloth rather than a soaking wet one. Wring out mops thoroughly before use. These simple maintenance tips keep your grout looking bright and extend the time between deep cleaning sessions.
Frequently Asked Questions (FAQ)
Q1: What is the black stuff on my grout? A1: The black substance on your grout is typically mold or mildew. These fungi thrive in damp, humid environments, commonly found in bathrooms and kitchens. They feed on soap scum, dirt, and moisture, causing discoloration. Over time, accumulated dirt and grime can also contribute to the black appearance of grout lines, making them look unkempt.
Q2: Is black grout dangerous? A2: Black grout, if caused by mold or mildew, can pose health risks. Mold spores released into the air can trigger allergies, asthma, and other respiratory issues in sensitive individuals. Prolonged exposure can also cause skin irritation. While not immediately life-threatening, it is best to remove it promptly to maintain a healthy indoor environment and prevent further spread.
Q3: Can I use bleach to clean black grout? A3: Yes, you can use a diluted bleach solution (1 part bleach to 10 parts water) on ceramic or porcelain tile grout. However, use it with caution and as a last resort. Never mix bleach with other cleaners, especially ammonia or vinegar, as this creates dangerous fumes. Bleach can also damage or discolor colored grout and natural stone tiles if not used properly or rinsed thoroughly.
Q4: How often should I clean my grout? A4: You should clean your grout regularly, ideally weekly or bi-weekly, with a mild cleaner to prevent buildup. A deep clean for heavily soiled or black grout is recommended every 3-6 months, depending on foot traffic and humidity levels. Sealing your grout after cleaning helps protect it and extends the time between deep cleaning sessions.
Q5: Will resealing grout remove black stains? A5: No, resealing grout will not remove existing black stains. Sealing creates a protective barrier to prevent future stains and moisture absorption. You must thoroughly clean and remove all black discoloration, mold, or mildew before applying a sealer. Sealing over dirty or black grout will trap the grime underneath, making it harder to clean later.
Q6: What if my grout is still black after cleaning? A6: If your grout remains black after cleaning, the discoloration may be deeply embedded. Consider trying a stronger commercial grout cleaner specifically designed for mold and mildew. You might also need to use a power drill brush for more aggressive scrubbing. In severe cases, the grout may be permanently stained or damaged, requiring regrouting.
Conclusion
Tackling grout that has turned black might seem like a daunting task, but it is a manageable one. Understanding the causes, prioritizing safety, and using the right tools and cleaning solutions makes a huge difference. From natural remedies like baking soda and vinegar to more powerful commercial options, you now have a comprehensive arsenal. You can restore your grout’s original luster. This not only improves the appearance of your tiled surfaces but also contributes to a healthier living environment by eliminating mold and mildew.
Remember, the key to lasting results lies in consistent maintenance. Once your grout is sparkling clean, implement preventive measures. Seal your grout regularly, improve ventilation, and clean promptly. These simple steps will help you avoid the frustration of black grout in the future. Embrace these cleaning strategies and enjoy the satisfaction of seeing your home’s tile and grout look pristine once more. Take action today and bring back the brilliance of your grout!
- grout cleaning
- black grout
- mold removal
- tile maintenance
- deep cleaning