· Car Care · 15 min read
How To Clean Headlights With Sandpaper

Restore Headlight Clarity: Clean Headlights With Sandpaper
Driving at night with cloudy, yellowed headlights feels unsafe. Your car’s ability to illuminate the road ahead becomes significantly reduced. This common problem affects older vehicles, making them look dated and limiting their function. The good news is that you can clean headlights with sandpaper, bringing back their original clarity and brightness. This method offers a cost-effective alternative to professional services or expensive replacement parts.
I remember my first car had dim headlights. I thought I needed new bulbs, but the problem was the foggy plastic. That experience showed me how much clear headlights matter for safe driving. This guide explains why headlights fog, lists the tools you will need, and provides a simple, step-by-step process for sanding and restoring them. We also cover how to protect your newly cleaned headlights, common mistakes to avoid, and other options available. Get ready to improve your car’s look and your nighttime visibility.
Takeaway
- Use wet sanding techniques with progressively finer sandpaper grits.
- Always protect surrounding paint and trim with masking tape.
- Apply a UV-resistant sealant or clear coat after sanding to maintain clarity.
How do I effectively clean headlights with sandpaper?
Cleaning headlights with sandpaper effectively removes oxidation and haze. This process involves wet sanding with varied grit sandpaper, starting coarse and finishing fine. Follow up with polishing and a clear coat sealant for lasting clarity and protection.
Understanding Headlight Haze: Why Sandpaper Helps
Have you ever wondered why your car’s headlights turn yellow and cloudy over time? This common issue results from plastic degradation. Headlight lenses are typically made from polycarbonate plastic. This material is strong and lightweight, perfect for vehicle use. However, it reacts poorly to constant exposure to the sun’s ultraviolet (UV) rays. Over many years, UV radiation breaks down the plastic’s chemical bonds.
This breakdown creates microscopic pits and cracks on the surface. These imperfections scatter light, making the headlights appear hazy or yellow. It’s similar to how an old window might lose its transparency. The plastic also oxidizes, forming a thin, discolored layer on top. This layer blocks light, reducing your headlight’s effectiveness. Oxidation also makes the plastic brittle.
Sandpaper provides a solution because it physically removes this damaged outer layer. When you use sandpaper, you abrade the surface of the plastic. This action takes off the oxidized, hazy plastic. You start with a coarser grit to remove the bulk of the damage. Then, you move to progressively finer grits. Each finer grit smooths out the scratches left by the previous one. This process refines the surface until it becomes optically clear again.
Wet sanding is crucial for this job. Water acts as a lubricant, which helps carry away the sanding debris. It also prevents the sandpaper from clogging. Dry sanding generates heat, which can melt the plastic. It also creates a lot of dust. Wet sanding keeps the surface cool and clean. This method achieves a much smoother finish. It prepares the plastic for polishing.
My first time cleaning headlights, I was amazed by the transformation. The headlights looked like new. The visibility increased dramatically. Sandpaper helps by creating a fresh, smooth surface. This surface is ready to reflect light properly. It makes your car safer for night driving. It also improves your car’s overall appearance.
Gathering Your Tools: Essential Items for Headlight Restoration
Before you clean headlights with sandpaper, gather all necessary tools and materials. Having everything ready saves time and ensures a smooth process. You do not want to stop mid-task because you forgot an item. I always prepare my workspace completely before I start any DIY project. This approach prevents frustration and ensures better results.
Here is a list of what you need:
- Wet/Dry Sandpaper: You will need various grits. Start with coarser grits like 400 or 600-grit. Progress through 800, 1000, 1500, 2000, and even 3000-grit. The coarser grits remove the deep oxidation. Finer grits remove the scratches left by the previous paper. Buy a variety pack.
- Spray Bottle with Water: This is for wet sanding. Water lubricates the sandpaper and washes away plastic residue. It keeps the surface cool.
- Masking Tape or Painter’s Tape: Use this to protect the paint around your headlights. Plastic parts nearby can also be damaged by sanding. Tape creates a barrier.
- Microfiber Cloths: You need several of these. Use them for wiping, cleaning, and applying polish/sealant. They are soft and will not scratch the clear surface.
- Rubbing Compound or Plastic Polish: This step refines the surface after sanding. It removes micro-scratches. It brings out a clear shine. Choose one specifically for plastics or car paint.
- Headlight Clear Coat/Sealant: This is perhaps the most important item for longevity. It provides UV protection. Without it, your headlights will haze again quickly. Buy a dedicated headlight sealant.
- Safety Glasses and Gloves: Protect your eyes from debris. Gloves protect your hands from chemicals and the sanding process. Safety first.
- Cleaning Solution: Simple car wash soap and water works for initial cleaning. You can also use a mixture for tough stains. For household items, you might use common cleaners like how to clean with vinegar and baking soda for general purposes. However, stick to car-specific cleaners for your headlights.
- Bucket of Water: For rinsing sandpaper and cloths frequently. Clean water is key for effective wet sanding.
Gathering these items beforehand makes the entire headlight restoration project more efficient. It helps you stay focused on the task. Each tool plays a specific role in achieving that crystal-clear finish. Remember, quality materials often yield better results and a longer-lasting restoration.
Step-by-Step Guide: Cleaning Headlights with Sandpaper
Cleaning headlights with sandpaper requires patience and a systematic approach. Follow these steps carefully to achieve clear, bright headlights. I found that taking my time during each stage gives the best results.
1. Prepare the Area and Clean Headlights
First, park your car in a shaded area. Direct sunlight can make products dry too fast. This also makes sanding more difficult. Clean the headlight lenses thoroughly. Use car wash soap and water to remove dirt, grime, and bugs. Rinse them well. Ensure the surface is completely clean before moving on. Any dirt left on the surface can cause scratches during sanding.
Next, apply masking tape around the entire headlight perimeter. Make sure the tape covers all painted surfaces, rubber seals, and plastic trim. This step is critical. Sandpaper can easily scratch or damage car paint. Protecting these areas prevents accidental marks. Think of it like preparing to clean a tough spot on a household item, where you might protect the surrounding areas before tackling the main task, like when you clean outside bottom of pans, you avoid scrubbing the inner, clean surface.
2. Begin with Coarse Grit Wet Sanding
Now, it is time to start sanding. Get your spray bottle filled with water. Take your coarsest grit sandpaper, usually 400-grit or 600-grit. Soak the sandpaper in water for a few minutes before you begin. Keep the headlight surface wet throughout this step. Spray water on the headlight constantly.
Begin sanding in one direction, either horizontally or vertically. Use moderate pressure. Focus on removing the yellow oxidation. You will see a yellow liquid running off the headlight. This is the old, oxidized plastic. Continue sanding until the entire lens has a uniform, frosty appearance. Do not worry about scratches at this stage. You are creating a base for refinement.
Rinse the headlight often. Check your progress. Wipe the surface dry with a microfiber cloth. This allows you to see if you missed any spots. The headlight should look uniformly cloudy. This uniform look indicates you removed the hazy layer.
3. Progress Through Finer Grits
After the coarse grit, move to the next finer grit. If you started with 400-grit, move to 600-grit. Then move to 800-grit, and so on. The common sequence is 400, 600, 800, 1000, 1500, 2000, then 3000-grit. Soak each new piece of sandpaper before use.
When you switch grits, change your sanding direction. If you sanded horizontally with 400-grit, sand vertically with 600-grit. This helps you ensure you remove the scratches from the previous grit. Always keep the surface and sandpaper wet. Rinse the headlight and sandpaper frequently.
Each successive grit will make the headlight look less cloudy and more translucent. The goal is to remove the deeper scratches from the previous grit. The 2000 and 3000-grit papers will create a very fine, smooth, slightly hazy finish. This prepares the surface for polishing. This part of the process requires patience. You must spend enough time on each grit to fully refine the surface. Skipping a grit or rushing can leave noticeable sanding marks.
4. Polish the Headlight Lens
Once you finish with the finest grit sandpaper, dry the headlight completely. Apply a rubbing compound or plastic polish to a clean microfiber cloth. Use a small amount. Work the polish into the lens in small circular motions. Apply firm, even pressure. The polish will remove the final micro-scratches. It will restore the headlight’s optical clarity.
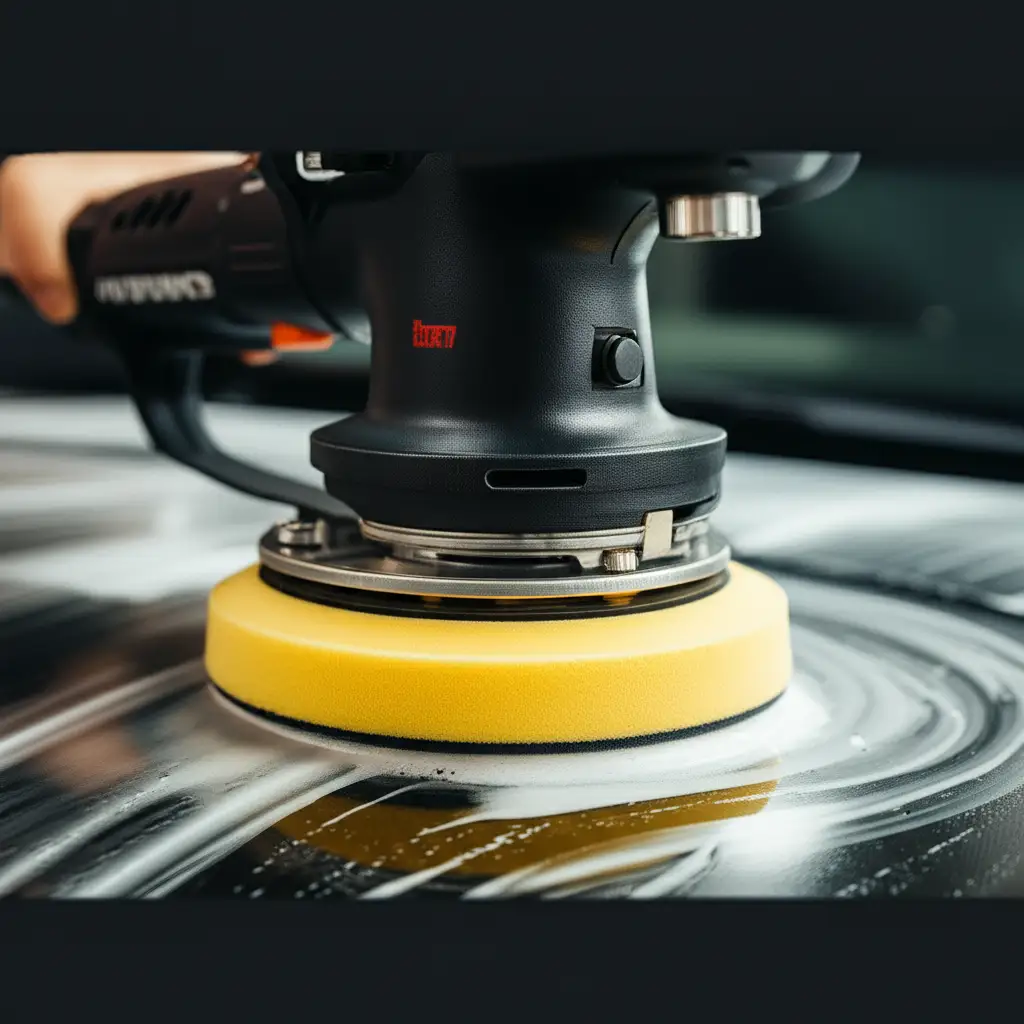
Continue polishing until the headlight becomes clear. You might need to apply more polish. You may need to use multiple clean microfiber cloths. This step brings out the shine. It prepares the surface for the protective coating. For best results, use a polishing pad with a drill attachment if you have one. This helps achieve a consistent, swirl-free finish.
5. Apply a UV-Resistant Clear Coat or Sealant
The last and most crucial step is applying a UV-resistant clear coat or sealant. This protective layer is what prevents the headlights from hazing again quickly. Without it, the sun’s UV rays will re-oxidize the plastic. Your hard work will fade in months.
Follow the instructions on your chosen product. Some sealants spray on. Others wipe on. Apply an even coat. Let it cure completely. This often takes several hours or even a full day. Avoid touching the headlights during this time. Avoid getting them wet. This protective layer is your defense against future damage.
By following these steps, you can effectively clean headlights with sandpaper. The result will be clear, bright headlights. Your car will look better. More importantly, your nighttime driving will be much safer.
Protecting Your Newly Clear Headlights
After you clean headlights with sandpaper, the work is not over. You have removed the damaged layer, but the fresh plastic underneath is vulnerable. It needs protection. Think of it like cleaning old shoes; once they are spotless from cleaning, you need to protect them from future dirt and wear. The primary goal is to prevent the rapid return of oxidation and hazing. This protection comes mainly from a high-quality UV-resistant clear coat or sealant.
A dedicated headlight clear coat creates a barrier on the lens surface. This barrier shields the plastic from harmful ultraviolet (UV) rays from the sun. UV rays are the main cause of headlight degradation. Without this protection, your headlights can re-haze within months. Many headlight restoration kits include a sealant. You can also buy a sealant separately. Choose a product specifically designed for automotive plastics and UV protection.
Application of the sealant is straightforward but requires care. Ensure the headlight surface is completely clean and dry after polishing. Any dust or residue will get trapped under the coating. Apply the sealant evenly according to the product instructions. Some products spray on, requiring multiple light coats. Others are wipe-on solutions. Avoid drips or uneven application, as this can affect clarity. Allow ample time for the sealant to cure fully. This curing process creates the hard, protective layer. Do not touch or expose the headlights to moisture during this time.
Ongoing maintenance also plays a role in extending the life of your restoration. While the sealant provides good protection, it is not permanent. Regularly washing your headlights with car wash soap and water helps remove dirt and debris. Avoid harsh chemicals or abrasive cleaners on the lens. These can degrade the sealant over time. Consider applying a wax or ceramic coating designed for automotive plastics every few months. This adds an extra layer of protection. It can prolong the clarity of your headlights even further.
Parking your car in a garage or under shade whenever possible helps. This reduces direct sun exposure. Less sun means less UV damage. If garage parking is not an option, consider using a car cover. These small actions help preserve your headlight clarity. They extend the results of your hard work. Protecting your headlights ensures they stay clear. They will keep illuminating your path for years to come. This saves you money and keeps your car looking good.
Common Mistakes to Avoid When Cleaning Headlights
While cleaning headlights with sandpaper can yield impressive results, certain mistakes can undo your hard work or even damage your car. I made a few errors myself when I first started. Learning from these common pitfalls ensures a successful restoration. Avoiding these mistakes helps you achieve a professional-looking finish.
One major mistake is not properly taping off the surrounding paint and trim. It is easy to get caught up in the sanding process and forget about the areas next to the headlight. Sandpaper is abrasive. It will quickly scratch and dull your car’s paint. It can also damage rubber seals. Always use high-quality masking tape or painter’s tape. Apply it generously around the entire headlight. Make sure no paint is exposed. This protection is non-negotiable.
Another critical error is dry sanding. Headlight restoration requires wet sanding. Sanding plastic without water generates friction and heat. This heat can melt the plastic. It can create an uneven surface. Dry sanding also clogs the sandpaper quickly with plastic dust. This reduces its effectiveness. Always keep the headlight surface and your sandpaper saturated with water. Use a spray bottle and a bucket of water for rinsing. The water acts as a lubricant and washes away debris.
Skipping grits is a common shortcut that leads to poor results. Some people try to jump from a very coarse grit directly to a very fine one. This leaves deeper scratches that the finer grit cannot remove. Each sandpaper grit removes the scratches left by the previous, coarser grit. You must work through the sequence systematically. For example, if you start with 400-grit, do not jump straight to 2000-grit. Follow the progression: 400, 600, 800, 1000, 1500, 2000, and perhaps 3000-grit. Patience in this step is vital for a clear finish.
Not using enough water during wet sanding is also a frequent mistake. The goal is to keep a consistent film of water on the headlight and the sandpaper. Insufficient water leads to dry spots. These dry spots cause inconsistent sanding and can create new scratches. Always re-wet the surface and the sandpaper frequently. Rinse the headlight and sandpaper often to remove plastic slurry. This ensures effective abrasion.
Finally, skipping the UV clear coat or sealant is perhaps the biggest mistake for long-term results. You put in effort to remove the oxidation. Without a protective layer, the headlights will re-haze quickly, often within months. The plastic is now exposed. It has no defense against UV rays. Invest in a good quality headlight clear coat. Apply it carefully according to instructions. This sealant is what makes your restoration last. It protects your hard work. Think about it like cleaning a glass surface. If you clean a glass stove top with vinegar, it is clean, but for enduring shine, sometimes a protective polish is desired. For headlights, UV protection is critical.
Avoiding these common pitfalls will help you achieve durable, clear headlights. Your effort will pay off in improved visibility and a better-looking car.
Alternative Headlight Cleaning Methods
While cleaning headlights with sandpaper is a powerful method, other options exist. Some are simpler, while others offer different benefits. Understanding these alternatives helps you choose the best approach for your situation. I have tried a few of these over the years.
One popular alternative involves commercial headlight restoration kits. These kits are widely available at auto parts stores. They often include everything you need: various sandpaper grits, polishing pads, compounds, and a sealant. Many kits also provide instructions. Some kits even include a drill attachment for easier polishing. These kits simplify the process by packaging all the necessary components together. They are a good option if you prefer a complete solution and do not want to source individual items. They can save time for someone who does not clean things often.
Another common DIY method uses toothpaste. Yes, ordinary toothpaste can provide a minor improvement. Toothpaste contains mild abrasives, similar to very fine polishing compounds. To use it, apply a small amount of non-gel toothpaste to a microfiber cloth. Rub it onto the hazy headlight in circular motions. Rinse well. This method can remove very light oxidation or hazing. It works on surface grime. However, toothpaste is generally not strong enough for severely yellowed or deeply oxidized headlights. It offers a temporary fix at best. It does not provide any UV protection. I found it to be minimally effective for serious cloudiness.
Some people try household cleaners like vinegar or baking soda. These can remove dirt and grime. They are not effective at removing plastic oxidation. Baking soda is mildly abrasive. Vinegar is acidic. Neither can effectively strip away the damaged plastic layer. They also offer no protective qualities. While effective for various household cleaning tasks, like how to clean a couch with baking soda, they are not suited for headlight restoration. Using the wrong cleaners can even potentially harm the plastic.
Professional services are also an option. Auto detailers and body shops offer headlight restoration. They use specialized equipment and stronger compounds. This often includes machine polishing for a perfect finish. Professionals can also apply durable clear coats, sometimes using spray guns for a factory-like finish. This option is more expensive than DIY. It offers convenience and guaranteed results. It is a good choice if you lack time, tools, or confidence in doing it yourself.
Each method has its pros and cons. Sandpaper offers a DIY solution that can tackle significant damage. Commercial kits streamline the process. Toothpaste provides a quick, temporary touch-up for minor haze. Professional services offer top-tier results without your effort. Choose the method that best fits your headlights’ condition, your budget, and your comfort level.
- headlight restoration
- foggy headlights
- DIY car cleaning
- sanding headlights
- car maintenance


