· Appliance Care · 14 min read
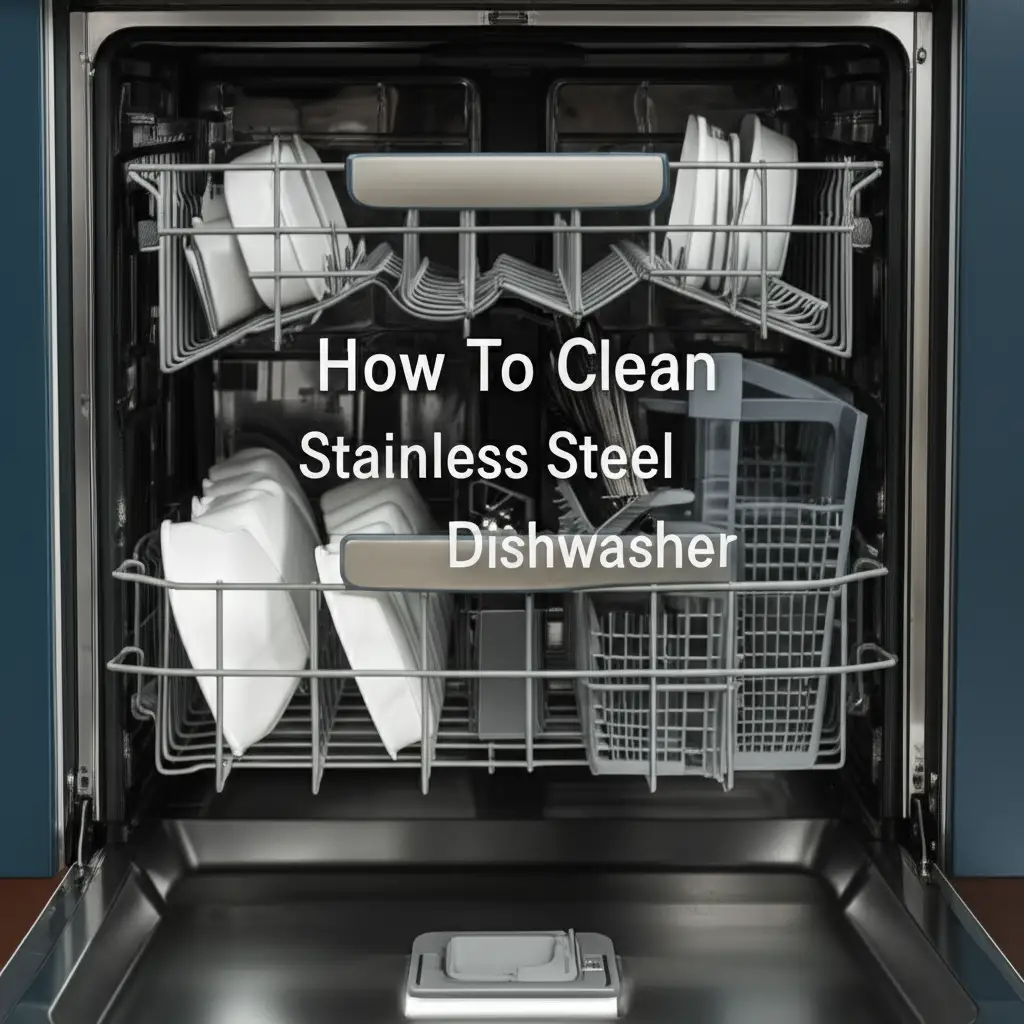
How To Clean Heat Press
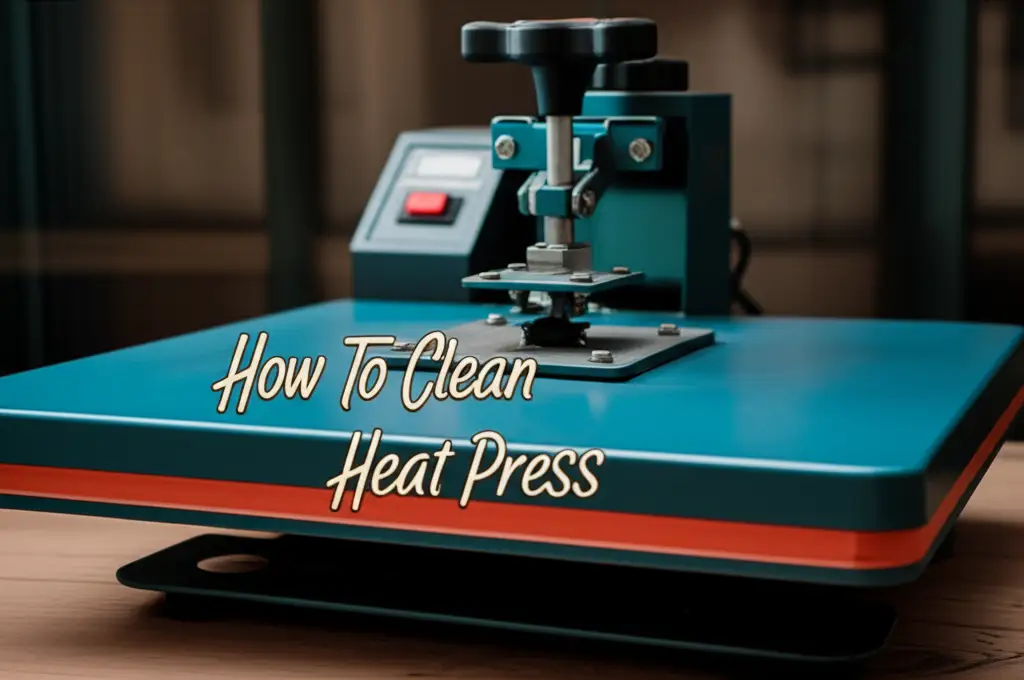
Keep Your Heat Press Clean for Perfect Transfers
You enjoy making custom apparel, right? Maybe you create unique t-shirts, hoodies, or bags. Your heat press machine is central to this creative process. A dirty machine, however, can ruin your projects.
Knowing how to clean your heat press is essential for success. Residues from vinyl, ink, or adhesive build up over time. These build-ups transfer onto your next project. This means ruined shirts and wasted materials. A clean heat press extends its lifespan. It also ensures consistent, high-quality transfers every time. This article provides a comprehensive guide. You will learn the best methods, tools, and tips. We will cover basic cleaning to tackling tough stains. Let us make sure your heat press delivers flawless results.
Takeaway
- Regular heat press cleaning prevents project failures.
- Always let the machine cool down before cleaning.
- Use specific cleaners for different residues like vinyl or ink.
- Protective sheets prevent future build-up.
- Consistent cleaning maintains machine efficiency.
To clean a heat press, ensure it is cool and unplugged. Use a lint roller to remove loose debris from the platen. For sticky residues like vinyl or adhesive, apply a specialized heat press cleaner or mineral spirits to a soft cloth. Gently scrub the affected areas. Wipe away all residue and clean with a damp cloth, then dry thoroughly.
Why Heat Press Cleaning Matters for Quality Results
You use your heat press for important projects. These machines endure high heat and pressure. Over time, materials leave behind unwanted residue. Vinyl adhesive, sublimation ink, and even fabric lint accumulate. This build-up affects machine performance.
A dirty platen leads to uneven heat distribution. It also causes transfers to stick or peel prematurely. Your beautiful designs may come out marred or incomplete. Regular cleaning protects your investment. It also saves you money on ruined blanks and materials. A clean heat press ensures crisp, vibrant, and professional-looking transfers every time. You get reliable outcomes with every press.
Signs Your Heat Press Needs Cleaning
Your heat press machine gives you clues when it needs attention. Look closely at the top and bottom platens. Do you see sticky spots or darkened areas? These are common indicators of residue build-up.
You might notice smudges or marks appearing on your finished garments. This often means debris has transferred from the platen. Your transfers may also start sticking to the press. This is a clear sign that adhesive or ink has accumulated. Pay attention to these warning signs. Cleaning promptly helps prevent bigger problems. It ensures your projects remain high quality.
Essential Tools and Cleaning Supplies for Your Heat Press
Before you start cleaning, gather your supplies. Having the right tools makes the job easier. It also ensures you clean safely and effectively. You do not want to damage your machine.
Start with basic items like soft, lint-free cloths. Microfiber towels work well. You will also need a non-abrasive scraper. Plastic or nylon scrapers are safe for delicate surfaces. Consider a lint roller for picking up stray fibers. For liquids, you need specific solutions. These include specialized heat press platen cleaners. Isopropyl alcohol and mineral spirits are also useful for different types of residue. Always have a pair of heat-resistant gloves. They protect your hands from residual heat. Proper ventilation is also key when using chemical cleaners.
Recommended Cleaning Products
Choosing the right cleaning products is important. Standard household cleaners might damage your heat press. Many contain harsh chemicals that corrode surfaces. Look for cleaners specifically designed for heat press platens. These products are formulated to dissolve adhesives and inks. They do so without harming the machine’s coatings.
For stubborn vinyl adhesive, mineral spirits can be effective. Use them sparingly and with good ventilation. Isopropyl alcohol works for lighter ink stains. Always test any new cleaner on a small, hidden area first. This checks for any adverse reactions. Your goal is to clean thoroughly without causing damage.
Step-by-Step Guide to Basic Heat Press Cleaning
Performing basic cleaning after each use is a good habit. This prevents large build-ups. It keeps your machine in prime condition. This simple routine adds minutes to your workflow. It saves you hours of deep cleaning later.
Always start with safety. Turn off your heat press and unplug it. Let it cool down completely. A hot press is dangerous to clean. Once cool, you can begin the process. This routine takes care of everyday grime. It prepares your machine for its next job.
Preparing Your Heat Press for Cleaning
Safety comes first before you start cleaning your heat press. Always power off the machine. Then, unplug it from the wall outlet. This prevents accidental activation during cleaning. It also protects you from electrical hazards.
Next, allow the heat press to cool down fully. The platens retain heat for a long time. Trying to clean a warm surface can cause burns. It can also make some residues harder to remove. Ensure the machine is at room temperature. This makes cleaning safer and more effective. You can then access all areas without risk.
Daily and After-Use Cleaning
After each use, perform a quick clean. This prevents immediate residue build-up. First, use a lint roller on the top and bottom platens. This picks up any stray fibers or small bits of vinyl. You may be surprised how much lint collects.
Next, wipe down the platens with a soft, dry cloth. This removes light dust and smudges. If you see minor adhesive residue, gently rub it off. Use a slightly damp cloth if needed. Ensure the platen is completely dry before closing the press. This simple step keeps your heat press ready for its next job. It also minimizes future cleaning needs.
Cleaning Sticky Residues: Vinyl, HTV, and Adhesive
Sticky residues are common challenges for heat press users. Vinyl, HTV (Heat Transfer Vinyl), and other adhesives can melt onto your platens. This happens if you do not use protective sheets. These residues are very difficult to remove once they cool. They can transfer to your next project. This ruins fabrics and wastes your valuable time.
You need specific methods to tackle these sticky messes. Harsh scraping damages the platen surface. Chemical solutions must be chosen carefully. The goal is to dissolve the adhesive without harming the machine. Knowing the right approach makes all the difference. It ensures your heat press stays clean and functional.
Removing Vinyl and HTV Residue
Vinyl and HTV residues are notorious for sticking. These sticky patches can ruin your next garment. You need specialized cleaners for this type of mess. Many manufacturers offer heat press cleaning solutions. These often contain mild solvents designed to break down adhesives.
Apply the cleaner to a soft, lint-free cloth. Do not spray directly onto the platen. Gently rub the affected area. For stubborn spots, let the cleaner sit for a few minutes. Then, use a non-abrasive plastic scraper to lift the residue. Avoid metal scrapers, as they scratch the platen. After removing the gunk, wipe the platen clean with a damp cloth. Then, dry it thoroughly. This method works well for vinyl and HTV. For information on cleaning similar machines, you can review how to clean a Cricut heat press. how to clean Cricut heat press.
Tackling Tough Adhesive Build-up
Sometimes, adhesive build-up is really severe. It might feel like a gummy, hard layer. For these tough spots, you might need stronger agents. Mineral spirits can be very effective. They dissolve stubborn adhesives. Always use mineral spirits in a well-ventilated area. Wear gloves to protect your skin.
Apply a small amount of mineral spirits to a clean cloth. Rub the sticky area firmly. You will see the adhesive begin to soften and lift. You can use your plastic scraper to help scrape off the softened gunk. Repeat this process until all residue is gone. After cleaning, wipe the platen with a damp cloth. This removes any chemical residue. Finish by drying the platen completely. Your platen will feel smooth again.
Removing Ink Stains and Sublimation Residue
Ink stains and sublimation residue are different from adhesives. They often leave a colorful or dark smudge. Sublimation ink, in particular, can vaporize and settle on your platen. This happens if the ink bleeds through your transfer paper. These stains are not sticky. However, they can still transfer to your next project. They create unwanted ghosting or discoloration.
You need to use specific cleaning agents for inks. These are usually different from adhesive removers. Prevention is always better than cure for ink stains. But if they occur, proper cleaning restores your platen. You want to avoid spreading the stain. Instead, lift it directly from the surface.
Cleaning Sublimation Ink Stains
Sublimation ink can be tricky to clean. It often penetrates surfaces more deeply. If sublimation ink gets on your platen, act quickly. For fresh ink, try wiping with a clean cloth while the platen is still slightly warm (but safe to touch). This can help lift the ink before it sets.
For dried or stubborn sublimation stains, isopropyl alcohol often works. Apply it to a soft cloth. Gently rub the stained area. The alcohol helps dissolve the ink. You may need to repeat this process several times. Avoid harsh scrubbing, as this can spread the ink. Once the stain lifts, wipe the area with a damp cloth. Ensure no alcohol residue remains. Dry the platen completely. This method helps restore your platen’s clean surface.
Tackling Scorched Marks
Sometimes, you might find scorched marks on your platen. These are usually brown or black areas. They happen from excessive heat or prolonged contact. They are often not sticky. They signify a burnt-on residue from material.
For minor scorch marks, try a dedicated platen cleaner. Apply it and gently rub. A specialized cleaning block can also work wonders. These blocks are abrasive enough to lift burnt-on material. Yet, they are gentle enough not to scratch the platen. Rub the block firmly over the mark. Then, wipe away the residue with a clean cloth. For general difficult residue, similar techniques can apply to how you clean the bottom of a pan. how to clean bottom of pan. Ensure you follow the cleaner’s instructions carefully. This helps remove the mark without damaging the platen.
Caring for Your Heat Press Platens and Pads
Your heat press has two main platens. The top platen heats up. The bottom platen provides a firm, cushioned surface. Both need regular care. The top platen often has a non-stick coating. The bottom platen usually has a silicone pad. These components are vital for good transfers. Neglecting them leads to poor results.
Regular inspection prevents bigger issues. Check for tears, dents, or signs of wear. Proper care extends the life of your machine. It ensures consistent pressure and heat. This directly impacts your transfer quality. Treat these surfaces with care during cleaning.
Maintaining the Top Platen
The top platen is where all the heat comes from. It is usually coated with a non-stick material like Teflon. This coating protects the platen. It also helps prevent materials from sticking. Always use non-abrasive tools when cleaning this surface. Metal scrapers will damage the coating.
Use only soft cloths for wiping. If you need to remove stubborn residue, apply specialized platen cleaner. Let it work. Then, gently scrape with a plastic tool. Never use steel wool or harsh scrubbers. These will scratch the delicate surface. A damaged coating means materials stick more easily. It also leads to uneven heat. Proper care preserves the non-stick properties.
Cleaning and Protecting the Bottom Platen Pad
The bottom platen often has a silicone or foam pad. This pad provides necessary cushioning. It ensures even pressure distribution. Residues can also build up on this pad. Lint, adhesive, and ink sometimes transfer to it.
To clean the pad, remove it if possible. Wipe it down with a damp cloth. For sticky spots, use a mild soap solution. Gently scrub with a soft brush. Rinse thoroughly and let the pad air dry completely. Never put a wet pad back on your machine. Always use a heat-resistant cover or Teflon sheet over this pad during operation. This protects it from direct contact with materials. It greatly reduces the need for frequent deep cleaning.
Preventative Measures: Keeping Your Heat Press Clean Longer
Prevention is always better than trying to clean a mess. You can adopt simple habits. These greatly reduce residue build-up on your heat press. These measures save you time and effort. They also ensure your machine performs at its best. Thinking ahead protects your investment.
Your goal is to create a barrier between your materials and the platens. This barrier catches any stray ink or adhesive. It also protects the machine’s surfaces from direct contact. Incorporating these practices into your workflow is easy. It pays off with every perfect transfer you make.
Using Protective Sheets and Covers
Always use a protective sheet. This is the simplest and most effective preventative measure. Teflon sheets are popular. They are reusable and provide a non-stick barrier. Parchment paper also works. It is single-use and disposable. Place the sheet over your transfer design. This goes between the material and the top platen.
You can also use a Teflon pillow or pad cover for the bottom platen. This protects the silicone pad. These covers catch any bleeding ink or adhesive. They prevent residue from ever touching your machine. Clean or replace these sheets regularly. A clean barrier means a cleaner heat press. This practice is crucial for maintaining your machine.
Establishing a Regular Cleaning Routine
Consistency is key for heat press maintenance. Do not wait until your machine is covered in grime. Establish a regular cleaning routine. A quick wipe down after each session is a great start. This removes fresh residue before it hardens.
Schedule a more thorough cleaning weekly or bi-weekly. This depends on how often you use the machine. During this deep clean, inspect all parts. Check for any stubborn spots. Address them immediately. A routine ensures minor issues do not become major problems. It keeps your heat press performing optimally. Regular maintenance extends the life of your equipment. It provides consistent, high-quality results for all your projects.
FAQ Section
How often should I clean my heat press?
You should wipe down your heat press platens after every use. This removes fresh lint and minor debris. Perform a more thorough cleaning weekly or bi-weekly. This depends on how frequently you use the machine. Deep clean the platens when you see any sticky residue or discoloration. Regular cleaning prevents stubborn build-ups.
Can I use harsh chemicals on my heat press?
No, avoid harsh chemicals like oven cleaner or abrasive industrial solvents. These products can damage the non-stick coating on your platen. They may also corrode machine parts. Stick to cleaners designed for heat presses. Mineral spirits or isopropyl alcohol are good for specific residues, but use them carefully.
What causes sticky residue on my heat press?
Sticky residue usually comes from heat transfer vinyl (HTV) adhesive. If you do not use a protective sheet, the adhesive can melt directly onto your platen. Sometimes, ink or other transfer materials can also leave sticky traces. Always use a Teflon sheet or parchment paper to prevent this direct contact.
How do I prevent ink from getting on my platen?
To prevent ink from getting on your platen, always use a protective cover sheet. Teflon sheets or parchment paper placed over your transfer media create a barrier. This catches any ink bleed-through. Also, ensure your transfer paper is correctly sized. Trim excess paper if needed. Using good quality transfer materials also helps.
Can I clean a cold heat press?
Yes, you should always clean a heat press when it is cold. Cleaning a hot platen is dangerous. It can cause burns. Also, some cleaning solutions work better on cool surfaces. They may evaporate too quickly on a hot surface. Always unplug the machine and allow it to cool completely before starting any cleaning process.
Is vinegar safe to clean a heat press?
Vinegar is generally not recommended for heat press platens. While useful for many household cleaning tasks, like how you clean shower with vinegar, how to clean shower with vinegar, its acidic nature might react with certain platen coatings over time. It may also leave behind a residue that affects transfers. Stick to dedicated heat press cleaners or recommended solvents like isopropyl alcohol for specific stains.
Conclusion
A clean heat press machine is essential for anyone doing custom transfers. It prevents ruined garments. It also ensures professional-looking results. You learned the importance of regular care. You now know the right tools and supplies. We covered methods for sticky vinyl residue and stubborn ink stains. We also looked at how to maintain your platens.
You also know proactive steps to keep your machine cleaner for longer. Using protective sheets is a simple yet powerful prevention method. Establishing a regular cleaning routine saves you time. It ensures your machine is always ready. Take pride in your equipment. A well-maintained heat press extends its lifespan. It also guarantees consistent, high-quality projects. Start cleaning your heat press today. Your next transfer will thank you.
- heat press cleaning
- vinyl residue
- sublimation ink
- heat press maintenance
- platen cleaning