· Footwear Care · 21 min read
How To Clean Hoka Shoes
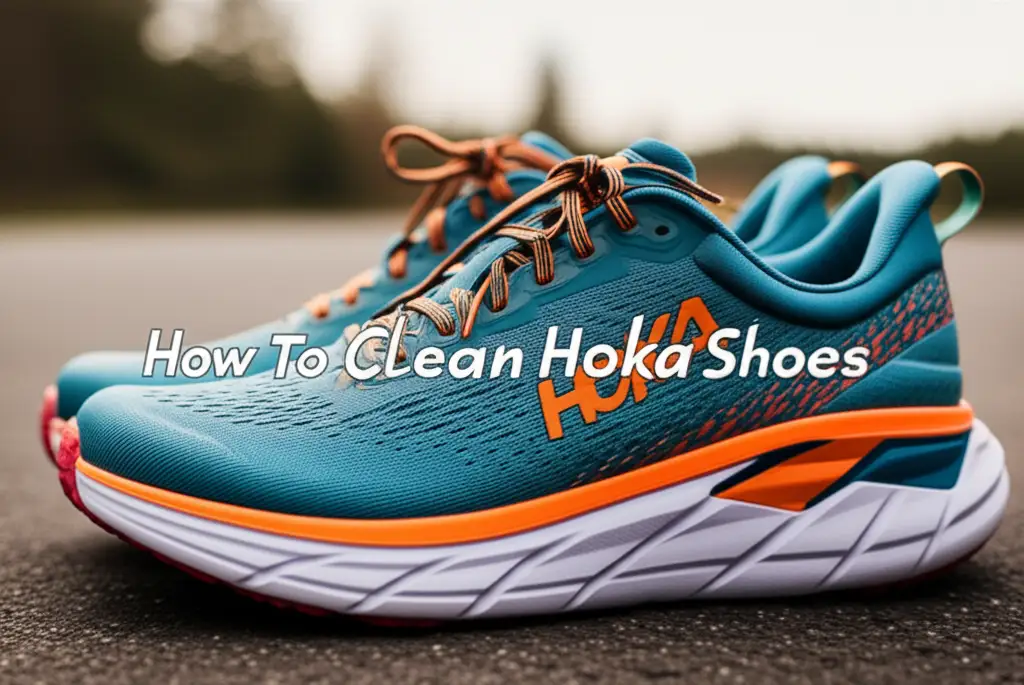
Clean Hoka Shoes: Maintain Performance and Longevity
Your Hoka shoes are more than just footwear; they are an investment in comfort and performance. They support your runs, walks, and daily activities. Over time, dirt, sweat, and debris collect on them. This buildup impacts their appearance and can affect their lifespan. Knowing how to clean Hoka shoes correctly ensures they remain comfortable and perform their best for longer.
This guide provides simple, clear steps to clean Hoka shoes. I will share methods for different parts of the shoe, from the breathable mesh upper to the plush foam midsole. We will cover routine cleaning, dealing with tough stains, and proper drying techniques. Keep your favorite Hoka pair looking new and feeling fresh with these tips.
Takeaway: Keep Your Hoka Fresh
- Spot Clean Regularly: Remove surface dirt after each use.
- Gentle Cleaning Products: Use mild soap and a soft brush.
- Address Specific Materials: Clean mesh, foam, and rubber separately.
- Proper Drying: Air dry away from direct heat or sunlight.
- Preventative Measures: Store shoes properly and use shoe trees.
How to clean Hoka shoes? You can clean Hoka shoes by gently scrubbing with mild soap and water. Focus on removing dirt from the upper, midsole, and outsole. Rinse with clean water and air dry thoroughly. Avoid harsh chemicals and machine washing for best results.
Understanding Your Hoka Shoe Materials
Hoka shoes feature specific materials. These materials provide their signature cushioning and support. Knowing these materials helps you clean your Hoka shoes properly. Each material reacts differently to cleaning agents and methods. We want to clean them without causing damage.
Mesh Upper
Most Hoka shoes use a breathable mesh fabric for the upper part. This mesh allows air to circulate around your foot. It keeps your feet cool and comfortable. Mesh is lightweight and flexible. However, mesh can easily trap dirt and dust. It may also absorb sweat and odors. Cleaning mesh requires a gentle approach. Harsh scrubbing can damage the fibers. Using abrasive cleaners can break down the material.
Foam Midsole
The midsole is the thick, soft part between the upper and the outsole. Hoka shoes are famous for their oversized foam midsoles. This foam provides exceptional cushioning and shock absorption. The foam material is usually EVA (ethylene-vinyl acetate) or a proprietary blend. Foam is porous, meaning it has small holes. Dirt and grime can settle into these pores. It can also discolor over time. Cleaning the foam requires gentle tools to avoid scratching or tearing the surface. You must also remove stains without damaging the foam’s integrity.
Rubber Outsole
The outsole is the bottom layer of your Hoka shoes. It makes direct contact with the ground. It is typically made of durable rubber. This rubber provides traction and grip. The outsole collects the most dirt, mud, and debris. It often has deep grooves or lugs for better grip. Dirt gets stuck in these grooves. Cleaning the outsole is often the most straightforward part. It can withstand more vigorous scrubbing than the upper or midsole.
Interior Lining and Insoles
Inside your Hoka shoes, you find a fabric lining and removable insoles. The lining wicks away moisture and adds to comfort. Insoles provide extra cushioning and support. Both the lining and insoles absorb sweat and odors. They can become a breeding ground for bacteria if not cleaned. Cleaning the interior prevents smells and maintains hygiene. Removing insoles for separate cleaning is often the best practice. This allows both the shoe interior and the insoles to dry completely.
Gathering Your Hoka Cleaning Supplies
Before you start to clean Hoka shoes, gather your tools. Having everything ready makes the cleaning process smooth. You do not need many specialized items. Most supplies are common household goods. Using the right tools helps you clean effectively without harming your shoes.
Essential Cleaning Tools
- Soft-bristle brush: A soft toothbrush or a shoe brush works well. This brush helps dislodge surface dirt. It is gentle on mesh uppers and foam midsoles. Avoid stiff brushes, which can scratch or damage materials.
- Microfiber cloths: Keep two or three clean microfiber cloths handy. One cloth can apply cleaning solution. Another cloth can wipe away dirt. A third cloth can dry the shoes. Microfiber is soft and absorbent. It will not scratch delicate surfaces.
- Small bowl: A small bowl holds your cleaning solution. This allows you to dip your brush or cloth easily.
- Clean water: You need a supply of fresh, clean water. This water is for mixing with soap and for rinsing. Room temperature water is ideal.
- Mild soap: Choose a gentle, non-abrasive soap. Dish soap (like Dawn) or a gentle laundry detergent works well. Look for soaps without harsh chemicals or dyes. These chemicals can stain or damage your shoe materials. You can also use a specialized shoe cleaner if you have one.
Optional, But Helpful Supplies
- Baking soda: Baking soda is excellent for deodorizing. It absorbs odors from insoles and shoe interiors. It is a natural and safe option.
- Old towels or newspapers: Place these under your shoes during cleaning. They protect your work surface from water and dirt. Newspapers also help absorb moisture when drying shoes.
- Shoe deodorizer spray: If smells persist, a shoe deodorizer spray helps. Some sprays also contain anti-bacterial agents.
- Gloves: Wear gloves if you have sensitive skin. They protect your hands from water and cleaning solutions.
- Melamine foam eraser (Magic Eraser): These can work wonders on rubber parts. They remove scuff marks from white midsoles and outsoles. Use them gently to avoid damaging the foam.
Gathering these items ensures you have the right arsenal. You are now ready to tackle any dirt or grime. This preparation step saves time and effort. It sets you up for a successful cleaning session.
Step-by-Step Guide: How to Clean Hoka Shoes Exterior
Cleaning the exterior of your Hoka shoes involves specific steps. This method ensures you remove dirt effectively. It also protects the shoe’s materials. Follow these steps for a thorough clean. I find this systematic approach works best every time.
1. Remove Loose Dirt
Start by removing any loose dirt or debris. Take your Hoka shoes outside. Bang the soles together gently. This dislodges dried mud and small stones from the outsole. Use a dry, soft-bristle brush to brush off any remaining loose dirt from the upper. A dry cloth can also wipe away dust. This initial step prevents you from spreading dirt during the wet cleaning process. For shoes with significant mud, consider using a dull knife or stick to carefully scrape off excess mud from the outsole. If your shoes are very muddy, you might want to review tips on how to clean muddy shoes for extra advice on pre-cleaning.
2. Prepare Cleaning Solution
Mix your mild soap with warm water in a small bowl. Use a small amount of soap. A few drops of dish soap in a cup of water is usually enough. The solution should be slightly sudsy, not overly foamy. Too much soap makes rinsing difficult. It can also leave residue on your shoes. Make sure the water is warm, not hot. Hot water can damage certain glues or materials in your Hoka shoes.
3. Clean the Outsole
The outsole is the toughest part. Dip your soft-bristle brush into the cleaning solution. Start scrubbing the rubber outsole vigorously. Focus on the grooves and treads where dirt collects. A harder brush might be okay for just the outsole. However, stick with the soft brush if you plan to use it for the rest of the shoe. Rinse the brush frequently in clean water. This prevents you from spreading dirt around. For stubborn marks on white rubber, a melamine foam eraser can be very effective.
4. Clean the Midsole
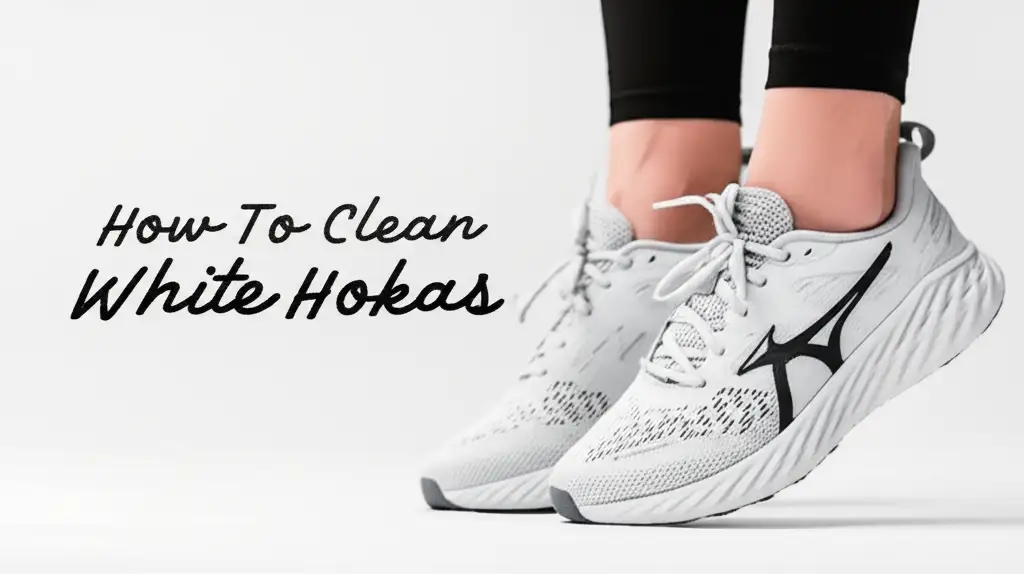
The midsole needs a gentle touch. Dip your soft-bristle brush or a clean microfiber cloth into the solution. Gently scrub the foam midsole. Use small circular motions. Pay attention to any scuff marks or discoloration. Do not press too hard. Hard pressure can damage the foam’s surface. If you see persistent stains, a bit more solution and gentle scrubbing may help. For white foam, this step is crucial to maintain brightness. If you are cleaning white Hoka shoes specifically, you might find more specialized tips on how to clean white shoes helpful.
5. Clean the Upper (Mesh and Fabric)
Now move to the delicate upper. Dip your soft-bristle brush or microfiber cloth into the cleaning solution. Gently wipe or brush the mesh fabric. Work in small sections. Avoid saturating the fabric completely. You want to lift the dirt, not push it deeper. For areas with tougher dirt, gentle scrubbing is fine. Remember, mesh is fragile. Be careful not to stretch or fray the material. If your Hoka shoes have specific textile elements, additional tips on how to clean textile shoes could be beneficial here.
6. Rinse and Wipe
After scrubbing, rinse your brush or cloth with clean water. Use a damp, clean microfiber cloth to wipe down all cleaned surfaces. This removes soap residue and loosened dirt. Wipe thoroughly. Any soap left behind can dry as a visible residue. It can also attract more dirt. Ensure all parts of the shoe are wiped clean. The goal is to leave no soapy film.
Following these steps ensures a clean Hoka exterior. This makes your shoes look much better. It also prepares them for interior cleaning if needed.
Deep Cleaning Hoka Insoles and Interiors
The inside of your Hoka shoes often needs more attention than the outside. Sweat and foot odor can accumulate here. This creates an unpleasant environment. Cleaning the insoles and interior properly ensures hygiene and fresh-smelling shoes. I always prioritize this step for true shoe freshness.
1. Remove Insoles
Always begin by removing the insoles from your Hoka shoes. Most Hoka insoles are designed to be removable. This allows for separate cleaning and faster drying. Removing them also gives you direct access to the shoe’s interior lining. Set the shoes aside for a moment. Focus on cleaning the insoles first.
2. Clean Insoles
You can clean insoles in a few ways. For light odors and dirt, sprinkle baking soda generously on both sides of the insoles. Let it sit for several hours, or even overnight. Baking soda absorbs odors naturally. After soaking, brush off the baking soda. For a deeper clean, mix a small amount of mild soap with warm water in a basin. Submerge the insoles. Gently scrub them with a soft brush or a cloth. Pay attention to areas that contact your foot. Rinse the insoles thoroughly under cool, running water. Ensure all soap residue is gone. Squeeze out excess water gently. Do not wring or twist them. This could damage their shape or structure.
3. Clean the Shoe Interior
With the insoles out, you can clean the shoe’s lining. Mix a very small amount of mild soap with water. Dampen a clean microfiber cloth with this solution. Do not make it too wet. Gently wipe down the entire inside of the shoe. Pay attention to the toe box and heel areas. These areas collect sweat and grime. Use light pressure. Avoid saturating the material. If there are visible stains or a strong odor, you can use a bit more solution. After cleaning, use a separate, clean, damp cloth to wipe away any soap residue. Make sure no soap remains on the fabric. If your shoes have a particularly strong odor, you might find additional advice on how to clean smelly shoes helpful.
4. Air Dry Insoles and Interior
After cleaning, both the insoles and the shoe interior need to dry completely. This step is critical. Dampness encourages mold and mildew growth. Lay the insoles flat in a well-ventilated area. Do not place them in direct sunlight or near a heat source. These can warp or shrink the insoles. For the shoes, open them as wide as possible. You can stuff them lightly with clean paper towels or newspaper. These absorb moisture. Replace the paper every few hours. Place the shoes in a cool, dry, well-ventilated spot. It may take 24-48 hours for everything to dry fully. Ensure everything is bone dry before reinserting the insoles. For more comprehensive insights into interior cleaning, explore tips on how to clean the inside of shoes.
By following these steps, your Hoka shoes will be clean on the inside and outside. This contributes to better foot health. It also extends the life of your running shoes.
Addressing Stubborn Stains and Smells on Hoka Shoes
Sometimes regular cleaning is not enough. Hoka shoes can get stubborn stains or persistent odors. These require specific treatments. Knowing how to address them helps keep your shoes looking and smelling fresh. I have dealt with many tough cases, and these methods work.
Tackling Stubborn Stains
Different stains need different approaches. Identify the type of stain first.
Mud Stains
Let mud dry completely before attempting to clean it. Once dry, scrape off as much as you can with a dull knife or stiff brush. Then, follow the general cleaning steps outlined previously. For white Hoka shoes with mud stains, specific guidance on how to clean mud off white shoes can offer more detailed steps.
Grass Stains
Grass stains can be tricky because they contain chlorophyll. Mix a paste of baking soda and a small amount of water. Apply this paste directly to the grass stain. Let it sit for 15-20 minutes. Then, gently scrub the area with a soft-bristle brush. Rinse with a damp cloth. Repeat if necessary. For extensive grass stains, you may find additional methods on how to clean grass stains off shoes.
Oil or Grease Stains
Act fast with oil or grease. Blot excess oil with a paper towel immediately. Do not rub. Sprinkle cornstarch or talcum powder directly on the stain. Let it sit for several hours or overnight. These powders absorb the oil. Brush off the powder. Then, use a mild soap solution and gently scrub the area. Rinse with a damp cloth.
General Stains and Discoloration
For general dirt stains or discoloration, a paste of baking soda and mild detergent can be effective. Apply the paste, let it sit for 10-15 minutes, then gently scrub. Rinse with a clean, damp cloth. If stains are widespread, a more general guide on how to clean stained shoes might be useful.
Eliminating Persistent Smells
Smelly Hoka shoes are a common problem, especially for active individuals. Sweat and bacteria cause these odors.
Baking Soda Treatment
Baking soda is a powerful natural deodorizer. After removing and cleaning the insoles, sprinkle a generous amount of baking soda inside each shoe. Make sure it covers the entire footbed. Let the baking soda sit for at least 24 hours. For very strong odors, leave it for 48 hours. The baking soda absorbs moisture and odors. After the treatment, simply shake out the baking soda. You can also vacuum out any remaining powder.
White Vinegar Spray
White vinegar is an excellent disinfectant and deodorizer. Mix equal parts white vinegar and water in a spray bottle. Lightly mist the inside of your Hoka shoes. Do not oversaturate. Let them air dry completely in a well-ventilated area. The vinegar smell will dissipate as it dries. It takes the bad odor with it. This method also kills odor-causing bacteria.
Essential Oils (Optional)
Once shoes are dry and odor-free, you can add a drop or two of essential oil for a pleasant scent. Tea tree oil has antibacterial properties. Eucalyptus or lavender oil can also provide a fresh smell. Place a few drops on a cotton ball and put it inside the shoe for a few hours. Remove the cotton ball before wearing.
Specialized Shoe Deodorizers
Many commercial shoe deodorizers are available. They come in sprays, powders, or inserts. These products often contain antimicrobial agents. They help prevent odor-causing bacteria growth. Use these products according to their instructions. Combine them with regular cleaning for best results.
Addressing stains and smells promptly prevents them from becoming permanent problems. Keeping your Hoka shoes fresh extends their life. It also makes wearing them more enjoyable.
Drying Your Hoka Shoes Correctly
Proper drying is critical after cleaning your Hoka shoes. Incorrect drying can lead to several problems. These include material damage, odor, and even mold growth. Avoid common drying mistakes to keep your shoes in top condition. I always emphasize this step because it prevents many future issues.
Why Proper Drying Matters
- Prevents Material Damage: High heat from dryers or direct sunlight can warp the foam midsole. It can also shrink or damage the mesh upper. Adhesives holding the shoe together can weaken. This shortens the lifespan of your Hoka shoes.
- Avoids Odor and Bacteria: Damp environments are ideal for bacteria and mold. These cause unpleasant smells. Ensuring your shoes are completely dry prevents these issues.
- Maintains Shape: Air drying allows the shoes to retain their original shape. Forced drying can distort them.
Step-by-Step Drying Process
- Remove Insoles and Laces: After cleaning, always remove the insoles. If you cleaned the laces separately, ensure they are also drying independently. Removing these parts helps the shoes dry faster and more thoroughly.
- Blot Excess Water: Use a clean, dry microfiber towel to gently blot the entire shoe. Press the towel against the mesh upper and foam midsole. This absorbs excess surface water. Do not rub aggressively. The goal is to remove drips, not to dry the shoe completely at this stage.
- Stuff with Paper Towels or Newspaper: Loosely stuff the inside of each Hoka shoe with clean, plain paper towels or crumpled newspaper. Avoid glossy magazines, as the ink can transfer. The paper absorbs moisture from the inside out. This speeds up the drying process. Replace the paper every few hours, especially if it feels very damp. This helps draw more moisture out.
- Choose a Well-Ventilated Spot: Place your Hoka shoes in a cool, dry area with good air circulation. A laundry room, a shaded spot outdoors on a dry day, or near an open window works well. Ensure air can circulate around and within the shoes.
- Avoid Heat Sources: Never place your Hoka shoes in a clothes dryer. Do not put them directly in front of a heater, hairdryer, or in direct sunlight. The intense heat can melt adhesives, shrink materials, or cause permanent damage to the foam. The delicate mesh can also become brittle.
- Allow Ample Time: Hoka shoes, with their thick foam midsoles, can take time to dry. Allow at least 24-48 hours for them to dry completely. The exact time depends on humidity levels and how wet the shoes became. Always ensure they are bone dry before wearing them again or storing them. Damp shoes will smell and degrade quickly.
Following these drying guidelines protects your Hoka shoes. It helps them last longer. It also keeps them fresh and ready for your next adventure. Some shoe types can handle a machine wash, but for Hoka, it’s generally not recommended. If you’re curious about machine washing shoes in general, you can learn more about how to clean shoes in the washer, but apply caution for your Hokas.
Preventive Care for Your Hoka Footwear
Cleaning your Hoka shoes is important, but preventing excessive dirt and wear is even better. Regular preventive care can significantly extend the lifespan of your Hoka footwear. It also reduces the frequency of deep cleaning sessions. I believe prevention is always better than cure for shoe longevity.
1. Wipe Down After Each Use
Make it a habit to wipe down your Hoka shoes after every use. A simple dry brush or damp cloth can remove surface dust, light dirt, and debris. This prevents dirt from settling deep into the mesh or foam. It also keeps grime from accumulating and becoming harder to remove. This quick action takes only a minute or two. It makes a big difference in maintaining cleanliness.
2. Rotate Your Shoes
Do not wear the same pair of Hoka shoes every single day. Rotating between two or more pairs allows each pair to fully air out and dry. This reduces moisture buildup. It minimizes the chances of odor-causing bacteria growing inside the shoes. It also distributes wear and tear across multiple pairs. This extends the life of each individual pair.
3. Store Shoes Properly
Proper storage protects your Hoka shoes when you are not wearing them. Store them in a cool, dry place away from direct sunlight. Sunlight can fade colors and degrade materials over time. Avoid damp basements or hot attics. Extreme temperatures and humidity can damage adhesives and foams. You can use shoe trees to help maintain their shape. Shoe trees also absorb moisture from the interior.
4. Use Shoe Protector Sprays
Consider using a water and stain repellent spray specifically designed for footwear. Apply these sprays to your Hoka shoes, especially on the mesh upper. These sprays create a protective barrier. This barrier helps repel water, dirt, and stains. Always follow the product instructions for application. Reapply periodically, especially after cleaning, as the coating can wear off.
5. Address Odors Promptly
If you notice a slight odor, address it immediately. Do not wait for it to become severe. Sprinkle baking soda inside your shoes after wearing them. Or use shoe deodorizer inserts. These small actions prevent major odor problems. They keep your shoes smelling fresh between washes.
6. Avoid Machine Washing
Hoka does not recommend machine washing their shoes. The harsh agitation and high heat of a washing machine can damage the delicate mesh. It can also compromise the integrity of the foam midsole and adhesives. Hand washing, as described in this guide, is always the safest and most effective method. While some types of shoes, like certain tennis shoes, might tolerate machine washing, Hoka shoes are usually best cleaned by hand. You can find general information on how to clean tennis shoes if you own other brands.
7. Clean Laces Separately
When cleaning your Hoka shoes, always remove the laces. You can hand wash them separately with a small amount of soap. Or place them in a mesh laundry bag and machine wash them with a regular load of laundry. Clean laces make a big difference in the overall appearance of your shoes.
By incorporating these preventive care tips into your routine, you can keep your Hoka shoes looking good and performing well for a much longer time. This saves you time and money in the long run.
FAQ Section
Can I put my Hoka shoes in the washing machine?
No, Hoka strongly advises against machine washing their shoes. The washing machine’s agitation and heat can damage the foam midsole, mesh upper, and adhesives. This can deform the shoes and shorten their lifespan. Hand washing is the recommended method for cleaning Hoka shoes.
How often should I clean my Hoka shoes?
The frequency depends on how often you wear them and what activities you do. For light use, cleaning every few weeks might be enough. If you run in muddy conditions, clean them after each muddy run. Regular spot cleaning after every wear is always a good practice to prevent dirt buildup.
What kind of soap should I use to clean Hoka shoes?
Use a mild, non-abrasive soap. Gentle dish soap, a mild laundry detergent, or a specialized shoe cleaner works best. Avoid harsh chemicals, bleach, or strong detergents. These can strip color, damage materials, or leave residue.
How do I remove deep mud from my Hoka outsoles?
Let the mud dry completely first. Then, use a dull knife or a stiff brush to scrape off as much dried mud as possible. After removing the bulk, proceed with scrubbing the outsole using a soft-bristle brush and mild soap solution. Rinse thoroughly.
My Hoka shoes smell bad. How can I get rid of the odor?
Remove insoles and sprinkle baking soda inside the shoes and on the insoles. Let it sit for 24-48 hours to absorb odors. You can also spray the interior lightly with a 50/50 white vinegar and water solution. Ensure shoes dry completely in a well-ventilated area afterward.
Can I dry my Hoka shoes in a dryer or with a hairdryer?
No, never use a dryer or hairdryer for your Hoka shoes. High heat can cause the foam to warp, adhesives to break down, and the upper material to shrink or become brittle. Always air dry your Hoka shoes in a cool, well-ventilated area, away from direct heat or sunlight.
Conclusion
Cleaning your Hoka shoes does not have to be a difficult task. By following these simple, step-by-step instructions, you can keep your beloved footwear looking fresh and performing optimally. We covered everything from preparing your cleaning supplies to tackling stubborn stains and odors. Remember, consistent care extends the life of your Hoka shoes, saving you money and ensuring maximum comfort for your feet.
Regular cleaning and proper drying are key to maintaining the integrity of Hoka’s unique materials. Avoid harsh chemicals and machine washing at all costs to prevent damage. Instead, embrace the gentle hand-washing methods described here. Your efforts in learning how to clean Hoka shoes will reward you with long-lasting performance and pristine appearance. So grab your mild soap and soft brush, and give your Hokas the care they deserve. They will thank you with many more miles of comfortable support!
- Hoka cleaning
- shoe care
- running shoes
- athletic shoes
- footwear maintenance
- clean shoes

