· Home Appliance Care · 12 min read
How To Clean Ice Maker
How to Clean Your Ice Maker for Fresh, Clear Ice
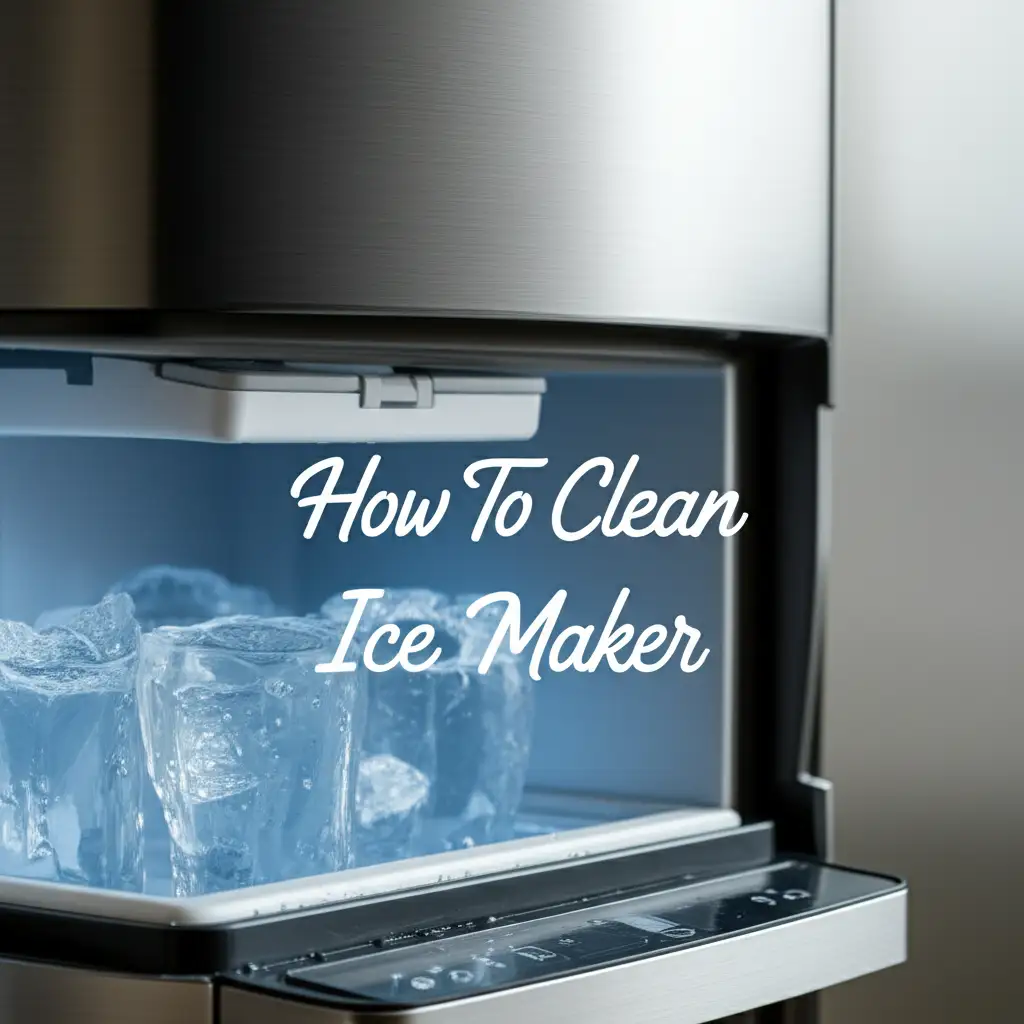
Ever notice strange-tasting ice or cloudy cubes? Your ice maker needs a good clean. An unclean ice maker collects mold, mildew, and mineral deposits. This affects the taste and safety of your ice. It also shortens your appliance’s life. I know the feeling of opening the freezer and seeing less-than-perfect ice. Let’s make sure your ice is always crystal clear and tastes pure. This guide shows you how to clean your ice maker step by step. We cover different types and cleaning solutions.
Takeaway
- Regularly clean your ice maker to prevent mold and mineral buildup.
- Use white vinegar or a commercial ice maker cleaner for best results.
- Always unplug the machine and empty all ice before cleaning.
- Clean removable parts with warm, soapy water.
- Run cleaning cycles and rinse cycles as instructed.
What is the best way to clean an ice maker?
The best way to clean an ice maker involves unplugging it, removing all ice, and using a solution of white vinegar or a specialized cleaner to descale and sanitize internal components. Thorough rinsing and drying follow this process. This ensures hygienic, clear ice.
Why Cleaning Your Ice Maker Is Important
Many people overlook the ice maker. This is a common mistake. Your ice maker is a damp environment. It is a perfect place for germs to grow. Mold and mildew can form inside. They hide in water lines and ice bins. This makes your ice unhealthy.
Mineral deposits also build up. Water contains minerals. These minerals stick to internal parts. They create a scale layer. This scale reduces efficiency. It can even cause clogs. This means your ice maker works harder. It might even stop working.
Dirty ice tastes bad. It can pick up odors from your freezer. You want clear, fresh-tasting ice. Clean ice is essential for drinks. It is important for your family’s health. Regular cleaning solves these problems. It keeps your ice maker working well for years.
Tools and Solutions for Ice Maker Cleaning
Cleaning your ice maker requires simple items. You likely have most of them at home. Gathering your supplies first makes the job easy. I always lay everything out before I start. This saves time and frustration.
Here is what you will need:
- White Vinegar: This is an excellent natural cleaner. It removes mineral deposits. It also kills mold and bacteria. Many people find it very effective. For specific instructions, learn how to clean an ice maker with vinegar.
- Warm Water: Mix this with vinegar or mild soap.
- Mild Dish Soap: Use this for cleaning removable parts.
- Soft Cloths or Sponges: These are for wiping surfaces. Avoid abrasive scrubbers. They can scratch surfaces.
- Soft Brush or Toothbrush: Use this for tight spaces. It helps reach stubborn grime.
- Empty Bucket or Basin: You will need this for draining water. It also holds dirty parts.
- Measuring Cups: For accurate mixing of solutions.
- Gloves (Optional but Recommended): Protect your hands from cleaning solutions.
You might also consider a commercial ice maker cleaner. These products are specifically formulated. They often contain citric acid. Citric acid is good for descaling. Always follow the product’s instructions. Some ice makers may recommend specific cleaners. Check your appliance manual if you are unsure. Using the right tools and solutions ensures a thorough and safe clean.
Step-by-Step Guide: Cleaning Your Ice Maker
Cleaning your ice maker does not take all day. I usually set aside an hour for a thorough clean. Following these steps ensures you do not miss anything. Let’s get started on getting that ice maker sparkling.
Prepare for Cleaning
First, safety is important. Unplug your ice maker from the power outlet. If it is a refrigerator ice maker, shut off the water supply. Find the water shut-off valve behind your fridge. This prevents water spills and electric shock.
Next, remove all ice from the bin. Discard all old ice. It may already taste funny. Some ice makers have a self-clean cycle. This cycle is for internal parts. It helps remove scale. You still need to clean the bin and other parts by hand.
Clean Removable Parts
Take out the ice bin. Remove any other trays or parts that come out. Wash these parts by hand. Use warm water and mild dish soap. Scrub gently with a soft sponge. Pay attention to corners and crevices. These spots often collect grime.
Rinse all parts thoroughly. Make sure no soap residue remains. Soap residue will make your ice taste bad. Let these parts air dry completely. You can also wipe them with a clean cloth. Dry parts prevent mold growth.
Clean the Ice Maker Interior
Now, focus on the inside of the machine. Mix your cleaning solution. For white vinegar, use a 1:1 ratio with water. If using a commercial cleaner, follow its specific instructions. Pour the solution into the ice maker’s reservoir.
Start a cleaning cycle. Many ice makers have a dedicated “clean” button. If yours does not, run a few ice-making cycles. The cleaning solution will circulate. It cleans internal lines and components. This dissolves mineral buildup. It also sanitizes the system.
After the cleaning cycle, drain the solution. Some machines have a drain plug. Others require you to empty the reservoir manually. Repeat this step with fresh water. You need to rinse the system multiple times. This removes all traces of the cleaning solution. Rinse cycles are crucial. They ensure your ice tastes pure.
Clean External Surfaces
Do not forget the outside. Wipe down the exterior of your ice maker. Use a damp cloth with a little dish soap. This removes dust and smudges. Pay attention to the dispenser chute if you have one. It can get sticky. A clean exterior adds to the overall hygiene.
Finally, reconnect everything. Plug in your ice maker. Turn on the water supply if you shut it off. Let the machine make a batch of ice. Discard the first few batches. These batches might still contain cleaning residue. This ensures your next ice is fresh and clean.
Cleaning Specific Ice Maker Types
Different ice makers have different needs. While the core steps remain similar, some types need special attention. Understanding these differences helps you clean effectively. I have worked with many types, and each has its quirks.
Refrigerator Ice Makers
Refrigerator ice makers often use the fridge’s water supply. They usually have a small ice bucket inside the freezer. To clean a refrigerator ice maker, first, turn off the water supply to your fridge. Then, unplug the refrigerator. Remove the ice bucket. Wash it with warm, soapy water. Use a damp cloth with vinegar or a mild cleaner to wipe inside the ice maker compartment. Pay attention to the ice chute. This area often collects debris. Mineral buildup can also affect the water line. If you notice slow water flow, you might need to clean the refrigerator ice maker water line. Reassemble everything once dry. Run and discard the first few batches of ice. For detailed steps specific to your fridge, see how to clean a refrigerator ice maker.
Countertop and Portable Ice Makers
These are popular for their convenience. They are also prone to mold if not cleaned regularly. Cleaning a countertop ice maker often involves a cleaning cycle. Start by emptying the water reservoir. Remove the ice basket and any removable trays. Wash them with soap and water. For the interior, fill the reservoir with a vinegar-water solution. Run the self-clean cycle if available. If not, let it run a few ice-making cycles without ice. Drain the solution. Rinse with plain water several times. Always discard the first few batches of ice. Many portable models, like a Gevi ice maker, follow a similar process. For table top ice maker models, pay extra attention to ensuring the machine is completely dry after rinsing to prevent mold growth, especially if storing it for a while.
Commercial or Under-Counter Ice Makers
These larger units demand more attention. They produce more ice and can accumulate grime faster. Professional cleaning is sometimes needed for commercial units. For regular maintenance, follow the manufacturer’s manual. Many have advanced self-cleaning features. Always use commercial-grade cleaners. These cleaners are designed for larger systems. Regularly check the air filter. A dirty filter reduces efficiency. Ensure proper drainage is maintained. Regular checks prevent costly repairs.
Dealing with Mold and Mineral Buildup
Mold and mineral buildup are common issues. They affect ice quality and machine performance. Tackling them quickly prevents bigger problems. I have seen many ice makers revived with proper cleaning.
Addressing Mold Growth
Mold appears as black or pink spots. It thrives in damp, dark places. Your ice maker is a prime spot. If you see mold, immediate action is needed. Disassemble any affected parts. Scrub them with a brush and a solution of equal parts white vinegar and water. Vinegar is a natural mold killer. For stubborn mold, you can use a small amount of bleach solution (1 tablespoon bleach per gallon of water). Rinse thoroughly afterward. Never mix vinegar and bleach. This creates dangerous fumes. For specific guidance on tackling mold, especially in smaller units, refer to how to clean mold from a portable ice maker. Make sure to completely dry all parts after cleaning. This prevents mold from returning.
Removing Mineral Deposits (Limescale)
Mineral deposits look like white, chalky residue. This is limescale. It forms when hard water evaporates. Limescale clogs water lines and coats components. It reduces ice production. It also makes ice cloudy. White vinegar is highly effective against limescale. Fill the water reservoir with undiluted white vinegar. Let it sit for 20-30 minutes. This gives the vinegar time to dissolve the scale. Then, run a cleaning cycle. The vinegar circulates and breaks down deposits. For very heavy buildup, you might need a stronger descaler. Commercial descaling solutions work well. Citric acid is another good option. Follow the product’s directions. After descaling, rinse the machine thoroughly. Run several cycles with clean water. This flushes out all dissolved minerals and cleaner residue. Discard the first few batches of ice. Regular descaling prevents hard water issues.
Frequency and Maintenance Tips
Consistent care keeps your ice maker working well. I find a schedule helps me remember. A little effort often prevents big problems later.
How Often to Clean Your Ice Maker
The frequency depends on usage and water quality. For most home ice makers:
- Monthly Light Clean: Wipe down the ice bin and accessible surfaces. Use a damp cloth. This prevents minor buildup.
- Every 3-6 Months Deep Clean: Perform a full cleaning cycle. Use vinegar or a cleaner. Descale the internal components. This is for moderate use and average water hardness.
- More Often for Heavy Use or Hard Water: If you use your ice maker daily, or have very hard water, clean it every 1-2 months. Hard water speeds up mineral buildup.
Always check your ice maker’s manual. The manufacturer often provides specific cleaning recommendations. Follow their guidelines for best results.
Simple Maintenance Practices
Beyond deep cleaning, daily habits help. These small actions extend your ice maker’s life.
- Use Filtered Water: If your machine connects to a water line, use a water filter. Filters reduce minerals and impurities. This slows down limescale buildup. It also improves ice taste. Replace filters regularly.
- Empty and Air Out: If you plan to not use the ice maker for a few days, empty the ice bin. Let it air dry. This prevents stale odors and mold. For portable units, drain the reservoir completely. Leave the lid open.
- Inspect Regularly: Quickly check for mold or strange odors. Do this when you get ice. Early detection means easier cleaning.
- Keep the Area Clean: Dust and grime outside can find their way in. Wipe down the external parts often.
- Avoid Overfilling: Do not overfill the ice bin. This can prevent proper air circulation. It might lead to moisture issues.
Following these tips helps your ice maker stay hygienic. It will produce clear, great-tasting ice for years.
FAQ Section
Q1: Can I use bleach to clean my ice maker?
A1: You can use a very diluted bleach solution (one tablespoon per gallon of water) for mold, but rinse extremely thoroughly. Never mix bleach with vinegar or other cleaners, as this creates harmful fumes. Vinegar or commercial cleaners are generally safer and preferred for routine cleaning.
Q2: How do I get rid of the cleaning solution taste after cleaning?
A2: After cleaning, run several rinse cycles with plain fresh water. Make sure to discard the first few batches of ice after the cleaning process. This flushes out any remaining cleaner residue. Some people also add a pinch of baking soda to a rinse cycle to absorb odors, then follow with more plain water rinses.
Q3: What happens if I don’t clean my ice maker?
A3: If you do not clean your ice maker, mold, mildew, and bacteria can grow inside. Mineral deposits will build up on components. This leads to cloudy, bad-tasting ice and potential health risks. It also reduces the machine’s efficiency and shortens its lifespan, possibly causing breakdowns.
Q4: How often should I clean a portable ice maker?
A4: Clean a portable ice maker monthly for regular use. If you use it daily or have hard water, clean it every two weeks. If storing it, always clean and dry it thoroughly before putting it away. Frequent cleaning prevents mold and mineral buildup, keeping your ice fresh.
Q5: Can I put ice maker parts in the dishwasher?
A5: Check your ice maker’s manual before putting any parts in the dishwasher. Most manufacturers recommend handwashing ice bins and removable parts with mild soap and warm water. Dishwasher heat and harsh detergents can warp or damage plastic components over time.
Q6: What if my ice maker has a persistent strange smell?
A6: A persistent strange smell indicates hidden mold or heavy mineral buildup. Perform a thorough deep clean using vinegar or a specific ice maker cleaner. Pay close attention to water lines and corners. If the smell persists, inspect the water source and filter for issues, or consider professional service.
Conclusion
A clean ice maker is not just about aesthetics. It ensures healthy, great-tasting ice for you and your family. We covered why cleaning matters. We also went through the specific tools and solutions you need. Following the step-by-step instructions helps you keep your machine sparkling. Whether you have a refrigerator unit or a portable one, proper care is simple. Regular maintenance, like using filtered water and performing routine deep cleans, prevents many issues. This extends the life of your appliance. Now you know how to clean your ice maker effectively. Make cleaning a routine. Enjoy pure, clear ice every time you reach for it. Your taste buds will thank you.
- ice maker cleaning
- appliance maintenance
- clean ice
- home cleaning tips
- kitchen hygiene

