· Electronics Maintenance · 17 min read
How To Clean Iphone Bottom Speakers
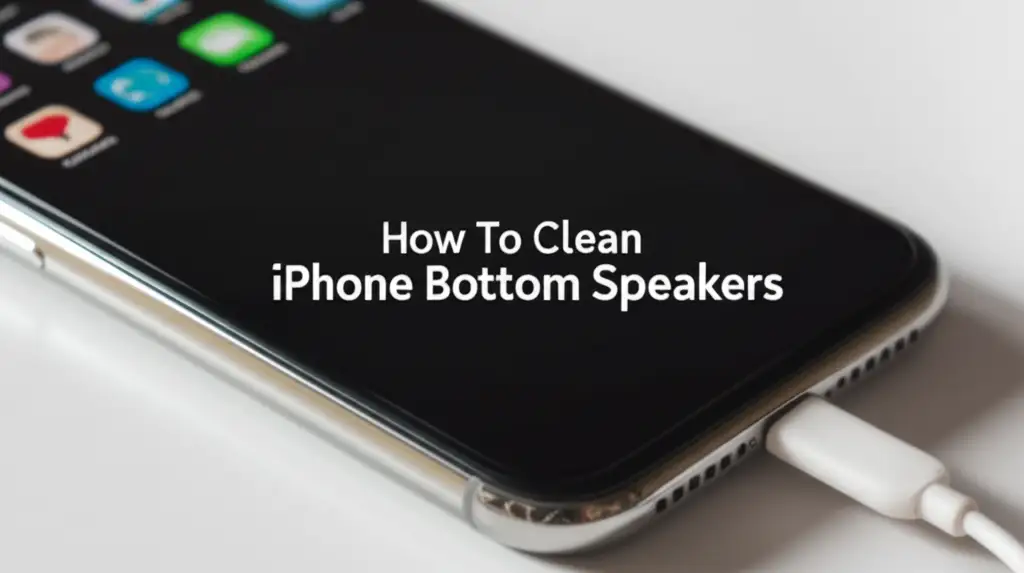
Restore Clear Sound: How To Clean iPhone Bottom Speakers
Has your iPhone’s once-crisp sound turned muffled or quiet? If so, you are not alone. Dust, lint, and debris often block the small grilles on your iPhone’s bottom speakers. This reduces sound quality. Learning how to clean iPhone bottom speakers can bring back clear audio. It improves your phone’s performance.
This guide will show you safe, effective ways to clean your iPhone’s bottom speakers. We start with simple checks. Then we move to gentle cleaning methods. We end with tips for future maintenance. You will learn to use common household items for this task. You can get excellent sound from your iPhone again. Let’s make your music and calls sound great.
Takeaway
- Assess the Problem: First, confirm software is not the issue. Check volume settings and disable Bluetooth.
- Gather Tools: Collect essential, safe cleaning tools like a soft brush, painter’s tape, and compressed air (used carefully).
- Gentle Brushing: Use a soft, clean brush to dislodge surface debris from the speaker grilles.
- Tape Method: Press and lift painter’s tape to pull out stubborn lint and dirt from the speaker holes.
- Compressed Air: Use short, controlled bursts of air from a distance, never directly into the speaker.
- Toothpick Caution: Use a wooden toothpick or similar tool with extreme care only for visible, stuck debris. Avoid pushing anything far inside.
- Test and Maintain: Test the sound. Clean speakers regularly to prevent buildup and maintain audio quality.
Clear Your iPhone Speakers
You can clean iPhone bottom speakers by using a soft brush, painter’s tape, and specialized tools like a toothpick or compressed air with extreme caution. This removes trapped dust and lint. Always ensure your iPhone is off before you start cleaning. This protects the device.
Why Your iPhone Speakers Get Dirty and Why It Matters
Your iPhone goes everywhere with you. It sits in pockets, bags, and on various surfaces. This exposes its bottom speakers to many elements. Dust, lint from clothing, dirt, and tiny food crumbs are common culprits. These particles easily enter the small speaker grilles. Over time, they accumulate. This forms a barrier inside the speaker holes.
This buildup directly affects sound quality. You might notice your music sounds quieter. Phone calls might seem muffled. The audio can become distorted. For some, the sound might even cut out entirely. A dirty speaker means sound waves cannot travel freely. This degrades your listening experience. Regular cleaning helps prevent these issues. It ensures your iPhone delivers the clear sound it was designed to produce. Keeping your speakers clean also extends their lifespan.
Essential Tools for Safe iPhone Speaker Cleaning
Before you start cleaning your iPhone’s bottom speakers, gather the right tools. Using the correct items ensures safety and effectiveness. Avoid harsh chemicals or sharp metal objects. These can damage your device. You want tools that are gentle yet firm enough to remove debris. Always turn off your iPhone before cleaning. This protects its internal components from damage.
Here are the safe tools I recommend:
- Soft-bristled brush: An unused toothbrush works well. A fine-tipped brush, like an artist’s paint brush, is also great. The bristles should be soft but firm. This helps dislodge surface dust without scratching.
- Painter’s tape or masking tape: This tape has a gentle adhesive. It picks up lint and dust without leaving sticky residue. It is safe for electronic surfaces.
- Wooden toothpick: Use this with extreme caution. A wooden toothpick is softer than metal. It helps gently dislodge stubborn debris. Never push it hard into the speaker holes.
- Compressed air can: This can remove loose dust. You must use it correctly. Hold the can upright. Use short, controlled bursts. Keep the nozzle a few inches away from the speaker. Never spray directly into the holes or for long periods.
- Microfiber cloth: A clean, dry microfiber cloth is useful. Use it to wipe away any dust or residue after cleaning. It will not scratch the surface of your iPhone.
These tools are widely available. They provide safe methods for speaker cleaning. Using them helps you avoid damage. This keeps your iPhone speakers in good working order.
Software Solutions to Rule Out Speaker Issues
Sometimes, a speaker problem is not about dirt. It can be a software glitch. Before you start cleaning, check a few software settings. This helps you figure out the real issue. You do not want to clean dirty speakers if the problem is software related. This step saves time and effort. It ensures you address the correct problem.
Here are quick software checks:
Check Volume Settings and Mute Switch
First, make sure your volume is up. Use the volume buttons on the side of your iPhone. Increase the volume during a call or while playing music. Also, check the mute switch. This is on the upper left side of your iPhone. If the orange line shows, your phone is muted. Flip the switch to unmute it. Sometimes, people accidentally mute their phone.
Disable Bluetooth Connections
Your iPhone might send audio to a Bluetooth device. This could be headphones or a speaker. Turn off Bluetooth to test this. Go to Settings > Bluetooth. Toggle Bluetooth off. Then try playing audio again. If the sound now comes from your iPhone speakers, your Bluetooth device was connected. You can reconnect it if you wish. This simple check solves many “no sound” issues.
Restart Your iPhone
A simple restart can fix many software glitches. It clears temporary bugs. Press and hold the power button and a volume button. Slide to power off. Wait a few seconds. Then turn your iPhone back on. After it restarts, test the sound. This often resolves minor software conflicts affecting audio output. This is a common first step for any iPhone problem.
Update iOS
Make sure your iPhone runs the latest iOS version. Software updates fix bugs. They also improve performance. Go to Settings > General > Software Update. If an update is available, install it. An outdated operating system can cause unexpected issues. This includes audio problems. Keeping your iOS updated is good practice for your iPhone’s overall health.
These software checks are important. They help you pinpoint the problem. If sound issues continue after these steps, then physical cleaning is the next logical action. You can then be sure dirt is the cause.
The Gentle Art of Brushing iPhone Speakers
After ruling out software issues, it is time for physical cleaning. The brushing method is usually the safest first step. It is non-invasive and effective for loose dust and surface debris. This approach focuses on gently sweeping away particles from the speaker grilles. This prevents pushing dirt deeper inside. Always perform this on a turned-off iPhone.
Here is how to properly brush your iPhone’s bottom speakers:
Choose the Right Brush
Select a soft-bristled brush. An unused toothbrush is perfect. Its bristles are gentle enough not to scratch. They are also firm enough to dislodge dust. You can also use a small, clean artist’s brush. Make sure the brush is dry and clean. Do not use a brush with any residue or moisture.
Angle the Brush Correctly
Hold your iPhone with the speakers facing up. Hold the brush at a shallow angle. Aim it along the speaker grilles. Do not push the bristles straight down into the holes. The goal is to sweep dust out. You want to avoid forcing debris further into the speaker.
Brush Gently in One Direction
Begin brushing across the speaker grilles. Use short, light strokes. Brush from the center outwards. Do this in one direction. Then repeat from the other side. This helps sweep the dust out of the tiny holes. It stops dust from going back in. Move slowly and methodically across all speaker openings. You might see dust visible on the brush.
Repeat and Inspect
Brush the speakers several times. Take breaks to inspect the grilles. Use a bright light. Look closely for remaining dust or lint. If you still see debris, continue brushing gently. You can also lightly tap the iPhone against your palm (gently!) to help dislodge particles. Do this with the speaker side facing down.
This brushing method is safe for most users. It often resolves minor sound issues. It prepares the speaker for deeper cleaning if needed. If stubborn lint remains, consider the tape method next.
Using Compressed Air Safely for Speaker Cleaning
Compressed air can be a powerful tool for cleaning. It removes trapped dust and debris from small openings. However, you must use it with extreme caution on electronics, especially iPhone speakers. Incorrect use can damage internal components. The key is controlled, short bursts from a safe distance. Do not spray directly into the speaker.
Here is how to use compressed air safely:
Read Instructions and Choose Correct Product
Buy compressed air designed for electronics. Read the product’s instructions first. Some cans contain bitterants. These make the air taste bad if inhaled. Ensure the can is upright during use. Tilting it can release propellant, which is very cold and can harm your iPhone. Do not use an air compressor used for car tires. These push air too strongly.
Maintain Proper Distance
Hold the can of compressed air several inches away from your iPhone’s speakers. A distance of 6-8 inches is a good starting point. Closer spraying can cause too much pressure. It can also cause cold propellant to hit the speakers. This can damage delicate parts.
Use Short, Controlled Bursts
Press the nozzle for very short bursts. Think quick, one-second puffs. Do not spray a continuous stream of air. Long bursts create excessive pressure. They can force debris deeper into the speaker. They can also cool components too much. Aim for gentle pulses of air. This helps dislodge dust.
Angle and Sweep
Angle the nozzle slightly. Do not spray straight into the speaker holes. Instead, aim across the grille. Sweep the air across the openings. This helps to blow debris out, not in. Work your way across all the speaker openings. You might see dust blowing away.
Test and Repeat
After a few bursts, test your iPhone’s speaker sound. Play some music or a video. If the sound improves, you are doing well. If needed, repeat the process. Always take breaks between bursts. Allow the speaker to return to normal temperature. Never over-spray.
Remember, compressed air is powerful. Use it sparingly and with care. If you are unsure, skip this step. Stick to the brushing or tape methods first. For more general iPhone maintenance, you might also consider how to clean volume buttons on iPhone to keep all external parts in top shape.
The Toothpick Method: Carefully Removing Stubborn Debris
The toothpick method is for stubborn, visible debris. This includes compacted lint or hardened grime. Use this method as a last resort. It requires extreme care. A wooden toothpick is much safer than metal. Metal can scratch or damage the delicate speaker mesh. Always ensure your iPhone is powered off before starting.
Here is how to carefully use a toothpick:
Prepare Your Work Area and Tools
Find a well-lit area. This helps you see clearly. Get a wooden toothpick. The thinner the tip, the better. You may want a magnifying glass. This helps you see tiny debris. Make sure your hands are clean and dry. Avoid any sudden movements.
Gently Scrape the Edges of Speaker Holes
Hold the iPhone firmly. Take the toothpick. Very gently, scrape the edges of the speaker holes. Do not push the toothpick deeply into the speaker. The goal is to dislodge material stuck around the rim of each hole. You might see tiny bits of lint or dirt come loose. Angle the toothpick. Avoid direct pressure on the speaker mesh itself.
Lift Out Debris, Do Not Push In
As debris loosens, try to lift it out. Use the very tip of the toothpick. Do not push the debris further into the speaker. This can worsen the problem. It can also damage the speaker. Work slowly and patiently. Focus on one hole at a time. Rotate the toothpick as needed to scoop out material.
Use a Magnifying Glass for Precision
A magnifying glass is very helpful here. It allows you to see small pieces of debris. This helps you avoid accidental damage. You can pinpoint exactly where the lint is stuck. This increases your precision. It reduces the risk of scratching.
Avoid the Speaker Mesh
The speaker mesh is very delicate. It is the protective layer inside the speaker grille. Do not poke or prod this mesh with the toothpick. Puncturing it can cause permanent damage. It affects sound quality. Stick to the outer edges of the holes. Only remove what is visible and easily accessible.
Post-Toothpick Cleanup
After using the toothpick, use a soft brush or a piece of painter’s tape. Brush away any loosened debris. The tape can pick up tiny particles the toothpick missed. This ensures a thorough clean. Be gentle with these follow-up steps.
Remember, the toothpick method is a last resort. Always proceed with extreme caution. If you are unsure, stop. Seek professional help instead.
Cleaning Your iPhone’s Charging Port and Other Areas
When you clean your iPhone’s bottom speakers, consider other areas too. Dust and lint can collect in many places. The charging port is especially prone to collecting debris. A dirty charging port can cause charging issues. It can also prevent your iPhone from connecting to other devices. Keeping all these ports clean ensures your iPhone works its best.
This is a good opportunity to perform a more comprehensive clean.
Cleaning the Charging Port
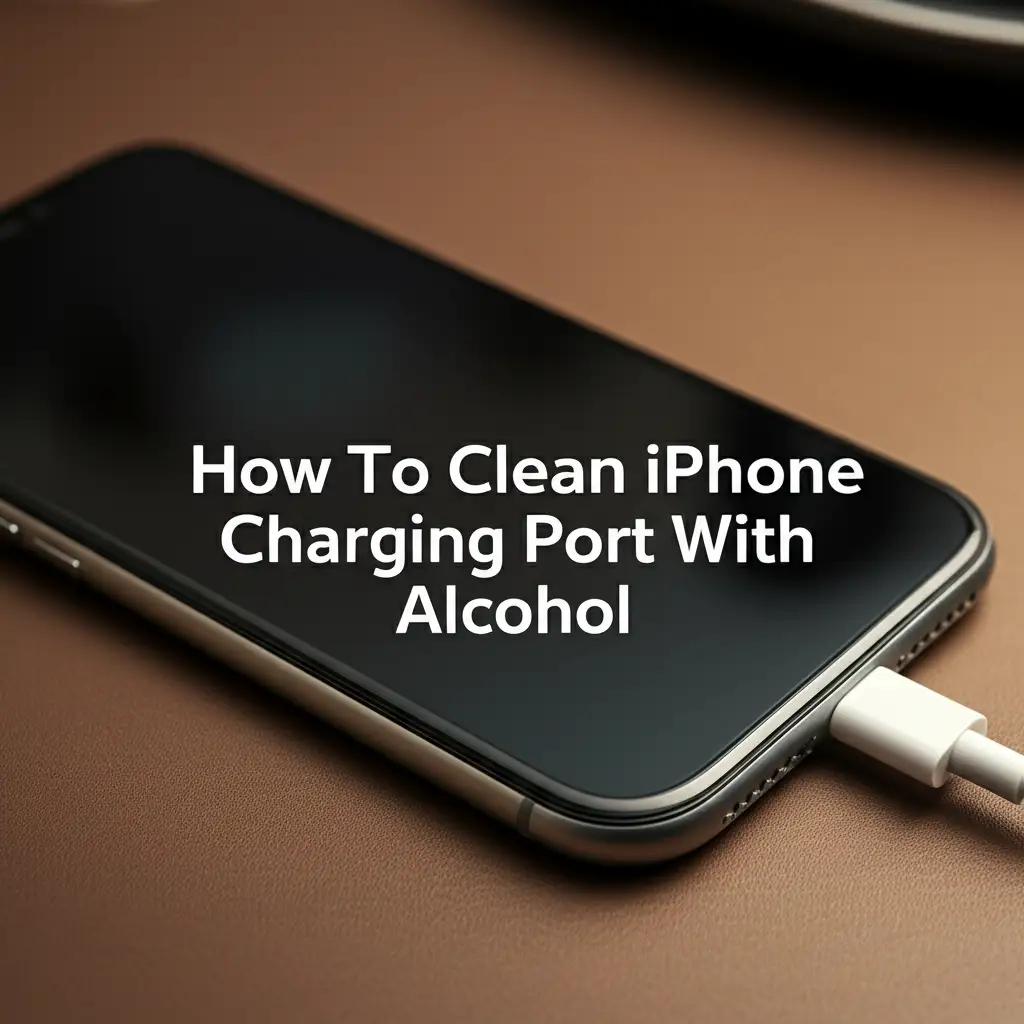
The charging port often collects lint from pockets. This can prevent the charging cable from connecting fully. To clean it, use a wooden toothpick or a plastic dental pick. Turn off your iPhone first. Gently scrape the inside edges of the port. You will likely see a surprising amount of lint come out. Be very careful. Do not use metal objects. Avoid pushing the toothpick too deep. Just like the speakers, patience is key. For a more detailed guide, learn how to clean iPhone charging port with alcohol safely.
Cleaning the Ear Speaker (Top Speaker)
Your iPhone also has an ear speaker at the top. This speaker gets dirty from skin oils, makeup, and earwax. Use a soft, dry brush to clean this. Brush gently across the grille. A piece of painter’s tape can also lift out debris. Press the tape onto the speaker grille. Then peel it off. This pulls out trapped particles. Maintaining this speaker improves call quality. Find more details on how to clean ear speaker on iPhone.
Cleaning Volume and Power Buttons
Buttons can also accumulate grime. This makes them sticky or hard to press. Use a dry microfiber cloth. You can slightly dampen it with isopropyl alcohol (70% or less). Wipe around the edges of the buttons. Use a clean, soft toothbrush for tight spots. Gently brush around the edges. This frees up any stuck dirt. Ensure no liquid seeps into the button crevices.
General Surface Cleaning
After cleaning the ports and speakers, wipe down the entire phone. Use a clean, soft microfiber cloth. A slightly damp cloth with a screen cleaner or isopropyl alcohol is fine. Wipe the screen, back, and sides. This removes fingerprints, smudges, and surface dirt. This general cleaning improves the look and feel of your iPhone. It also keeps it more hygienic.
Regularly cleaning all these areas helps maintain your iPhone. It prevents many common issues. It keeps your device looking and working great.
Post-Cleaning Test and Maintenance Tips
After cleaning your iPhone’s bottom speakers, it is time to test the sound. This confirms your efforts paid off. Regular maintenance helps keep them clear. It prevents future sound problems. Proper care makes your iPhone last longer. It also ensures consistent audio quality.
Here is how to test and maintain your speakers:
Test the Sound Quality
Turn your iPhone back on. Play some audio. You can play music, a video, or make a test call. Listen for improvements in clarity and volume. Does the sound seem louder? Is it less muffled? Check both sides of the bottom speakers. You should hear a significant difference if dust was the issue. If the sound is still not ideal, you might need another round of cleaning. Focus on any specific areas that still sound quiet.
Listen for Distortion
Listen closely for any distortion. A clean speaker should produce clear sound. If you hear static or crackling, the issue might be deeper. This could indicate internal damage. If you hear distortion, stop cleaning. Consider professional repair. However, simple cleaning should not cause distortion.
Use Speaker Cleaner Apps (Carefully)
Some apps claim to clean speakers by playing specific frequencies. These apps are not a substitute for physical cleaning. They can help dislodge very small particles. Use them after physical cleaning. Play the designated sounds at a moderate volume. Do not play them too loud. They might help shake loose tiny remaining bits of dust. These apps are generally safe. They are not a primary cleaning method.
Regular Cleaning Schedule
Preventative maintenance is best. Do not wait for sound to become muffled. Aim to clean your iPhone’s speakers regularly. Once every few months is a good schedule. If you work in a dusty environment, clean more often. Quick, gentle brushing can prevent major buildup. This keeps your speakers clear and functional.
Protective Measures
Consider using a phone case. A case with port covers can help. These covers block dust and lint from entering the speakers and charging port. Keep your iPhone out of dusty or lint-filled environments. For example, avoid putting it directly into a linty pocket. Store it in a clean spot. These small actions reduce the amount of debris entering your speakers.
By testing your sound and following these maintenance tips, you ensure clear audio. Your iPhone will perform at its best for a long time. Clear sound enhances your overall phone experience.
Frequently Asked Questions
Can I use rubbing alcohol to clean iPhone speakers?
No, do not use rubbing alcohol directly on iPhone speakers. Alcohol can damage the delicate speaker membranes. It can also cause issues if it seeps into internal components. Use dry cleaning methods first. If you must use a liquid, a very small amount of 70% isopropyl alcohol on a microfiber cloth is for external wiping only, never directly on the speaker grille.
How often should I clean my iPhone speakers?
Clean your iPhone speakers every few months. This frequency can change. If you work in a dusty place, clean them more often. If you keep your phone in a pocket with lint, clean more often. Regular quick cleans prevent major buildup. It keeps your sound clear.
Will cleaning my iPhone speakers improve my call quality?
Yes, cleaning your iPhone’s bottom speakers can improve call quality. These speakers handle the sound you hear during speakerphone calls. If they are blocked, the sound is muffled. Cleaning them restores clarity and volume for speakerphone use. It makes conversations easier to understand.
What should I do if my iPhone speakers are still quiet after cleaning?
If your iPhone speakers are still quiet after thorough cleaning, the problem might be internal. It could be a hardware issue. Try a software restart or iOS update. If these do not help, contact Apple Support. A professional technician can diagnose and fix internal damage.
Can water damage cause muffled iPhone speakers?
Yes, water damage can cause muffled iPhone speakers. Water can corrode or damage the internal speaker components. This leads to distorted or quiet sound. If you suspect water damage, do not clean it yourself. Turn off your iPhone immediately. Seek professional repair.
Is it safe to use a vacuum cleaner to clean iPhone speakers?
No, it is not safe to use a vacuum cleaner. Vacuum cleaners create strong suction. This can pull delicate speaker components out of place. It can cause permanent damage. Stick to gentle methods like brushing, tape, or carefully used compressed air. Avoid any strong suction devices.
Conclusion
Keeping your iPhone’s bottom speakers clean is crucial. It ensures clear, high-quality audio for all your media. Over time, dust and lint collect. This leads to muffled sound and a poor listening experience. By following the safe and simple methods discussed, you can easily restore your iPhone’s sound. This includes gentle brushing, careful use of painter’s tape, and controlled application of compressed air.
Remember to prioritize safety. Always turn off your iPhone before cleaning. Use only appropriate tools. Never push anything deep into the speaker grilles. Regular maintenance prevents future issues. It helps your iPhone perform its best for a long time. Enjoy crystal-clear audio once again. Get back to enjoying your music, videos, and calls without distortion. Take action today. Bring your iPhone’s sound back to life.
- iPhone speaker cleaning
- clean phone speakers
- muffled iPhone sound
- iPhone maintenance
- remove dust from speaker