· iPhone Maintenance · 12 min read
How To Clean Iphone Microphone
How To Clean Iphone Microphone: Restore Clear Audio
Have you noticed your iPhone calls sounding muffled? Perhaps Siri does not hear your commands clearly. These issues often happen when your iPhone’s microphone collects dirt. Dust, lint, and debris gather in the tiny microphone ports. This blocks sound waves from entering. When dirt fills the ports, the microphone cannot work well. Your voice sounds unclear to others. Cleaning your iPhone microphone helps restore sound quality. It makes calls crisp and clear again. This guide shows you how to safely clean your iPhone microphone. We cover simple steps and tools to help you get clear audio back.
Takeaway:
- Identify all microphone locations on your iPhone model.
- Use soft, non-abrasive tools to gently remove debris.
- Avoid liquid cleaners directly on microphone ports.
- Test audio after cleaning to check for improvements.
- Regular cleaning prevents future sound issues.
Cleaning your iPhone microphone effectively involves gentle, precise action. You need soft brushes or compressed air. Aim to remove trapped debris without pushing it deeper. This simple process restores clear sound to your calls and recordings.
Understanding Your iPhone Microphones
Your iPhone has several microphones. They help with calls, video recording, and Siri commands. Knowing where these microphones are helps you clean them. Different iPhone models have microphones in slightly different spots.
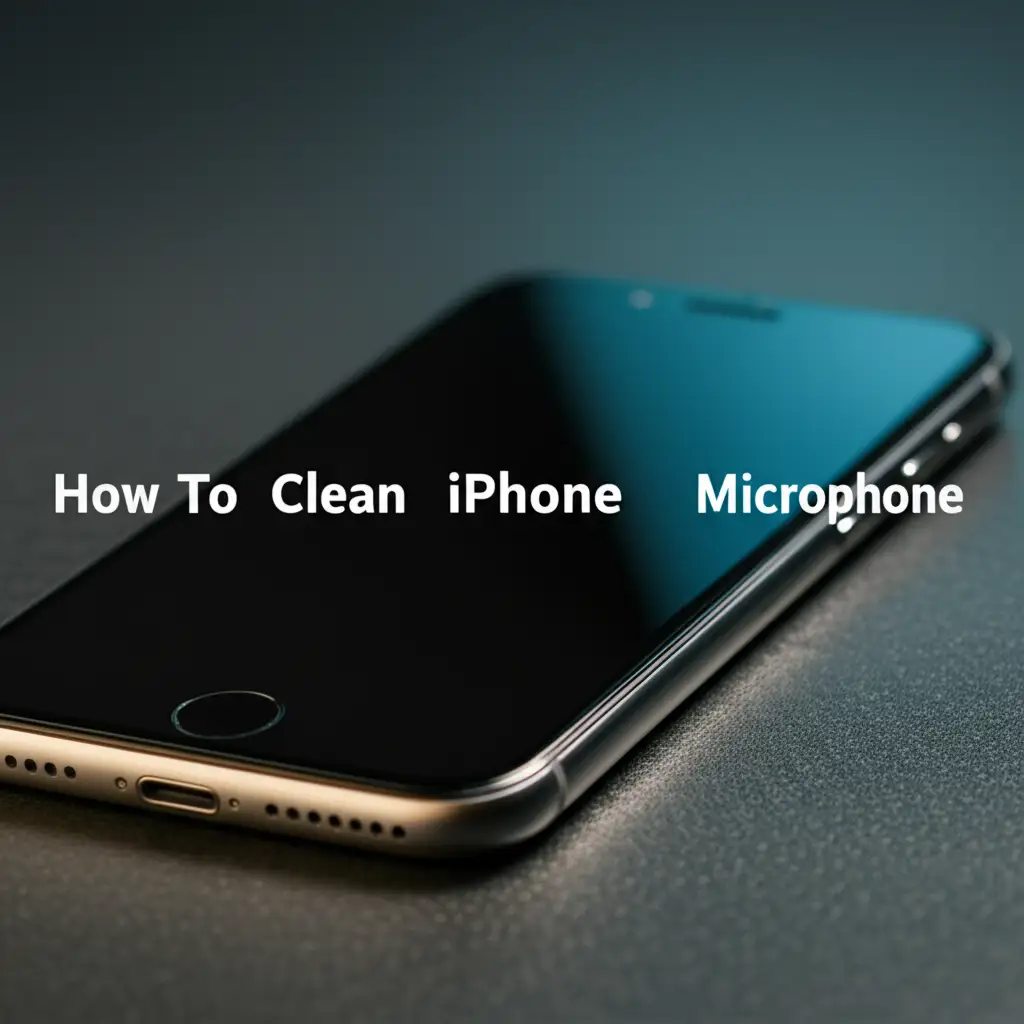
Most iPhones have a primary microphone. This microphone sits at the bottom of your phone. It is near the charging port. This is the main microphone for phone calls when you hold the phone normally. A secondary microphone sits at the top of your iPhone. It is often next to the earpiece speaker. This microphone helps with noise cancellation during calls. It also records audio for videos. Some iPhones have a third microphone on the back. It is near the camera lens. This microphone helps with video recording too. It captures sounds from the direction you are filming.
Dirt and dust easily enter these small openings. Pocket lint, crumbs, and environmental dust are common culprits. Over time, this buildup affects sound quality. Your voice may sound distant. Background noise might increase. People may struggle to hear you. Cleaning each microphone port addresses these issues. This simple step can greatly improve your iPhone’s audio performance.
Identifying Common Microphone Issues
Microphone issues on an iPhone show up in several ways. You might hear static during calls. Others may say your voice sounds muffled. Sometimes, they cannot hear you at all. Siri might not respond accurately to your commands. Voice memos could sound unclear or distorted.
These problems often point to a dirty microphone. Dirt blocks the small microphone holes. This prevents sound from reaching the sensor. Imagine trying to speak through a clogged pipe. The sound gets trapped. Your iPhone’s microphones work the same way. A common sign is when one microphone works fine, but another fails. For example, your voice memo records fine, but people cannot hear you on a call. This indicates the primary microphone might be dirty. If videos have poor audio, the top or rear microphone needs cleaning.
Sometimes, software bugs cause audio problems. Restarting your iPhone often fixes these. If a restart does not help, the issue is likely physical. A dirty microphone is a frequent cause. Testing your iPhone’s microphones helps confirm the problem. You can record a voice memo. Listen closely to the playback. Make a call on speakerphone. Then make a call holding the phone to your ear. Compare the sound quality. This helps pinpoint which microphone is causing trouble. Understanding these issues helps you clean your iPhone effectively.
Essential Tools for Safe Microphone Cleaning
Cleaning your iPhone microphone requires the right tools. Using improper tools can damage your device. You need items that are soft and non-abrasive. These tools help remove dirt without causing harm. Always gather your tools before you start cleaning.
Here is a list of recommended tools:
- Soft-bristled brush: An unused, soft toothbrush works well. A small detailing brush or a camera cleaning brush also works. The bristles must be fine enough to fit into tiny openings.
- Compressed air can (electronics grade): Use this with caution. Hold the can upright. Spray in short bursts. Do not hold the nozzle too close to the iPhone. Avoid spraying liquid propellant into the microphone. Using a can designed for electronics prevents moisture damage.
- Toothpick or thin, non-metallic probe: A wooden or plastic toothpick is good. Avoid metal objects. Metal can scratch or damage delicate components. Use the toothpick only to gently dislodge larger debris.
- Microfiber cloth: A clean, lint-free microfiber cloth helps wipe away loosened dirt. Use it to polish the surface after cleaning.
- Magnifying glass (optional): A magnifying glass helps you see small dirt particles. It lets you work with greater precision.
Do not use harsh chemicals. Do not use sharp metal objects. Avoid water or liquid cleaners directly on the microphone ports. These can damage the internal parts. Using the right tools protects your iPhone. It also ensures a thorough clean. Proper tools make the cleaning process safe and effective.
The Gentle iPhone Microphone Cleaning Process
Cleaning your iPhone microphone needs a gentle touch. This process removes surface dirt without harming internal components. I always start with the least invasive methods. This helps protect my device.
First, turn off your iPhone. This prevents accidental actions during cleaning. It also makes the device safer to handle. Locate the microphone ports. The main one is usually at the bottom, near the charging port. Look for small holes or a tiny mesh screen. You may also find one near the earpiece speaker and another by the rear camera.
Take your soft-bristled brush. Gently brush the microphone ports. Use light, sweeping motions. The goal is to dislodge loose dust and lint. Do not push the brush bristles deep into the holes. Just clean the surface area. I often brush downwards to help debris fall away from the opening.
Next, use compressed air. Hold the can upright. Spray short, controlled bursts. Aim the nozzle a few inches away from the microphone. Avoid continuous spraying. This prevents moisture buildup and extreme cold. Compressed air helps blow out stubborn dust that the brush could not reach. Remember, air pressure can be strong. Be careful not to damage the microphone.
If you see larger debris, use a toothpick. Gently prod the debris. Do not insert the toothpick far into the port. Only dislodge visible gunk near the surface. The goal is to lift the dirt out, not push it in. After dislodging, use the brush again to sweep it away. Finally, wipe the area with a microfiber cloth. This removes any remaining dust or smudges. This gentle process helps restore your iPhone’s microphone function. It avoids causing new problems.
For thorough cleaning, consider cleaning related parts. Often, if your microphone is dirty, other ports might be too. You can also clean your iPhone charging port. Dust and lint collect in these openings easily. This common cleaning habit helps maintain overall device performance. A clean charging port also ensures proper power connection.
Advanced Cleaning Tips for Stubborn Dirt
Sometimes, simple brushing and air cannot remove all dirt. Stubborn grime needs a bit more effort. These advanced tips help clean even the most blocked microphones. Remember to always proceed with caution.
First, consider using a slightly damp cotton swab or a small piece of Blu Tack. Dampen the swab with a tiny amount of rubbing alcohol (isopropyl alcohol, 70% or higher). Make sure the swab is barely damp, not wet. Gently dab or lightly wipe the microphone area. The alcohol helps dissolve oils and grime. It also evaporates quickly. Do not push the swab into the microphone holes. Just clean the outer mesh or surface.
Blu Tack, or similar adhesive putty, can pull out lint. Roll a small piece into a fine point. Gently press it onto the microphone port. Do not push it in too hard. Just press enough for the putty to pick up lint. Then quickly pull it away. Repeat this several times. The sticky surface grabs embedded fibers. This method is surprisingly effective for lint accumulation.
Another advanced tip involves a very fine needle or pin. This is for extreme cases only. I do not recommend this method for everyone. If you choose this, be extremely careful. Use it only to gently scrape around the edge of the microphone opening. Do not poke inside. The goal is to dislodge hardened dirt around the perimeter. Then use a brush or compressed air to remove the loosened debris. Always wear gloves to avoid transferring oils from your skin. After any advanced cleaning, re-check the sound quality.
If you find that your main microphone is clear but calls are still muffled, check other audio points. For instance, sometimes the ear speaker gets dirty. Learn how to clean ear speaker on iPhone. A dirty ear speaker can make it sound like your microphone is bad, even if it is not. Ensuring all audio components are clean provides the best sound experience. These steps help you tackle persistent microphone blockages.
Prevention and Regular Maintenance
Preventing dirt buildup is better than cleaning a clogged microphone. Regular maintenance keeps your iPhone’s audio clear. It saves you time and trouble. I always follow a few simple habits to protect my device.
A key step is using a good quality phone case. Many cases offer dust plugs for the charging port. Some even cover the speaker and microphone grilles. These plugs prevent lint and dirt from entering. Choose a case that protects all openings. A screen protector is also important. It keeps the screen clean and prevents scratches. Learn how to clean iPhone screen protector to maintain its clarity.
Avoid placing your iPhone in dirty environments. Do not put it in pockets with excessive lint. Keep it away from dusty surfaces or construction areas. If you work in such places, carry your iPhone in a protective pouch. This extra layer of defense shields it from particles.
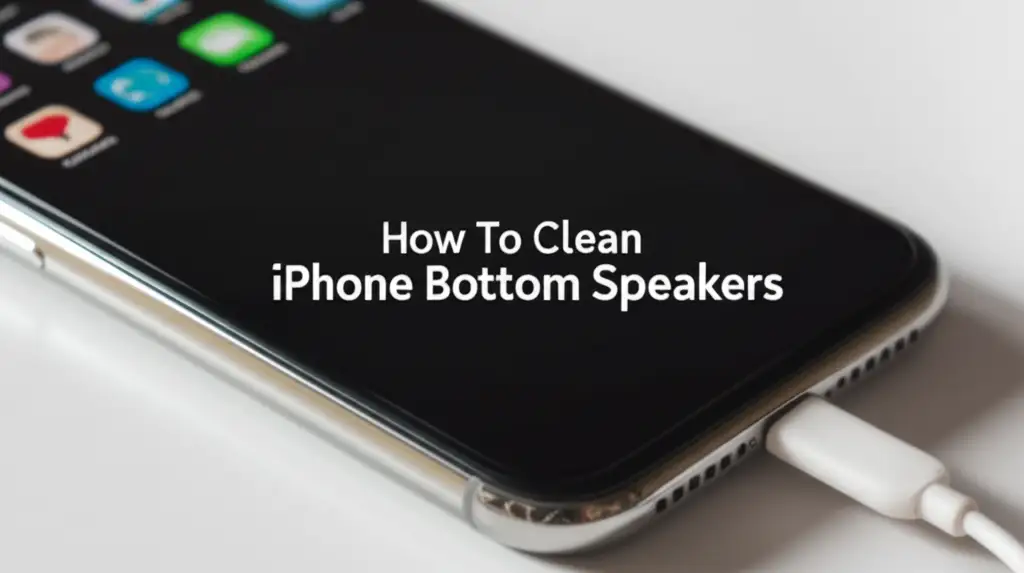
Clean your iPhone regularly, even if there are no sound issues. A quick, gentle wipe with a microfiber cloth helps. Use your soft-bristled brush once a week to dust the microphone ports. This routine prevents major blockages. It keeps the tiny holes clear. You can also give your iPhone bottom speakers a good clean. The bottom speakers and microphone are often close together. Cleaning both at once ensures optimal sound output and input. This simple routine helps maintain sound quality. It makes your iPhone last longer.
When to Seek Professional Help
Despite your best efforts, sometimes a microphone problem persists. If you have cleaned your iPhone’s microphone carefully but audio issues remain, professional help might be necessary. This situation suggests a deeper problem.
A common reason for persistent issues is internal damage. Dropping your iPhone can loosen internal components. Water damage can corrode circuits. These problems are not fixable with external cleaning. If you suspect water damage, do not try to dry it yourself with heat. This often makes the problem worse. A professional can diagnose and fix these internal issues.
Another sign it is time for professional help is when other audio features fail. For example, if your speaker also sounds bad. Or if the volume buttons stop working. This could indicate a broader hardware failure. A trained technician can identify the exact faulty component. For example, if your main speaker on iPhone needs cleaning, and your microphone does too, it might be a general component issue.
Apple Stores offer diagnostic services. Authorized service centers also provide repairs. They have specialized tools and expertise. They can open your iPhone safely. They can replace faulty microphones or repair damaged circuits. Check your warranty status first. Sometimes, repairs are covered. Trying to fix complex hardware issues yourself can void your warranty. It can also cause more damage. For peace of mind and effective repair, trust the experts.
FAQ Section
How do I know if my iPhone microphone is dirty?
Your iPhone microphone is likely dirty if others cannot hear you well during calls. They might say your voice sounds muffled or distant. Siri might struggle to understand your commands. Voice recordings could have poor quality or sound distorted. These are common signs of blocked microphone ports.
Can I use rubbing alcohol to clean my iPhone microphone?
Use rubbing alcohol with extreme caution. Dampen a cotton swab with a very small amount of 70% or higher isopropyl alcohol. The swab should be barely damp, not wet. Gently wipe the microphone’s outer mesh. Do not let liquid enter the microphone port. Alcohol helps dissolve grime and evaporates quickly.
What should I avoid using to clean my iPhone microphone?
Avoid using metal objects like paper clips or pins. They can scratch or damage the delicate microphone components. Do not use excessive force. Avoid harsh chemical cleaners, sprays, or too much liquid. These can damage internal electronics or corrode parts. Always use soft, non-abrasive tools.
How often should I clean my iPhone microphone?
Clean your iPhone microphone whenever you notice audio quality drops. For general maintenance, a light cleaning every few weeks or once a month is good. If you work in dusty environments, clean it more often. Regular, gentle cleaning prevents serious blockages from forming.
Will cleaning my microphone fix my call quality?
Cleaning a dirty microphone can greatly improve call quality. If the issue stems from accumulated dirt or lint, clearing the blockage will restore clear audio. However, if the problem is a software bug, hardware damage, or an issue with your network provider, cleaning will not help.
Where are the main microphones on an iPhone?
The primary microphone is at the bottom of your iPhone, usually next to the charging port. A secondary microphone is often located near the earpiece speaker at the top. Some iPhone models also have a third microphone near the rear camera lens for video recording.
Conclusion
A clean iPhone microphone brings clear audio back to your calls and recordings. We covered simple, safe steps to clean your iPhone microphone effectively. You learned about the different microphone locations. You also learned which tools to use and what to avoid. Gentle brushing and careful use of compressed air often solve common sound issues. I hope these steps helped you restore your device’s audio performance.
Remember to perform regular maintenance. Protect your iPhone from dirt and lint buildup. A good case and mindful placement help prevent future problems. If problems persist after cleaning, consider professional help. Sometimes, internal damage needs expert attention. Keeping your iPhone’s microphones clean ensures you always have clear conversations. A clean phone simply performs better.
- iPhone microphone cleaning
- clear iPhone audio
- clean iPhone sound
- iPhone maintenance
- DIY iPhone cleaning