· Appliance Maintenance · 14 min read
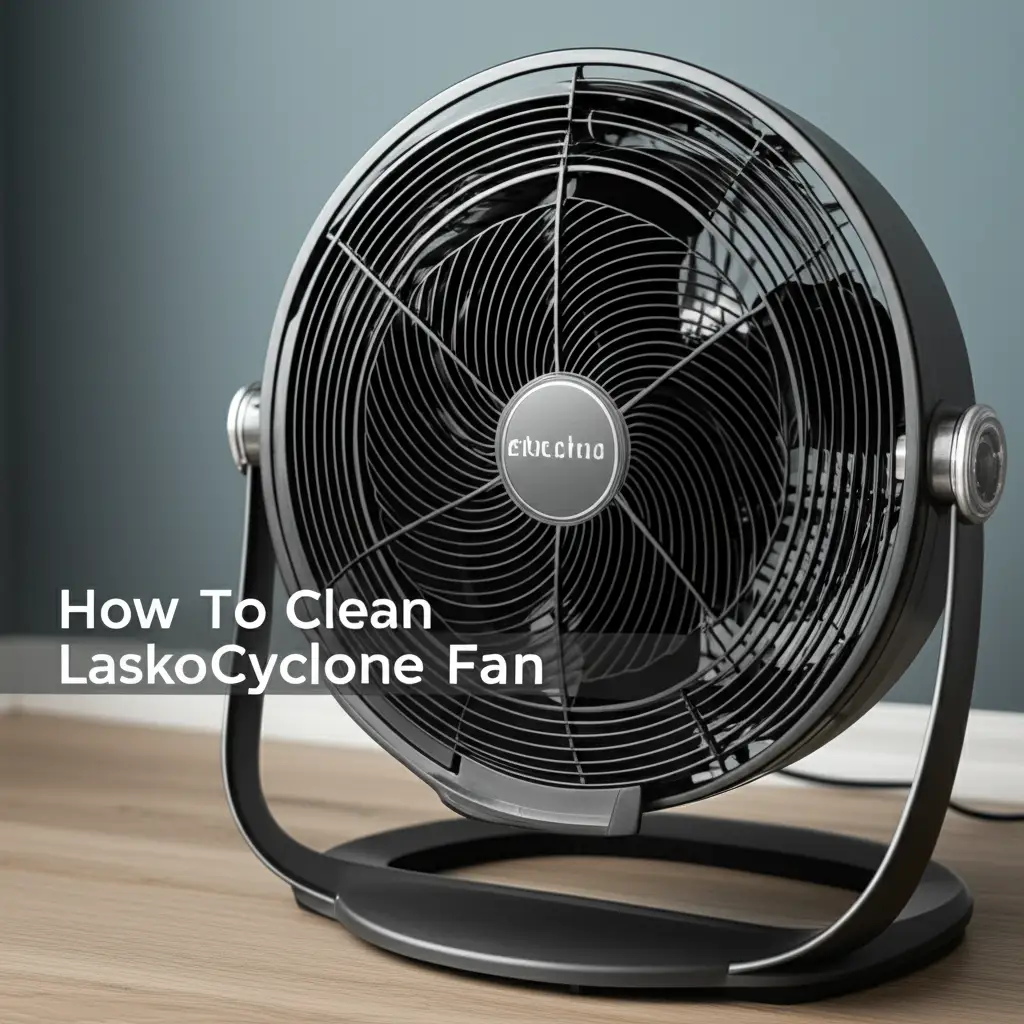
How To Clean Lasko Cyclone Fan
Master Your Lasko Cyclone Fan Clean-Up
A Lasko Cyclone fan delivers powerful air circulation. Over time, however, dust and grime build up on its parts. This build-up reduces airflow and decreases efficiency. A dirty fan can also circulate dust particles through your home.
Cleaning your Lasko Cyclone fan improves its performance. It also helps maintain good air quality indoors. This guide provides clear steps to clean your Lasko Cyclone fan. We cover everything from gathering tools to reassembling the unit. Follow these instructions to keep your fan running at its best. You will find that a clean fan operates more quietly and effectively.
Takeaway
- Unplug the fan for safety before starting any cleaning.
- Disassemble the fan carefully, removing the front grill and blades.
- Clean all parts using mild soap and water or a damp cloth.
- Allow all components to dry completely before reassembly.
- Regular cleaning prevents dust buildup and maintains fan efficiency.
To clean a Lasko Cyclone fan, first unplug it for safety. Next, remove the front grill and fan blades. Wash these parts with soapy water. Use a damp cloth to wipe down the motor housing. Let all parts dry completely before reassembling the fan.
Why Cleaning Your Lasko Cyclone Fan Matters for Air Quality
Your Lasko Cyclone fan works hard to move air around a room. As it pulls air in, it also draws in dust, pet dander, and other airborne particles. These particles settle on the fan blades and inside the grill. This accumulation of debris affects the fan’s ability to move air efficiently. A clean fan moves more air with less effort.
Dust buildup on fan blades can significantly reduce airflow. This means your fan has to work harder to achieve the same cooling effect. This extra effort uses more electricity. Regular cleaning helps your fan run more efficiently. It can save you money on your energy bill.
Furthermore, a dirty fan can become a source of indoor air pollution. When dust collects on the blades, the fan then blows that dust back into your living space. This can worsen allergies and respiratory issues. Keeping your fan clean helps ensure the air you breathe is cleaner. It creates a healthier home environment. You can learn more about managing dust with tips on how to clean dust off fan.
A clean fan also lasts longer. Dust and debris can put a strain on the fan motor. This stress can lead to premature wear and tear. Regular maintenance prevents these issues. It extends the lifespan of your appliance. Investing time in cleaning means you get more years of reliable service from your Lasko Cyclone fan.
Essential Tools and Safety Steps Before You Begin
Before you start cleaning your Lasko Cyclone fan, gather all necessary tools. Having everything ready saves time and makes the process smooth. You will need a few basic household items. These include a Phillips-head screwdriver, mild dish soap, and a soft cloth or sponge. A vacuum cleaner with a brush attachment can also be helpful.
Safety is important when cleaning any electrical appliance. The most important step is to unplug the fan from the power outlet. Never attempt to clean the fan while it is still plugged in. This prevents accidental startup and reduces the risk of electric shock. Make sure your hands are dry when handling the fan.
Prepare your workspace. Choose a flat, stable surface where you have enough room to disassemble the fan parts. Lay down a towel or old newspaper to catch any dust or water. This protects your work surface and makes cleanup easier. Work in a well-lit area so you can clearly see all the parts.
Inspect the fan for any visible damage before starting. Look for frayed cords or cracked plastic. If you find any damage, do not proceed with cleaning. Instead, consider contacting Lasko customer support or a qualified technician. Safety first ensures a positive cleaning experience.
Disassembling Your Lasko Cyclone Fan: A Step-by-Step Guide
Disassembling your Lasko Cyclone fan is the first real step in a deep clean. This process allows you to reach all the dirty areas. Begin by placing the fan on your prepared surface. Make sure it is stable and secure.
Removing the Front Grill
The front grill is usually held in place by screws or clips. Locate the screws around the edge of the grill. Most Lasko Cyclone fans use Phillips-head screws. Use your screwdriver to carefully remove them. Keep all screws in a small, secure container so you do not lose them.
Once the screws are out, gently pull the front grill away from the fan body. Some models may have small tabs or clips that require a gentle prying motion. Be careful not to force anything. Plastic parts can break if too much pressure is applied. Set the front grill aside.
Accessing and Removing the Fan Blades
After removing the front grill, you will see the fan blades. The blades are typically secured to the motor shaft with a nut or a cap. Look for a large plastic nut at the center of the blades. This nut often turns counter-clockwise to loosen. It may be labeled “LOOSEN.”
Grasp the blades firmly with one hand. Use your other hand to unscrew the nut. Once the nut is loose, you can gently pull the fan blades straight off the motor shaft. The blades might fit snugly, so a gentle wiggle can help. Avoid bending or twisting the blades, as this can affect the fan’s balance.
Detaching the Rear Grill (If Applicable)
Some Lasko Cyclone fan models allow for the removal of the rear grill. This provides better access to the motor housing for cleaning. The rear grill is often attached with screws similar to the front grill. If your model allows, remove these screws.
Carefully detach the rear grill. Be mindful of any wires or clips connected to it. If the rear grill seems fixed, do not try to force it off. You can still clean the motor housing through the gaps in a fixed rear grill. Set all removed parts aside, ready for cleaning. This careful disassembly makes sure every part of your fan can get clean, much like understanding the components of other fans for effective cleaning, such as when you clean a Holmes tower fan.
Deep Cleaning Fan Blades and Grills for Optimal Airflow
Once you have disassembled the Lasko Cyclone fan, you can begin the deep cleaning process. This step is crucial for removing stubborn dust and grime. Clean blades and grills improve airflow dramatically. They also prevent the recirculation of dirt into your home.
Start with the fan blades. These are often the dirtiest part. Fill a basin or sink with warm water and a few drops of mild dish soap. Submerge the fan blades in the soapy water. Use a soft cloth or sponge to gently wipe down each blade. Pay attention to the leading edges where dust tends to accumulate most. For very stubborn grime, you can let the blades soak for a few minutes.
Next, clean the front and rear grills. Use the same warm, soapy water mixture. Wipe down all the individual slats and the frame of each grill. A small brush, like an old toothbrush, can help reach into tight spots between the slats. Rinse the grills thoroughly under clean running water to remove all soap residue. Make sure no soap film remains, as this can attract dust later.
After washing, it is important to dry all components completely. You can use a clean, dry cloth to hand-dry the blades and grills. Alternatively, let them air dry on a clean towel. Ensure no water remains in any crevices or around the center hub of the blades. Any residual moisture can lead to mold growth or electrical issues. This thorough cleaning ensures your fan operates cleanly, similar to how one might meticulously clean a Honeywell QuietSet Tower Fan for optimal performance.
If you notice any signs of mold, a mixture of equal parts white vinegar and water can be effective. Spray the solution on the moldy area, let it sit for a few minutes, then scrub and rinse. Always ensure good ventilation when using cleaning solutions. This detailed cleaning process makes sure your Lasko Cyclone fan is ready to provide fresh, clean air. For stubborn mold, you might also find general methods for cleaning mold with vinegar helpful.
Cleaning the Motor Housing and Base Unit Safely
Cleaning the motor housing and base unit of your Lasko Cyclone fan requires a delicate approach. These parts contain electrical components. Direct water contact can cause serious damage or create a safety hazard. Always make sure the fan is unplugged before you begin.
Start by using a vacuum cleaner with a soft brush attachment. Gently vacuum the exterior of the motor housing. This removes loose dust and debris from the vents and cracks. Be careful not to push dust further into the motor. This initial vacuuming is important for reaching areas that are hard to wipe down.
For the exterior surfaces of the motor housing and the base, use a lightly damp microfiber cloth. The cloth should be damp, not wet. Wring out any excess water thoroughly. Gently wipe down all accessible surfaces. This includes the control panel, the housing around the motor, and the fan base. Avoid getting any moisture near the motor vents or electrical connections.
Do not spray water or cleaning solutions directly onto the motor housing. Never submerge any part of the base unit in water. If you encounter stubborn grime that a damp cloth cannot remove, try using a very small amount of rubbing alcohol on a cotton swab for precise cleaning. Always test a small, inconspicuous area first.
Allow the motor housing and base to air dry completely before reassembly. This is a critical step. Any moisture left behind can lead to electrical shorts or corrosion. Give it ample time, perhaps an hour or two, in a well-ventilated area. This careful cleaning ensures the fan’s electrical components remain safe and functional.
Reassembling Your Lasko Cyclone Fan Correctly
After all parts of your Lasko Cyclone fan are clean and dry, it is time for reassembly. Putting the fan back together correctly ensures it operates safely and efficiently. Take your time with each step. Refer back to how you disassembled it if you need a reminder.
First, slide the clean fan blades back onto the motor shaft. Ensure the blades are facing the correct direction for airflow. The flat side of the blades usually faces away from the motor. Push them firmly onto the shaft until they are seated correctly.
Next, reattach the large plastic nut that secures the fan blades. Turn it clockwise until it is tight. Make sure the blades are securely fastened. They should not wobble or feel loose on the shaft. A loose blade can cause vibration and noise during operation.
Now, position the rear grill (if you removed it) back onto the fan body. Align the screw holes. Insert and tighten the screws you removed earlier. Do not overtighten, as this can strip the plastic. Ensure the rear grill is flush with the fan body.
Finally, place the front grill back onto the fan. Align it with the screw holes on the fan body. Insert and tighten all the screws you kept aside. Make sure the front grill is securely attached and does not rattle. All parts should fit together snugly.
Once reassembled, give the fan a quick visual check. Make sure all screws are in place and tightened. Then, plug in the fan and test it on various speed settings. Listen for any unusual noises or vibrations. A properly reassembled fan will run smoothly and quietly, delivering optimal airflow once again.
Maintaining Your Lasko Cyclone Fan: Regular Cleaning Tips
Regular maintenance extends the life of your Lasko Cyclone fan and keeps your air clean. A thorough deep clean is important, but consistent light cleaning prevents heavy dust buildup. This saves you time in the long run. Incorporate these tips into your routine.
For daily or weekly maintenance, use a microfiber cloth to wipe down the exterior of the fan. This includes the front grill, the base, and any accessible surfaces. This simple wipe-down removes surface dust before it can accumulate inside the unit. You can also use a vacuum cleaner with a brush attachment for a quick pass over the grills. This helps suck away dust from the openings without disassembly.
Consider the environment where your fan operates. If your home is particularly dusty, or you have pets, you might need to clean the fan more often. Pet hair can quickly clog fan grills and blades. A quick wipe-down every few days can make a big difference in these conditions. If the fan is in a damp area, like a bathroom, check for moisture buildup. This can lead to mold if not addressed.
Schedule a deeper clean, involving disassembly, every three to six months. This frequency depends on fan usage and environmental dust levels. For a fan used daily in a dusty area, a quarterly deep clean might be necessary. For occasional use in a cleaner environment, twice a year could be enough. Listen to your fan; if it sounds louder than usual or airflow decreases, it is likely time for a clean.
Keeping a fan clean is a continuous process, not a one-time task. Regular, simple steps can prevent future headaches. Your Lasko Cyclone fan will thank you with consistent, efficient performance. This proactive approach helps your fan last longer and keeps your home air fresh.
FAQ Section
How often should I clean my Lasko Cyclone fan?
The cleaning frequency depends on usage and environment. For daily use in a typical home, a light wipe-down weekly is good. A deep clean, requiring disassembly, should occur every three to six months. If you have pets or allergies, or live in a dusty area, clean it more often.
Can I put Lasko Cyclone fan parts in a dishwasher?
No, you should not put Lasko Cyclone fan parts in a dishwasher. The high heat and harsh detergents in a dishwasher can warp or damage the plastic components. Handwashing with mild soap and warm water is the safest and most effective method for cleaning the grills and blades.
What if my fan is still noisy after cleaning?
If your fan remains noisy after cleaning, check for any loose parts. Ensure the fan blades are securely attached and balanced. Sometimes, internal motor issues or worn bearings can cause noise. If the noise persists and is not due to a loose part, consider contacting Lasko customer support or a repair technician.
How can I prevent dust buildup on my Lasko Cyclone fan?
To prevent dust buildup, regularly wipe down the fan’s exterior. You can use a damp cloth or a vacuum brush attachment. Placing the fan in an area with less direct dust exposure can also help. Running an air purifier in the same room can reduce overall dust, keeping your fan cleaner for longer.
Can I use strong cleaners or solvents on my fan?
Avoid using strong chemical cleaners, abrasive cleaners, or solvents on your Lasko Cyclone fan. These can damage the plastic, discolor surfaces, or leave residues that attract more dust. Stick to mild dish soap and water for cleaning plastic parts, and a damp cloth for electrical components.
Is it safe to clean the fan motor directly?
No, do not clean the fan motor directly with water or liquid cleaners. The motor contains electrical components sensitive to moisture. Use a vacuum cleaner with a brush attachment to gently remove dust from around the motor housing. For persistent grime, a slightly damp cloth wrung out thoroughly can be used on exterior motor housing surfaces only, ensuring no moisture enters vents.
Conclusion
Cleaning your Lasko Cyclone fan is a simple yet vital task for home comfort. We have covered the importance of fan cleanliness for air quality and energy efficiency. You learned about gathering essential tools and following crucial safety measures. We walked through disassembling the fan, cleaning its various parts, and safely cleaning the motor housing. Finally, you have the knowledge to reassemble your fan correctly and maintain it regularly.
A clean fan provides crisp, clean airflow. It operates quietly and efficiently, extending its lifespan. By following these straightforward steps, you ensure your Lasko Cyclone fan continues to be a reliable source of comfort. Take action today to give your Lasko Cyclone fan the cleaning it needs. Enjoy the benefits of better air and a well-maintained appliance. Your home environment will feel fresher and more comfortable.
- Lasko Cyclone fan
- fan cleaning
- appliance maintenance
- home cleaning tips
- airflow improvement