· Home Cleaning Tips · 13 min read
How To Clean Make Up Sponges
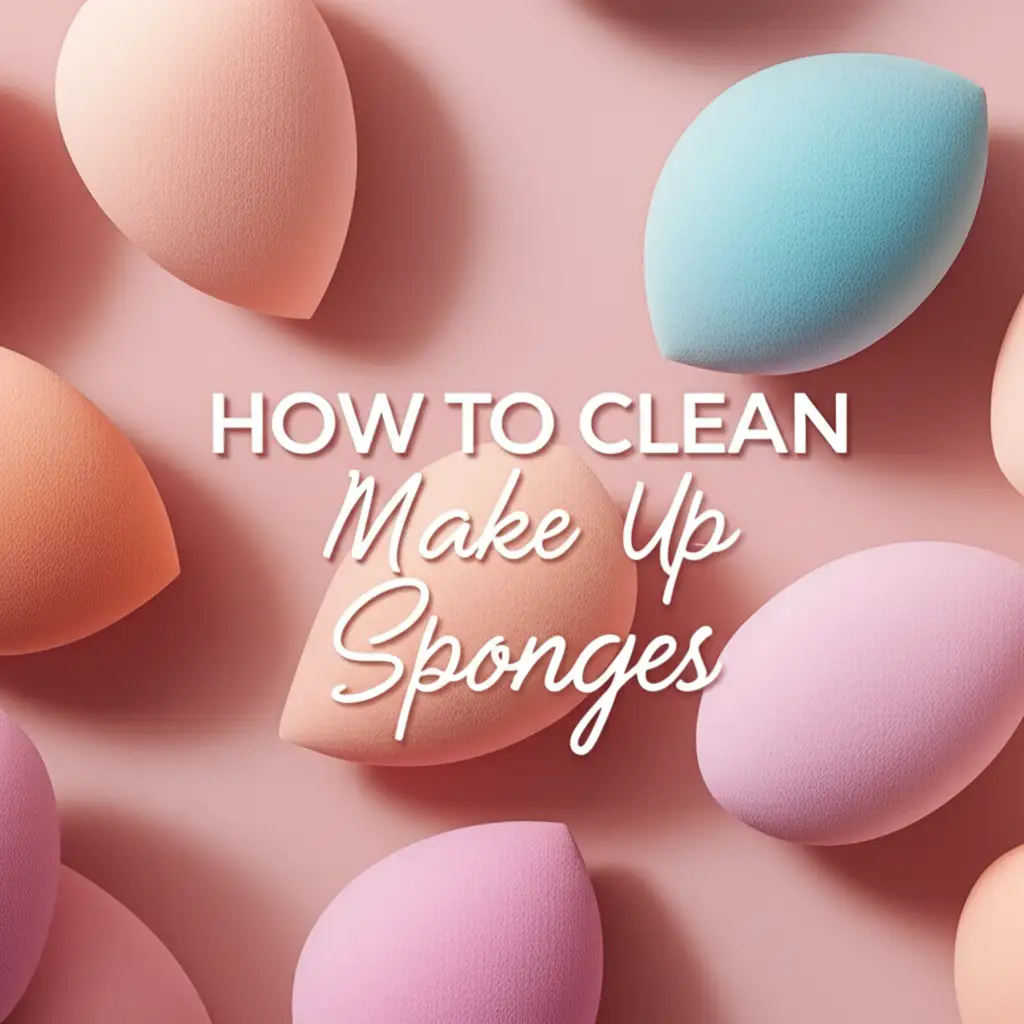
How To Clean Make Up Sponges: Your Essential Guide
Have you ever looked at your makeup sponge and wondered, “How did it get so dirty?” You are not alone. Makeup sponges, like beauty blenders, are incredible tools for applying foundation and concealer. They give a smooth, airbrushed finish that many people love. However, these tools soak up makeup, oil, and dead skin cells over time.
Dirty sponges can become a breeding ground for bacteria. This bacteria can cause skin problems like breakouts and irritation. Cleaning your makeup sponges regularly is very important for good skin health. It also helps your makeup apply more smoothly.
This guide will show you exactly how to clean makeup sponges effectively. We will cover different cleaning methods and what supplies you need. You will also learn how to dry and store your sponges properly. Let us make your beauty routine cleaner and safer together.
Takeaway
- Regularly clean makeup sponges to prevent bacteria buildup.
- Choose between gentle hand washing or a careful machine cycle.
- Use mild cleansers like baby shampoo or specific sponge cleaners.
- Always dry sponges completely to avoid mold and mildew.
- Clean sponges at least once a week for best hygiene.
How do you clean makeup sponges?
You clean makeup sponges by wetting them, applying a mild cleanser like soap or baby shampoo, and gently squeezing out makeup residue under running water until the water runs clear. Rinse them well and allow them to air dry completely. This process removes dirt, oil, and bacteria.
Why Cleaning Your Makeup Sponges Matters for Skin Health
Keeping your makeup sponges clean is more than just good practice. It directly impacts your skin’s health. Each time you use a sponge, it picks up not only makeup but also oils from your face. It also collects dead skin cells and environmental dirt. This mix creates an ideal environment for bacteria to grow.
Using a dirty sponge can transfer these bacteria back onto your skin. This can lead to various skin issues. Breakouts, clogged pores, and even infections are common problems. For people with sensitive skin, using dirty tools can cause redness and irritation. Clean tools help keep your skin clear and calm.
Beyond skin health, clean sponges work better. A sponge full of old makeup will not apply new makeup smoothly. It can make your foundation look streaky or patchy. A clean, fresh sponge absorbs product evenly. It then distributes it beautifully for a flawless finish. Cleaning your tools improves both your skin and your makeup application.
Gathering Your Cleaning Essentials for Makeup Sponges
Before you start the cleaning process, gather all the items you will need. Having everything ready makes cleaning simple and quick. You probably have most of these items at home already. We focus on gentle yet effective cleaners.
First, you will need a cleaning agent. Many people use mild soap. Baby shampoo is an excellent choice because it is gentle. It breaks down oils and makeup without harsh chemicals. You can also use a dedicated makeup sponge cleanser. These products are made specifically for this purpose. They often work well on makeup brushes too. Learn how to clean makeup sponges and brushes for a complete cleaning routine.
You will also need warm water. A clean bowl or basin is helpful for soaking. A textured cleaning mat or glove can assist in working the soap into the sponge. However, your hands work just fine. Make sure to have a clean towel or paper towels ready for drying. These simple tools will make the cleaning process easy.
Step-by-Step Guide to Hand Washing Makeup Sponges
Hand washing is the most popular and effective way to clean your makeup sponges. This method gives you direct control over the cleaning process. It is also gentle on the sponge material. I always prefer this method for a thorough clean.
Prepare the Sponge and Water
Start by wetting your makeup sponge under warm running water. Let it soak up water until it expands to its full size. This step helps loosen up the makeup inside. It also prepares the sponge to absorb the cleaning solution. The water should be warm, not hot. Hot water can damage the sponge material over time.
Apply Cleanser and Lather
Next, apply a small amount of your chosen cleanser directly onto the wet sponge. I like to use a dime-sized amount of baby shampoo. Gently work the cleanser into the sponge by squeezing and kneading it. You will see makeup and dirt start to come out. Create a good lather.
Squeeze and Rinse
Continue to squeeze and release the sponge under running water. You will see colored water coming out. Keep doing this until the water runs clear. This means all the makeup and soap are gone. Be gentle to avoid tearing the sponge material. Rinse thoroughly under the tap. This step is similar to how you might clean stains from a mattress, focusing on extraction.
Final Rinse and Squeeze
Once the water is clear, give the sponge one final gentle squeeze. This removes excess water. Do not twist or wring the sponge forcefully. That can damage its shape and structure. Your sponge should now look much cleaner.
Machine Washing Your Makeup Sponges: Is It Safe?
Machine washing makeup sponges is a topic of debate. While it seems convenient, it carries some risks. Sponges are delicate and can tear or degrade in a washing machine. However, with the right precautions, it can be an option for some people.
Pros and Cons of Machine Washing
The main benefit of machine washing is convenience. You can toss your sponges in with a load of laundry. It saves time compared to hand washing each sponge. On the other hand, sponges can get snagged. They can also absorb detergent excessively. This can lead to residue that irritates skin. The harsh agitation can also break down the sponge’s structure.
How to Machine Wash Safely
If you decide to machine wash, use a mesh laundry bag. This protects the sponges from tearing or getting lost. Wash them on a delicate cycle with cold water. Use a mild detergent. Avoid strong chemicals or hot water. It is important to separate them from heavy items like jeans. Some people include them with other delicate items, like certain shoes. You might be interested in how to clean shoes in the washer for a similar delicate washing process.
Post-Wash Inspection
After the cycle, check your sponges carefully. Make sure they are intact and free of detergent residue. If you see any soap, rinse them by hand under clear water. Always air dry them completely after machine washing. Never put them in a dryer. The heat will melt or damage the sponge.
Deep Cleaning Methods for Stubborn Stains
Sometimes, regular washing is not enough for tough makeup stains. Dark foundations or liquid lipsticks can leave stubborn marks. Do not worry, there are effective deep cleaning methods. These methods use common household items. They can bring your sponges back to life.
Using Baking Soda for Deep Cleaning
Baking soda is a natural cleaner and deodorizer. It works wonders on stubborn stains. Fill a bowl with warm water. Add one tablespoon of baking soda. Stir until it dissolves. Soak your makeup sponges in this solution for about 30 minutes. The baking soda helps lift the embedded makeup. After soaking, follow your regular hand washing steps. You will be surprised at how much cleaner they become. Baking soda is a versatile cleaning agent, also used for things like how to clean an oven with baking soda or even how to clean grout in shower.
Vinegar and Dish Soap Soak
Vinegar is another powerful natural cleaner. It helps break down oils and sanitizes. Mix equal parts white vinegar and warm water in a bowl. Add a few drops of dish soap. Submerge your sponges in this mixture for 15-20 minutes. The acidic nature of vinegar, combined with the grease-cutting power of dish soap, tackles tough stains. This is similar to principles of how to clean with vinegar and baking soda for other household tasks.
After soaking, gently squeeze the sponges while still in the solution. Then, rinse them thoroughly under running water. Make sure all the vinegar smell is gone. Dry them completely as usual. These deep cleaning methods are effective for refreshing very dirty sponges.
Drying and Storing Your Clean Makeup Sponges
Proper drying and storage are just as important as cleaning. If you do not dry your sponges completely, they can grow mold or mildew. This makes them unsafe to use. Store them correctly to keep them clean between uses.
The Importance of Air Drying
After washing, gently squeeze out as much water as possible. Do not twist or wring the sponge. Place your clean sponges on a clean, dry surface. A paper towel or a clean cloth works well. Ensure good air circulation around them. You can use a drying rack designed for beauty sponges or even an egg carton. This lifts them up, allowing air to flow all around.
Allow them to air dry completely. This can take several hours, or even overnight. Never store a damp sponge. Avoid direct sunlight or excessive heat for drying. High heat can damage the sponge material. Ensure they are bone dry before putting them away.
Smart Storage Solutions
Once completely dry, store your sponges in a clean, breathable place. Avoid airtight containers, as they can trap moisture. A mesh bag or a dedicated sponge holder is ideal. You can also keep them in an open drawer. Just make sure they are not touching other dirty items.
Many people store sponges in their makeup bag. If you do this, ensure your makeup bag is also clean. Consider cleaning your makeup bag regularly too. This prevents cross-contamination. Proper storage keeps your sponges hygienic and ready for your next makeup application.
How Often Should You Clean Your Makeup Sponges?
The frequency of cleaning your makeup sponges depends on how often you use them. For optimal hygiene, regular cleaning is essential. It prevents bacteria buildup and keeps your skin clear.
Daily Use: Clean Frequently
If you use your makeup sponges every day, I recommend cleaning them after every use. A quick rinse and gentle squeeze with a mild soap is enough. This prevents makeup from drying and building up. It keeps the sponge fresh for the next application. Daily cleaning minimizes the transfer of bacteria to your skin.
Occasional Use: Weekly Deep Clean
If you use your sponges less often, a thorough cleaning at least once a week is a good practice. This weekly deep clean involves the full hand washing process. You might also consider the baking soda or vinegar soak for an extra deep clean. This ensures that any residual makeup or skin oils are removed. It prepares your sponge for the next use.
Signs It’s Time to Clean (or Replace)
Your sponge will tell you when it needs cleaning. Visible makeup residue is a clear sign. If your sponge feels sticky or looks discolored, it is definitely time. A musty smell indicates mold or mildew. In that case, you should throw the sponge away. A moldy sponge is a health risk. Even with regular cleaning, sponges do not last forever. Replace your makeup sponges every 3 months. If they start to tear or lose their bounce, replace them sooner.
Extending the Life of Your Makeup Sponges
You can make your makeup sponges last longer with good care. Regular cleaning is a big part of this. But other habits also help preserve their quality. A well-cared-for sponge performs better and saves you money.
Handle with Care
Always be gentle with your sponges. When washing, do not twist or pull them too hard. Aggressive handling can cause tears and rips. When applying makeup, dab or bounce the sponge gently on your skin. Do not drag or rub it. This careful handling maintains its shape and texture. It helps the sponge keep its springiness.
Use the Right Products
Choose mild, non-abrasive cleaners. Harsh soaps or chemicals can break down the sponge material. Baby shampoo or a specific makeup sponge cleanser is best. Avoid using strong detergents not meant for beauty tools. Also, be mindful of the makeup products you use. Some very pigmented or oily products might stain sponges more easily.
Proper Drying is Key
As mentioned before, complete drying is critical. A damp sponge will break down faster and grow mold. Always let your sponge air dry fully. Do not place it on a heater or in direct sunlight. This can cause the material to crack or harden. A well-dried sponge retains its soft, bouncy texture.
Smart Storage
Store sponges in a clean, breathable area. Do not toss them into a cluttered makeup bag with other items. An open container or a mesh bag prevents crushing. It also allows air to circulate. Proper storage protects your sponges from damage and dirt. It keeps them ready for your next application. By following these tips, your makeup sponges will serve you well for a long time.
FAQ Section
How often should I clean my makeup sponge?
For daily users, a quick rinse after each use is best. Do a thorough deep clean weekly. If you use your sponge less often, clean it thoroughly after every few uses or at least once a week. Regular cleaning stops bacteria from growing.
Can I use dish soap to clean my makeup sponge?
Yes, you can use a small amount of mild dish soap. Dish soap is good at cutting through oil and makeup residue. Make sure it is a gentle formula. Rinse your sponge very thoroughly to remove all soap traces. Leftover soap can irritate your skin.
How do I dry my makeup sponge without mold?
After cleaning, gently squeeze out excess water. Place the sponge on a clean, dry surface like a paper towel. Ensure good air circulation around it. Do not put it in an airtight container until it is completely dry. This can take several hours, usually overnight.
What causes makeup sponges to smell bad?
A bad smell usually means there is mold or bacteria growth. This happens when sponges are not cleaned often enough or not dried completely. If your sponge smells moldy, it is best to throw it away and get a new one.
Is it okay to use a dirty makeup sponge?
No, it is not okay to use a dirty makeup sponge. Dirty sponges harbor bacteria, oil, and dead skin cells. Using them can transfer these back to your face. This can lead to breakouts, clogged pores, and skin infections. Clean sponges are key for clear skin.
When should I replace my makeup sponge?
You should replace your makeup sponge every 3 to 6 months, even with regular cleaning. If your sponge starts to tear, lose its bounce, or develops a lingering smell or mold, replace it immediately. Old sponges do not apply makeup as well either.
Conclusion
Cleaning your makeup sponges is a simple yet crucial step for your beauty and health routine. We have seen that dirty sponges can lead to skin problems and poor makeup application. By regularly cleaning them, you ensure your skin stays clear. You also get that perfect, smooth finish every time.
Remember, hand washing with mild soap or baby shampoo is the most effective method. For tough stains, baking soda or vinegar can provide a deep clean. Always make sure your sponges are completely dry before storing them. This prevents mold and keeps them fresh. Aim for at least weekly cleaning if you use your sponges often.
Making clean makeup sponges a habit will improve your skin’s health. It will also make your makeup look better. Take these steps to care for your beauty tools. You and your skin will thank you. Start your journey to cleaner, healthier makeup application today!
- makeup sponge cleaning
- beauty blender care
- hygiene tips