· HVAC Maintenance · 12 min read
How To Clean Mini Split
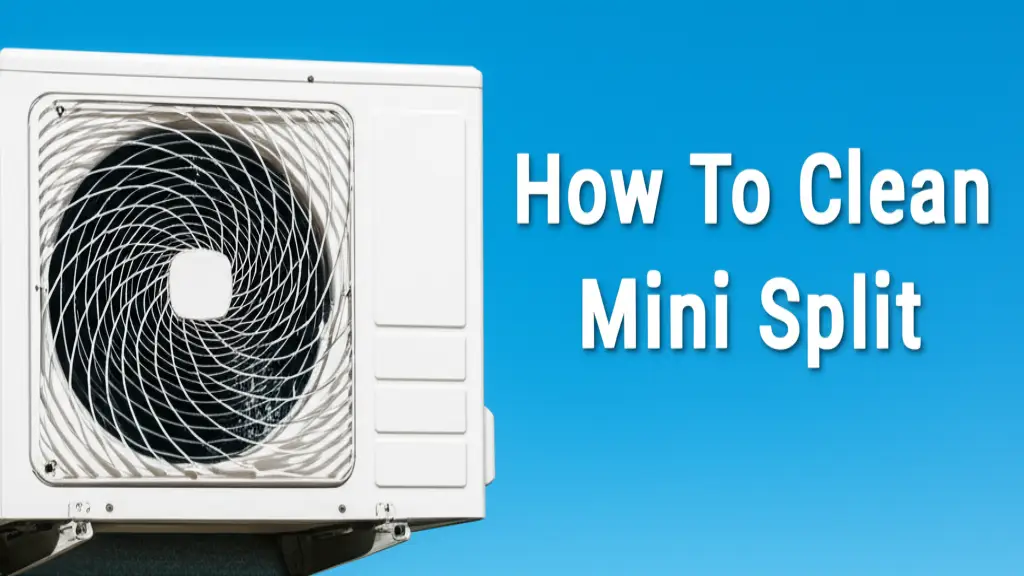
Keep Your Air Fresh: A Comprehensive Guide to Cleaning Your Mini Split
Mini splits are excellent for zoned heating and cooling. They provide comfort right where you need it. However, like any appliance, your mini split needs regular cleaning. A clean system works better and keeps your home’s air fresh. This guide will walk you through the steps to clean your mini split effectively. We will cover everything from filters to the outdoor unit.
Takeaway
Regularly cleaning your mini split ensures it runs efficiently, improves air quality, and lasts longer. Focus on these key areas:
- Clean air filters every few weeks.
- Deep clean evaporator coils and the blower wheel annually.
- Flush the condensate drain line to prevent clogs.
- Maintain the outdoor condenser unit.
- Know when to call a professional for complex issues.
To clean your mini split, start by turning off the power. Remove and wash the air filters. Then, clean the evaporator coils and blower wheel inside the indoor unit with a suitable cleaner. Clear the drain line, and finally, clean the outdoor condenser coils to ensure proper airflow and system efficiency.
Why Regular Mini Split Cleaning Matters
Regular mini split cleaning is not just about keeping things neat. It is about maintaining your home’s comfort and air quality. Over time, dust, pet dander, and other particles build up inside your unit. This buildup can cause several problems. It restricts airflow, making your unit work harder. Hard work means more energy use and higher bills.
Dirty units also become breeding grounds for mold and mildew. These can release spores into your indoor air. Breathing these spores can cause allergies or respiratory problems. A clean mini split prevents these issues. It gives you cleaner air and a more efficient system. This practice also extends the life of your mini split. Proper maintenance helps avoid costly repairs down the line. It ensures your investment keeps working well for many years.
Essential Tools and Supplies for Mini Split Cleaning
Before you start cleaning, gather your tools. Having everything ready makes the job smoother. You do not need many specialized items. Most supplies are easy to find. Get a vacuum cleaner with a brush attachment. You will use this for basic dust removal. Soft brushes, like a toothbrush or a coil brush, help with tight spots.
You also need a spray bottle for cleaning solutions. A gentle, non-abrasive cleaner works best. Many people use a mix of warm water and mild dish soap. Some prefer specialized mini split coil cleaners. These cleaners are often “no-rinse” types. Microfiber cloths are great for wiping surfaces. Always wear protective gloves and safety glasses. This protects your hands and eyes from dust and cleaning solutions. Finally, a small bucket or pan is useful for catching drips during indoor unit cleaning.
Step-by-Step Guide to Cleaning Mini Split Filters
Cleaning the air filters is the easiest and most frequent task. You should do this every few weeks, or monthly, depending on use. Dirty filters are a common cause of poor performance. They trap dust, reducing airflow. This makes your unit work harder to cool or heat your space.
First, turn off the power to your mini split unit. This is a crucial safety step. Locate the filter access on your indoor unit. Most units have a front panel that lifts or swings open. Carefully slide out the filters. They usually look like mesh screens. You might see a lot of dust clinging to them.
Take the filters outside or to a sink. Use a vacuum cleaner to remove loose dust. Then, wash them with lukewarm water and a mild soap. Rinse them thoroughly until the water runs clear. Make sure all soap residue is gone. Let the filters air dry completely before putting them back. Wet filters can grow mold. Place them back into the unit once they are dry. Then, close the panel and restore power. You can find more details on this process by reading our guide on how to clean mini split filters.
Deep Cleaning the Mini Split Indoor Unit (Coils and Blower Wheel)
Deep cleaning the indoor unit is a more thorough task. You should do this at least once a year. This job goes beyond just the filters. It involves cleaning the evaporator coils and the blower wheel. These parts are harder to reach but gather a lot of dirt. Neglecting them can lead to significant issues. Dirty coils reduce the unit’s cooling or heating capacity. A dirty blower wheel can cause poor airflow and strange noises.
Always begin by turning off the power to the unit at the breaker. This prevents accidental starts. Open the front panel of your indoor unit. Remove the air filters first. You will now see the evaporator coils. They look like metal fins. Some units might have a drip pan underneath.
Cleaning the Evaporator Coils
The evaporator coils collect moisture and trap dirt. This creates a prime spot for mold growth. Use a soft brush or a coil brush to gently remove loose dust from the fins. Work slowly to avoid bending the delicate fins. After brushing, use a specialized no-rinse coil cleaner. Spray the cleaner evenly over the coils. Follow the product instructions carefully. The cleaner will drip down into the condensate drain. This helps clean the drain line too. You can also use a mixture of warm water and a little dish soap in a spray bottle. Avoid getting electrical components wet.
Tackling the Blower Wheel
The blower wheel is a fan that pushes air through your unit. It is often hidden behind the coils. This wheel is notorious for collecting dirt, mold, and grime. A dirty blower wheel looks like a black, furry cylinder. This buildup significantly reduces airflow. You might need to gently move some wires or plastic parts to get a better view. Do not force anything. For thorough cleaning, you might need a long, thin brush or a mini split cleaning bag kit.
Spray the blower wheel with your chosen cleaner. Let it sit for a few minutes. Then, gently scrub the individual fan blades on the wheel. You can use a toothbrush or a small, soft-bristled brush. Rotate the wheel manually to clean all sides. Some people use a special mini split cleaning kit with a bag that collects the dirty water. This prevents messes. Remember, you do not need to remove the blower wheel for cleaning. Learn more about cleaning this part without removal by checking out our guide on how to clean mini split blower wheel without removing. If you have a specific model, like a Mitsubishi, the steps are very similar. You can find more targeted tips in our article on how to clean Mitsubishi mini split.
Once cleaned, let the unit air dry completely. Use a microfiber cloth to wipe down any accessible surfaces. Close the panel, reinsert filters, and restore power.
Maintaining Your Mini Split Drain Line
The drain line, or condensate drain, carries water away from your indoor unit. Water condenses on the evaporator coils during cooling. This water collects in a drip pan. The drain line then moves this water outside. Over time, algae, mold, and sludge can build up in this line. This causes blockages. A blocked drain line means water overflows from the indoor unit. You might see water leaking from your mini split. This can damage walls or floors.
You should check and clean your drain line annually. First, turn off the power to your unit. Locate the drain line connection point. It is usually a small PVC pipe coming from the indoor unit, leading outside. You might need to find the access point near the outdoor unit or where the line exits your home.
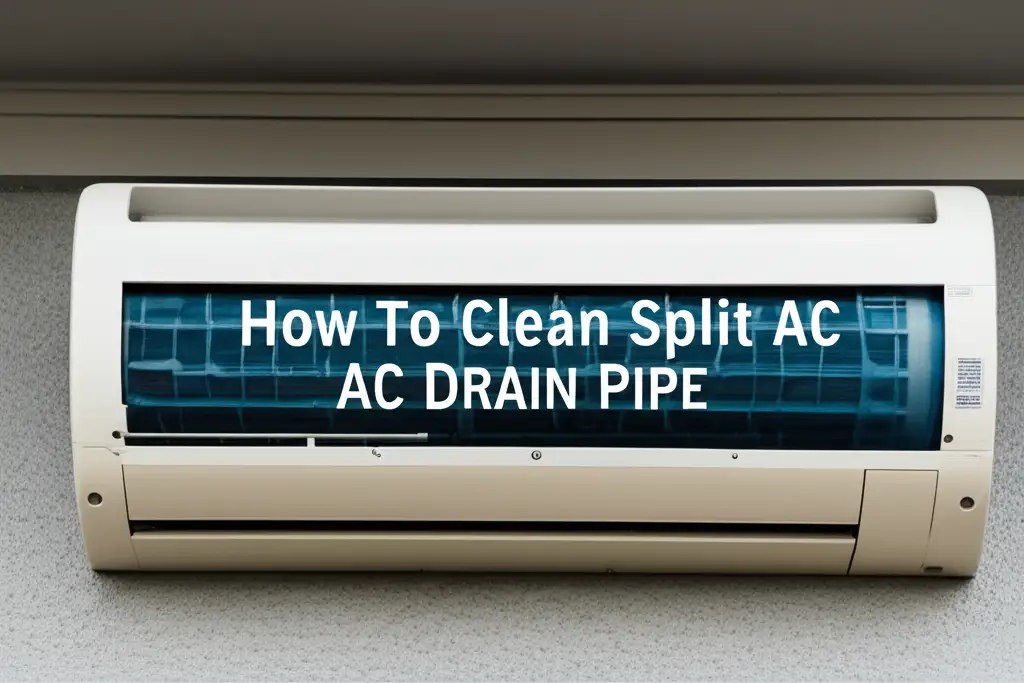
You can try to clear a minor clog by flushing the line. Mix warm water with a small amount of distilled white vinegar or a non-chlorine bleach solution (1 cup bleach to 1 gallon of water). Slowly pour this mixture into the drain pan access. Some units have a cap you can remove. If not, you might need to use a funnel to pour it into the line from the indoor unit’s drip tray (if accessible). The solution will flow through the line, killing mold and algae. You should see it exit the outdoor end of the drain line. If water does not flow, the clog is serious. You might need a wet/dry vacuum to suction out the blockage from the outdoor end. For a comprehensive guide, see our article on how to clean mini split drain line. The process is quite similar for any split AC system, so you may also find our guide on how to clean split AC drain pipe helpful.
Cleaning the Outdoor Mini Split Unit
Do not forget the outdoor unit, also known as the condenser. This unit releases heat from your home. It needs airflow to work well. Over time, leaves, dirt, grass clippings, and other debris can accumulate around it. This blocks the airflow through the condenser coils. Reduced airflow makes the outdoor unit work harder. This wastes energy and can reduce the lifespan of the unit.
Clean the outdoor unit once or twice a year. Always turn off the power to the unit at the main breaker before you start. Clear away any leaves, grass, or debris from around the unit. Keep the area around it free from plants. Use a garden hose to gently spray down the condenser fins. Spray from the inside out if possible. This pushes dirt away from the unit. Be careful not to use high pressure, as this can bend the delicate fins.
You can use a soft brush to remove stubborn dirt from the fins. Gently brush in the direction of the fins to avoid bending them. Check the electrical connections for any signs of wear or damage. Make sure the unit is sitting level on its pad. If it is uneven, it can cause problems. Cleaning the outdoor unit is similar to cleaning any split AC unit. Our article on how to clean split AC unit offers additional tips that apply here. Once finished, restore power to the unit.
When to Call a Professional for Mini Split Service
While much of mini split cleaning is DIY-friendly, some situations need a professional. If your unit is leaking excessively and cleaning the drain line does not help, call an HVAC technician. Persistent strange noises, weak airflow despite cleaning, or unusual smells also warrant professional attention. These could point to deeper mechanical problems.
Professionals have specialized tools and knowledge. They can safely access and clean components you cannot reach. This includes parts like the fan motor or refrigerant lines. They can also check refrigerant levels and electrical components. If your unit is still under warranty, consult your warranty terms before attempting complex repairs yourself. Some warranties become void if unauthorized service is performed. An annual professional check-up ensures your mini split runs at its best. It helps catch small problems before they become big, expensive ones.
FAQ Section
How often should I clean my mini split? Clean your mini split filters every few weeks, or monthly, depending on use and air quality. Deep clean the indoor unit, including coils and the blower wheel, at least once a year. Clean the outdoor unit once or twice a year to ensure good airflow.
Can I use bleach to clean my mini split? You can use a very diluted bleach solution (e.g., 1 cup bleach per gallon of water) to flush the drain line to kill mold. However, avoid using concentrated bleach directly on coils or plastic components. It can corrode metal or damage plastic parts. Use specialized coil cleaners or mild soap for other areas.
What are signs my mini split needs cleaning? Common signs include reduced airflow, strange odors (musty or moldy smells), increased energy bills, visible dust or mold on the vents, or water leaking from the indoor unit. If you notice any of these, it is time for a cleaning.
Does cleaning a mini split improve efficiency? Yes, absolutely. A clean mini split runs much more efficiently. Dust and dirt restrict airflow and insulate coils, forcing the unit to work harder. Cleaning removes these barriers, allowing the system to cool or heat more effectively. This lowers energy consumption and saves you money.
Is DIY mini split cleaning safe? DIY cleaning is safe if you follow proper safety precautions. Always turn off the power at the breaker before starting any cleaning. Wear gloves and eye protection. Use appropriate, non-toxic cleaners. If you are uncomfortable or unsure about any step, it is best to call a professional.
Can I clean my mini split without professional tools? Yes, you can perform most routine mini split cleaning tasks with common household items. A vacuum, soft brushes, a spray bottle, mild soap, and microfiber cloths are usually enough. Specialized cleaning bags or coil cleaners can make deep cleaning easier, but they are not always required for basic maintenance.
Conclusion
Keeping your mini split clean is a simple yet powerful way to ensure its best performance. Regular cleaning improves air quality. It also saves you money on energy bills and extends the life of your unit. You now know how to clean mini split filters, coils, blower wheels, drain lines, and even the outdoor unit. I suggest you make mini split cleaning a regular part of your home maintenance routine. It is a small effort that brings big rewards. A well-maintained mini split means a comfortable, healthy home for you and your family. Start your cleaning journey today.
- mini split cleaning
- AC maintenance
- ductless system
- HVAC cleaning
- indoor unit care
- blower wheel cleaning
- drain line cleaning