· Tool Care & Maintenance · 15 min read
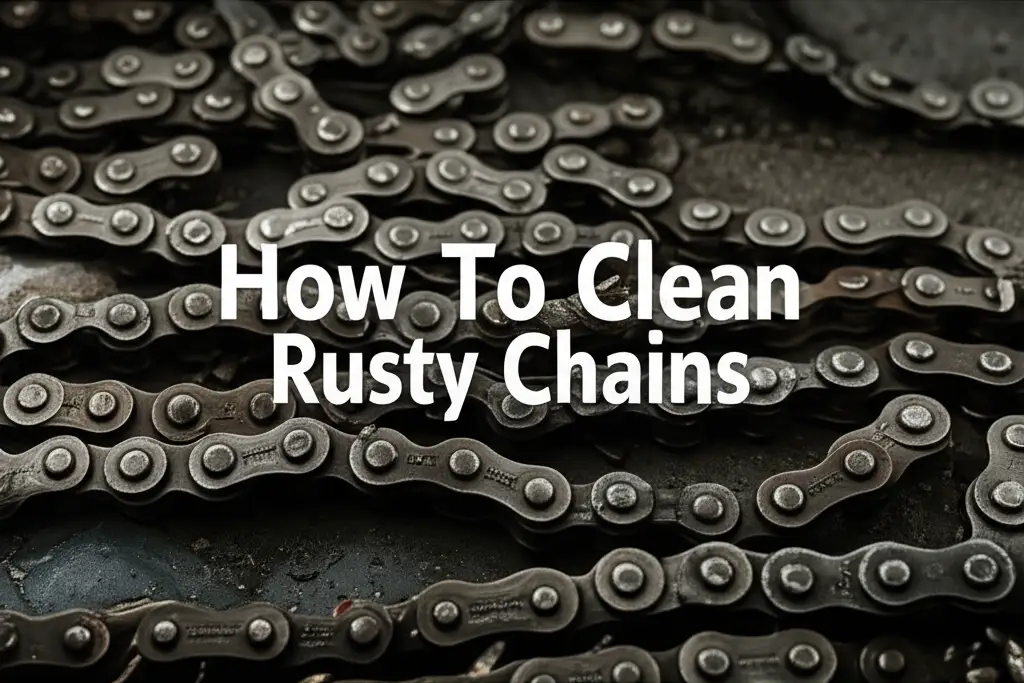
How To Clean Old Tools
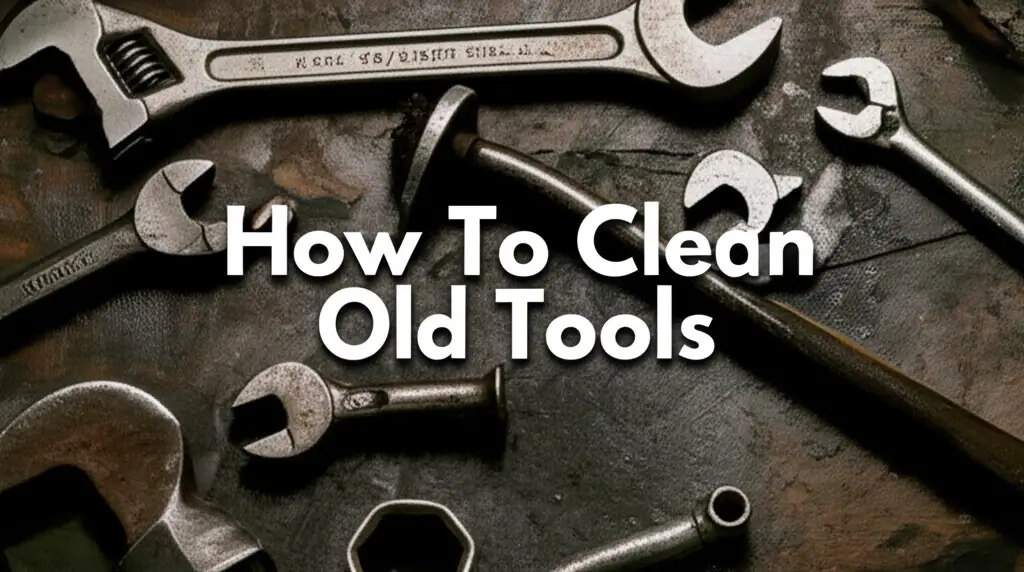
Restore Your Workshop: How to Clean Old Tools Effectively
Do you own a collection of old tools that have seen better days? Perhaps they sit in your garage, covered in rust, grime, or dried-on substances like resin or bondo. Cleaning old tools can transform them from forgotten relics into valuable, functional instruments again. It is a rewarding project for any DIY enthusiast or collector. We will show you how to clean old tools and bring them back to life.
This article provides a comprehensive guide to cleaning old tools. We cover everything from initial assessment to advanced rust removal. You will learn about safe cleaning methods, proper maintenance, and how to preserve your tools. Get ready to revitalize your vintage finds and extend their lifespan.
Takeaway
- Assess tool condition and gather proper safety gear.
- Remove loose dirt and grime first.
- Choose the right cleaning method based on tool material and type of buildup.
- Address rust, stubborn gunk, and wood handle issues.
- Apply protective measures after cleaning for lasting results.
How do you clean old tools?
To clean old tools, first remove loose dirt and rust with wire brushes or steel wool. Then, use rust removers like vinegar, oxalic acid, or specialized products for deeper cleaning. Finish by oiling metal parts and conditioning wood handles to protect them from future damage.
Initial Tool Assessment and Safety First
Before you start cleaning old tools, always take a moment to assess their condition. Look closely at each tool. Identify the material it is made from, such as steel, cast iron, or wood. Check for the type of dirt: is it just dust, or do you see rust, grease, dried paint, or even old resin? Understanding the tool’s state guides your cleaning choices.
Safety is paramount when cleaning tools. Wear proper protective gear. Gloves protect your hands from chemicals and sharp edges. Eye protection guards against flying debris or splashes. A dust mask is important if you are sanding or dealing with fine particles. Always work in a well-ventilated area, especially when using strong cleaning agents. My personal rule is “safety first,” always.
Gathering Your Cleaning Supplies
You need specific items for effective tool cleaning. Basic supplies include brushes, rags, and various cleaners. A wire brush is good for heavy rust, while nylon brushes work for gentler cleaning. Steel wool or abrasive pads can also help remove stubborn spots. For liquids, consider white vinegar, baking soda, and dish soap. Specialized rust removers or degreasers might be necessary for tougher jobs. Have a few different types of rags on hand: old towels for general wiping and soft cloths for polishing.
Basic Cleaning Methods for Light Grime
Starting with basic cleaning steps is always smart. This removes loose dirt and light grime without harsh chemicals. It also helps you see the true condition of the tool. Use a stiff brush or an old toothbrush to scrub away loose dirt, dust, and spiderwebs. For heavily caked-on mud or dirt, you can even use a plastic scraper. Be careful not to scratch the tool’s surface.
For general cleaning of metal parts, a simple solution of warm water and dish soap works wonders. Submerge the tool if possible, or use a rag soaked in the soapy water. Scrub gently to lift grease and grime. Rinse the tool thoroughly with clean water afterward. Make sure to dry it completely to prevent new rust from forming. My father taught me this simple method, and it is surprisingly effective for most everyday dirt.
Tackling Sticky Residues and Dried Substances
Sometimes, old tools have more than just dirt. They might have stubborn residues like dried paint, varnish, or even old adhesives. For these, you need slightly more targeted approaches. Mineral spirits or paint thinner can dissolve many dried substances. Apply a small amount to a rag and rub the affected area. Always test a small, hidden spot first to ensure it does not damage the tool’s finish.
If you are dealing with specific, tough residues like dried resin or epoxy, specialized cleaners are best. For instance, tools used for woodworking might have sticky resin. Products designed to clean resin off tools can be very effective. Similarly, if you work with automotive fillers, you might need to clean bondo off tools. For tools exposed to strong glues, understanding how to clean epoxy resin off tools will save you a lot of effort. Always follow product instructions for safety and best results.
Effective Rust Removal Techniques
Rust is a common problem with old tools. It can degrade metal and make tools unusable. Removing rust is a key step in bringing old tools back to life. There are several effective methods, ranging from natural remedies to chemical solutions. The choice depends on the amount of rust and the tool type.
For light rust, mechanical removal works well. Use a wire brush or steel wool to scrub the affected areas. Fine-grit sandpaper can also help remove surface rust gently. Always scrub in the direction of the metal’s grain to avoid noticeable scratches. This method is good for tools with minimal rust patches.
Vinegar and Baking Soda Method
White vinegar is a popular and effective natural rust remover. Its mild acetic acid dissolves rust. Submerge small rusty tools in a bath of white vinegar for several hours, or even overnight for heavy rust. Check periodically. The rust will soften and become easier to scrub off. After soaking, remove the tool and scrub it with a wire brush or steel wool. Rinse thoroughly with water and dry completely.
For a paste method, mix baking soda with water to form a thick paste. Apply this paste to rusty areas. Let it sit for a few hours. The baking soda is mildly abrasive and helps lift the rust when combined with scrubbing. This method works well for tools that cannot be fully submerged. This is a gentle option that I often use for delicate items. You can also use vinegar for cleaning glass or other household items.
Using Chemical Rust Removers
For severe rust, specialized chemical rust removers are often necessary. These products contain stronger acids or chelating agents that bond with rust. They can be very effective but require careful handling. Always read and follow the manufacturer’s instructions. Wear appropriate personal protective equipment, including heavy-duty gloves and eye protection.
Many chemical rust removers are liquid dips. You submerge the tool for a specified time. Some are gels you apply directly. After using these chemicals, always neutralize the tool. Rinse it thoroughly with water and then dry it immediately. A final wipe with a neutralizing solution might be recommended by the product. Proper disposal of used chemicals is also crucial.
Electrolysis for Heavily Rusted Tools
Electrolysis is an advanced method for removing very heavy rust without damaging the base metal. It uses an electrical current to convert rust back into iron. You need a plastic container, water, washing soda (sodium carbonate), a sacrificial piece of steel (not stainless steel), and a battery charger. The rusty tool acts as the cathode, and the sacrificial steel as the anode.
Connect the positive terminal of the charger to the sacrificial steel and the negative to the rusty tool. Place both in the washing soda solution, ensuring they do not touch. Turn on the charger. Bubbles will form, and rust will slowly flake off. This process can take several hours or even days. It is effective for very old, heavily corroded items like old metal hinges or large cast iron tools. Always perform this in a well-ventilated area due to hydrogen gas production.
Restoring Wood Handles and Components
Many old tools feature wooden handles. Over time, these handles can become dry, cracked, splintered, or covered in grime. Restoring the wood not only improves the tool’s appearance but also its grip and comfort. This process requires a gentle touch and patience.
Start by cleaning the wood handle. Use a damp cloth with mild soap and water to wipe away dirt and grease. For stubborn grime, a brush with soft bristles can help. Avoid soaking wood handles, as this can cause swelling or cracking. After cleaning, let the wood dry completely. If the handle has old paint or varnish that is peeling, you might need to carefully scrape it off. Fine-grit sandpaper can smooth out rough spots and remove remaining finishes. Sand lightly in the direction of the wood grain.
Repairing and Protecting Wood
If the wood handle has small cracks or splinters, you can repair them. Wood glue can fix minor cracks. Clamp the handle if needed to ensure a tight bond. Once dry, sand the repaired area smooth. For deeper damage, consider replacing the handle if the tool is valuable enough. After cleaning and any repairs, the wood needs protection.
Apply a conditioning oil to the wood handle. Linseed oil or tung oil are excellent choices. They penetrate the wood, restoring its natural oils and preventing future drying and cracking. Apply a thin coat with a clean cloth. Let it soak in for 15-30 minutes, then wipe off any excess. Repeat this process daily for a few days, then weekly, then monthly. This builds up a durable, protective finish. It brings out the wood’s natural beauty and makes it feel good in your hand.
Sharpening and Final Polish
After cleaning and rust removal, many tools benefit from sharpening. Tools like chisels, planes, and axes become much more effective when their edges are sharp. Sharpening also helps to complete the restoration process, making the tool fully functional again. Use a sharpening stone or a file, depending on the tool. Always maintain the original angle of the blade. This ensures proper cutting action and prevents damage.
For blades, a coarse grit stone removes nicks and re-establishes the edge. Follow up with a finer grit stone for a razor-sharp finish. A leather strop can give a final polish to the edge. For tools like screwdrivers or pliers, sharpening may involve filing worn tips or jaws. Always test the sharpness carefully after you finish.
Polishing Metal Surfaces
Polishing makes cleaned metal surfaces shine. It also adds a layer of protection. For polished surfaces, use a metal polish designed for the specific metal of your tool. Apply a small amount to a clean cloth and rub in small circles. The polish removes any remaining tarnish and brings out a luster. This step is especially rewarding for tools with visible metal parts, like old wrenches or hammers.
After polishing, apply a protective coating. A thin layer of paste wax or tool oil prevents rust from returning. For hand tools, I use a light machine oil. Apply it with a rag, then wipe off any excess. This creates a barrier against moisture and air. This final protection step is crucial for preserving your hard work. It keeps your tools in good condition for years to come.
Long-Term Tool Maintenance and Storage
Cleaning old tools is only the first step. Proper long-term maintenance and storage are vital to keep them in excellent condition. Neglecting tools after cleaning can lead to rapid deterioration. Your efforts could be wasted. A clean, organized storage area makes a big difference.
Always clean tools immediately after each use. This prevents grime buildup and rust formation. Wipe down metal parts to remove moisture. Apply a light coat of oil to prevent rust. Even a quick wipe with an oiled rag after a project helps a lot. For wooden handles, occasionally wipe them with a conditioning oil. This keeps the wood from drying out and cracking. Good habits prolong tool life.
Optimal Storage Solutions
Storing tools correctly protects them from environmental damage. Moisture is the biggest enemy of metal tools. Store tools in a dry environment. A climate-controlled workshop or garage is ideal. Avoid storing tools directly on concrete floors, which can transfer moisture. Use tool chests, cabinets, or wall-mounted racks. These keep tools organized and off the floor.
Consider using tool liners or anti-rust paper in drawers. These absorb moisture and provide an extra layer of protection. Desiccants, like silica gel packets, can also help reduce humidity in enclosed toolboxes. For valuable or antique tools, you might even consider specialized storage solutions that control humidity more precisely. Proper storage saves you the effort of having to clean old metal hinges or other components again soon.
Regular Inspection and Minor Upkeep
Regularly inspect your tools, even those stored properly. Look for any signs of rust, corrosion, or damage. Address small issues before they become big problems. If you see a tiny spot of rust, clean it right away. Reapply protective coatings as needed.
Lubricate moving parts on tools like pliers or clamps. A drop of light oil keeps them working smoothly. Check screws and fasteners for tightness. Tighten them if they feel loose. A little proactive care goes a long way in maintaining your tool collection. It is much easier to perform minor upkeep than to undertake a full restoration again.
Specialized Cleaning for Specific Tool Types
Different tools require specific cleaning approaches. A general approach works for many, but some tools need extra consideration. Understanding these nuances ensures proper care without damage. This is especially true for tools with intricate parts or delicate materials.
For gardening tools, soil and plant sap are common issues. After each use, scrape off dirt and rinse the tools with water. Dry them thoroughly. Pruning shears and loppers might benefit from a wipe down with rubbing alcohol. This removes sticky sap and disinfects blades. Oiling these tools is crucial to prevent rust, especially for bypass pruners with moving parts.
Electronics and Delicate Instruments
Cleaning electronic tools or delicate instruments requires extreme caution. Never immerse them in water. Use compressed air to blow out dust from crevices. A soft brush or cotton swabs dipped in isopropyl alcohol can clean circuit boards or fine mechanics. Ensure the tool is unplugged and completely powered off before cleaning. Static electricity can also damage sensitive components, so be mindful of your environment. This is very different from cleaning an old porcelain tub where you can use water freely.
Power tools also need regular cleaning. Unplug them first. Use a vacuum cleaner to remove sawdust and debris from vents and motor housings. A damp cloth can wipe down the exterior. Never spray water directly into power tool components. For internal cleaning, a professional service might be best. Always consult the user manual for specific cleaning instructions for your power tools.
Hand Tools with Leather or Fabric Components
Some older tools have leather grips or canvas bags. These materials need different care. For leather, wipe with a damp cloth to remove surface dirt. Then, apply a leather conditioner to keep it supple and prevent cracking. Do not soak leather. For canvas or fabric tool bags, spot clean with mild soap and water. If they are very dirty, you might gently hand wash them. Ensure they air dry completely to prevent mold or mildew growth. This attention to different materials ensures your entire tool kit stays in top shape.
Frequently Asked Questions
What is the best way to remove rust from very old tools?
For very old tools with heavy rust, electrolysis is often the best method. It removes deep rust without damaging the metal. For slightly less severe rust, soaking in white vinegar or using a dedicated chemical rust remover works well. Always follow safety guidelines for each method.
Can I use steel wool on all types of old tools?
You can use steel wool on most metal tools for rust removal. However, use fine-grade steel wool and scrub gently to avoid scratching soft metals or polished surfaces. Never use steel wool on chrome-plated or delicate finishes, as it can cause damage.
How do I protect wooden tool handles after cleaning?
After cleaning wooden tool handles, apply a natural oil like linseed oil or tung oil. These oils penetrate the wood, preventing drying and cracking. Apply multiple thin coats, allowing each to soak in, then wipe off excess. This enhances the wood’s durability and appearance.
Is it safe to clean tools with strong chemicals like muriatic acid?
Muriatic acid is extremely corrosive and dangerous. It is not recommended for general tool cleaning due to its hazards. Stick to safer alternatives like white vinegar, oxalic acid-based rust removers, or commercial rust removers. Always prioritize your safety and use personal protective equipment.
How often should I clean and maintain my tools?
You should clean your tools immediately after each use to remove dirt and moisture. For deeper cleaning and rust prevention, perform maintenance checks quarterly or semi-annually. This includes oiling metal parts and conditioning wood handles. Regular small efforts prevent major restoration needs.
What should I do if a tool is too rusty to clean?
If a tool is too rusty to clean using common methods, consider professional restoration services. Specialists have advanced techniques like abrasive blasting or specialized chemical treatments. Sometimes, a tool might be beyond repair and suitable only for display as a historical artifact.
Conclusion
Cleaning old tools is a highly satisfying project. It revitalizes instruments that might otherwise go to waste. You bring them back to useful life. We covered everything from initial assessment and safety to advanced rust removal techniques. You learned how to clean old tools using simple household items and specialized products.
Remember, the key to successful tool restoration lies in understanding the tool’s material and the type of grime it carries. Proper cleaning, drying, and applying protective coatings are essential. Long-term maintenance ensures your hard work lasts. By following these steps, your old tools will not only perform better but also become treasured possessions. Start your tool restoration project today and enjoy the renewed utility and beauty of your trusty companions.
- tool restoration
- rust removal
- tool maintenance