· Home Cleaning · 16 min read
How To Clean Painted Walls Without Leaving Streaks
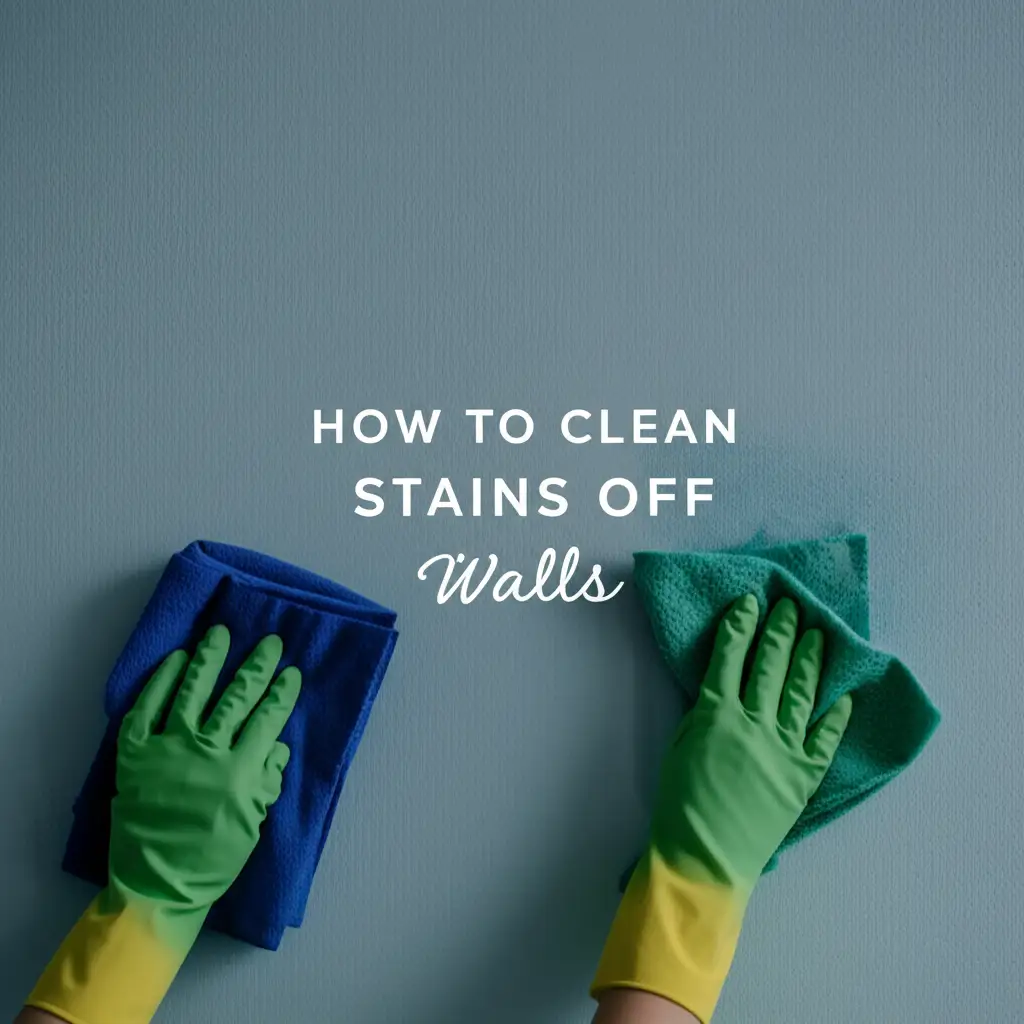
Clean Painted Walls: Achieve Streak-Free Shine
Painted walls add color and life to any room. Over time, these surfaces collect dust, grime, and accidental marks. Cleaning them feels necessary, but many people fear leaving behind unsightly streaks. Streaks make walls look worse than before you started cleaning. I understand this common frustration, and I am here to help. This guide shows you exactly how to clean painted walls without leaving streaks. We will cover the right tools, effective cleaning solutions, and proper techniques. You can achieve beautifully clean, streak-free walls.
Takeaway
Achieving streak-free painted walls requires a gentle touch and correct technique.
- Always test cleaning solutions in an inconspicuous spot first.
- Dust walls thoroughly before applying any liquid cleaner.
- Work in small sections from top to bottom.
- Use gentle, non-abrasive cleaners and soft microfiber cloths.
- Rinse walls with clean water to remove all cleaning solution residue.
- Dry walls immediately after rinsing to prevent streaks and water damage.
To clean painted walls without leaving streaks, use mild cleaning solutions like water with a few drops of dish soap or a diluted vinegar mixture. Apply the solution with a clean, soft microfiber cloth, working in small sections from top to bottom. Rinse each section immediately with a separate clean, damp cloth, and then dry promptly with a dry microfiber cloth to prevent water marks. This method ensures a spotless finish.
Understanding Your Walls: Paint Types and Their Needs
Before you begin cleaning, know your wall’s paint type. Different paint finishes react differently to cleaning. Understanding this helps you choose the safest and most effective method. Using the wrong cleaner can damage your paint or leave unwanted marks.
Flat or matte paints are delicate. They absorb moisture more easily than other finishes. These paints offer a soft, non-reflective look. They hide imperfections well. However, they are prone to showing water marks and streaks. Clean matte walls with extreme care. Use minimal moisture and gentle dabbing motions.
Eggshell and satin finishes offer more durability. They have a slight sheen, which makes them easier to wipe clean. These paints are popular for living areas and bedrooms. They resist moisture better than flat paints. You can clean these with a bit more confidence. Still, avoid harsh scrubbing or abrasive cleaners.
Semi-gloss and high-gloss paints are the most durable. They have a noticeable shine. You find them often in kitchens, bathrooms, and hallways. These areas see a lot of traffic and moisture. The smooth, shiny surface makes them very easy to clean. They stand up well to frequent wiping. You can use slightly stronger solutions on these, but testing is always wise.
Always test your cleaning solution in an inconspicuous area first. This might be behind a piece of furniture or inside a closet. Apply a small amount of the cleaner. Watch for any discoloration or adverse reactions. This simple step protects your entire wall. It prevents potential damage.
Knowing your paint finish helps you clean effectively. It also prevents streaks and damage. Treat delicate paints with extra care. Be more robust with durable finishes. Your walls will stay beautiful for years.
Gathering Your Tools and Gentle Cleaning Solutions
Having the right tools and cleaning solutions is key to streak-free walls. You do not need many specialized items. Most are common household objects. Using appropriate cleaners prevents damage and ensures a clean finish. I always recommend gentle options first.
For tools, you will need a few essentials. Start with two buckets. One bucket holds your cleaning solution. The other holds clean rinse water. A soft-bristle brush or a vacuum cleaner with a brush attachment is great for dusting. You need several microfiber cloths. Microfiber cloths are excellent because they absorb well and do not leave lint. A large sponge can also be useful for applying cleaning solution to larger areas. You might also want a drop cloth or old towels to protect your floors.
When it comes to cleaning solutions, simplicity is often best. For most painted walls, plain warm water works well for light dust and smudges. For slightly dirtier walls, add a few drops of mild dish soap to a bucket of warm water. Use a non-abrasive dish soap. This creates a gentle cleaning solution. This mixture effectively lifts grime without harming your paint.
For tougher stains, or if you prefer natural options, consider a vinegar and water solution. Mix equal parts white vinegar and warm water. Vinegar is a natural degreaser and helps cut through grime. It also evaporates quickly, which helps prevent streaks. This is similar to how we use it to clean other surfaces. You can learn more about how how to clean with vinegar and baking soda. Another option for certain stains is a paste of baking soda and water. This gentle abrasive can lift marks without scratching. This method is effective for various stains, including those on upholstery, as seen in tips on cleaning stains off mattress with baking soda.
Avoid harsh chemical cleaners, abrasive sponges, or strong detergents. These can strip paint, leave residue, or cause discoloration. Ammonia-based cleaners, for example, can damage paint. Always opt for the gentlest solution that gets the job done. This approach keeps your walls looking fresh and free of streaks.
Preparing Your Space for Wall Cleaning
Proper preparation makes the wall cleaning process much smoother. It also protects your belongings and floors from water or cleaning solutions. Skipping these steps can lead to more work later. I always start by clearing the area.
First, remove all pictures, mirrors, and wall decorations. Take down any shelves or items hanging on the walls. This gives you unobstructed access to the entire surface. Store these items safely away from your work area. You do not want them getting splashed or damaged.
Next, move furniture away from the walls. Push sofas, chairs, and tables to the center of the room. If an item is too heavy to move, cover it completely with a plastic sheet or old blanket. This protects your furniture from splashes and drips. It also provides more space for you to move around freely.
Protect your floors from water and cleaning solutions. Lay down drop cloths, old towels, or plastic sheeting along the base of the walls. This is especially important for hardwood or carpeted floors. Drips are inevitable, even with careful cleaning. Floor protection saves you from additional cleaning tasks.
The most crucial preparation step is dusting your walls. Dust builds up on walls, especially in corners and along baseboards. If you skip dusting, the wet cleaning solution will turn dust into muddy streaks. Use a soft-bristle broom, a microfiber dust mop, or a vacuum cleaner with a brush attachment. Start at the top of the wall and work your way down. This pushes dust to the floor, where your protective coverings can catch it.
Pay attention to ceiling lines and baseboards during dusting. These areas often collect the most dust. Once walls are free of loose dust, your wet cleaning will be more effective. This reduces the risk of streaks. A clean, dust-free surface is ready for washing.
The Step-by-Step Method for Streak-Free Cleaning
Cleaning painted walls without streaks requires a systematic approach. Follow these steps carefully for the best results. Each step builds on the previous one. This ensures effective cleaning and a flawless finish. I follow these steps myself for streak-free results every time.
Dusting Walls Thoroughly
As mentioned, dusting is your first step. Use a clean, dry microfiber cloth, a soft-bristle broom, or a vacuum with a brush attachment. Start at the top of the wall, near the ceiling. Work your way down to the baseboards. Go across the wall in overlapping sections. This ensures you catch all loose dust, cobwebs, and dry debris. Skipping this step turns dust into muddy streaks when wet.
Spot Treating Stubborn Stains
Before washing the entire wall, address any noticeable stains. Look for scuff marks, crayon, or light grease spots. For scuff marks, try a clean pencil eraser. Gently rub the mark. It often lifts without needing liquid. For crayon marks or light grease, a small amount of baking soda paste can work. Mix baking soda with a tiny bit of water to form a paste. Apply it to the stain. Gently rub with a soft cloth. Then, wipe clean with a damp cloth. This is a targeted approach for specific problem areas. For more general advice on tackling various types of marks, you might find tips on cleaning baked-on grease from pans helpful for understanding how to approach different stubborn residues, applying similar principles of gentle abrasion or dissolution.
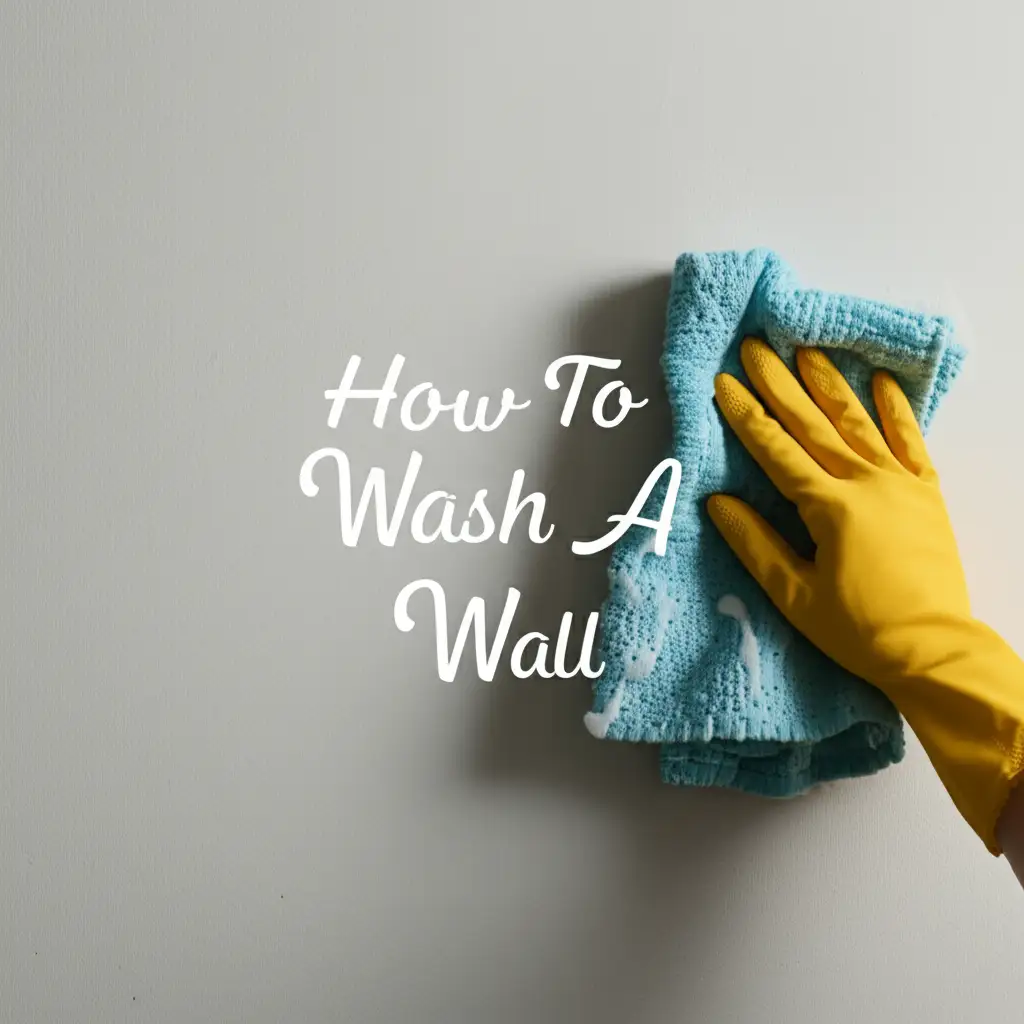
Washing Large Areas with Care
Now, prepare your cleaning solution. Fill one bucket with your chosen gentle cleaner (e.g., warm water with a few drops of dish soap). Fill the second bucket with clean, plain warm water for rinsing. Dip a clean microfiber cloth or soft sponge into the cleaning solution. Wring it out thoroughly. The cloth should be damp, not dripping wet.
Work in small sections, about 2x2 feet. Start at the top of the wall and move downwards. Apply the solution gently in a circular or up-and-down motion. Do not scrub hard. Overlapping each section slightly prevents lines. Apply minimal pressure. Treat this as a light wipe, not a deep scrub. This gentle application helps avoid streaking on surfaces, much like the careful approach needed to clean porcelain tile floors without streaks. The goal is to lift dirt, not push it around. This method helps surfaces dry evenly, a key factor in achieving results similar to cleaning black glass stove top without streaks.
Rinsing Properly
This step is critical for preventing streaks. Immediately after washing a small section, grab a fresh, clean microfiber cloth. Dip it into the bucket of plain rinse water. Wring it out very well. Wipe down the washed section thoroughly. This removes all soap residue. Change the rinse water often. Dirty rinse water will leave streaks. Your rinse cloth should always be clean and damp.
Drying Techniques
The final step is immediate drying. Use another clean, dry microfiber cloth. Gently wipe the rinsed section dry. Do not let the wall air dry. Air drying causes water marks and streaks, especially on flat or matte paints. Quick drying is essential. Work quickly from top to bottom. Overlap your drying strokes. This technique ensures a uniformly clean, streak-free surface. It leaves your walls looking fresh.
Tackling Stubborn Stains on Painted Surfaces
Sometimes, ordinary cleaning solutions are not enough for specific stubborn stains. Grease, ink, or marker on painted walls needs special attention. Approach these stains with caution. Always try the gentlest method first. Test any new solution in an inconspicuous spot.
For grease stains, start with a dish soap solution. Mix a few drops of dish soap with warm water. Dampen a soft cloth with this solution. Gently dab the greasy spot. Dish soap is excellent at breaking down grease. Avoid rubbing vigorously, which can spread the grease or damage the paint. Blot the area until the grease lifts. Follow with a clean, damp cloth to rinse, then dry.
Ink or marker stains are tougher. For fresh ink, rubbing alcohol can work. Apply a small amount to a cotton ball or soft cloth. Gently blot the stain. Do not rub. Rubbing can spread the ink. Repeat blotting with fresh alcohol on a clean part of the cotton ball until the stain fades. Alcohol evaporates quickly. This minimizes the risk of streaks.
For dried ink or marker, or for more persistent stains, try a magic eraser. Magic erasers are melamine foam. They act like a very fine sandpaper. Use extreme caution with these. They can remove paint if you scrub too hard. Lightly dampen the eraser. Gently rub only the stain. Use minimal pressure. Check your progress frequently. Stop once the stain is gone. Then, wipe the area with a clean, damp cloth to remove any residue.
Another option for tough marks is a paste made from baking soda and water. Mix baking soda with just enough water to create a thick paste. Apply the paste directly to the stain. Let it sit for a few minutes. Then, gently rub with a soft cloth. The mild abrasive action of baking soda helps lift the stain. Rinse the area thoroughly with a clean, damp cloth. Always dry the spot immediately after rinsing.
Remember, the key with stubborn stains is patience and a light touch. Aggressive scrubbing will damage the paint. It often leaves a visible dull spot. Work slowly. Reapply solutions as needed. Your goal is to lift the stain without harming the paint finish.
Maintaining Clean Walls and Preventing Future Streaks
Keeping your walls clean is easier than deep cleaning them. Regular maintenance prevents the buildup of dirt and grime. This also reduces the frequency of major cleaning sessions. By following a few simple habits, you can extend the life of your paint. You can keep your walls looking fresh.
One of the easiest ways to maintain clean walls is regular dusting. Dust settles on walls just like it does on furniture. Use a feather duster, a microfiber dust mop, or a vacuum cleaner with a brush attachment. Dust your walls from top to bottom every few weeks. This prevents dust from accumulating and sticking to the surface. Clean dust makes future wet cleaning much less streaky.
Address spills and marks immediately. Accidents happen. If something splashes on your wall, wipe it up right away. Use a clean, damp cloth. Most fresh spills, like drink splashes or food splatters, come off easily when wet. Waiting allows the stain to set in. Set stains are harder to remove without scrubbing. Quick action saves your paint.
Use protective measures where possible. In high-traffic areas, consider installing chair rails or protective wall coverings. Clear wall protectors behind light switches or around doorknobs reduce grime. These areas receive frequent touch. Paint can become discolored or damaged over time. Barriers shield your paint from daily wear and tear.
Teach children about wall care. Encourage them to use paper or whiteboards for drawing. Provide designated play areas. This minimizes artistic expressions on your living room walls. Simple rules can go a long way in preventing crayon or marker incidents.
Perform a routine visual inspection. Walk through your rooms periodically. Look for new smudges, scuffs, or light stains. Spot clean these small marks as you find them. Use a clean, damp cloth or a pencil eraser. Early intervention prevents these minor blemishes from becoming major cleaning projects.
By incorporating these simple maintenance habits, you keep your walls clean. You avoid future streaks and major cleaning efforts. Your painted surfaces will look their best for longer periods.
Common Mistakes to Avoid When Cleaning Walls
Cleaning painted walls seems simple, but common mistakes often lead to streaks, damage, or more work. Avoiding these pitfalls saves you time and effort. It also protects your paint job. I have seen these mistakes many times.
One major mistake is over-wetting the walls. Using too much water or a dripping-wet sponge saturates the paint. This leads to streaks, drips, and potential water damage. Excess moisture also makes it harder for the wall to dry evenly. Always wring out your sponge or cloth thoroughly. It should be damp, not soaking wet.
Another frequent error is using the wrong cleaning solution. Harsh chemical cleaners, abrasive detergents, or cleaners containing ammonia can strip paint, fade color, or leave a sticky residue. This residue then attracts more dirt, leading to more streaks. Stick to gentle, mild solutions like dish soap and water or diluted vinegar. Always spot test new cleaners in an inconspicuous area before applying them to the main wall.
Scrubbing too hard is also a common mistake. Aggressive scrubbing, especially on flat or matte paints, can remove the paint itself. It can leave dull spots or permanent marks. Use gentle, even pressure. Let the cleaning solution do the work. If a stain is stubborn, reapply the solution and gently blot. Avoid harsh abrasive sponges or brushes.
Not rinsing the walls properly leads to streaks. If you leave soap residue on the wall, it will dry and leave a visible film. This film creates streaks. Use a separate bucket of clean water and a clean cloth for rinsing. Change the rinse water frequently. The rinse water should always be clear. Rinse thoroughly to remove all soap.
Allowing walls to air dry is another mistake. Water droplets can leave mineral deposits or water marks as they evaporate. This causes streaks. After rinsing a section, immediately dry it with a clean, dry microfiber cloth. This ensures an even, streak-free finish. Quick drying prevents water spots from forming.
Not dusting walls first is a critical oversight. Wetting a dusty wall turns the dust into mud. This mud then smears across the wall, creating new, dirty streaks. Always begin your cleaning process with a thorough dry dusting. This simple step prevents a lot of headaches.
By avoiding these common mistakes, you can achieve beautifully clean, streak-free painted walls. Proper technique and gentle care lead to the best results.
FAQ Section
Q1: Can I use a Magic Eraser on painted walls?
Yes, you can use a Magic Eraser on painted walls, but with caution. These erasers are abrasive and can remove paint if you scrub too hard. Only use them for small, stubborn marks. Gently rub the spot. Avoid using them on large areas or delicate paint finishes like flat or matte. Always test in an hidden area first.
Q2: How often should I clean my painted walls?
The frequency depends on factors like traffic and activity. In general, a light dusting every few weeks is good. Spot clean spills and marks immediately. A more thorough wet cleaning every 6-12 months is usually sufficient for most rooms. High-traffic areas like hallways or kitchens might need more frequent attention.
Q3: What causes streaks on painted walls?
Streaks on painted walls usually result from several issues. Common causes include using too much cleaning solution, not rinsing thoroughly, using dirty rinse water, allowing walls to air dry, or not dusting before wet cleaning. Harsh cleaners or excessive scrubbing also contribute to streaks.
Q4: Is vinegar safe for all paint types?
Vinegar is generally safe for most painted walls when diluted. Mix it with an equal part of water. It works well on semi-gloss and gloss finishes. Use extra caution on flat or matte paints, as they are more susceptible to water marks. Always perform a patch test in an inconspicuous area before full application.
Q5: How do I remove black scuff marks from walls?
For black scuff marks, try a regular pencil eraser first. Gently rub the mark. If this does not work, a slightly damp Magic Eraser can be effective. Apply minimal pressure. You can also try a small amount of baking soda paste applied with a soft cloth. Remember to wipe the area clean and dry it immediately.
Conclusion
Cleaning painted walls without leaving streaks is absolutely achievable. You do not need expensive tools or harsh chemicals. The key lies in understanding your paint type, gathering the right gentle supplies, and following a methodical approach. From the initial dusting to the final drying, each step plays a vital role. Remember to prepare your space, choose mild solutions, and work in small sections. Always rinse thoroughly and dry immediately to prevent those frustrating streaks.
By adopting these proven techniques, you can keep your home’s surfaces looking pristine. My goal is to empower you to tackle this common household task with confidence. You can achieve beautifully clean, streak-free walls, enhancing the appearance of your entire home. Start today, and enjoy your spotless walls.
- wall cleaning
- streak-free
- painted walls
- DIY cleaning
- household tips
- cleaning hacks
- interior cleaning