· Home Cleaning · 14 min read
How To Wash A Wall
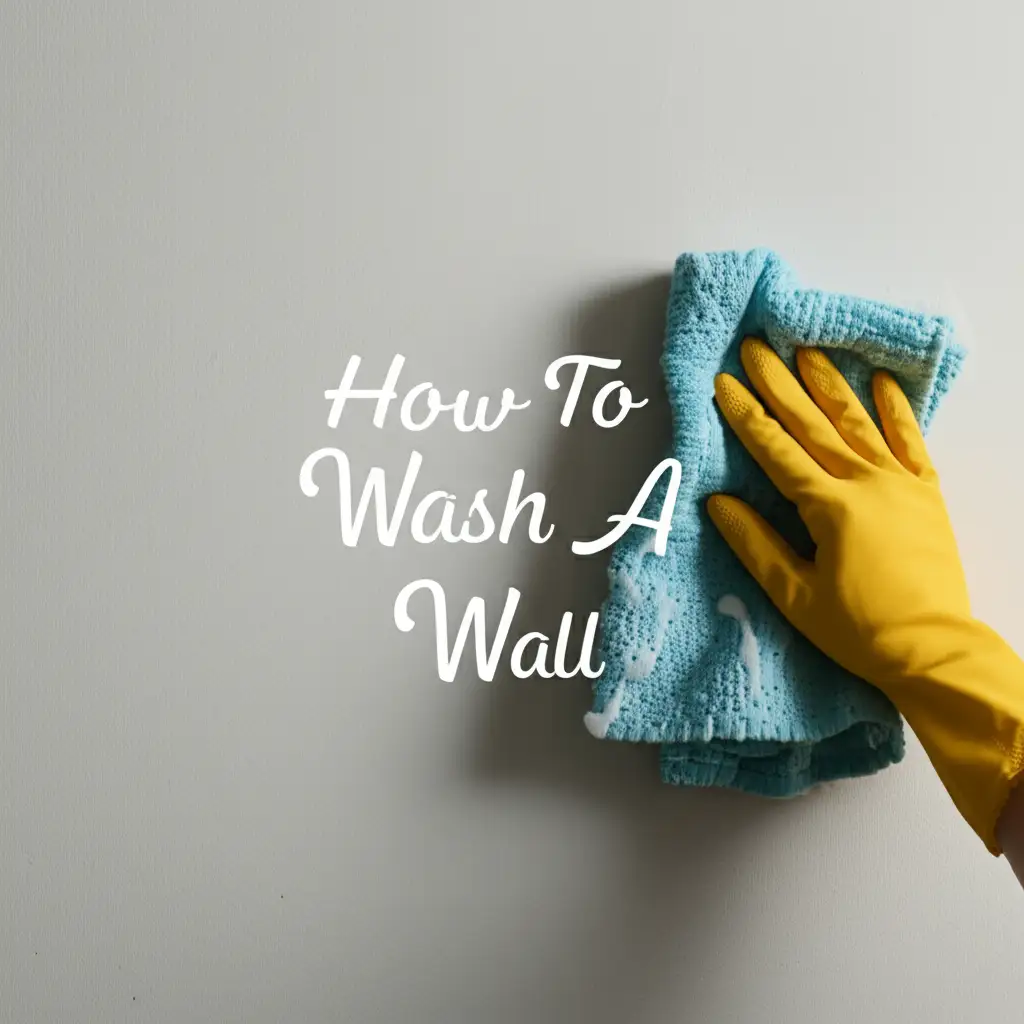
How To Wash A Wall: Your Guide to Sparkling Surfaces
Have you ever looked closely at your walls and noticed the subtle grime? Walls gather dust, fingerprints, and smudges over time. This happens more often than many people realize. Knowing how to wash a wall makes a big difference.
Regular wall cleaning improves your home’s appearance. It also creates a healthier living space. Walls can hold allergens and dust that affect air quality. This guide explains simple steps for washing walls. We will cover preparing your space, choosing supplies, and effective cleaning techniques. You will learn to clean your walls safely and correctly.
Takeaway
- Protect Your Space: Move furniture and cover floors before you start cleaning walls.
- Dust First: Always dust walls thoroughly to remove loose dirt.
- Test Cleaning Solutions: Apply cleaner to a small, hidden area first to check for paint damage.
- Work Gently: Use soft cloths or sponges and light pressure to avoid streaks or damage.
- Address Stains Early: Tackle specific marks like crayon or scuffs with targeted methods.
- Rinse and Dry: Rinse walls after washing to remove residue. Dry them promptly to prevent water marks.
To wash a wall, first clear the area and dust the surface. Prepare a gentle cleaning solution suitable for your wall type. Test the solution on a hidden spot. Apply the cleaner with a soft sponge or cloth, working from bottom to top on sections. Rinse with clean water and dry immediately to prevent streaks.
Understanding Your Wall Type: Crucial First Steps for Wall Washing
Before you begin to wash your wall, it is important to understand what kind of surface you have. Different wall materials and paint finishes need different cleaning approaches. Using the wrong method can cause damage. Knowing your wall type helps you choose the right tools and solutions. This step ensures a safe and effective clean.
Walls often have various finishes. Flat or matte paints are delicate. They show marks easily and can lose paint if scrubbed too hard. Satin, eggshell, and semi-gloss paints are more durable. These finishes contain more binders, which make them washable. High-gloss paint is the most durable and easiest to clean. It resists moisture and stains well. You can often wipe this surface with a damp cloth.
Older homes might have wallpaper or paneling. Wallpaper needs careful handling. Some types are washable, but others are not. Always check the manufacturer’s instructions for wallpaper. Paneling, like wood or plastic, has its own cleaning needs. For example, cleaning wood paneling requires specific products to avoid drying out the wood. When you learn how to clean wall paneling, you protect its finish. Identifying your wall type prevents common cleaning mistakes.
Consider the material your walls are made from. Drywall is common, but plaster, wood, or even brick might be present. Each material reacts differently to water and cleaning agents. For instance, too much water on drywall can cause damage or mold. Begin by identifying your wall finish and material. This simple check saves you time and effort later.
Gathering Your Tools: Essential Supplies for Cleaning Walls
Getting the right tools ready before you start to wash your wall makes the job easier. Having everything at hand saves trips to the supply closet. You need several items to ensure a thorough and safe cleaning process. Each item plays a role in protecting your walls and achieving the best results. A small investment in good tools pays off.
First, protect your floors and furniture. Use old sheets or plastic tarps to cover the floor. Move furniture away from the walls or cover it securely. This step prevents water or cleaning solution from damaging your belongings. Next, gather your cleaning implements. You will need soft sponges or microfiber cloths. These tools are gentle on paint and prevent scratching. Avoid abrasive scrubbers, especially on delicate paint finishes.
Prepare two buckets. One bucket will hold your cleaning solution. The second bucket will hold plain, clean water for rinsing. This two-bucket system keeps your cleaning water fresh. You will also need a dust mop with a long handle or a vacuum cleaner with a brush attachment. These are essential for removing loose dust. Safety goggles and rubber gloves protect your eyes and hands from cleaning solutions.
Finally, gather your chosen cleaning agents. A mild dish soap mixed with warm water is often enough. For tougher stains, you might need a specialized wall cleaner. Always ensure your cleaner is appropriate for your wall type. Having all these supplies ready ensures a smooth and efficient wall washing process.
Pre-Cleaning Your Walls: Dusting and Preparation Before Wet Washing
Before you apply any liquid to wash a wall, you must pre-clean the surface. This step is very important. Dust, cobwebs, and loose dirt sit on walls. If you skip dusting, you will simply spread the dirt around with your wet sponge. This creates streaks and muddy spots, making your work harder. Pre-cleaning makes the washing process more effective.
Start by removing everything from your walls. Take down pictures, mirrors, and wall hangings. This gives you full access to the wall surface. Next, use a dry method to remove loose debris. A dust mop with a long handle works well for high areas. You can also use a vacuum cleaner with a soft brush attachment. Move from top to bottom, ensuring you cover every part of the wall. Pay attention to corners, baseboards, and areas around vents. Dust gathers heavily in these spots.
For light dust, a clean, dry microfiber cloth can also work. Gently wipe the walls from top to bottom. If you see cobwebs, use a broom covered with a cloth. This traps the webs without spreading them. Remember, thorough dusting improves your final result. This initial step prevents streaks and ensures the cleaning solution works on grime, not just surface dust.
After dusting, check for any obvious dry marks that a simple wipe might remove. Some scuffs or pencil marks might come off with a dry eraser or a damp cloth before you start the full wash. This preparation sets the stage for a truly clean wall. A proper pre-clean makes the actual washing process quicker and more efficient.
Choosing the Right Cleaning Solution: Gentle Yet Effective Wall Cleaners
Selecting the correct cleaning solution is key to successfully wash a wall without damage. The goal is to remove grime without harming your paint or wall material. Using harsh chemicals can strip paint or leave residues. A gentle approach protects your investment and ensures a beautiful finish. Always think about your wall type when choosing a cleaner.
For most washable paint surfaces, a simple solution of warm water and mild dish soap works wonders. Fill one bucket with warm water. Add a few drops of mild liquid dish soap, like the kind you use for handwashing dishes. Mix gently until small suds appear. This solution is gentle enough for everyday dirt and grime. It does not contain harsh abrasives or strong chemicals. This mixture is usually safe for satin, eggshell, and semi-gloss paints.
For tougher spots or higher traffic areas, you might need something stronger. A solution of warm water and a small amount of white vinegar can cut through grease and light grime. Mix about half a cup of white vinegar per gallon of water. Vinegar is a natural disinfectant and degreaser. It leaves no residue if rinsed properly. Baking soda also makes a gentle abrasive paste for specific stains, but use it with extreme care and test first.
Always avoid abrasive cleaners, ammonia-based products, or all-purpose cleaners not meant for walls. These can cause discoloration or damage paint. If you are unsure, choose a product specifically labeled for wall cleaning. Always test your chosen solution on a hidden spot. Apply a small amount to an inconspicuous area, like behind a door or in a closet. Let it sit for a few minutes, then wipe it off. Check for any discoloration, paint lifting, or dulling before you clean the entire wall. This simple test prevents big problems.
Techniques for Washing Walls: Step-by-Step Guide for Best Results
Now that you have prepared your space and gathered your tools, you are ready to wash a wall effectively. Proper technique prevents streaks and ensures an even clean. This process requires patience and attention to detail. Follow these steps to achieve sparkling clean walls without much effort. You will see a big difference in your home’s appearance.
Begin by dipping a clean, soft sponge or microfiber cloth into your cleaning solution. Wring out excess liquid. The sponge should be damp, not dripping wet. Too much water can run down the wall and create streaks. It can also damage drywall or baseboards. Start cleaning from the bottom of the wall and work your way up. This method helps prevent dirty drips from streaking clean areas below. If a drip occurs, it lands on an uncleaned section, which you will clean soon.
Clean small sections at a time. Work in a gentle, overlapping motion. Do not scrub hard. Apply light pressure to lift dirt. If you use too much force, you can damage the paint finish. After cleaning a section, immediately rinse it with clean water. Dip a fresh, clean sponge or cloth into your plain water bucket. Wring it out well. Wipe the section you just cleaned to remove all soap residue. Rinsing prevents streaks and sticky spots that attract more dirt.
Change your cleaning solution and rinse water frequently. Dirty water will only redeposit grime onto your walls. When the water looks cloudy, it is time for a fresh batch. After rinsing each section, dry it immediately with a clean, dry towel or cloth. Drying prevents water spots and streaks. Work in vertical strokes to ensure an even finish. Move systematically around the room, completing one section before moving to the next. This organized approach ensures no part of the wall is missed.
Tackling Stubborn Stains: Specific Methods for Common Wall Blemishes
Even with general washing, some stubborn stains might remain. These marks need specific attention to remove them without damaging the wall. Knowing how to handle different types of stains is crucial when you wash a wall. This section provides targeted solutions for common wall blemishes. Always try the least invasive method first.
Fingerprints and Scuff Marks: These are common, especially in high-traffic areas. Often, a regular cleaning solution with mild soap and water removes them. For tougher scuffs, a magic eraser can work wonders. Dampen the magic eraser slightly and gently rub the mark. Use very light pressure. Magic erasers are abrasive, so test them in an inconspicuous spot first. Too much pressure can remove paint.
Grease Splatters: Kitchen walls often collect grease. A solution of warm water and a little white vinegar works well here. The acid in vinegar helps cut through grease. You can also mix a small amount of baking soda with water to form a paste. Apply the paste to the grease spot, let it sit for a few minutes, then gently wipe away with a damp cloth. For extreme grease, a specialized degreaser formulated for painted surfaces might be necessary.
Crayon and Marker Marks: Children often leave these artistic additions. Removing crayon often requires a different approach than simple washing. For how to clean crayon off wall, try applying a small amount of non-gel toothpaste or baking soda paste. Rub gently with a soft cloth. For marker, knowing how to clean marker off wall involves using rubbing alcohol or hairspray on a cloth. Dab the mark, do not rub, to lift the ink. Always test these methods first.
Pencil Marks: These are usually easier to remove. A standard pencil eraser often works well. For more stubborn marks, a damp magic eraser or a very gentle scrub with a mild soap solution may be enough. Learn how to clean pencil off wall by focusing on gentle abrasion.
Random Grime (like boogers): Yes, sometimes these things happen. Knowing how to clean boogers off wall involves a simple but effective approach. First, let the mark dry completely if it is still wet. Then, gently scrape off any raised material with a plastic scraper or credit card. Avoid digging into the paint. Once the bulk is gone, clean the remaining residue with warm water and a little dish soap. A damp cloth and gentle rubbing should remove any remaining stain.
Always test any new cleaning agent or technique on a hidden part of the wall. This prevents accidental damage or discoloration. Work slowly and gently. Repeated light applications are better than one harsh scrub.
Post-Washing Care and Maintenance: Keeping Walls Clean Longer
After you wash a wall, the work is not entirely over. Proper post-washing care and ongoing maintenance help keep your walls looking fresh for longer. This reduces the frequency of major cleaning tasks. A little effort now saves a lot of work later. You can enjoy your clean walls for an extended period.
Once your walls are completely dry, take a moment to admire your work. Ensure no damp spots remain. Dampness can lead to mold or mildew growth, especially in humid environments. Open windows or use fans to air out the room after washing. This helps walls dry faster. Replace furniture and wall decor only after the walls are thoroughly dry. This prevents moisture from being trapped.
For ongoing maintenance, regular dusting is your best friend. A weekly or bi-weekly light dusting with a long-handled dust mop or vacuum attachment prevents dust buildup. Less dust means less need for wet washing. Address spills or marks as soon as they happen. A quick wipe with a damp cloth can prevent many stains from setting in. This immediate action makes a big difference.
Consider using touch-up paint if you have any small nicks or chips. This keeps your walls looking pristine. Place doormats at entries to reduce dirt tracking onto baseboards. Teach children to use washable art supplies on paper, not walls. These small habits protect your clean walls. By adopting good habits, you extend the life of your wall paint. You also maintain a cleaner home environment with less effort.
FAQ Section
How often should I wash my walls?
You should wash your walls about once a year for general maintenance. High-traffic areas, like hallways or kitchens, might need cleaning more often, perhaps every six months. Spot clean specific marks or spills as soon as they happen. Regular dusting helps reduce the need for frequent full washes.
Can I use all-purpose cleaner to wash walls?
Avoid using harsh all-purpose cleaners or strong chemical cleaners on your walls. These products can strip paint, leave sticky residues, or cause discoloration. A mild solution of warm water and dish soap is usually best. Always test any cleaner in a hidden area first to check for adverse reactions.
What if my paint is not washable?
If your paint is not washable, avoid wet cleaning methods. Water can damage the finish or cause paint to peel. Instead, focus on dry cleaning techniques. Use a vacuum with a soft brush attachment or a dry microfiber cloth to remove dust and cobwebs. For marks, try a dry magic eraser very gently on a hidden spot.
How do I prevent streaks when washing walls?
To prevent streaks, wring out your sponge until it is only damp, not dripping. Work in small sections, from bottom to top. Rinse each section immediately with a clean, damp sponge, also wrung out well. Dry the section quickly with a clean, dry cloth. Change your rinse water frequently to avoid redepositing dirt.
Is it better to wash walls from top to bottom or bottom to top?
It is better to wash walls from bottom to top when applying your cleaning solution. This method prevents dirty drips from running down onto uncleaned sections, which can cause streaks. However, when rinsing, you can work from top to bottom to let gravity help carry the rinse water and residue down.
How do I clean textured walls?
Cleaning textured walls requires extra care. Use soft brushes or cloths that can reach into crevices. Avoid excess water, as it can get trapped in the texture. A spray bottle can apply a light mist of cleaner. Use gentle dabbing motions instead of harsh scrubbing. A vacuum with a brush attachment is great for removing dust from textured surfaces.
Conclusion
Cleaning your walls might seem like a big job, but it is a simple process. Following these steps helps you refresh your home. You can transform dull, dirty walls into bright, clean surfaces. Knowing how to wash a wall makes a huge difference in your living space.
We covered preparing your space, gathering the right tools, and pre-cleaning. You learned about choosing safe cleaning solutions. We explained step-by-step techniques for washing and rinsing. We also discussed how to tackle tough stains. Finally, we looked at post-washing care to keep your walls clean longer. You now have the knowledge and confidence to make your walls sparkle. Get started today and see the immediate improvement in your home’s appearance. Your clean walls will thank you.
- wall cleaning
- how to clean walls
- washable paint
- interior cleaning
- stain removal