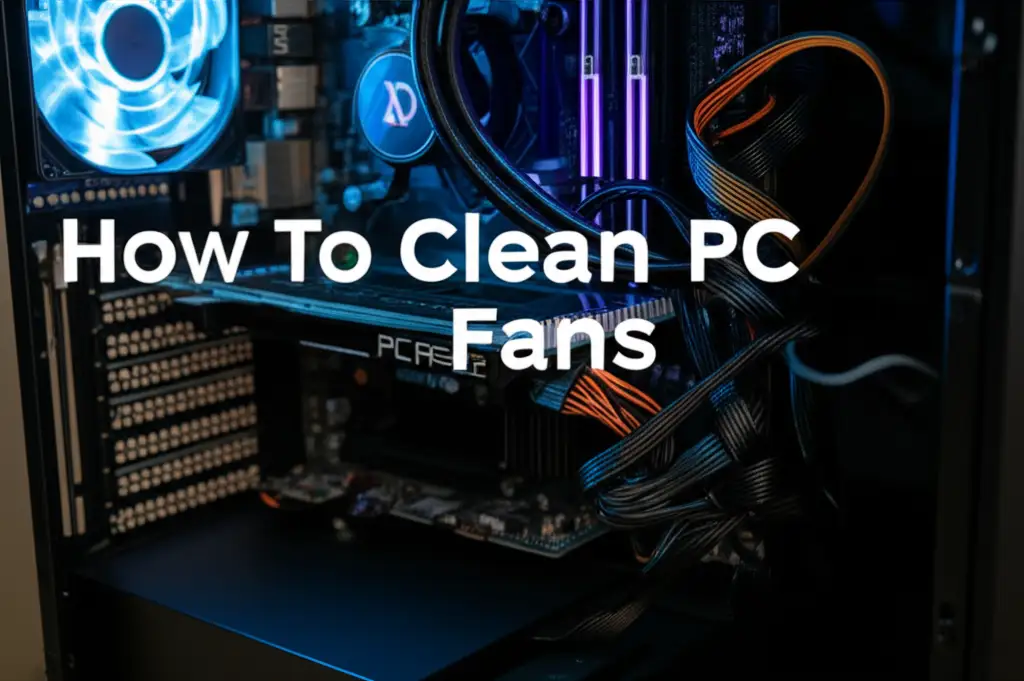
· PC Maintenance · 17 min read
How To Clean Pc Without Compressed Air
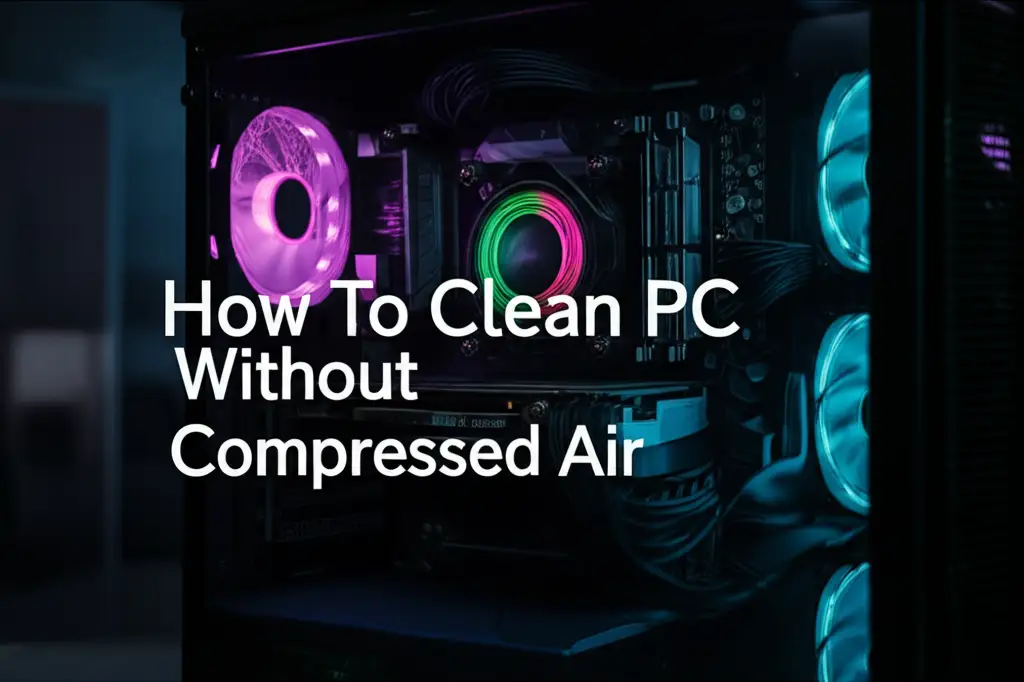
Unlock PC Performance: How to Clean Your Computer Without Compressed Air
Is your computer running slower than usual? Do you hear fans whirring louder than they should? Dust buildup is a common culprit. Over time, dust and debris accumulate inside your PC, blocking airflow and trapping heat. This can seriously degrade performance and shorten the life of your components.
Many people think compressed air is the only way to clean a PC. However, I am here to tell you that this is not true. You can absolutely achieve a thorough cleaning without it. This guide will walk you through effective, safe methods to clean your PC without compressed air. We will cover everything from external cleaning to delicate internal components.
Takeaway
- Gather simple tools: Microfiber cloths, soft brushes, and isopropyl alcohol are key.
- Prioritize safety: Always unplug and discharge static before starting.
- Clean systematically: Address external areas, then move inside, focusing on fans and heat sinks.
- Maintain regularly: Frequent light cleaning prevents heavy dust buildup.
How to Clean PC Without Compressed Air: A Quick Answer
You can clean a PC effectively without compressed air using a combination of soft brushes, microfiber cloths, and isopropyl alcohol. These tools help dislodge and wipe away dust from both external surfaces and delicate internal components, ensuring proper airflow and system performance.
The Essential Tools for a Compressed-Air-Free PC Clean
Cleaning your computer without compressed air requires a few simple items. These tools are readily available and safe for electronics. Gather everything before you begin. Having the right equipment makes the cleaning process smooth and efficient.
First, you need a high-quality microfiber cloth. This type of cloth attracts dust like a magnet. It does not leave behind lint or scratches. You will use it for general wiping and polishing. Second, a set of soft-bristled brushes is essential. Artists’ brushes or dedicated electronics cleaning brushes work best. They help dislodge dust from tight spaces without causing damage.
Next, you will need isopropyl alcohol. Choose a concentration of 90% or higher. This alcohol evaporates quickly and leaves no residue. It is perfect for cleaning sticky spots or stubborn grime on non-sensitive surfaces. You might also need a small, non-abrasive cotton swab or foam swab. These are useful for cleaning very small areas or component contacts. Finally, a basic screwdriver set might be necessary. You may need it to open your PC case or detach certain components. Always ensure your screwdrivers are the correct size to prevent stripping screws.
- Microfiber Cloths: Use several clean, dry cloths. They are excellent for general dusting and wiping.
- Soft Brushes: A small, soft-bristled brush is ideal. It helps to sweep away dust from fan blades and circuit boards. Avoid using stiff brushes, which can damage components.
- Isopropyl Alcohol (90%+): Apply a small amount to a microfiber cloth or cotton swab. Use it for stubborn grime on non-sensitive parts like fan blades or power supply exteriors. Do not spray directly onto components.
- Cotton Swabs/Foam Swabs: Perfect for reaching into small crevices. You can lightly moisten them with isopropyl alcohol for detailed cleaning.
- Screwdriver Set: Necessary for opening your PC case. Ensure you have the correct Phillips or Torx bits.
Remember to keep your workspace tidy. This prevents dust from spreading as you clean. Having all your tools ready means you can focus on the task.
Safety First: Preparing Your PC for Cleaning
Before you start any cleaning, safety is paramount. Working with electronics requires caution. Improper handling can damage your components or even cause injury. Taking the right precautions ensures a safe and effective cleaning session.
First, always power down your computer completely. Do not just put it to sleep. Shut it down from the operating system. After shutdown, unplug the power cable from the wall outlet. Also, disconnect all peripherals. This includes your monitor, keyboard, mouse, and any USB devices. Complete disconnection removes any risk of electrical shock.
Second, discharge any residual electricity. Press and hold the power button on your PC for about 10-15 seconds. This drains any remaining power in the system’s capacitors. It helps prevent accidental power surges or static discharge. Static electricity is a silent enemy of electronics. A static discharge can permanently damage delicate components.
To further protect against static, work on a non-carpeted surface. You can also use an anti-static wrist strap. Attach one end to your wrist and the other to an unpainted metal part of your PC case. This equalizes your electrical potential with the computer. If you do not have a wrist strap, frequently touch an unpainted metal part of the case. This helps to ground yourself throughout the cleaning process. Ensure you have a well-lit, clean area. This allows you to see dust clearly and work comfortably.
- Complete Power Down: Shut down your PC from the operating system.
- Unplug All Cables: Disconnect the power cable and all peripheral cables.
- Discharge Residual Power: Hold the power button for 10-15 seconds after unplugging.
- Static Electricity Prevention:
- Work on a hard, non-carpeted surface.
- Use an anti-static wrist strap if possible.
- Regularly touch an unpainted metal part of the PC case.
- Safe Workspace: Ensure good lighting and enough space to work.
Following these safety steps will protect both you and your valuable computer components. It sets the stage for a thorough and damage-free cleaning experience.
Tackling External Dust: The Chassis and Peripherals
Dust does not just accumulate inside your PC; it coats the outside too. Cleaning the external components improves airflow and enhances appearance. This step is usually quick and straightforward. It makes a noticeable difference in your overall computing environment.
Start with the PC chassis. Use a clean, dry microfiber cloth to wipe down all external surfaces. Pay attention to the top, sides, and front panels. Dust often settles on the exhaust vents and intake grilles. You might see some black dust around air vents. Wipe these areas thoroughly to remove buildup. A slightly damp cloth (with just water, or a tiny bit of isopropyl alcohol if heavily soiled) can be used on stubborn spots, but ensure it is barely moist. Never let liquid drip into vents or ports.
Next, move to your keyboard. Keyboards collect an astonishing amount of dust, crumbs, and skin cells. Turn your keyboard upside down and gently shake it. This dislodges larger debris. Use a soft brush to sweep dust from between the keys. For deeper cleaning, you can use a cotton swab lightly dampened with isopropyl alcohol to clean key caps and the spaces around them. Similarly, clean your mouse. Wipe its surface with a microfiber cloth. Use a slightly dampened cotton swab to clean around the scroll wheel and sensor.
Finally, clean your monitor screen. Never use harsh chemicals or paper towels. They can damage the screen’s anti-glare coating. Instead, use a clean microfiber cloth. You can lightly dampen it with distilled water or a specialized screen cleaner. Gently wipe the screen in one direction. This prevents streaks. Clean the monitor stand and bezels with a dry microfiber cloth. A clean external setup often suggests a clean internal one.
- PC Chassis:
- Wipe all surfaces with a dry microfiber cloth.
- Focus on air vents and grilles to remove black dust around air vents.
- Use a barely damp cloth for stubborn spots, avoiding drips.
- Keyboard:
- Shake upside down to remove loose debris.
- Use a soft brush to sweep dust from between keys.
- Clean key caps with a lightly alcohol-dampened cotton swab.
- Mouse:
- Wipe surfaces with a microfiber cloth.
- Clean around the scroll wheel and sensor with a damp cotton swab.
- Monitor:
- Use a clean microfiber cloth with distilled water or screen cleaner.
- Wipe gently in one direction to avoid streaks.
- Clean stand and bezels with a dry cloth.
External cleaning is your first line of defense against dust. It prepares your system for deeper internal cleaning.
Opening Up: Cleaning Inside Your PC Case
Once the exterior is spotless, it is time to open your PC case. This step allows you to access the heart of your system. Dust often settles on components that are not easily visible. Removing the side panel reveals the true extent of dust accumulation.
First, identify the side panel that provides access to your motherboard and components. Most PC cases have thumbscrews or regular screws at the back. Unscrew these and carefully slide or swing the panel open. Place the panel aside in a safe spot. You will immediately see the internal layout of your computer. Do not force anything; PC cases are designed for relatively easy access.
Now, take a good look inside. You will likely see layers of dust on surfaces. Start with the larger, more accessible areas. Use your soft-bristled brush to gently sweep dust off components. Work from top to bottom. This ensures dust falls downwards and can be easily removed. Sweep dust towards an open side of the case. Use your microfiber cloth to carefully wipe surfaces clean. Be very gentle around circuit boards and tiny components.
Focus on flat surfaces like the bottom of the case, the power supply unit, and drive cages. These areas often collect a significant amount of dust. A dry microfiber cloth works wonders here. For areas with sticky dust, a cotton swab lightly dampened with isopropyl alcohol can be used. Remember, less is more when using liquids inside your PC. Ensure the swab is almost dry. Avoid touching any exposed circuits or connectors directly with your fingers. This minimizes the transfer of oils and static.
- Access the Interior:
- Unscrew or unlatch the side panel of your PC case.
- Carefully remove the panel and set it aside.
- Initial Dust Removal:
- Use a soft brush to gently sweep dust from top to bottom.
- Sweep dust towards an open end of the case.
- Use a dry microfiber cloth to wipe large, flat surfaces.
- Target Specific Areas:
- Clean the bottom of the case, power supply unit, and drive bays.
- Use a barely damp, isopropyl alcohol-moistened cotton swab for stubborn grime.
- Avoid direct finger contact with components.
Opening and gently cleaning the main interior space sets the stage for more detailed component cleaning. This systematic approach ensures thorough dust removal.
Fans and Heat Sinks: Critical Dust Zones
Fans and heat sinks are vital for PC cooling. They pull air in and push heat out. As a result, they are major dust magnets. Over time, dust forms a thick insulating layer. This layer prevents effective heat dissipation, leading to higher temperatures and reduced performance. Cleaning these components is crucial.
Start with the case fans. These are usually located at the front, back, top, or bottom of your PC case. Each fan likely has a grill covering it. Use your soft brush to dislodge dust from the fan blades. While brushing, hold the fan blades gently. This prevents them from spinning rapidly, which can damage the fan motor. Once brushed, use a microfiber cloth to wipe the blades clean. You might need to use a cotton swab lightly moistened with isopropyl alcohol for stubborn grime on the blades. Be thorough; every bit of dust reduces airflow.
Next, focus on the CPU cooler. This is often the largest fan and heat sink assembly. It sits directly on top of your CPU. Carefully brush dust from the fan blades of the CPU cooler. Again, hold the fan to prevent spinning. Then, address the heat sink fins. These are thin metal plates that radiate heat. Dust gets trapped between these fins. Use your soft brush to gently sweep dust out from between the fins. You might need to turn your brush to get into tight gaps. Compare this to how you clean air-cooled engine fins for similar principles of clearing airflow.
Your graphics card (GPU) also has its own fans and heat sink. These are often located on the underside of the card. Gently brush the dust from the GPU fan blades and heat sink fins. Some GPUs have removable shrouds, but only remove them if you are comfortable. Otherwise, focus on brushing and wiping accessible areas. Remember the principles from cleaning air cooler honeycomb pads; maximizing airflow is the goal. A build-up of dust on these parts severely hampers cooling.
- Case Fans:
- Gently hold fan blades and brush off dust.
- Wipe blades with a microfiber cloth.
- Use alcohol-dampened cotton swabs for tough spots.
- CPU Cooler:
- Brush dust from CPU fan blades, holding the fan still.
- Carefully sweep dust from between the heat sink fins.
- GPU Fans and Heat Sinks:
- Gently brush dust from GPU fan blades and fins.
- Do not remove shrouds unless you know how to reassemble them.
- Ensure all visible dust is removed for optimal cooling.
Thorough cleaning of fans and heat sinks is critical. It directly impacts your PC’s temperature, stability, and overall lifespan.
RAM and Component Slots: Delicate Cleaning
Beyond fans and heat sinks, other internal components also gather dust. RAM modules and various expansion slots are prime examples. These areas are delicate. They require a gentle touch and careful attention. Keeping them clean ensures stable connections and proper component function.
Let’s start with RAM (Random Access Memory) modules. These are the long sticks plugged into slots on your motherboard. Dust can settle on the RAM sticks themselves. It can also accumulate in the RAM slots. Gently unclip the retention tabs at each end of the RAM stick. Carefully pull the module straight up to remove it. Avoid touching the gold contacts at the bottom of the stick. Use a soft brush to gently sweep any dust from the RAM stick’s surface. Then, use the same soft brush to clean inside the RAM slot. Be very careful not to bend any pins inside the slot.
Next, consider other expansion slots, such as PCIe slots for graphics cards or network cards. If you have removed your graphics card for fan cleaning, now is a good time to clean its slot. Use a soft brush to sweep dust out of these slots. For any stubborn dust, a dry cotton swab can help. Do not use any liquids inside these slots. After cleaning, carefully reinsert your RAM modules and any expansion cards. Ensure they click firmly into place. This confirms a secure connection.
Dust can also accumulate on the surface of your motherboard itself. Use a soft brush to gently sweep dust from the motherboard’s surface. Pay attention to areas around capacitors and other small components. For very tiny, tight spaces, a cotton swab can be useful. However, use caution around sensitive pins or connectors. Your goal is to remove dust without dislodging or bending anything. This delicate cleaning ensures all components operate correctly.
- RAM Modules:
- Gently unclip and remove RAM sticks.
- Brush dust off the RAM stick surfaces.
- Carefully brush dust from inside the RAM slots.
- Reinsert RAM firmly until it clicks.
- Expansion Slots (PCIe, etc.):
- Brush dust from inside the slots.
- Use a dry cotton swab for stubborn debris.
- Reinsert cards securely.
- Motherboard Surface:
- Gently sweep dust from the motherboard with a soft brush.
- Use a cotton swab for very tight spaces.
- Avoid touching sensitive pins or connectors.
Maintaining these delicate areas keeps your PC running smoothly. It also prevents errors caused by poor connections or localized heat buildup.
The Final Polish: Reassembly and Power On
After a thorough cleaning, the final step is to put everything back together. Proper reassembly is just as important as the cleaning process itself. You need to ensure all connections are secure. Once reassembled, a quick check of your PC’s performance will confirm your hard work.
Begin by carefully reattaching any components you removed. If you detached your graphics card or any other expansion cards, ensure they slot back in correctly. Press them down firmly until they click into place. If you removed RAM sticks, push them into their slots until the clips on the sides lock. Double-check all power cables and data cables. Ensure they are securely plugged into their respective ports. Loose connections can cause your PC to fail to boot or behave erratically.
Next, reattach the side panel of your PC case. Carefully align the panel with the case frame. Slide or swing it back into position. Screw it firmly back into place using the thumbscrews or regular screws. Make sure the panel is flush with the case. A properly closed case helps maintain optimal airflow and prevents dust from re-entering too quickly. You have completed the physical cleaning.
Now, reconnect all your external peripherals. Plug in your monitor, keyboard, mouse, and any other USB devices. Finally, plug the power cable back into your PC and the wall outlet. Take a deep breath and press the power button. Your PC should boot up normally. Listen for unusual noises. Check your fan speeds. Ideally, they should run quieter than before. You might notice your PC feels snappier. A well-cleaned PC often shows immediate performance improvements.
- Component Reassembly:
- Reattach graphics cards and other expansion cards, ensuring secure seating.
- Reinstall RAM sticks firmly into their slots.
- Verify all internal power and data cables are connected tightly.
- Case Reassembly:
- Carefully reattach the side panel of the PC case.
- Secure all screws to ensure a flush fit.
- Reconnect Peripherals:
- Plug in monitor, keyboard, mouse, and other external devices.
- Connect the PC power cable to the wall outlet.
- Power On and Verify:
- Start your PC and listen for normal operation.
- Observe improved performance and quieter fan noise.
Congratulations! You have successfully cleaned your PC without compressed air. Regular maintenance like this extends your computer’s life and boosts its efficiency.
Frequently Asked Questions
How often should I clean my PC?
The frequency depends on your environment and usage. For most users, a thorough cleaning every 6-12 months is sufficient. If you have pets, live in a dusty area, or smoke, cleaning every 3-6 months may be better. Regular light dusting of external surfaces can reduce the need for deep internal cleaning.
Can I use a vacuum cleaner to clean my PC?
No, using a standard household vacuum cleaner is not recommended. Vacuum cleaners generate a lot of static electricity. This static can discharge into your sensitive PC components and cause permanent damage. They also create powerful suction that can dislodge or damage small parts. Stick to brushes and cloths.
What if I don’t have isopropyl alcohol?
While isopropyl alcohol is ideal, you can still do a lot. For external surfaces, a slightly damp microfiber cloth (with plain water) works. For internal components, rely mostly on dry brushing and wiping. Avoid harsh cleaners or rubbing alcohol with additives. These can leave residue or damage plastics.
How do I know if my PC needs cleaning?
Common signs include increased fan noise, higher operating temperatures, and slower performance. If games or applications crash more often, or if you see visible dust buildup through vents, it is time for a clean. Regular inspection is key.
Is cleaning my PC without compressed air effective?
Absolutely. Using brushes and cloths allows for precise, physical dust removal. It can be even more thorough for stubborn grime that compressed air might only push around. This method directly addresses dust buildup on surfaces and in tight spaces, ensuring effective cooling and performance.
Can dust damage my PC components?
Yes, dust is a major enemy of PC components. It acts as an insulating layer, trapping heat and causing components to overheat. Overheating can lead to reduced performance, system instability, and ultimately, a shortened lifespan for your CPU, GPU, and other vital parts. Dust can also interfere with electrical connections.
Conclusion
Giving your PC a proper cleaning is one of the best forms of maintenance. It is a vital step toward keeping your system running fast and cool. We have shown that you do not need compressed air to achieve a deep clean. Simple tools like microfiber cloths, soft brushes, and isopropyl alcohol are very effective. You learned how to safely prepare your PC, clean external surfaces, and tackle internal dust on fans, heat sinks, and delicate components.
Regularly cleaning your PC without compressed air helps prevent common issues. It ensures optimal airflow and heat dissipation. This directly translates into better performance and a longer lifespan for your valuable computer. Do not wait for your PC to slow down or overheat. Make PC cleaning a regular part of your routine. Your computer will thank you with improved speed and reliability.
- PC cleaning
- computer maintenance
- dust removal
- tech tips
- DIY cleaning
- computer performance
- desktop cleaning