· Computer Maintenance · 7 min read
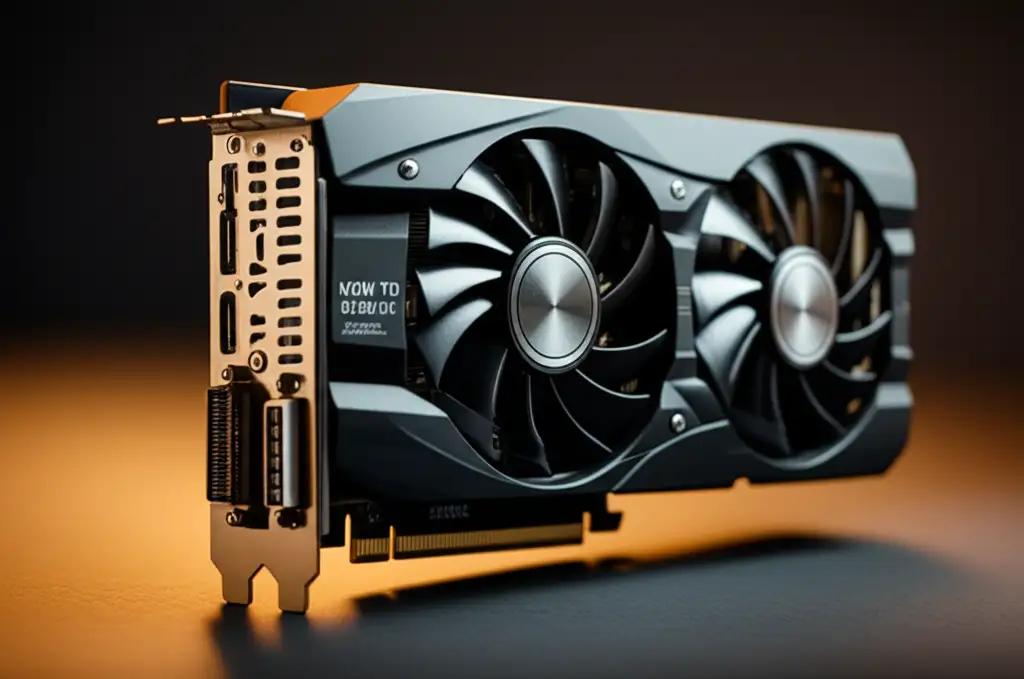
How To Clean A Motherboard

Keeping Your System Healthy: How To Clean A Motherboard
Is your computer running slower than usual, or overheating? Dust buildup on your motherboard could be the culprit. A clean motherboard ensures optimal performance and longevity for your entire PC. This guide will walk you through the process of safely and effectively cleaning your motherboard, extending its life and keeping your system running smoothly. We’ll cover everything from preparation to the cleaning process itself, and even preventative measures. Let’s dive in and learn how to clean a motherboard!
Takeaway:
- Always power down and unplug your computer before cleaning.
- Use compressed air to remove loose dust.
- Isopropyl alcohol (90% or higher) and lint-free cloths are best for stubborn grime.
- Be gentle and avoid static discharge.
- Allow everything to dry completely before reassembling.
Quick Answer: To clean a motherboard, first power off and unplug your PC. Use compressed air to remove dust, then gently wipe with isopropyl alcohol (90%+) on a lint-free cloth for stubborn residue. Ensure everything is completely dry before powering on.
1. Preparation is Key: Safety First!
Before you even think about touching your motherboard, safety is paramount. Electricity and sensitive components don’t mix well. First, completely shut down your computer and unplug the power cord from the wall. This is non-negotiable. Next, ground yourself to prevent static discharge. Static electricity can seriously damage the delicate components on your motherboard. You can use an anti-static wrist strap, or simply touch a grounded metal object like the computer case itself (while it’s unplugged!). Removing all power ensures you won’t accidentally short anything out during the cleaning process.
2. Gathering Your Cleaning Supplies
Now that you’re safe, let’s gather the tools you’ll need. You won’t need much, but having the right supplies makes the job much easier and safer. Here’s what you’ll want:
- Compressed Air: This is your primary weapon against dust.
- Isopropyl Alcohol (90% or higher): For removing stubborn grime and residue. Lower percentages contain too much water.
- Lint-Free Cloths: Microfiber cloths are ideal. Avoid paper towels, as they can leave lint behind.
- Soft-Bristled Brush: A small paintbrush can help dislodge dust in tight spaces.
- Optional: Anti-Static Wrist Strap: Provides extra protection against static discharge.
- Optional: Small Vacuum with Brush Attachment: Use with extreme caution and low suction.
You can find isopropyl alcohol at most pharmacies or electronics stores. Having these items ready will streamline the cleaning process and ensure you have everything you need at hand. If you’re looking for ways to keep other areas of your home clean, consider checking out resources on how to clean a mailbox for similar preventative maintenance tips.
3. Removing Loose Dust with Compressed Air
This is the first step in the actual cleaning process. Using your compressed air, carefully blow away any loose dust and debris from the motherboard. Hold the can upright to prevent liquid propellant from spraying onto the board. Focus on getting into all the nooks and crannies, around the CPU socket, RAM slots, and expansion slots. Short bursts of air are more effective than long, continuous sprays. Be careful not to spin any fans with the compressed air, as this can damage them.
Remember to work in a well-ventilated area, as the dust you’re blowing off can be irritating. This initial step removes the majority of the dust, making the next steps easier. For more information on keeping your home’s air clean, you might find resources on how often to clean windows helpful.
4. Tackling Stubborn Grime with Isopropyl Alcohol
Sometimes, compressed air isn’t enough. Grease, oil, or other residue can build up on the motherboard, especially around components that generate heat. This is where isopropyl alcohol comes in. Dampen (do not soak) a lint-free cloth with isopropyl alcohol. Gently wipe the affected areas of the motherboard. Avoid applying excessive pressure.
For particularly stubborn grime, you can use a soft-bristled brush to gently scrub the area before wiping with the alcohol. Never pour alcohol directly onto the motherboard. Always apply it to the cloth first. Be especially careful around sensitive components like the CPU socket and RAM slots. If you’re looking for other cleaning solutions, you might find resources on how to clean a copper still helpful.
5. Cleaning Specific Motherboard Components
Certain areas of the motherboard require extra attention. Here’s how to approach them:
- CPU Socket: Gently clean around the pins with a lint-free cloth dampened with isopropyl alcohol. Be extremely careful not to bend any pins.
- RAM Slots: Use compressed air to remove dust, and then gently wipe the contacts with a dry lint-free cloth.
- PCIe Slots: Compressed air is usually sufficient. If needed, use a lightly dampened cloth with isopropyl alcohol.
- VRM Heatsinks: These areas tend to accumulate dust and grime. Use a combination of compressed air and isopropyl alcohol.
- Chipset Heatsink: Similar to VRM heatsinks, clean with compressed air and isopropyl alcohol.
Taking the time to clean these specific components will ensure optimal thermal performance and prevent potential issues. Maintaining your computer’s components is similar to maintaining other valuable items; you might find resources on how to clean a baritone helpful for understanding preventative care.
6. Drying and Reassembly
Once you’ve finished cleaning, it’s crucial to allow everything to completely dry before reassembling your computer. Isopropyl alcohol evaporates quickly, but it’s still important to be patient. Wait at least 30 minutes to an hour to ensure all traces of alcohol have evaporated.
Once dry, carefully reassemble your computer, ensuring all components are properly seated. Double-check all connections before plugging the power cord back in. Power on your computer and monitor its performance. If you notice any issues, double-check your work and ensure all components are properly installed.
7. Preventative Maintenance: Keeping Dust at Bay
Cleaning your motherboard is important, but preventing dust buildup in the first place is even better. Here are a few tips:
- Regular Cleaning Schedule: Aim to clean your computer every 3-6 months, depending on your environment.
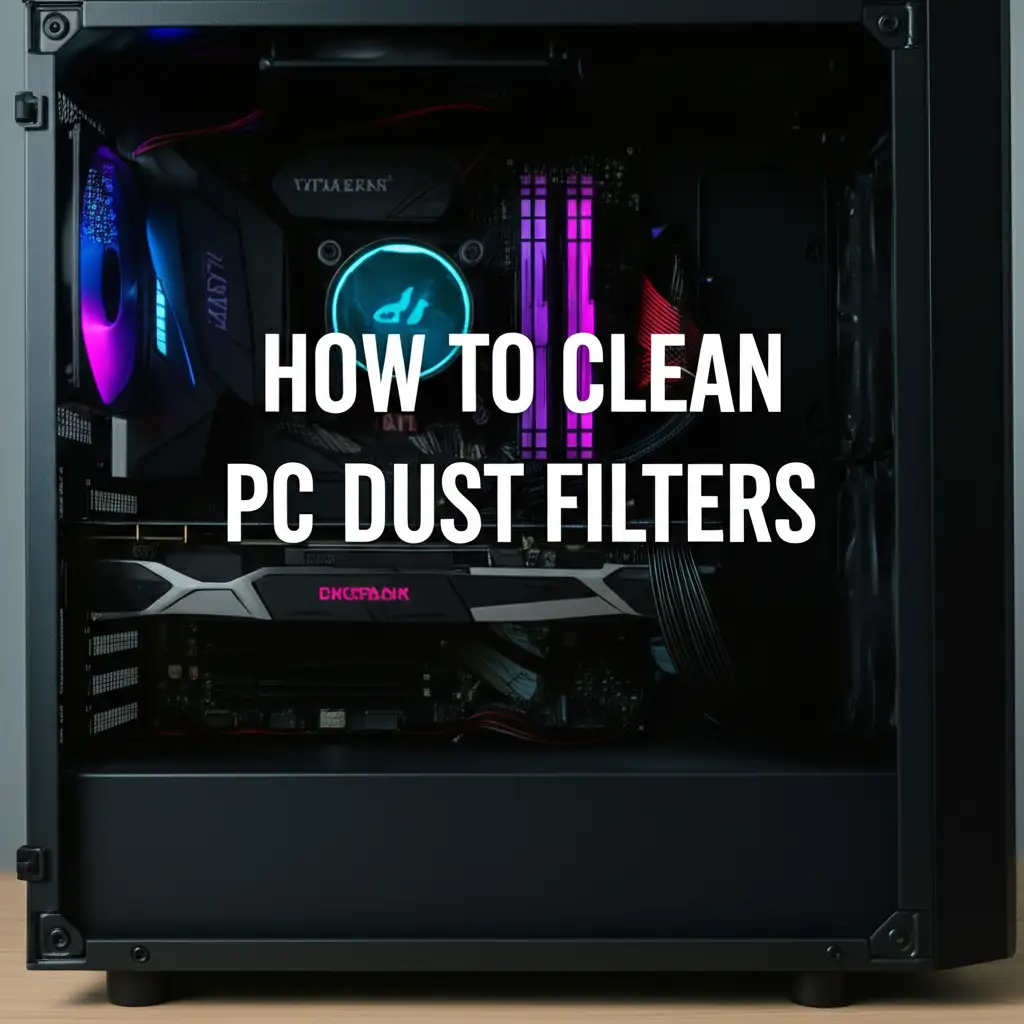
- Dust Filters: Install dust filters on your computer case fans to reduce the amount of dust entering the system.
- Cable Management: Proper cable management improves airflow and reduces dust accumulation.
- Clean Environment: Keep your computer in a clean, dust-free environment.
- Consider a Case with Good Airflow: A well-designed case promotes airflow and helps prevent dust buildup.
By following these preventative measures, you can significantly reduce the frequency of motherboard cleanings and keep your computer running smoothly for years to come. Just like you’d regularly clean other parts of your home, like how often to clean the roof, regular computer maintenance is key.
Frequently Asked Questions (FAQ)
Q: Can I use water to clean my motherboard?
A: Absolutely not! Water conducts electricity and can cause serious damage to your motherboard. Always use isopropyl alcohol (90% or higher) instead.
Q: What if I accidentally spill liquid on my motherboard?
A: Immediately power off and unplug your computer. Disassemble the motherboard and allow it to dry completely for several days before attempting to power it on.
Q: How often should I clean my motherboard?
A: Generally, every 3-6 months is a good guideline, but it depends on your environment. If you live in a dusty area, you may need to clean it more frequently.
Q: Is it safe to use a vacuum cleaner to clean my motherboard?
A: Use extreme caution. If you use a vacuum, use a small brush attachment and set it to the lowest suction setting. Static discharge from a vacuum can damage components.
Q: What is the best way to prevent static discharge?
A: Use an anti-static wrist strap or touch a grounded metal object before handling any computer components.
Conclusion
Cleaning your motherboard is a vital part of computer maintenance. By following the steps outlined in this guide, you can safely and effectively remove dust and grime, improving your computer’s performance and extending its lifespan. Remember to prioritize safety, use the right tools, and be gentle. Regular cleaning, combined with preventative measures, will keep your motherboard – and your entire PC – running smoothly for years to come. Don’t delay, take the time to clean your motherboard today!
- motherboard
- PC cleaning
- computer maintenance
- dust removal
- hardware cleaning