· Home Cleaning · 16 min read
How To Clean Plastic Toys
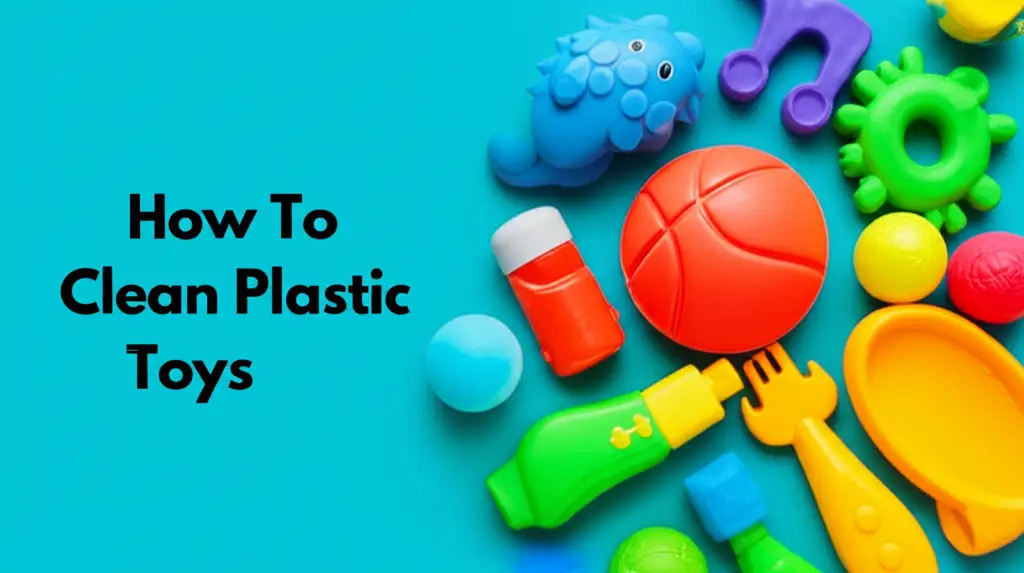
Sparkling Clean Plastic Toys: A Guide
Plastic toys are a staple in most homes with children. They endure countless play sessions. Toys gather dirt, germs, and sticky residues. Regular cleaning keeps children healthy. It also makes playtime more enjoyable. We understand the importance of a clean environment for your little ones.
This guide provides simple steps to clean plastic toys. We cover general cleaning, sanitization, and stain removal. You will learn about different cleaning methods. We discuss safe products for various types of plastic. Get ready to give your toys a fresh start. Your child’s toy box will look and feel much better.
Takeaway
- Regularly clean plastic toys to remove germs and dirt.
- Choose cleaning methods based on toy type (e.g., electronic vs. bath toys).
- Use mild soap and water for general cleaning.
- Disinfect with safe solutions like vinegar or diluted bleach for deeper sanitization.
- Address specific stains or issues promptly.
Quick Answer
To clean plastic toys, start by wiping off loose dirt. Then, wash with warm water and mild soap. Rinse well and air dry completely. For sanitization, use a diluted bleach solution or white vinegar. This helps kill germs effectively.
Why Regular Toy Cleaning Matters
Kids play with plastic toys constantly. Toys go from hands to mouths, floors to playdates. This makes them pick up germs quickly. Think about every sneeze or cough near a toy. These toys can harbor bacteria and viruses. Cleaning plastic toys keeps your family healthier.
Regular cleaning also helps toys last longer. Dirt and grime can degrade plastic over time. Stains can set in permanently. A clean toy looks better. It also feels better to touch. This simple routine protects your investment in toys. It ensures a safer play environment. We believe clean toys contribute to a happy home.
Essential Tools and Supplies for Toy Cleaning
Before you start cleaning plastic toys, gather your supplies. Having everything ready makes the process easy. You probably have most items already. Safety is always important. Choose non-toxic options when possible.
You will need a few basic things. A soft cloth or sponge is good for wiping. Brushes help reach small spaces. Buckets or basins hold water. These tools make the job efficient.
- Mild dish soap: Gentle and effective for general dirt.
- White vinegar: A natural disinfectant and deodorizer.
- Bleach (diluted): For strong sanitization, use sparingly and safely.
- Baking soda: Good for scrubbing and odor removal.
- Soft cloths or microfiber towels: For wiping and drying.
- Small brushes: Old toothbrushes work well for crevices.
- Large basin or bathtub: For soaking multiple toys.
- Drying rack or clean towels: For air drying toys.
- Gloves: Protect your hands from cleaning solutions.
Always check toy labels for specific cleaning instructions. Some toys have unique materials or features. Following instructions helps avoid damage.
General Cleaning Methods for Plastic Toys
Most plastic toys need a simple wash. This method removes everyday dirt and grime. It is gentle enough for frequent use. You can clean many toys at once. This saves time and effort.
I often use this method after playdates. It quickly refreshes the toy bin. This keeps everything hygienic. Make sure the water is warm, not hot. Hot water can warp some plastics.
Hand Washing Plastic Toys
This is the most common way to clean plastic toys. It works for most non-electronic items. It is also safe for toys with decals or painted details.
- Prepare a cleaning solution: Fill a basin or sink with warm water. Add a few drops of mild dish soap. Swirl to create suds.
- Submerge and scrub: Place toys into the soapy water. Use a soft cloth or sponge to wipe down each toy. For stubborn dirt or small crevices, use a soft brush. I find an old toothbrush works wonders for tiny spots.
- Rinse thoroughly: Drain the soapy water. Rinse each toy under clean running water. Make sure all soap residue is gone. Soap residue can attract new dirt.
- Air dry completely: Place toys on a clean towel or drying rack. Allow them to air dry fully. This prevents mold or mildew growth. Especially for bath toys, ensure no water remains inside. You can find more specific tips for how to clean foam bath toys if you have them.
Dishwasher Cleaning for Certain Toys
Some plastic toys are dishwasher safe. This method offers great convenience. It uses hot water and detergent. Always check the toy’s packaging or manufacturer website first. Look for a “dishwasher safe” label.
Use the top rack of your dishwasher. This prevents plastic from melting. A gentle cycle is usually best. Avoid high-heat drying cycles.
- Check for dishwasher safety: Confirm the toy can go in a dishwasher. Remove any batteries or electronic parts first.
- Load the top rack: Place toys on the top rack. Use a mesh bag for small items. This stops them from moving around.
- Run a gentle cycle: Use mild detergent. Select a delicate or sanitize cycle. Avoid heated drying.
- Air dry: Remove toys after the cycle. Let them air dry completely. This prevents water spots and ensures dryness.
Deep Cleaning and Sanitizing Plastic Toys
Sometimes toys need more than a simple wash. After illness or a rough play session, sanitizing is smart. This kills bacteria and viruses. There are several effective options. Choose the method that suits your needs.
I always deep clean toys after my kids have a cold. It gives me peace of mind. Remember to always use these solutions carefully. Safety comes first when using disinfectants.
Using White Vinegar for Sanitization
White vinegar is a natural cleaner and disinfectant. It is safe and non-toxic. It breaks down grime and kills many germs. Vinegar also helps remove odors. I prefer this method for everyday sanitizing.
- Prepare vinegar solution: Mix equal parts white vinegar and water. Use a spray bottle for convenience. Or, fill a basin for soaking.
- Apply or soak: Spray toys thoroughly with the solution. Let it sit for a few minutes. For a deeper clean, soak toys for 15-30 minutes. Make sure the toys are fully submerged.
- Rinse and dry: Rinse toys thoroughly with clean water. Dry them completely. The vinegar smell will disappear as they dry.
Bleach Solution for Disinfection
Bleach is a powerful disinfectant. Use it when serious sanitization is needed. This includes after illness or exposure to strong germs. Always use bleach carefully. It can be harsh if not diluted correctly.
Bleach is very effective against mold. If you see mold on toys, consider this method. For specific instructions, refer to our guide on how to clean mold off plastic.
- Create diluted bleach solution: Mix 1/2 cup of bleach with 1 gallon of water. Use gloves to protect your hands. Ensure good ventilation in the area.
- Soak toys: Submerge plastic toys in the solution for 5-10 minutes. Do not soak longer than recommended. This prevents damage to the plastic.
- Rinse thoroughly: Remove toys from the bleach solution. Rinse them extensively under clean running water. Make sure no bleach residue remains.
- Air dry: Let toys air dry completely. Store them only when fully dry.
Special Care for Specific Plastic Toys
Not all plastic toys are the same. Some require special cleaning. Electronic toys, bath toys, and clear plastic toys have unique needs. Treating them correctly prevents damage. It also ensures they stay clean and functional.
I always separate toys before cleaning. This helps me apply the right method to each. It saves time and avoids mistakes. Knowing the type of plastic also guides your cleaning choices.
Cleaning Electronic Plastic Toys
Electronic toys need careful cleaning. Water can damage their internal components. Batteries also need attention. Always remove batteries before cleaning. Check for battery corrosion in toys and address it.
- Remove batteries: Always take out batteries first. This prevents electrical shorts.
- Wipe surface clean: Use a damp cloth with mild soap. Wring it out well. The cloth should be damp, not wet.
- Spot clean: Use a cotton swab for small areas. Dip it in a little rubbing alcohol. This helps clean buttons and crevices.
- Dry completely: Wipe toys with a dry cloth. Allow them to air dry fully. Ensure no moisture enters battery compartments.
- Reinsert batteries: Only put batteries back in after the toy is completely dry.
Cleaning Bath Toys (Addressing Mold)
Bath toys often trap water inside. This creates a perfect environment for mold and mildew. Mold is a common problem. Cleaning bath toys is crucial for hygiene.
- Squeeze out water: After each bath, squeeze all water from the toys. This is the best prevention.
- Regular cleaning: Soak bath toys in a diluted bleach solution (1/2 cup bleach per gallon of water) for 15-30 minutes once a week. Or use a vinegar solution (equal parts vinegar and water).
- Scrub away mold: Use a small brush or old toothbrush. Scrub visible mold spots. You might need a stronger solution for tough mold. Our guide on how to clean mold off plastic offers detailed steps.
- Rinse thoroughly: Rinse toys extremely well. Ensure no cleaning solution remains.
- Dry completely: Let toys air dry completely before storing. Store them in a well-ventilated area.
Cleaning Clear Plastic Toys
Clear plastic toys can lose their shine. They may appear cloudy or scratched. Cleaning them carefully helps maintain clarity. Avoid abrasive cleaners. These can scratch the surface.
- Gentle wash: Use mild dish soap and warm water. Wash the toys by hand. A soft cloth is best.
- Avoid abrasives: Do not use harsh scrubbers or abrasive cleaners. These cause scratches.
- Polish for shine: For fogged or dull clear plastic, you can use a plastic polish. Apply it with a soft cloth. Buff gently. This can restore some shine to fogged plastic.
- Dry with microfiber: Use a soft microfiber cloth to dry. This prevents water spots and streaks.
Tackling Stubborn Stains and Marks
Plastic toys can get stained. Crayons, markers, glue, and general grime leave marks. Addressing these stains quickly is best. Different stains need different approaches. We have effective solutions for common toy mishaps.
I always keep a few special cleaners handy. They save toys from being thrown out. Patience is key when removing tough stains.
Removing Crayon and Marker Stains
Kids love to draw. Sometimes, their artwork extends to toys. Crayon and marker stains are common. Several household items can help.
- Baking Soda Paste: Mix baking soda with a little water to form a paste. Apply it to the crayon or marker mark. Rub gently with a soft cloth. The mild abrasive action helps lift the stain. Rinse and dry.
- Rubbing Alcohol: For marker stains, rubbing alcohol works well. Apply a small amount to a cotton ball. Gently dab and wipe the stain. Test in an inconspicuous area first. This method also works for sharpie off plastic marks.
- Magic Eraser: A melamine foam eraser can lift many marks. Dampen it slightly and gently rub the stain. Use light pressure to avoid damaging the plastic finish.
You can find more detailed tips for removing crayon off plastic.
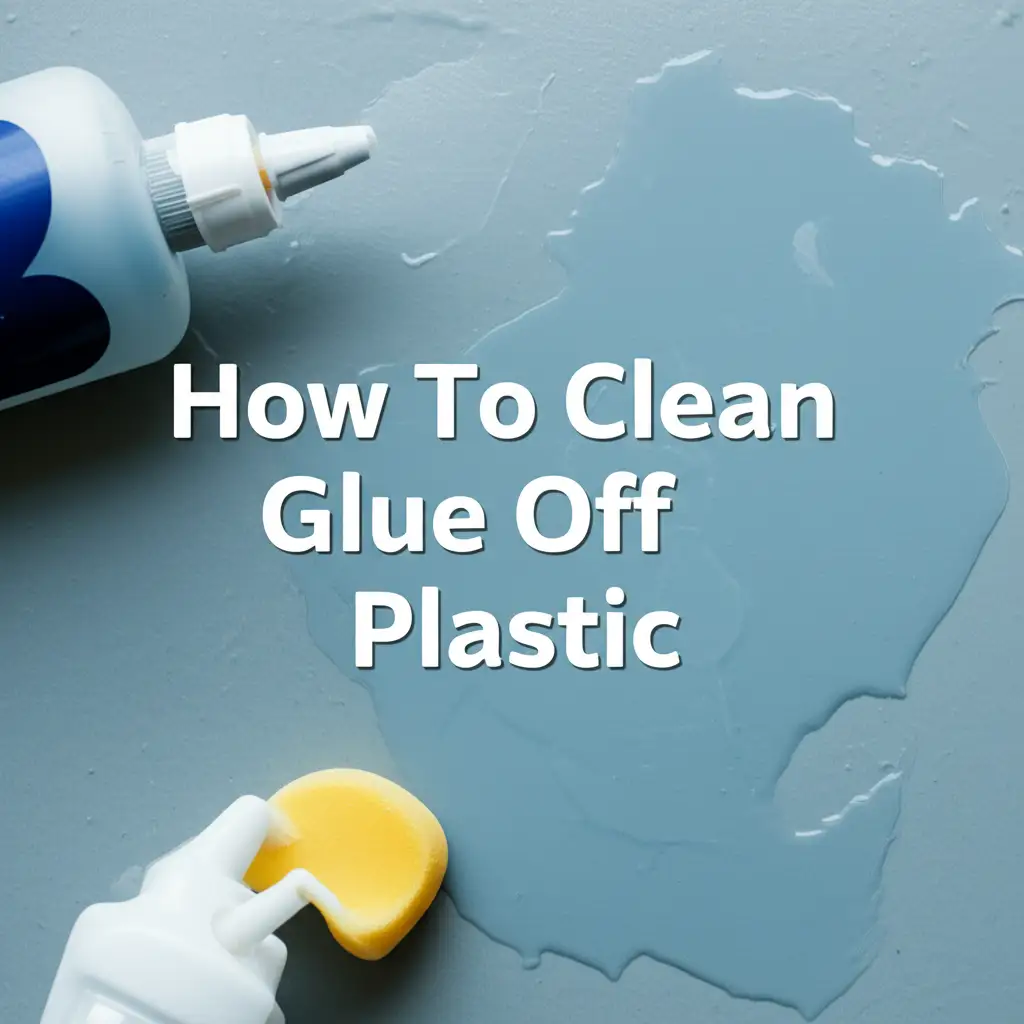
Dealing with Glue and Adhesive Residue
Sticky residue from stickers or tape is annoying. It attracts dirt. Removing it carefully prevents damage.
- Warm, soapy water soak: Soak the toy in warm, soapy water. This can soften the adhesive. Try to gently peel or rub it off.
- Rubbing Alcohol or Goo Gone: For tougher glue, use rubbing alcohol. Apply it to a cloth and rub the residue. Commercial adhesive removers like Goo Gone also work. Test them in a hidden spot first.
- Scrape gently: Use a plastic scraper or old credit card. Gently push off the softened residue. Be careful not to scratch the plastic.
- Clean and rinse: After removing residue, wash the toy with soap and water. Rinse thoroughly.
Learn more about removing glue off plastic and adhesive off plastic.
Removing Food and Drink Stains
Food and drink stains can discolor plastic. Act quickly to prevent permanent marks.
- Immediate wipe: Wipe spills immediately with a damp cloth. This prevents the stain from setting.
- Baking Soda Paste: For dried food stains, make a baking soda paste. Apply it to the stain. Let it sit for 15-20 minutes. Scrub gently with a soft brush.
- Sunlight (for yellowing): For yellowing plastic or some food stains, direct sunlight can help. Place the toy in direct sunlight for a few hours. The UV rays can lighten the discoloration. This is a natural bleaching method.
- Hydrogen Peroxide: For tough stains, a mixture of hydrogen peroxide and water can help. Apply with a cotton ball. Let it sit briefly. Rinse well. Always test on an hidden area first.
For comprehensive advice on various types of discoloration, check out our guide on how to clean stains on plastic.
Drying and Storage Tips for Clean Toys
Proper drying is as important as cleaning. Moisture leads to mold and mildew. This can damage toys and pose health risks. Storing toys correctly also extends their life. It keeps them ready for the next play session.
I always make sure toys are bone dry. It is a crucial step I never skip. This extra care pays off in the long run.
Ensuring Toys are Completely Dry
- Air drying is best: After rinsing, place toys on a clean towel or a drying rack. Allow plenty of air circulation. This helps them dry naturally.
- Fan assistance: For quicker drying, use a small fan. Direct it towards the toys. This is especially helpful for hollow toys or those with many crevices.
- Squeeze out water: For bath toys or hollow toys, squeeze out as much water as possible. Shake them vigorously. You can even use a hair dryer on a cool setting.
- Check thoroughly: Before storing, check every toy carefully. Feel for any damp spots. If any moisture remains, continue drying.
Smart Storage Solutions
Storing toys correctly keeps them clean longer. It also organizes your play space.
- Breathable containers: Use mesh bags, plastic bins with holes, or fabric baskets. These allow air circulation. Avoid airtight containers for damp toys.
- Designated areas: Assign specific spots for toys. This makes cleanup easier. It also encourages children to put toys away.
- Elevated storage: Store bath toys in a hanging mesh bag. This allows water to drain fully. It also keeps them off wet surfaces.
- Regular checks: Periodically check stored toys. Look for any signs of dampness or mold. Re-clean if necessary.
When to Replace Plastic Toys
Even with the best cleaning, toys don’t last forever. Knowing when to replace them is important. Broken toys can be dangerous. Heavily worn toys might not be hygienic.
I regularly inspect my children’s toys. It helps me decide if a toy needs to go. This keeps our home safe. It also helps manage clutter.
- Broken or sharp edges: If plastic toys crack or break, discard them. Sharp edges pose a cutting hazard.
- Small, detachable parts: Toys that break into small pieces become choking hazards. This is especially true for young children.
- Irreparable mold or grime: If mold or stubborn grime cannot be removed, replace the toy. This ensures proper hygiene.
- Worn or sticky surfaces: Over time, plastic can degrade. It might become sticky or brittle. These toys are hard to clean and can break easily.
- Recalling products: Stay informed about toy recalls. Check consumer product safety websites. Replace any recalled toys immediately.
Maintaining a Clean Toy Routine
Consistency is key for clean toys. A regular cleaning schedule keeps germs at bay. It also makes the task less daunting. You can incorporate toy cleaning into your weekly chores.
I find that a routine makes things simple. It becomes a habit. This ensures a healthier play environment for my children. Start small and build up.
- Daily wipe-down: For frequently used toys, a quick wipe with a damp cloth is good. This removes surface dirt.
- Weekly general clean: Wash high-touch plastic toys weekly. Use mild soap and water.
- Monthly deep clean: Sanitize all plastic toys monthly. Use vinegar or diluted bleach. This kills any lingering germs.
- After illness: Always deep clean all toys after a child has been sick. This prevents germ spread.
- After playdates: Clean toys after friends visit. This helps prevent sharing germs.
- Involve children: Teach older children to help clean their toys. Make it a fun activity. This teaches responsibility.
Eco-Friendly Toy Cleaning Practices
You can clean toys while being kind to the environment. Choose sustainable cleaning products. Reduce waste in your cleaning routine.
I try to make eco-conscious choices. It helps the planet and our family. Small changes make a big difference.
- Use natural cleaners: White vinegar, baking soda, and mild, biodegradable soaps are excellent choices. They are effective and less harmful.
- Reuse and repurpose: Use old toothbrushes for scrubbing. Cut up old towels for cleaning cloths. This reduces waste.
- Conserve water: Do not let water run continuously while rinsing. Use a basin for soaking.
- Avoid harsh chemicals: Strong chemicals can harm the environment. They can also be harmful to children. Opt for gentler alternatives.
- Proper disposal: When disposing of old toys, recycle plastic if possible. Check local recycling guidelines.
Frequently Asked Questions
Q1: How often should I clean plastic toys?
A1: Clean frequently used plastic toys weekly with mild soap and water. Sanitize them monthly with a vinegar or diluted bleach solution. After a child is sick, or after playdates, clean and sanitize all toys immediately to prevent germ spread.
Q2: Is it safe to use bleach to clean plastic toys?
A2: Yes, diluted bleach is safe and effective for sanitizing plastic toys. Use 1/2 cup of bleach per gallon of water. Soak toys for 5-10 minutes. Rinse them very thoroughly afterwards to remove all bleach residue. Ensure complete drying before use.
Q3: Can I put plastic toys in the washing machine or dryer?
A3: No, plastic toys should not go in a washing machine or dryer. The agitation and heat can damage or melt the plastic. Some specific plastic toys are dishwasher safe on the top rack. Always check the toy’s label for care instructions.
Q4: How do I remove black mold from plastic toys?
A4: To remove black mold, soak the toy in a diluted bleach solution (1/2 cup bleach per gallon of water) for 15-30 minutes. Scrub any remaining mold with a small brush. Rinse the toy thoroughly and let it air dry completely.
Q5: What is the best way to dry plastic toys?
A5: The best way to dry plastic toys is by air drying. Place them on a clean towel or a drying rack. Ensure good air circulation. For hollow toys, squeeze out all water. A fan can speed up the process. Ensure toys are completely dry before storage.
Q6: Can I use rubbing alcohol to clean all plastic toys?
A6: Rubbing alcohol is good for spot cleaning and disinfecting certain plastic toys, especially electronic ones. It helps with marker stains. Always test rubbing alcohol on a hidden area first. Some plastics may react poorly to it.
Conclusion
Keeping plastic toys clean is a simple yet vital task. It protects your children’s health. It also helps toys last longer. We explored various methods, from basic hand washing to deep sanitization. You now know how to tackle specific stains and care for different toy types.
By following these tips, you ensure a hygienic play environment. Make toy cleaning a regular part of your routine. Your efforts lead to cleaner, safer, and more enjoyable playtime. Start today and give those plastic toys the fresh start they deserve!
- toy cleaning
- sanitize toys
- plastic toy care