· Electronics Cleaning · 13 min read
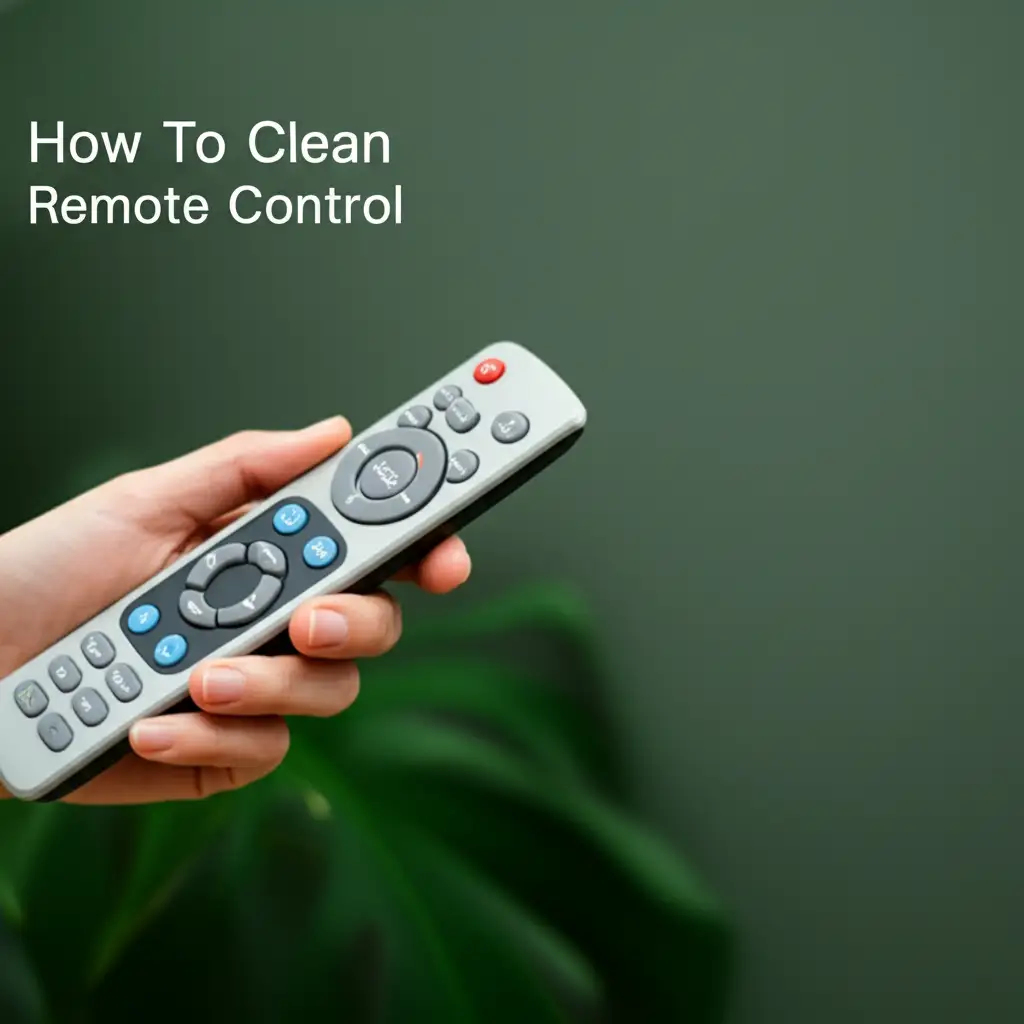
How To Clean Remote Control
How to Clean Your Remote Control Effectively
Have you ever picked up your remote control and felt something sticky? Or perhaps you see visible grime in the crevices? We use remote controls every day, but we rarely think about cleaning them. These little devices can become a breeding ground for germs and dirt. Learning how to clean remote control devices properly is important for health and performance. This guide will show you simple ways to get your remote looking and feeling new. We will cover why cleaning matters, what tools you need, and a step-by-step cleaning process. You will also learn how to deep clean and maintain your remote.
Takeaway:
- Regularly clean your remote control to remove germs and dirt.
- Use gentle cleaning solutions and appropriate tools.
- Always remove batteries before cleaning.
- Address sticky buttons with a deeper clean if needed.
- Maintain cleanliness with routine wiping to prolong the remote’s life.
To clean a remote control, first remove batteries. Then, wipe the exterior with a microfiber cloth dampened with rubbing alcohol. Use cotton swabs or toothpicks for button crevices. For sticky buttons, gently pry and clean underneath the button pad. Ensure all parts are dry before reassembling and replacing batteries.
Why Cleaning Your Remote Control Matters
Your remote control is one of the most touched items in your home. You probably touch it multiple times a day. Think about how many different hands also touch it. This constant contact makes it a perfect spot for germs and dirt to gather.
Health Risks of Dirty Remotes
Remote controls can carry many germs. Studies show that remotes can harbor more bacteria than a toilet seat. These germs include common cold and flu viruses. They also include bacteria like Staphylococcus. Regular cleaning helps reduce your risk of getting sick. Keeping your remote clean protects everyone in your home.
Performance Issues from Grime
Dirt and dust do not just look bad; they can also stop your remote from working. Grime can build up around the buttons. This buildup makes buttons sticky or unresponsive. You might find yourself pressing harder and harder. Sometimes, buttons stop working completely. Cleaning these areas improves how your remote functions.
Extending Your Remote’s Lifespan
A dirty remote works harder. Grime can get into the internal parts. This can cause wear and tear over time. Keeping your remote clean protects its internal components. This simple action can make your remote last longer. It saves you from needing to buy a new one sooner.
Essential Tools for Cleaning Remote Controls
Before you begin cleaning your remote, gather your supplies. Having the right tools makes the job easier. It also helps you clean safely and effectively. You likely have most of these items already at home.
Gentle Cleaning Solutions
Rubbing alcohol is often the best choice for cleaning remotes. It disinfects surfaces well. It also evaporates quickly, which is safe for electronics. You can also use a mixture of mild soap and water. Make sure the soap is very diluted. White vinegar mixed with water is another good option. Vinegar is a natural disinfectant. Always apply liquids to a cloth, not directly to the remote.
Appropriate Cleaning Tools
You will need a few simple tools. A soft microfiber cloth is great for wiping surfaces. Cotton swabs are perfect for small areas and around buttons. A toothpick or a soft-bristled toothbrush can help get into tight crevices. For more serious grime, a spudger tool or small flathead screwdriver can assist with opening the remote carefully. Compressed air can blow out loose dust.
Safety First: Batteries and Power
Always start by removing the batteries from your remote control. This step is critical for safety. It prevents accidental power-on during cleaning. It also protects you from electrical shock. Removing batteries also avoids any short circuits. Make sure the remote is completely off before you start cleaning it.
Step-by-Step Guide: Surface Cleaning Your Remote
Surface cleaning is your first line of defense. This quick clean removes daily grime and helps keep germs at bay. It is a good routine to follow often. You can do this type of cleaning every week or two.
Preparing Your Remote
First, always remove the batteries from the remote. This prevents any accidental power issues. Place the batteries aside in a safe spot. Next, gently tap the remote against your palm. This helps dislodge any loose crumbs or dust trapped inside. You might be surprised by what falls out.
Wiping Down the Exterior
Take your microfiber cloth. Dampen it slightly with rubbing alcohol or a mild cleaning solution. Do not make the cloth soaking wet. Wring out any excess liquid. Wipe down the entire surface of the remote. Pay attention to the areas where your hands rest. This removes oils, fingerprints, and general dirt. This quick wipe also sanitizes the surface.
Tackling Buttons and Crevices
This is where cotton swabs become very useful. Dip a cotton swab in rubbing alcohol. Carefully clean around each button. Work the swab into the small gaps. The alcohol helps break down sticky residues. For deeper crevices, use a toothpick or a clean, dry, soft-bristled toothbrush. Gently scrape out any lodged dirt. Be careful not to press too hard or damage the buttons. If you own an Apple TV remote, its sleek design requires similar gentle cleaning, as explained in our guide on how to clean an Apple TV remote. For a general TV remote, these steps are perfect. You can find more tips on how to effectively clean different types of remotes on our specific guide about how to clean a TV remote.
Deep Cleaning a Sticky or Malfunctioning Remote
Sometimes, a simple surface clean is not enough. If your remote buttons feel sticky or do not work, a deeper clean is necessary. This involves opening the remote. Do this carefully.
Opening the Remote Carefully
Most remotes have screws or small clips. Look for tiny screws on the back. They might be hidden under stickers or rubber feet. Use a small screwdriver to remove them. If there are no screws, the remote likely uses clips. Use a spudger tool or a thin plastic card to gently pry open the casing. Start at a seam and work your way around. Be gentle to avoid breaking the plastic tabs. Some remotes are glued shut and cannot be opened easily without damage.
Cleaning the Circuit Board and Contacts
Once open, you will see the circuit board. This is the green board with electronic components. Use compressed air to blow away any dust. Do not touch the components with your bare hands if possible. Look for the contact points under the buttons. These are usually small carbon pads on the circuit board. Use a cotton swab dampened with rubbing alcohol to clean these contact points. Also, clean the matching pads on the rubber button mat. This removes grime that stops the buttons from working.
Cleaning Button Pads and Housing
The rubber button pad often holds much of the stickiness. Remove it from the casing. Wash it gently with warm, soapy water. Use a soft brush to scrub away any sticky residue. Rinse it thoroughly with clean water. Make sure all soap is gone. Allow the rubber pad to air dry completely. It must be absolutely dry before you put it back. Clean the plastic casing with a damp cloth and rubbing alcohol. Get into all the corners and edges.
Reassembling Your Remote
Once all parts are clean and completely dry, put the remote back together. Carefully align the circuit board with the casing. Place the rubber button pad back into its correct position. Make sure all buttons sit properly. Snap the two halves of the casing back together. If you removed screws, put them back in tightly. Insert the batteries only after the remote is fully assembled and dry. Test all buttons to confirm they work.
Handling Specific Remote Control Cleaning Challenges
Some remote control issues require special attention. Battery acid leaks or stubborn stains need specific approaches. Knowing how to handle these makes your cleaning more effective. It also prevents further damage to your device.
Cleaning Battery Acid Leaks
Battery acid leaks are common and damaging. If you see white or green crusty material, it is battery acid. First, put on protective gloves and eye protection. Use cotton swabs or an old toothbrush dipped in a small amount of vinegar or lemon juice. These acidic solutions neutralize the alkaline battery acid. Gently scrub away the corrosion from the battery terminals and surrounding areas. For detailed instructions, our guide on how to clean battery acid off remote offers a comprehensive approach. Make sure to clean all affected parts thoroughly. After neutralizing, wipe the area with a damp cloth. Then dry it completely. Discard any corroded batteries safely.
Removing Stubborn Grime and Stains
Sometimes, simple wiping does not remove set-in grime or stains. For sticky residues, try a small amount of Goo Gone on a cloth. Apply it to the affected area. Let it sit for a moment. Then wipe it away. Be careful not to let it seep into the remote’s interior. For colored stains from food or drink, a paste of baking soda and water can work. Apply the paste, let it sit, then scrub gently with a soft brush. Rinse with a damp cloth. Always test any strong cleaner on an inconspicuous area first. This ensures it does not damage the plastic.
Cleaning Specialized Remotes (e.g., Smart Remotes, Gaming Remotes)
Smart remotes often have touchpads, voice controls, or fewer physical buttons. Clean touchpads with a screen cleaner designed for electronics. Use a soft microfiber cloth. Avoid spraying liquid directly onto the touchpad. Gaming remotes can get very grimy due to intense use. These might require a deeper clean similar to the steps for sticky buttons. Pay attention to joystick bases and trigger buttons. They collect a lot of dirt. Follow the general rules of gentle cleaning. Use appropriate tools for small areas.
Maintaining a Clean Remote Control
Keeping your remote control clean is an ongoing process. Regular maintenance prevents grime buildup. It also reduces the need for deep cleaning. This habit saves you time and effort in the long run. A clean remote is a happy remote.
Regular Wiping Routine
Make it a habit to wipe down your remote regularly. A quick wipe once a week is usually enough. Use a disinfectant wipe or a microfiber cloth dampened with rubbing alcohol. Focus on the buttons and the most touched areas. This routine helps prevent germs from settling. It also stops sticky residues from forming. This simple step goes a long way.
Preventing Future Buildup
You can take steps to stop your remote from getting dirty too fast. Wash your hands before using the remote. This stops oils and food particles from transferring. Avoid eating or drinking directly over the remote. If you have kids or pets, consider a remote cover. Silicone covers can protect the remote from spills and dirt. These covers are easy to remove and wash.
Proper Storage Tips
Where you store your remote also matters. Do not leave it on the floor or in dusty areas. A remote caddy or a designated spot on a clean table is ideal. This prevents it from picking up dust and crumbs. Keeping it away from direct sunlight also helps. Sunlight can damage the plastic over time. Store it in a cool, dry place. This simple care extends its life and keeps it clean.
Safety Precautions and What to Avoid
While cleaning your remote control, safety is paramount. Certain actions can damage your device. They can also pose a risk to you. Knowing what to avoid is as important as knowing what to do. Always prioritize the remote’s longevity and your personal safety.
Liquids and Electronics Don’t Mix
Never spray cleaning solutions directly onto your remote control. Liquids can seep into the internal components. This can cause a short circuit. It can also permanently damage the electronics. Always apply cleaning solutions to a cloth first. Then, use the damp cloth to wipe the remote. Ensure the cloth is only damp, not wet. Excessive moisture is the enemy of electronics.
Harsh Chemicals and Abrasives
Avoid using strong, harsh chemicals. Bleach, ammonia-based cleaners, or abrasive cleaners can damage the remote’s plastic. They can strip away protective coatings. They can also fade the button labels. Abrasive cloths or scrubbers can scratch the surface. Stick to gentle options like rubbing alcohol, diluted soap, or vinegar. These are effective without causing harm. Always test any new cleaner in a hidden spot first. This helps ensure it does not damage the remote’s finish.
Excessive Force and Disassembly Risks
When cleaning crevices or opening the remote, use gentle force. Prying too hard can break plastic tabs or clips. This makes reassembly difficult or impossible. Do not force buttons if they are stuck. Forcing them can damage the underlying contacts. If you are not comfortable opening your remote, stick to surface cleaning. Some remotes are not designed for easy disassembly. You risk breaking them beyond repair. Proceed with caution and a delicate touch.
FAQ Section
How often should I clean my remote control?
You should surface clean your remote control at least once a week. If you use it often or share it, clean it every few days. A deep clean is needed less often, perhaps every few months or when buttons become sticky. Regular cleaning stops dirt buildup and keeps germs away.
Can I use water to clean my remote?
You can use water, but mix it with mild soap and use it sparingly. Dampen a cloth with the solution. Never spray water directly onto the remote. Excessive water can damage the internal electronics. Always ensure the remote is completely dry before reinserting batteries.
What’s the best disinfectant for remotes?
Rubbing alcohol (isopropyl alcohol) is the best disinfectant. It kills germs effectively and evaporates quickly. This makes it safe for electronics. You can also use disinfectant wipes. Make sure the wipes are not too wet. Always wipe down the remote, do not let it drip.
How do I clean sticky buttons without opening the remote?
For sticky buttons, try using a cotton swab dipped in rubbing alcohol. Work the swab around the edges of each sticky button. Press the button down a few times while cleaning. This helps the alcohol seep in and dissolve the residue. Compressed air can also blow out crumbs.
Is it safe to open my remote control?
Opening your remote can be safe if you are careful. Most remotes have screws or clips. Use the correct tools like small screwdrivers or plastic pry tools. Be gentle to avoid breaking parts. If you are unsure, stick to external cleaning. Opening it might void a warranty.
What if my remote stops working after cleaning?
First, ensure all parts are completely dry. Moisture is the most common reason for malfunction after cleaning. Check that batteries are inserted correctly and have power. Reassemble the remote carefully. If it still does not work, you might need professional repair. Some damage from cleaning can be permanent.
Conclusion
Cleaning your remote control is a simple yet important task. It helps maintain hygiene in your home. It also ensures your remote works well for longer. We covered how to clean remote control devices from basic wipes to deep internal cleaning. You now know the essential tools to use. You also understand important safety measures.
Remember to wipe your remote regularly. This prevents dirt and germs from building up. For sticky buttons, do not hesitate to perform a deeper clean. Always prioritize safety by removing batteries first. Use gentle solutions and avoid harsh chemicals. A clean remote means a healthier home and a smoother entertainment experience. Start cleaning your remote today. Enjoy a cleaner, more responsive device.
- remote control cleaning
- sanitize remote
- deep clean remote
- electronics hygiene