· Appliance Care · 14 min read
How To Clean Roomba Wheels
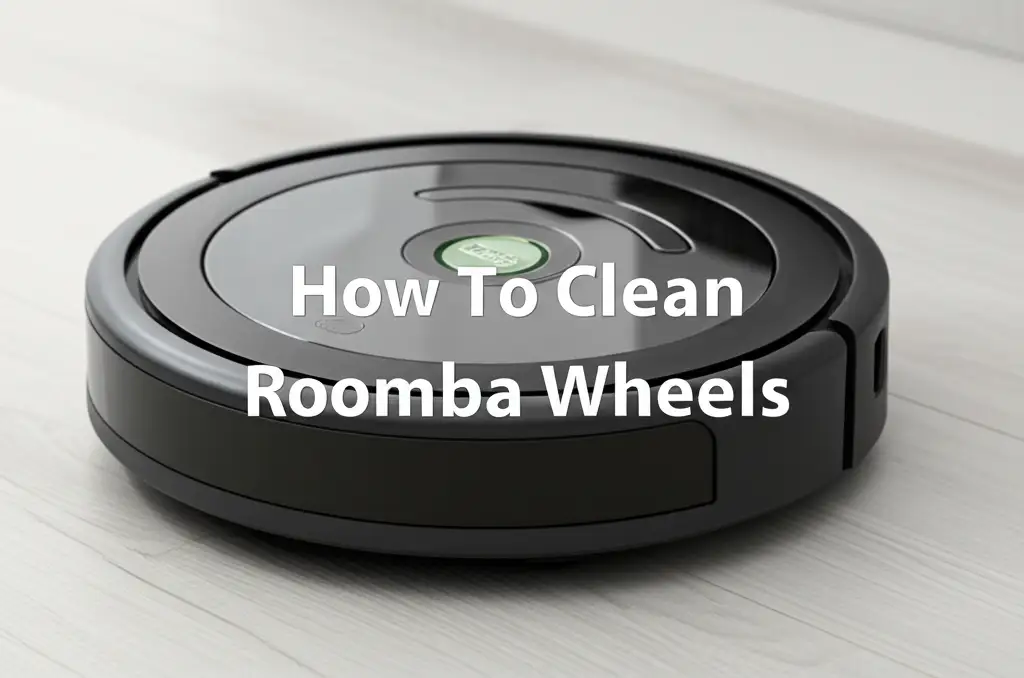
Keeping Your Roomba Rolling: How To Clean Roomba Wheels for Peak Performance
Your Roomba works hard, moving around your home daily to keep floors clean. Its wheels are critical parts. They help the Roomba navigate. They also allow it to pick up dirt effectively. Over time, hair, dust, and debris can wrap around these wheels. This slows your Roomba down. It also reduces its cleaning ability.
A dirty Roomba often struggles to move in straight lines. It might get stuck more often. You may also notice it leaves dirty streaks. Cleaning the Roomba wheels is a simple task. It helps your robot vacuum work like new again. This guide explains how to clean Roomba wheels step by step. You will learn the tools you need. You will also find tips for keeping wheels clean longer. Let’s make your Roomba roll smoothly again.
Takeaway
Cleaning your Roomba’s wheels is simple. It greatly improves its movement and cleaning.
- Remove tangled hair and debris from the main drive wheels and front caster wheel.
- Use small tools like screwdrivers, tweezers, and a cleaning tool.
- Regular checks prevent major performance issues.
Clear and Concise Answer
To clean Roomba wheels, remove the main drive wheels and the front caster wheel. Untangle hair and debris from the axles and wheel housings using small tools like tweezers or a screwdriver. Wipe down all wheel surfaces with a damp cloth. Reassemble the wheels for smooth operation.
Why Your Roomba Wheels Need Regular Cleaning
Roomba wheels are always in motion. They pick up not just dirt from the floor but also debris directly on the wheel axles. Hair is a common problem. Pet hair and human hair often wrap tightly around the wheel shafts. This creates friction. It makes the wheels hard to turn.
Dust and dirt also build up. This grime can jam the wheel mechanisms. It prevents the wheels from spinning freely. A Roomba with dirty wheels cannot move well. It might leave patches of dirt. It may also show error messages. Regular cleaning keeps your Roomba working efficiently. It also extends the life of your device.
Ignoring dirty wheels causes bigger problems. The motor strains to move the robot. This uses more battery power. It also wears out the motor faster. The Roomba might also scratch your floors. This happens if debris gets stuck in the wheel treads. A clean Roomba performs its best. You save money by avoiding costly repairs. My Roomba ran poorly until I cleaned its wheels. The difference was amazing.
Tools and Supplies to Clean Roomba Wheels
You do not need many special tools. Most items are common household goods. Gathering them before you start saves time. A small Phillips head screwdriver is essential. It helps open the Roomba’s bottom plate. You will also need a cleaning tool. Most Roomba models come with one. This tool has a small hook and a blade.
Tweezers are very useful. They help pull out tangled hair. A small, stiff brush, like an old toothbrush, helps scrub away grime. Microfiber cloths are good for wiping. They pick up dust and dirt well. You may also need cotton swabs for tight spaces. Rubbing alcohol or a mild all-purpose cleaner can dissolve stubborn gunk.
Safety first. Always unplug your Roomba before cleaning. Remove its battery if possible. This prevents accidental starts. It protects you from electric shock. Have a clean, well-lit workspace ready. Lay down a towel or old newspaper. This catches any dirt or dropped parts. Being prepared makes the job easier and faster. I always get everything ready first.
Step-by-Step Guide: How to Clean Your Roomba’s Main Drive Wheels
The main drive wheels power your Roomba. They are on the sides of the robot. Cleaning them requires a few simple steps. You need to access the wheel modules first. This process is easy. It helps keep your Roomba moving straight.
Accessing the Drive Wheels
First, turn your Roomba over. Place it on a soft surface. This protects its top. Locate the bottom cover plate. It holds the main components. Use your Phillips head screwdriver. Unscrew the screws holding the bottom cover. Many Roomba models use five screws. Keep the screws in a safe place. You will need them for reassembly.
Once screws are out, gently lift the bottom cover. You will see the battery and other parts. The main drive wheels are prominent. They are large and located on each side. Some models require battery removal. Remove the side brush too. It usually has one screw. Removing the side brush helps. It gives you more room to work. Accessing these parts is the first step.
Removing the Drive Wheels
Each main drive wheel is a module. It has a spring mechanism. Gently pull the wheel module straight up. It should slide out. Do not force it. If it resists, check for any clips or screws. Most models allow simple pull-out. Once removed, set the wheel module aside. Repeat for the other main drive wheel.
You now have both main drive wheel modules. Inspect the area where they sit. This is the wheel housing. It often collects dirt. Look for hair and debris around the axle. This is the rotating rod in the middle of the wheel. This area gets the most hair tangles. Pay close attention here. This is where most problems begin.
Cleaning the Wheel Modules and Housing
Now, clean the detached wheel modules. Use your cleaning tool or tweezers. Pull out all tangled hair from the wheel axle. Hair often forms a tight ring. You might need to twist the wheel while pulling. Get all the hair off the axle. Also, clean any hair or dust from the wheel tread. An old toothbrush helps scrub stubborn dirt.
Next, clean the wheel housing on the Roomba body. Use tweezers to remove hair and debris. A cotton swab works well for small spaces. Dampen a microfiber cloth with water. Wipe down the wheel surfaces and the housing interior. For sticky residue, use a small amount of rubbing alcohol. Ensure all parts are dry before reassembly. Cleaning the Roomba brushes at this time is also a good idea. They often collect similar debris.
Caring for the Front Caster Wheel
The front caster wheel is small. It allows the Roomba to pivot and turn. This wheel is often overlooked. However, it collects just as much hair and debris. A dirty caster wheel makes the Roomba spin in circles. It affects navigation. Cleaning it is simple. It makes a big difference in performance.
Removing the Caster Wheel
The front caster wheel is usually visible on the bottom. It often pops out easily. Use a firm pull to remove it. Some models might have a small release button. Refer to your Roomba’s manual if unsure. Once removed, inspect the wheel. Look closely at the axle. This small axle frequently gets tangled with hair.
The caster wheel itself has a housing. This housing also collects dirt. Remove any debris from inside the housing. Use tweezers or a cotton swab. A buildup of grime here stops the wheel from spinning freely. This small wheel is vital for your Roomba’s steering. A clean caster wheel allows smooth movement.
Cleaning the Caster Wheel and Housing
Clean the caster wheel thoroughly. Pull off any hair wrapped around the axle. Use tweezers for stubborn strands. If the wheel has a bearing, clean around it too. This helps it spin smoothly. Wash the wheel under warm water with a little soap. Make sure it is completely dry before putting it back.
Clean the caster wheel housing on the Roomba. Use a damp cloth to wipe inside. A cotton swab can reach small corners. Remove any dust, hair, or dried gunk. Ensure the housing is free of obstructions. A clear housing lets the wheel move without friction. Reinsert the clean caster wheel. It should snap back into place. You can also take this chance to check and clean your Roomba charging contacts. They also benefit from regular wiping.
Common Problems and Troubleshooting After Cleaning
Even after cleaning, you might face issues. Do not worry. Most problems have simple fixes. Your Roomba might still get stuck. It could make strange noises. Understanding these issues helps you fix them quickly. I have seen many of these problems myself.
Roomba Still Getting Stuck or Moving Unevenly
If your Roomba still struggles, recheck the wheels. Sometimes, a tiny piece of hair remains. It might be hidden deep in the axle. Re-remove the main drive wheels. Look for any debris you missed. Spin the wheels by hand. They should spin freely. If they resist, something is still there.
Also, check the wheel housing. Ensure nothing obstructs the wheels. Sometimes, a small crack in the housing affects movement. Inspect the front caster wheel again. This wheel is critical for turning. If it does not spin perfectly, the Roomba will not navigate correctly. A quick re-check often solves the problem. You might also want to clean your Roomba sensors if navigation issues persist. Dirty sensors also impact movement.
Squeaky Wheels or Grinding Noises
Squeaky wheels mean friction. This often points to remaining debris. It could also mean the wheels are not seated correctly. Remove the wheels again. Ensure they are fully pushed into their modules. Check that the modules are fully inserted into the Roomba. A misaligned wheel causes noise.
Grinding noises are more serious. They suggest something inside the mechanism. Stop using the Roomba immediately. It might be a worn gear. It could also be a major obstruction. If you cannot find the issue, do not force it. Forcing it can cause more damage. This is a sign it might be time for professional help.
Error Messages Related to Wheels
Roomba models have different error codes. Check your Roomba’s manual for specific wheel errors. These errors often indicate a wheel is stuck. They can also mean the wheel motor is failing. Follow the troubleshooting steps in the manual. They are usually specific to the error code.
If cleaning does not clear the error, the wheel module might need replacement. This is more common with older Roombas. Replacement parts are available online. Replacing a wheel module is often simple. It just involves swapping the old one for a new one. This often costs less than professional repair. Keeping a clean Roomba dust bin also helps prevent errors from affecting overall performance.
Preventative Maintenance Tips for Roomba Wheels
Prevention is always easier than repair. Regular, quick checks keep your Roomba wheels in top condition. You can avoid major cleaning sessions. This also keeps your Roomba working well daily. I always do a quick check after each use.
Regular Visual Inspections
After each cleaning cycle, flip your Roomba over. Quickly look at the wheels. Check for visible hair or large debris. Remove anything obvious. This takes only a few seconds. It stops buildup before it becomes a problem. This simple step saves a lot of time later. It ensures your Roomba is always ready.
Pay special attention to the front caster wheel. It is small. It often collects hair quickly. A quick pull and wipe can do wonders. Also, check the main drive wheel treads. Dirt can embed there. A quick brush removes loose dirt. This routine prevents stubborn grime. It keeps your Roomba working like new.
Vacuuming Long Hair Before Running Roomba
Long hair is the biggest enemy of Roomba wheels. If you have pets or long-haired people in your home, pre-vacuum. Use a regular vacuum to pick up major hair clumps. Do this especially in areas with high traffic. This reduces the amount of hair your Roomba encounters. It protects its wheels from tangles.
Consider setting up no-go zones for areas with very high hair shedding. Your Roomba has virtual wall barriers. Use them to keep your robot out of these spots. This strategy helps reduce the workload on your Roomba’s wheels. It extends the time between deep cleaning sessions. Less hair means less tangles.
Using Roomba in Appropriate Environments
Roomba is designed for hard floors and low-pile carpets. Avoid running it on thick rugs or very shaggy carpets. These can stress the wheels. They can also cause more hair and fibers to get tangled. If you must clean such areas, do it manually. This protects your Roomba’s wheels from strain.
Also, clear small objects from the floor. Cables, small toys, and loose threads can get caught in the wheels. These items can damage the wheel mechanisms. A clear path means less work for your Roomba. It means less chance of damage to its wheels. A clean environment helps your Roomba last longer. This extends its life.
When to Seek Professional Help or Replace Wheels
Most wheel cleaning issues are DIY. Sometimes, the problem is deeper. Knowing when to get help saves you money and frustration. It also prevents further damage to your valuable Roomba.
Persistent Issues After Thorough Cleaning
You cleaned the wheels. You checked for missed debris. The Roomba still struggles. It might move slowly. It might make loud noises. These are signs of a deeper issue. The problem might not be just dirt. It could be a worn-out motor. It could be damaged gears inside the wheel module.
If cleaning does not solve the problem, the internal components might be failing. This is common in older Roombas. At this point, contact iRobot support. Describe your issue clearly. They might offer specific troubleshooting. They can also tell you if a part needs replacing. They might recommend professional repair.
Visible Damage to Wheel Components
Inspect the wheels carefully. Look for cracks in the plastic. Check for broken spokes. Are the wheel treads worn smooth? Does the axle appear bent? Any visible damage means cleaning will not fix the problem. Damaged parts cannot perform their function. They need replacement.
Replacement wheel modules are available online. Check your Roomba model number first. Ensure you buy the correct part. Swapping a damaged module is often simple. It can save you repair costs. If you are unsure, look up online tutorials. Many videos show how to replace Roomba wheel modules. This is a common repair.
Roomba is Very Old or Out of Warranty
Older Roombas might have more issues. Parts wear out over time. If your Roomba is many years old, replacement might be better. Compare the cost of repair to a new Roomba. Sometimes, buying a new model is more cost-effective. New models often have better features too.
If your Roomba is still under warranty, contact iRobot first. Do not attempt major repairs yourself. Doing so might void your warranty. They might offer a free repair or replacement. Always check warranty terms before starting any complex fixes. Knowing your options helps you make the best decision. Cleaning your iRobot Roomba comprehensively can extend its life, but parts do eventually wear out.
FAQ Section
How often should I clean Roomba wheels?
Clean Roomba wheels every 1-2 months for light use. For heavy use or homes with pets, check them every 2-4 weeks. Quick visual checks after each use are also helpful. This prevents large buildups. Regular maintenance keeps your Roomba working its best.
What causes Roomba wheels to stop working?
Hair, dust, and debris are the main culprits. They tangle around the wheel axles. This prevents free movement. Damage from collisions or worn-out internal gears can also cause wheels to stop. Lack of cleaning is the most common reason for failure.
Can I use lubricants on my Roomba wheels?
Avoid using lubricants. Roomba wheels are designed to run dry. Lubricants can attract more dust and hair. This makes the problem worse. Stick to cleaning only. If a part still binds, it likely needs more thorough cleaning or replacement.
Is it hard to remove Roomba wheels for cleaning?
No, it is generally easy. Most Roomba models allow you to pull the main drive wheels straight out. The front caster wheel also pops out easily. You usually only need a screwdriver to access the bottom plate. The process is simple.
What if I can’t remove all the tangled hair?
Use small, pointed tools like tweezers or a dental pick. A strong light helps you see hidden strands. Rotate the wheel as you pull. If hair is very stubborn, a small amount of rubbing alcohol on a cotton swab might help loosen it. Persistence is key.
How do I know if my Roomba wheels are worn out?
Worn-out wheels show visible signs. The wheel treads might be smooth. They might have cracks or broken plastic. The wheels may wobble when they spin. If cleaning does not fix movement issues, and you see physical damage, replacement is likely needed.
Conclusion
Cleaning your Roomba wheels is a simple but important task. It keeps your robot vacuum moving smoothly. It ensures it picks up dirt effectively. You now know the tools you need. You also know the steps to clean both the main drive wheels and the front caster wheel. Regular maintenance prevents bigger problems. It also extends the life of your Roomba.
Do not let tangled hair and debris slow down your cleaning routine. Take a few minutes every month to inspect and clean the wheels. Your Roomba will thank you with consistent, powerful cleaning. Keep your Roomba rolling smoothly. A clean Roomba means a clean home. Take action today. Clean your Roomba wheels for peak performance.
- Roomba maintenance
- robot vacuum cleaning
- wheel care