· RV Maintenance · 15 min read
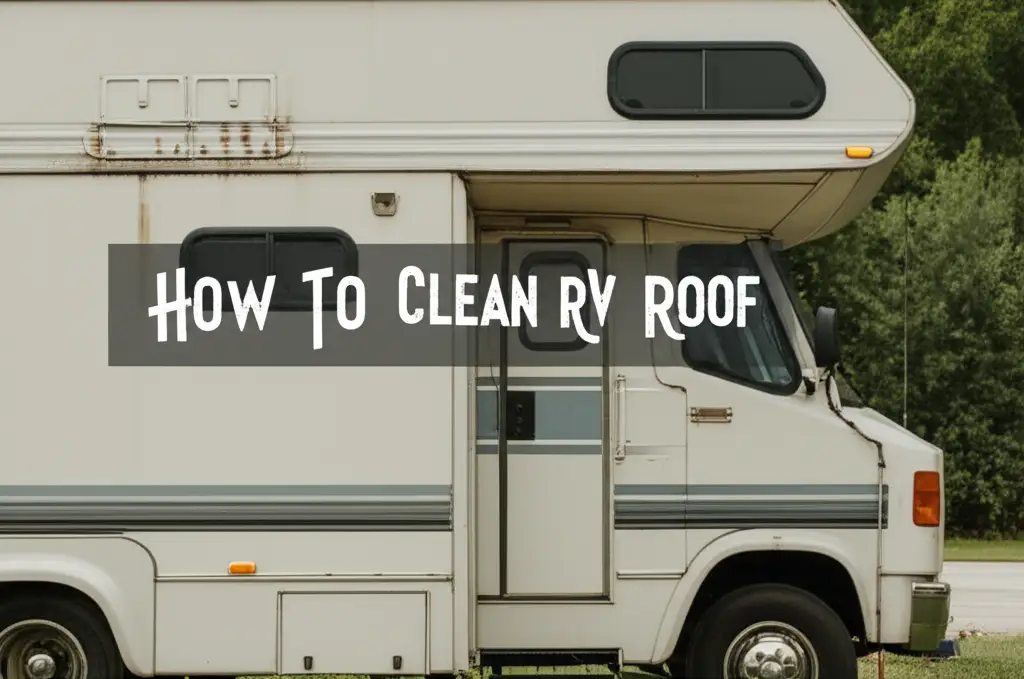
How To Clean Rv Roof
Master RV Roof Cleaning for Longevity
Are you wondering how to clean your RV roof? You are not alone. Cleaning an RV roof can seem like a big job. However, it is an essential part of owning a recreational vehicle. A clean roof keeps your RV looking good. More importantly, it helps protect your investment.
Neglecting your RV roof can lead to serious problems. Dirt, grime, and environmental elements build up. This can cause damage to the roof material and its seals. Regular cleaning prevents these issues. It also helps you spot small problems before they become expensive repairs.
This comprehensive guide will teach you the best ways to clean your RV roof. We will cover different roof types, necessary tools, and safety measures. You will learn step-by-step instructions for effective cleaning. We also provide tips for tackling tough stains and protecting your roof for the future.
Takeaway
Regular RV roof cleaning is vital for appearance and structural integrity.
- Identify your RV roof type (EPDM, TPO, Fiberglass) for specific care.
- Gather correct tools and safe cleaners before starting.
- Prioritize safety with proper equipment like a sturdy ladder.
- Clean methodically, addressing tough spots and inspecting seals.
- Apply UV protectants and sealants to extend roof life.
Answer to Main Query
To clean an RV roof, identify its material first (EPDM, TPO, fiberglass). Use a soft-bristle brush, RV-specific cleaner, and plenty of water. Work in sections from front to back, rinsing thoroughly to avoid streaks. Always prioritize safety, and inspect seals for damage during the process.
Why Regular RV Roof Cleaning Is Essential
Taking care of your RV is crucial, and that includes the roof. Many people overlook this area. However, it is exposed to harsh elements constantly. A dirty roof can cause many issues over time.
Rain, sun, dirt, and tree sap all contribute to wear. These elements can degrade the roof material. They also break down sealants around vents and seams. This leads to costly water leaks inside your RV. Regular RV roof cleaning helps prevent these problems. It keeps the roof material flexible and strong.
Cleaning also helps maintain the RV’s appearance. A clean roof reflects sunlight better. This keeps the interior cooler, reducing your air conditioning use. It also prevents black streaks from running down the sides of your RV. These streaks are hard to remove once they set in. Regular cleaning avoids them entirely.
Furthermore, cleaning your RV roof lets you inspect it closely. You can spot cracks, tears, or weakened seals early. Finding these issues early saves you money. Small repairs are much cheaper than fixing major water damage. Think of cleaning as a proactive maintenance step. It ensures your RV remains a safe and enjoyable space for years to come.
Identify Your RV Roof Type for Proper Cleaning
Before you start cleaning, you must know your RV roof type. Different materials require specific cleaners and methods. Using the wrong product can damage your roof. This will lead to costly repairs. Most RVs have one of three main roof types.
The most common types are EPDM and TPO. EPDM stands for Ethylene Propylene Diene Monomer. It is a rubber roof, often black or white. EPDM roofs tend to chalk. This means they release a white residue when rubbed. TPO, or Thermoplastic Polyolefin, is a newer rubber-like material. It is more resistant to chalking and punctures. You must use specific cleaners made for rubber roofs on both EPDM and TPO. Strong detergents or petroleum-based solvents can dry out or damage these materials. This causes cracking and premature failure.
Fiberglass is another popular RV roof material. It is smooth and often painted. Fiberglass roofs are durable and easy to clean. They do not chalk like EPDM. You can use a wider range of cleaners on fiberglass. However, you should still avoid harsh abrasives. These can scratch the gel coat finish. Always check your RV owner’s manual for precise roof material information. This step is critical for proper RV maintenance and effective cleaning.
Knowing your roof type helps you choose the right cleaning products. It ensures you clean the roof without causing harm. This makes your cleaning efforts more effective. It also prolongs the life of your RV roof.
Gathering Your RV Roof Cleaning Supplies
Having the right tools makes the RV roof cleaning process much easier. It also ensures safety and effectiveness. You do not want to start only to realize you are missing something vital. Gather everything before you begin. This saves time and frustration.
First, you need a sturdy ladder. Make sure it is tall enough to reach the entire roof comfortably. Safety is paramount when working at heights. Next, select an RV-specific roof cleaner. As mentioned, the cleaner must match your roof type. Many general RV washes are safe for all roof types. For tough stains, look for specialized rubber roof cleaners or fiberglass cleaners. Avoid household detergents or harsh chemicals. They can strip protective coatings or dry out rubber.
You also need a few soft brushes or sponges. A long-handled soft-bristle brush is excellent for scrubbing large areas. A smaller hand brush works well for tighter spots. Have several buckets on hand: one for soapy water and one for rinsing. A garden hose with good water pressure is essential for thorough rinsing. Consider a pressure washer on a very low setting if you are experienced. However, caution is advised, as high pressure can damage seals or roof material.
Lastly, do not forget your personal protective equipment. Wear non-slip shoes for good traction on the roof. Gloves protect your hands from chemicals. Safety glasses shield your eyes from splashes. Having these items ready ensures a safe and efficient RV roof cleaning experience. Preparation is key to a successful cleaning day.
Step-by-Step Guide to Cleaning Your RV Roof
Cleaning your RV roof effectively involves a series of logical steps. Following this process ensures thoroughness and safety. Do not rush through any part. A methodical approach prevents missed spots and potential damage.
Prioritize Safety First
Before anything else, ensure your safety. Working on an RV roof carries risks. The roof can be slippery when wet. Use a sturdy ladder placed on level ground. Ensure the ladder is securely positioned. Avoid standing on unsecured parts of the RV roof. Some RV roofs are not designed to support your full weight in certain areas. Walk only on reinforced sections. Consider wearing a safety harness if you have one. Non-slip shoes are a must. Always be aware of your balance. Never work on the roof in windy conditions. Your safety is more important than a clean roof.
Prepare Your RV and Work Area
Move your RV to a shaded area if possible. This helps prevent the cleaner from drying too quickly. Park it on a level surface. Close all windows, doors, and vents tightly. This prevents water and cleaner from entering the RV. Remove any loose items from the roof. This includes antenna covers or satellite dishes if they are easily detachable. Cover any sensitive components, like solar panels or skylights, if you are concerned about direct contact with chemicals. Protecting these items prevents accidental damage during the cleaning process.
The Cleaning Process: Wash and Rinse
Start by thoroughly rinsing the entire roof with plain water. This removes loose dirt and debris. It also pre-wets the surface, allowing the cleaner to work better. Next, mix your chosen RV roof cleaner according to the product’s instructions. Apply the cleaner to a small section of the roof at a time. Work from the front of the RV to the back. This way, you do not walk on already cleaned areas.
Use your soft-bristle brush to gently scrub the cleaner into the roof material. Apply light pressure. Focus on areas with visible dirt or stains. Allow the cleaner to sit for the recommended time. Do not let it dry on the surface. If it starts to dry, mist it with water. After scrubbing, rinse the cleaned section thoroughly with water. Direct the runoff away from the RV sides to prevent streaking. You may need to rinse the RV sides as you go. Repeat this process for the entire roof. Pay attention to seams and edges. This meticulous approach ensures a truly clean RV roof.
Tackling Tough Stains, Mold, and Mildew
Sometimes, general cleaning is not enough for your RV roof. Stubborn stains, mold, and mildew can cling stubbornly. These require targeted treatments. Addressing them quickly prevents them from spreading or causing more damage. Mold and mildew especially thrive in damp, shaded areas. They can degrade roof materials over time.
For stubborn black streaks or ingrained dirt, you might need a stronger cleaner. Look for specialized RV roof stain removers. Always test these products on a small, inconspicuous area first. This ensures they do not discolor or damage your specific roof material. Apply the cleaner directly to the stain. Let it soak for a few minutes. Then, scrub gently with a soft brush. Rinse thoroughly afterward. You may need to repeat this process several times for very old stains.
Mold and mildew require specific attention. A mixture of white vinegar and water can be effective. Mix equal parts white vinegar and water in a spray bottle. Spray it directly onto the moldy areas. Let it sit for about 15-20 minutes. The vinegar acts as a natural disinfectant and mold killer. Then, scrub the area with a soft brush. Rinse well with water. For tougher mold, consider a mold-specific cleaner designed for RV use. Be careful with any strong chemicals. Always wear gloves and eye protection. Proper removal of organic growth like mold is similar to cleaning mold in a shower. This ensures your RV roof stays clean and healthy. Remember, a clean roof surface is less likely to harbor new growth.
Protecting and Maintaining Your RV Roof Post-Cleaning
Cleaning your RV roof is only half the battle. Protecting it afterward is equally important. This step helps extend the life of your roof. It also reduces how often you need to perform deep cleaning. Protection guards against UV rays, dirt, and environmental elements.
After your roof is thoroughly clean and dry, consider applying a UV protectant. Many products are available specifically for EPDM and TPO roofs. These protectants act as a barrier against sun damage. UV rays cause rubber roofs to chalk and degrade over time. A UV protectant minimizes this process. It keeps the roof supple and prevents cracking. Apply it according to the product’s directions. This usually involves spraying or wiping it onto the roof surface.
This is also the perfect time to inspect your roof’s seals. Check around all vents, skylights, air conditioners, and seams. Look for any cracks, peeling, or signs of deterioration. These are common points for water leaks. If you find any issues, re-seal them immediately. Use an RV-specific self-leveling sealant. Do not use household caulk, as it is not designed for RV movement and temperature changes. Regular inspection and maintenance of seals are vital for preventing water damage in your RV. Catching these problems early saves you from major headaches down the road. Regular protection and vigilance keep your RV roof in top condition.
Common Mistakes to Avoid When Cleaning Your RV Roof
Cleaning your RV roof is an important task. However, making certain mistakes can cause more harm than good. Avoiding these common pitfalls ensures your efforts are productive and safe. Awareness of these errors helps protect your RV’s roof material and your wallet.
One major mistake is using the wrong cleaning products. As discussed, harsh detergents, petroleum-based solvents, or abrasive cleaners can damage rubber roofs. They strip away protective layers or dry out the material. This leads to premature cracking and failure. Always use RV-specific cleaners appropriate for your roof type. Another error is neglecting safety precautions. Falling from an RV roof can cause serious injury. Never work on a wet or slippery roof without proper non-slip footwear. Always use a stable ladder. Do not overreach; reposition your ladder as needed.
Failing to rinse thoroughly is another common mistake. Leftover soap residue attracts dirt. It also leaves unsightly streaks down the sides of your RV. Take your time to rinse every inch of the roof. Pay attention to the sides of the RV as well, as runoff can stain them. Using excessive pressure, especially with a pressure washer, is also risky. High pressure can lift or damage roof seams and sealants. It can also force water into unwanted areas. If you use a pressure washer, select the lowest setting and maintain a safe distance. Lastly, ignoring roof sealants is a critical oversight. A clean roof is good, but a well-sealed roof is vital. Always inspect your seals after cleaning. Re-seal any compromised areas immediately. These common mistakes are easy to avoid with a little care. They ensure your RV roof cleaning is both effective and safe.
Frequency and Best Practices for Ongoing RV Roof Care
Knowing how often to clean your RV roof is just as important as knowing how to do it. The frequency depends on several factors. These include how often you use your RV and where you store it. Regular care extends your RV roof’s lifespan significantly.
For most RVs, cleaning the roof two to four times a year is a good starting point. If you store your RV under trees, you might need to clean it more often. Tree sap, leaves, and bird droppings accumulate quickly. These can cause permanent stains or degrade the roof material if left too long. Similarly, if you live in a sunny, arid climate, UV protection becomes even more critical. Frequent exposure to harsh sun speeds up material degradation. Consider increasing your cleaning schedule if your RV sees heavy use or sits outside year-round.
Beyond full cleaning, implement some best practices for ongoing care.
- Regular Visual Inspections: Quickly check your roof every time you use the RV. Look for debris, standing water, or new stains. Remove debris promptly.
- Spot Cleaning: Address small spots or bird droppings as soon as you notice them. This prevents them from setting in. A quick wipe with a damp cloth can save a full cleaning later.
- Trim Trees: If possible, park your RV away from overhanging branches. This reduces sap, leaves, and debris falling onto the roof. It also helps prevent moss off your roof.
- Invest in a Cover: A breathable RV cover protects your roof from UV rays, dirt, and snow when not in use. Ensure the cover is designed for your RV size and allows for ventilation.
- Sealant Checks: Make sealant inspection a monthly habit. Early detection of cracks saves you from water damage.
Following these practices ensures your RV roof remains clean, protected, and ready for your next adventure.
FAQ Section
How often should I clean my RV roof?
You should clean your RV roof at least two to four times per year. This frequency depends on how often you use your RV and its storage environment. If your RV is parked under trees or in harsh weather, more frequent cleaning may be necessary. Regular cleaning prevents build-up and protects the roof material.
Can I use a pressure washer on my RV roof?
Using a pressure washer on an RV roof is generally not recommended. High pressure can damage the roof material, lift sealants, or force water into unwanted areas. If you must use one, set it to the lowest pressure possible. Maintain a safe distance from the surface to avoid damage.
What kind of cleaner is best for an EPDM or TPO RV roof?
For EPDM and TPO rubber roofs, use a cleaner specifically designed for RV rubber roofs. These cleaners are gentle and will not dry out or damage the material. Avoid petroleum-based solvents, harsh detergents, or abrasive cleaners. Always rinse thoroughly after cleaning to prevent residue buildup.
How do I remove black streaks from my RV roof?
Black streaks are often caused by dirt and pollutants running off the roof. Use a specialized RV black streak remover or a multi-purpose RV cleaner. Apply the cleaner directly to the streaks. Let it sit briefly, then scrub with a soft brush. Rinse immediately to prevent re-staining.
What should I do after cleaning my RV roof?
After cleaning and drying your RV roof, inspect all seals and seams. Look for any cracks or deterioration and re-seal them with RV-specific sealant if needed. Consider applying a UV protectant designed for your roof type. This helps extend the life of the roof material and prevents sun damage.
What happens if I don’t clean my RV roof?
If you do not clean your RV roof, dirt, grime, and environmental debris will accumulate. This can degrade the roof material over time. It can also cause sealants to fail, leading to water leaks and costly interior damage. Neglect also reduces your RV’s appearance and lifespan.
Conclusion
Cleaning your RV roof is more than just making it look nice. It is a critical part of owning and maintaining your recreational vehicle. A clean RV roof protects your investment. It helps prevent costly damage from dirt, UV rays, and the elements. By following the steps outlined in this guide, you can ensure your RV roof stays in top condition.
Remember to identify your roof type first. This ensures you use the correct cleaning products. Always prioritize your safety when working at heights. Gather all your tools before you begin the job. Work methodically from front to back, cleaning and rinsing in sections. Do not forget to tackle stubborn stains and mold with appropriate treatments.
After cleaning, the job is not truly done. Inspect your seals for any wear or damage. Apply a UV protectant to shield your roof from the sun. These steps extend the life of your RV roof. They also maintain its appearance for many adventures to come. Regular RV roof cleaning keeps your RV ready for the open road. Take care of your roof, and it will take care of your RV.
- RV roof cleaning
- RV maintenance
- Camper roof care
- RV cleaning tips
- RV roof types
- RV roof cleaner
- RV mold removal