· Home Cleaning · 12 min read
How To Clean Sheetrock Dust
Effective Ways to Clean Sheetrock Dust
Sheetrock dust, often called drywall dust, is a common problem after any renovation or construction project. This fine, white powder settles everywhere. It coats surfaces, fills the air, and can cause irritation. Cleaning sheetrock dust feels overwhelming, but it does not have to be. I am here to help you tackle this challenge.
This article provides a comprehensive guide. I will walk you through the proper steps to clean sheetrock dust. We will cover essential safety measures. You will learn about the best tools to use. We will also discuss specific cleaning methods for different surfaces. By the end, you will know how to restore your home to a clean, dust-free state. Get ready to banish that pesky drywall dust for good.
Takeaway
Cleaning sheetrock dust requires a plan and the right tools. Here is a brief summary of key actions:
- Prepare the Area: Seal off work zones and protect furniture.
- Equip Yourself Safely: Wear proper personal protective equipment.
- Use a HEPA Vacuum: This is your primary tool for dust removal.
- Clean Top-Down: Start from ceilings and work your way to floors.
- Damp Wipe Surfaces: Use microfiber cloths for effective dust capture.
- Address Air Quality: Use air purifiers and change HVAC filters.
To effectively clean sheetrock dust, start by sealing off the work area and wearing protective gear. Use a HEPA-filtered vacuum to remove the bulk of the dust from top to bottom, then damp wipe all surfaces with microfiber cloths. Finish by cleaning air vents and purifying the air to capture remaining airborne particles.
Understanding Sheetrock Dust: What Makes It Unique?
Sheetrock dust, also known as drywall dust, is a very fine powder. It comes from sanding drywall compound. This dust is much finer than regular house dust. Its tiny particles easily become airborne. They can stay suspended in the air for hours. This makes it challenging to clean. The dust also settles into every crevice. It clings to surfaces like static electricity. This fine texture means it penetrates deep into fabrics and carpets. It also poses health risks.
Breathing in sheetrock dust can irritate your nose, throat, and lungs. It can cause coughing or shortness of breath. People with allergies or asthma might experience worse symptoms. The dust can also irritate your skin and eyes. Because it is so fine, it spreads quickly throughout your home. It can travel through air vents and open doorways. This means dust from one room can end up everywhere. This is why a thorough cleaning plan is vital. You cannot just sweep it away. It needs specific methods for proper removal. Understanding its nature helps in planning your attack. You can learn more about general household dust and its impact on your home in our guide on how to clean dust from house.
Preparing Your Home for Sheetrock Dust Cleanup
Preparation is the most important step for cleaning sheetrock dust. A good setup saves you time and effort. It also prevents the dust from spreading further. Before you begin cleaning, you must create a barrier. Cover doorways with plastic sheeting. Use painter’s tape to seal the edges. This keeps the dust contained in the work area. If possible, close off air vents in the dusty room. This stops dust from circulating through your HVAC system.
Next, you need to protect your furniture and belongings. Remove everything you can from the room. Move larger items to the center of the room. Cover them completely with plastic tarps or old sheets. Tape these covers securely so no dust gets underneath. For items that cannot move, like built-in cabinets, tape plastic over them. This simple step saves you hours of cleaning later. It also protects your valuable items from fine dust particles. Make sure to remove curtains and drapes for washing. Turn off your HVAC system before you start cleaning. This prevents dust from spreading through your vents while you work.
Essential Tools for Effective Sheetrock Dust Removal
Having the right tools makes a big difference when cleaning sheetrock dust. Regular vacuums are not enough. You need specific equipment to handle this fine dust. The most critical tool is a HEPA-filtered vacuum cleaner. HEPA stands for High-Efficiency Particulate Air. A HEPA filter traps 99.97% of particles that are 0.3 microns in size. This includes drywall dust particles. Using a standard vacuum without a HEPA filter will just blow fine dust back into the air. Look for a shop-vac with a HEPA filter. These are powerful and designed for construction debris.
You will also need good quality microfiber cloths. Microfiber excels at trapping dust. It holds onto particles instead of just pushing them around. You will need many of these cloths. Some can be dry, others slightly damp. For ceilings and high walls, an extension pole with a dusting attachment is useful. Buckets of water, sponges, and mild soap are also necessary for damp cleaning. Do not forget personal protective equipment (PPE). This includes a good respirator mask, safety glasses, and gloves. These items protect your health during the cleanup process. Understanding the importance of filters for dust control is key, similar to how cleaning PC dust filters is crucial for electronic devices.
Personal Protective Equipment (PPE)
- Respirator Mask: Wear an N95 or P100 mask. These masks filter out fine particles. Simple paper dust masks do not provide enough protection.
- Safety Glasses or Goggles: Dust can irritate your eyes. Eye protection prevents dust from entering your eyes.
- Gloves: Protect your hands from dryness and irritation. Simple work gloves or disposable gloves work well.
- Full-Coverage Clothing: Wear long sleeves and pants. This keeps dust off your skin. Consider disposable coveralls for heavy jobs.
Step-by-Step: Cleaning Sheetrock Dust from Top to Bottom
Cleaning sheetrock dust effectively means working systematically. Always start from the highest points and move downwards. This way, dust that falls during cleaning gets addressed as you proceed. Begin with ceilings. Use your HEPA vacuum with a brush attachment to vacuum ceilings. Gently go over the entire surface. For textured ceilings, a soft brush on an extension pole can loosen dust first. Afterward, use a clean, dry microfiber cloth on an extension pole to wipe the ceiling. For more detailed instructions on cleaning ceilings, refer to our guide on how to clean a ceiling.
After the ceilings, move to the walls. Vacuum the walls from top to bottom. Use a brush attachment or a wide floor tool. Pay attention to corners and edges. Once vacuumed, use a slightly damp microfiber cloth to wipe the walls. Rinse your cloth frequently in clean water. Change the water often. For painted walls, test an inconspicuous area first to ensure the damp cloth does not affect the paint. Do not soak the walls; just a light damp wipe is enough. This method captures the fine dust that vacuuming might miss. This systematic approach ensures no dust is missed.
Cleaning Fixtures and Built-ins
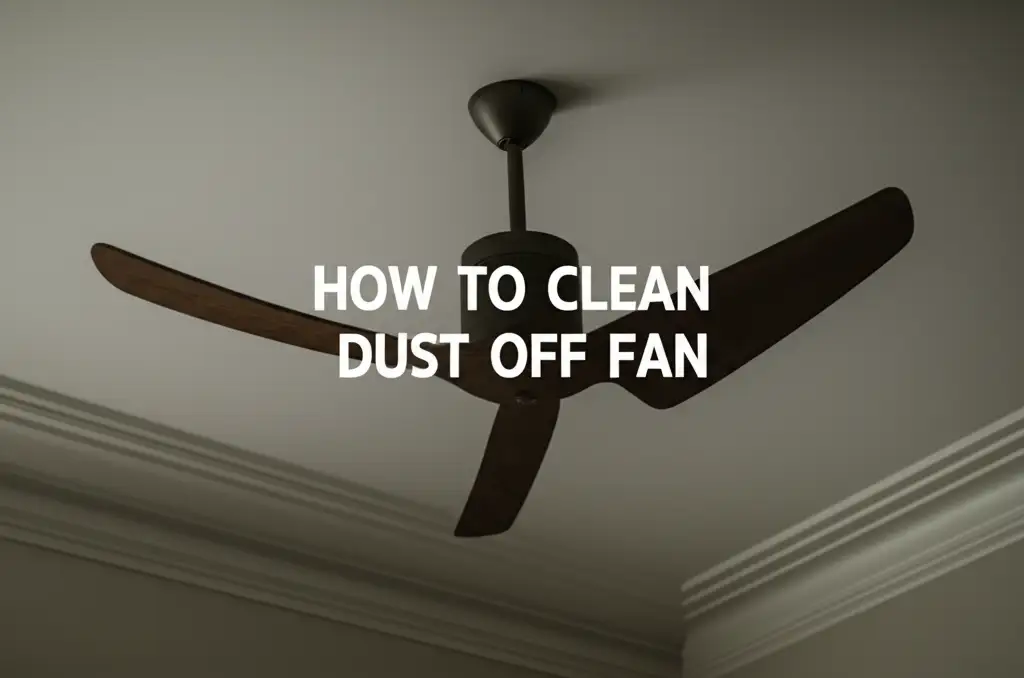
After walls, clean all fixed elements. This includes light fixtures, ceiling fans, and window sills. Wipe these surfaces with a damp microfiber cloth. For ceiling fans, use a damp cloth to wipe each blade. Work slowly to avoid spreading dust. You can find more tips on cleaning specific fixtures like fans in our guide on how to clean dust off fan. Open any built-in cabinets or shelves. Vacuum the inside surfaces thoroughly. Then wipe them down with a damp cloth. Do not forget baseboards and door frames. These areas collect a lot of dust. Vacuum them first, then wipe them clean.
Targeting Specific Areas: Floors, Surfaces, and Air Vents
Once you have cleaned the upper areas and fixtures, it is time for the floors. Floors collect most of the falling dust. Start by vacuuming all floor surfaces with your HEPA vacuum. For hard floors, use the hard floor attachment. Move slowly and overlap your passes. For carpets, use the carpet attachment and make multiple passes. Vacuuming removes the bulk of the dust. This step is crucial for overall dust reduction.
After vacuuming hard floors, it is time to damp mop. Use a mop with a microfiber pad. Prepare two buckets: one with clean water and a small amount of mild cleaner, the other with rinse water. Mop a small section, then rinse the pad in the clean water bucket. Wring it out well. Then, mop again to pick up residual dirt. Rinse your mop head often. Change the water frequently. This two-bucket method prevents you from spreading dirty water. For detailed advice on cleaning construction dust from floors, check out our article on how to clean construction dust from floors.
Cleaning Furniture and Electronics
Sheetrock dust settles heavily on furniture. For upholstered furniture, vacuum thoroughly with an upholstery attachment. Use a damp microfiber cloth to wipe down hard furniture surfaces. For electronics, use compressed air to blow dust out of vents and crevices. Then, wipe external surfaces with a dry microfiber cloth. Be careful with screens. Use a screen-safe cleaner if needed.
Addressing Air Vents and Ducts
Air vents and ducts can hold a lot of hidden sheetrock dust. Remove vent covers and vacuum them thoroughly. Use a brush attachment to clean inside the vent opening as far as you can reach. If you have a professional service for duct cleaning, consider scheduling one after heavy drywall work. Otherwise, clean accessible areas well. You can find useful tips for cleaning dust around air vents in our guide on how to clean black dust around air vents.
Ensuring Clean Air: Post-Cleanup Air Quality
Cleaning visible sheetrock dust is a major step. However, fine dust particles can still linger in the air. This makes indoor air quality a priority after cleanup. The first step is to ventilate the area well. Open windows and doors whenever possible. Use fans to create a cross-breeze. This helps move stale, dusty air out and brings fresh air in. Ventilation alone might not remove all the tiny particles.
Using an air purifier is highly recommended. Choose an air purifier with a HEPA filter. Run it continuously for several days after cleaning. Place it in the room where the drywall work occurred. Air purifiers capture airborne dust that settles slowly. They filter the air, improving overall quality. Also, remember your home’s HVAC system. Change your furnace filter to a high-efficiency particulate air (MERV 11 or higher) filter. Do this after the initial cleaning. The old filter will be full of dust. Changing it prevents dust from recirculating through your home. Change it again after a few weeks. This ensures your home’s air stays clean.
Safety First: Protecting Yourself During Cleanup
Cleaning sheetrock dust requires special attention to safety. This fine dust can pose health risks. Your personal protection is vital. Always wear a good quality respirator mask. An N95 or P100 mask is essential. These masks filter out the tiny dust particles effectively. Simple paper masks do not offer enough protection against sheetrock dust. Breathing this dust can irritate your respiratory system. It can also cause or worsen lung conditions.
Protect your eyes from dust. Wear safety glasses or goggles. Dust can get into your eyes and cause irritation or scratches. This is uncomfortable and can lead to eye issues. Wear gloves to protect your hands. Drywall dust can dry out your skin. It can also cause irritation. Wear long sleeves and pants to cover exposed skin. You can also wear a disposable full-body suit. This keeps dust off your clothes and skin. After cleaning, take a shower. Wash all clothes you wore during cleanup. This prevents spreading dust to other areas of your home. Your health is more important than anything. Take these precautions seriously.
FAQ Section
Is sheetrock dust harmful to breathe?
Yes, sheetrock dust can be harmful to breathe. Its fine particles can irritate the nose, throat, and lungs. Prolonged exposure may cause respiratory issues. It can worsen conditions like asthma or allergies. Always wear a respirator mask during cleanup to protect your lungs.
How long does sheetrock dust stay in the air?
Sheetrock dust particles are very fine. They can remain suspended in the air for several hours. Without proper ventilation or air purification, they may take days to fully settle. This makes thorough cleaning and air filtration important for good air quality.
Can I use a regular vacuum for sheetrock dust?
No, a regular vacuum is not recommended for sheetrock dust. Most standard vacuums lack a HEPA filter. They will simply blow the fine dust particles back into the air. This spreads the dust further. Always use a HEPA-filtered vacuum for effective dust removal.
What is the best way to clean sheetrock dust off wood floors?
The best way to clean sheetrock dust off wood floors is to first vacuum thoroughly with a HEPA vacuum. Use a soft brush attachment. Then, damp mop the floor using a microfiber mop and clean water. Rinse your mop head often. This captures the fine dust without scratching the wood.
Should I wet or dry clean sheetrock dust?
It is best to use a combination of dry and wet cleaning for sheetrock dust. Start with dry vacuuming using a HEPA vacuum to remove the bulk of the dust. Follow with damp wiping or mopping using microfiber cloths. Wetting the dust too much initially can create a muddy mess and make it harder to clean.
How do you remove fine dust after drywall?
To remove fine dust after drywall work, you need patience and the right tools. Begin with a powerful HEPA vacuum to remove settled dust from all surfaces. Then, wipe all surfaces with damp microfiber cloths. Use an air purifier to capture airborne particles. Change HVAC filters regularly for lasting clean air.
Conclusion
Cleaning sheetrock dust feels like a daunting task. However, with the right approach, it becomes manageable. We have covered the unique nature of this dust. We discussed the importance of preparation. You now know about the essential tools needed. We walked through a detailed step-by-step cleaning process. This includes methods for various surfaces. We also talked about maintaining good air quality. Most importantly, we emphasized personal safety.
Remember to prioritize your health. Wear protective gear. Use a HEPA vacuum. Work from top to bottom. Take your time with each area. A clean home feels good and promotes well-being. By following these steps, you can effectively clean sheetrock dust from your living space. You will restore your home to a fresh, dust-free environment. Do not let drywall dust win. Take control and enjoy a cleaner home. Ready to transform your space? Start your sheetrock dust cleaning project today and enjoy the difference a truly clean home makes!
- drywall dust
- construction cleanup
- dust removal
- home maintenance
- air quality