· DIY Cleaning · 12 min read
How To Clean Shells With Vinegar

Unlock the Sparkle: How to Clean Shells with Vinegar
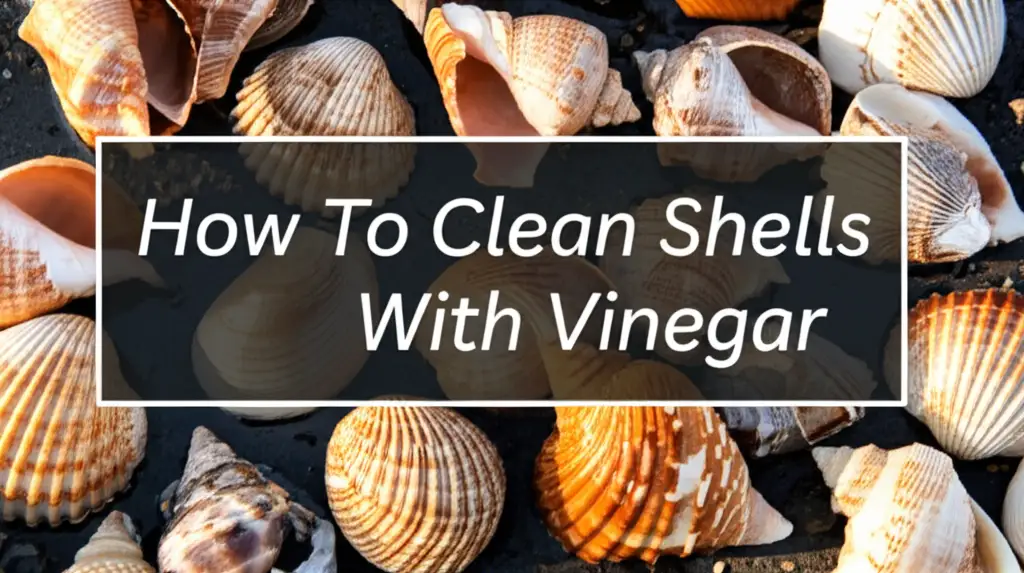
Walking along the beach, finding a perfect seashell feels like discovering a tiny treasure. These beautiful remnants of ocean life bring joy and memories. However, shells often carry sand, dirt, and organic matter from their time in the sea. To truly appreciate their natural beauty, you need to clean them. Fortunately, you can easily clean shells with vinegar. This natural and effective solution helps reveal their hidden luster without harsh chemicals. This article guides you through the process, from preparation to preservation, ensuring your collected shells look their best.
Takeaway:
- Gather necessary supplies like vinegar, water, and brushes.
- Pre-soak shells to remove loose debris.
- Use a vinegar and water solution to clean and dissolve organic matter.
- Rinse shells thoroughly after cleaning.
- Dry and polish shells for a lasting display.
Clear, Concise Answer:
To clean shells with vinegar, soak them in a solution of equal parts white vinegar and water for several hours or overnight. Use a brush to scrub away dirt, algae, or organic residue. Rinse the shells thoroughly with fresh water to remove any vinegar smell or remaining debris, then allow them to air dry completely.
Unveiling Nature’s Gifts: Why Clean Your Seashells?
Seashells are fascinating structures. They begin their lives as the protective homes for various marine creatures. When these creatures die, their shells remain, often washing ashore. These shells travel through the ocean. They pick up all sorts of things on their journey.
When you find a shell on the beach, it often contains traces of its former life. You might notice sand, dried algae, or even tiny barnacles attached to its surface. Some shells may have a faint, unpleasant odor from decaying organic material inside. Cleaning these shells is important for several reasons. It removes these impurities, making the shells safe and pleasant to handle. A good cleaning also brings out the shell’s natural colors and patterns. It transforms a rough, ocean-worn find into a sparkling display piece.
Your Shell Cleaning Arsenal: What You Need for a Vinegar Wash
Cleaning shells with vinegar requires only a few basic items. Most of these you likely already have at home. Gather your supplies before you begin the process. This ensures a smooth and efficient cleaning session. Having everything ready makes the work simple.
First, you need white vinegar. This common household item is safe and effective for dissolving calcium deposits and organic residues. Distilled white vinegar works best due to its consistent acidity. Next, prepare a large bucket or a basin. This container will hold your shells during their initial soak and the vinegar bath. You will also need a stiff brush. An old toothbrush, a small scrubbing brush, or even a specialized shell cleaning brush works well. These brushes help dislodge stubborn dirt and debris from the shell’s surface. Finally, wear a pair of gloves. This protects your hands from any sharp edges on the shells. It also keeps your hands clean during the process.
The First Step: Preparing Your Shells for a Vinegar Treatment
Before introducing vinegar, your shells need a preliminary cleaning. This initial preparation is very important. It removes loose dirt and any remaining marine life. Skipping this step can make the vinegar treatment less effective. It also makes the process messier than it needs to be.
Begin by placing all your collected shells into a large bucket. Fill the bucket with fresh water. Allow the shells to soak for several hours. You can even let them soak overnight. This prolonged soak helps soften and loosen any sand, dirt, or dried organic matter clinging to the shells. After soaking, drain the water. Then, carefully inspect each shell. Use a small pick or a stiff brush to remove any large pieces of debris. Look for sand, small pebbles, or dried bits of algae. For shells that might still contain decaying animal matter, consider a separate method. You might boil them gently for a few minutes. This helps remove any remaining tissue. However, boiling can sometimes cause shells to crack or lose their color. Always exercise caution if choosing to boil. Once the shells are free of major debris, they are ready for the vinegar solution.
The Heart of the Process: Cleaning Shells with Vinegar, Step-by-Step
Now we move to the core of cleaning shells with vinegar. This step uses the natural acidity of vinegar to dissolve tough mineral deposits and clean the shell surface. Follow these steps carefully for the best results. This process helps reveal the shell’s natural beauty.
First, prepare your vinegar solution. Mix equal parts white vinegar and water in a sturdy container. For example, if you use one cup of vinegar, add one cup of water. The exact amount depends on the number and size of your shells. You need enough solution to fully submerge all the shells. Place your pre-cleaned shells into the vinegar and water mixture. Make sure they are completely covered. The soaking time varies based on the shell’s condition. For lightly soiled shells, a few hours might suffice. For shells with stubborn barnacles or heavy calcium deposits, you might need to soak them overnight. Some very tough cases could require a 24-hour soak. Watch the shells for foaming or bubbling. This indicates the vinegar is working on the calcium.
After soaking, remove one shell at a time. Use your stiff brush to scrub its entire surface. Pay close attention to crevices and rough areas where dirt can hide. The vinegar will have softened much of the grime, making scrubbing easier. If you encounter very tough spots or unpleasant odors, a mixture of vinegar and baking soda can provide extra cleaning power. You can learn more about how to use vinegar and baking soda for cleaning in other applications as well. Rinse each scrubbed shell thoroughly under cool running water. This removes any loosened debris and washes away the vinegar solution. A complete rinse prevents any lingering vinegar smell. You can also re-soak the shells in fresh water for an hour to ensure all vinegar is gone.
Special Care for Delicate Finds: Gentle Vinegar Approaches
Not all shells are equally robust. Some shells, like paper-thin sand dollars or intricate coquina shells, are very fragile. These delicate finds require a gentler approach when cleaning them with vinegar. Using too strong a solution or scrubbing too hard can cause irreversible damage. Your goal is to clean them without breaking them.
For highly delicate shells, reduce the vinegar concentration significantly. Instead of a 1:1 ratio, try a 1:4 or even a 1:5 ratio of vinegar to water. This diluted solution still offers cleaning power but is much less aggressive. Shorten the soaking time considerably. Instead of hours, perhaps only soak for 30 minutes to an hour. Closely monitor the shells during this brief soak. Look for any signs of etching or weakening. When it comes to scrubbing, abandon stiff brushes. Use a very soft-bristled brush, like a soft toothbrush or even a cotton swab. Gently wipe away any loosened dirt. Avoid applying pressure. The aim is to coax the dirt off, not scrub it off. For sand dollars, simply a quick dip in a very diluted vinegar solution might be enough. Then rinse them immediately. Handle these treasures with extreme care throughout the entire process. Their beauty lies in their fragility.
Beyond the Clean: Drying and Enhancing Your Shells’ Luster
Once your shells are clean, the process is not complete. Proper drying and an optional enhancement step will ensure their lasting beauty. These final touches make your shells shine. They also protect them for years to come. Do not skip these important steps.
After rinsing, place your clean shells on a towel or a drying rack. Allow them to air dry completely. This might take several hours or even a full day, depending on the shell’s size and the humidity. Ensure no moisture remains trapped inside crevices. Moisture can lead to mold or a musty smell over time. Once completely dry, you can choose to enhance their natural luster. Many collectors prefer to leave shells in their natural, matte state. However, to achieve a polished look, you can apply a small amount of mineral oil. Rub a thin layer of mineral oil over the shell’s surface using a soft cloth. This will bring out the colors and give the shell a subtle sheen. Alternatively, you can use a clear, non-yellowing sealant or lacquer. These products provide a durable, glossy finish. They also offer an extra layer of protection. A light coat usually works best. Avoid heavy applications that might look unnatural. Your beautifully cleaned and polished shells are now ready for display.
Overcoming Obstacles: Common Shell Cleaning Challenges and Solutions
Even with careful cleaning, you might encounter some common challenges. Stubborn dirt, persistent odors, or resilient barnacles can test your patience. Do not worry. These issues often have simple solutions. We will help you handle these problems.
Sometimes, despite soaking, some calcium deposits or barnacles remain firmly attached. For these tough spots, create a thicker paste using vinegar and baking soda. Apply this paste directly to the problem area. Let it sit for 15-30 minutes. The reaction helps to further loosen the deposits. Then, scrub gently with your brush. Repeat this process if needed. A persistent musty odor often means some organic matter remains. Re-soak the shells in a fresh, stronger vinegar solution. You can also add a pinch of baking soda to the soaking water for extra odor removal. Ensure thorough scrubbing and rinsing. Sometimes the shell has tiny pores that trap odors. Extended air drying in sunlight can also help. Sunlight acts as a natural sanitizer and deodorizer. If a shell looks dull even after cleaning, consider a second, slightly longer vinegar soak. Ensure complete rinsing. Then, apply mineral oil or a clear sealant more generously. Remember to apply multiple thin coats if using a sealant. Patience is important. Tough challenges yield to persistent effort.
Safety First: Essential Precautions for Vinegar Shell Cleaning
While vinegar is a natural cleaner, using it requires some basic safety precautions. Protecting yourself and ensuring the shells remain undamaged is important. Always prioritize safety in your cleaning endeavors. This makes the process safe and enjoyable.
First, ensure good ventilation. Vinegar has a distinct smell. Inhaling large amounts of vinegar fumes can irritate your respiratory system. Work in a well-ventilated area, like outdoors or near an open window. Wear gloves to protect your hands. While vinegar is mild, prolonged skin contact can cause dryness or mild irritation. This also protects you from any sharp edges on the shells. Be careful when handling fragile shells. They can break easily and cut you. Use appropriate brushes. Avoid using metal brushes. These can scratch or damage the shell’s surface. A nylon or natural bristle brush is much safer. Always test a small, inconspicuous area of a shell if you are unsure. This is especially important for very colorful or delicate specimens. Some dyed or treated shells might react poorly to vinegar. Natural shells are generally safe. Exercise caution and common sense throughout the cleaning process.
FAQ Section
Is vinegar safe for all types of shells? Vinegar is generally safe for most natural seashells. It effectively cleans away dirt and dissolves calcium deposits. However, very delicate shells like sand dollars or shells with a natural pearlescent layer might require a more diluted solution or shorter soaking times. Always test a small area first if unsure.
How long should shells soak in vinegar? Soaking time varies. Lightly soiled shells may need only a few hours. Shells with stubborn dirt or barnacles can soak overnight, or even up to 24 hours. Monitor the shells for bubbling, which shows the vinegar is working. Do not over-soak very delicate shells.
What kind of vinegar should I use? Use distilled white vinegar for cleaning shells. Its consistent acidity makes it ideal for dissolving mineral deposits and grime. Avoid using apple cider vinegar or other colored vinegars, as they might leave a residue or stain some lighter shells. White vinegar is the most effective choice.
Can vinegar remove stubborn barnacles? Yes, vinegar can help remove stubborn barnacles. The acetic acid in vinegar works to dissolve the calcium base of the barnacles. You may need a longer soaking time or a direct application of a vinegar and baking soda paste. Gentle scrubbing with a stiff brush usually helps dislodge them after soaking.
How do I get rid of the vinegar smell? Thorough rinsing is key to removing the vinegar smell. After scrubbing, rinse each shell under cool running water for several minutes. You can also soak the cleaned shells in fresh, clean water for an hour. Finally, allow them to air dry completely outdoors or in a well-ventilated area.
Can I clean shells found on the beach immediately? Yes, you can clean shells immediately after finding them. It is often best to start the cleaning process soon after collection. This prevents any organic matter from drying and hardening inside or on the shell. Freshly found shells are usually easier to clean.
Conclusion
Cleaning shells with vinegar is a simple and effective method to restore their natural beauty. From the initial beach find to a sparkling display piece, this natural cleaner helps bring out the best in your collected treasures. We explored why cleaning is important, gathered our tools, and walked through each step of the vinegar treatment. We also covered handling delicate shells with care and tackling common cleaning challenges.
Remember to prioritize safety by ensuring good ventilation and protecting your hands. Once cleaned, dry your shells completely and consider polishing them to enhance their luster. With these straightforward techniques, your seashells will look amazing. Now you possess the knowledge to transform your beach finds into lasting memories. Start your shell cleaning project today.
- shell cleaning
- vinegar cleaning
- beach finds
- seashell care
- natural cleaning solutions
- DIY cleaning


