· Bathroom Cleaning · 16 min read
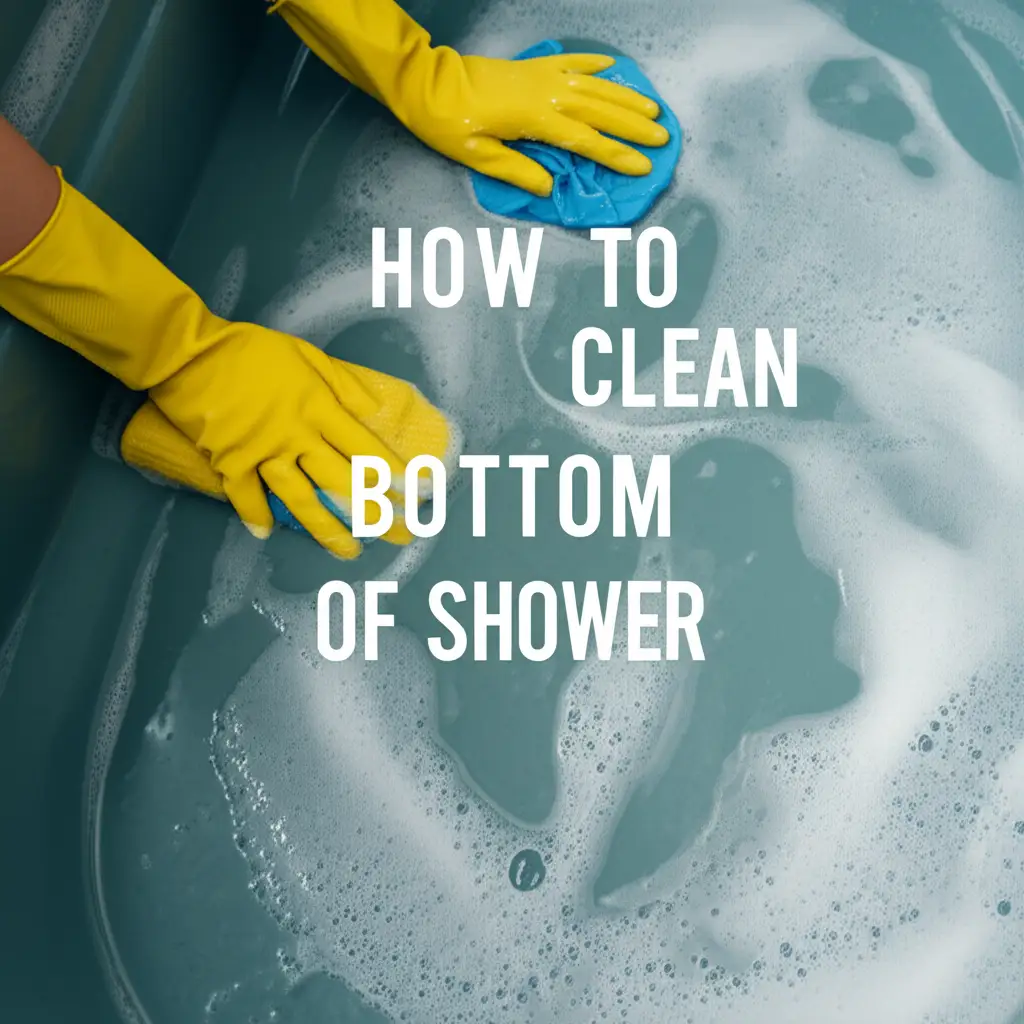
How To Clean Shower Floor
Transform Your Bathroom: How To Clean Shower Floor
A clean shower floor makes a bathroom feel fresh. Over time, shower floors collect soap scum, mold, and hard water stains. These elements make the floor look dirty and can become slippery. Keeping your shower floor clean helps it last longer and keeps your bathroom healthy. This guide shows you how to clean shower floor surfaces effectively. We cover different materials and give you simple steps to follow. You will learn about common cleaning mistakes and how to avoid them. We also provide tips for daily maintenance. Get ready to make your shower floor shine.
Takeaway:
- Regular cleaning prevents buildup and keeps your shower floor safe.
- Choose the right cleaning method for your specific shower floor material.
- Use natural cleaners like vinegar and baking soda for effective, safe results.
- Address mold and mildew quickly to stop them from spreading.
- Follow simple maintenance steps for a consistently clean shower floor.
How do you clean a shower floor?
To clean a shower floor, first clear all items. Then, sweep or rinse away loose debris. Apply a suitable cleaner, either commercial or a homemade solution of vinegar and baking soda, letting it sit to break down grime. Scrub the floor with a brush, focusing on stains and grout lines, then rinse thoroughly with warm water.
Get Started: Preparing Your Shower Floor for Cleaning
Cleaning a shower floor properly begins with good preparation. This step ensures safety and makes the cleaning process much easier. You need to remove all items from the shower. Take out bottles of shampoo, conditioner, and soap. Remove any shower caddies, loofahs, or bath toys. This clears the area for you to work freely.
Once the shower is empty, rinse the floor with warm water. This helps remove loose hair, dirt, and light debris. It also wets the surface, which helps cleaning solutions work better. Be careful not to slip on the wet floor. If your shower has a drain cover, you might want to remove it and rinse any hair or grime stuck underneath. Good preparation helps you clean more effectively and prevents you from scrubbing around obstacles. It also helps you see the true condition of the floor.
Before you start scrubbing, check the ventilation in your bathroom. Open a window or turn on the exhaust fan. Good air flow helps dry the area faster and removes strong odors from cleaning products. Protecting your hands with rubber gloves is also a good idea. This keeps your skin safe from harsh chemicals and makes gripping tools easier. Proper preparation makes the actual cleaning much more efficient and safer for you.
Tackling Common Issues: Soap Scum and Hard Water Stains
Soap scum and hard water stains are common problems on shower floors. Soap scum leaves a cloudy, white film. Hard water leaves mineral deposits, often looking like chalky spots. Both make your shower floor look dirty and dull. We can use simple methods to remove them.
For soap scum, a mixture of equal parts white vinegar and water works well. Spray this solution directly onto the affected areas. Let it sit for about 15-30 minutes. The vinegar’s acid helps break down the soap scum. After soaking, scrub the area with a stiff brush or a non-scratch pad. You will see the scum start to lift away. Rinse the floor thoroughly with warm water to remove all residue. For tough buildup, you may need to repeat this process.
Hard water stains need a similar approach, but sometimes a stronger acid works better. Lemon juice can be effective for lighter stains. For heavier mineral deposits, consider a commercial hard water stain remover. Always test any product on a small, hidden spot first. Apply the chosen solution, let it sit, then scrub and rinse. Regular cleaning prevents these stains from building up. This keeps your shower floor looking clean and helps prevent etching over time.
You can also create a paste with baking soda and water. Apply this paste to the stains. Let it sit for a while, then scrub gently. This combination offers an abrasive action without scratching the surface. It is especially useful for more delicate materials. For persistent stains, you can combine vinegar with the baking soda paste. Discover more tips on how to clean shower with vinegar here. This dual action helps dissolve tough mineral deposits and lifts away soap residue.
Eliminating Mold and Mildew from Your Shower Floor
Mold and mildew thrive in damp, warm places like shower floors. They appear as black, green, or pinkish growths. These fungi not only look bad but can also pose health risks. Removing them is crucial for a healthy bathroom. Good ventilation is your first defense against these unwelcome guests.
For light mold and mildew, a simple solution of white vinegar works wonders. Spray undiluted white vinegar directly onto the affected areas. Let it sit for at least an hour, or even overnight for stubborn spots. Vinegar kills about 82% of mold species. After soaking, scrub the areas with a brush. Rinse thoroughly with warm water. This method is effective and safe, as vinegar is a natural disinfectant.
For heavier mold growth, you might need a stronger cleaner. A mixture of 1 cup bleach to 1 gallon of water can kill mold. Apply this solution carefully, ensuring good ventilation. Let it sit for a few minutes, then scrub and rinse well. Never mix bleach with vinegar or other cleaners, as this can create dangerous fumes. Always wear gloves and eye protection when using bleach. For persistent mold, you may need a commercial mold remover. It is important to address mold quickly before it spreads deeper into grout or caulk. Learn more about how to clean mold in shower here. Regular cleaning helps keep these fungi from returning.
Cleaning Different Shower Floor Materials Effectively
Shower floors come in many materials, and each needs specific care. What works for tile might harm natural stone. Knowing your material is key to a damage-free clean. This section covers common shower floor types.
Cleaning Tile and Grout Shower Floors
Ceramic and porcelain tiles are durable. They can handle most cleaners. The grout lines between tiles are often the hardest part to clean. Grout is porous and traps dirt, soap scum, and mold easily.
To clean tile, spray a general bathroom cleaner or a vinegar solution. Let it sit for a few minutes. Use a stiff brush to scrub the tiles and especially the grout lines. For tough grout stains, a baking soda paste mixed with hydrogen peroxide or vinegar works well. Apply the paste, let it sit for 10-15 minutes, then scrub with a grout brush. Rinse everything thoroughly with warm water. Find detailed steps on how to clean grout in shower for a sparkling finish.
Cleaning Fiberglass and Plastic Shower Floors
Fiberglass and plastic showers are common. They are lightweight and easy to install. However, they can scratch easily and are prone to staining. Avoid abrasive cleaners or harsh scrubbing pads.
Use a mild, non-abrasive cleaner for these surfaces. Dish soap mixed with warm water is a simple and effective option. Spray or wipe the solution on the floor. Use a soft sponge or cloth to wipe away dirt and scum. For tougher stains, a paste of baking soda and water can be gently rubbed on the area. Rinse well. Never use harsh chemicals like bleach directly on fiberglass, as it can yellow the surface over time. Discover more specific methods on how to clean fiberglass shower floor and how to clean plastic shower effectively.
Cleaning Natural Stone Shower Floors (Marble, Granite, Travertine)
Natural stone floors like marble, granite, and travertine need special care. They are porous and can etch or stain easily with acidic or harsh cleaners.
Always use pH-neutral cleaners specifically designed for natural stone. Avoid vinegar, lemon juice, or abrasive cleaners. Diluted mild dish soap can also work. Apply the cleaner with a soft cloth or sponge. Wipe gently in small sections. Do not let the cleaner sit for too long. Rinse the stone thoroughly with clean water immediately after wiping. Dry the surface with a soft towel to prevent water spots. Sealing natural stone regularly helps protect it from stains and water damage. Get more insights on how to clean stone floor safely and for specialized care, learn how to clean marble shower floor for lasting beauty.
Cleaning Pebble and Irregular Surface Shower Floors
Pebble shower floors offer a unique look and feel. Their uneven surfaces, however, can trap dirt, soap scum, and mold more easily than flat tiles. Cleaning these surfaces requires extra attention to detail.
Use a stiff-bristled brush, one that can get into the crevices between the pebbles. A general bathroom cleaner or a mixture of white vinegar and water works well. Spray the solution generously over the pebble floor. Let it sit for 15-30 minutes to allow the cleaner to loosen grime. Then, vigorously scrub the entire surface, making sure to work the brush into all the nooks and crannies. Pay close attention to the grout lines surrounding the pebbles, as these are prime spots for mold and mildew. Rinse thoroughly with warm water. You might need to use a strong spray nozzle or even a bucket of water to ensure all residue is washed away from the textured surface. For very stubborn buildup, a steam cleaner can be effective, helping to dislodge dirt without harsh chemicals. Regular cleaning prevents serious accumulation on these unique floors. Explore more specific advice on how to clean pebble shower floor.
Best Tools and Cleaning Solutions for Shower Floors
Having the right tools and cleaning solutions makes a big difference. It speeds up the cleaning process. It also helps you achieve better results without damaging your shower floor.
Essential Cleaning Tools:
- Stiff-bristled brush: Ideal for scrubbing grout and tough stains on tile. Look for brushes with ergonomic handles.
- Soft-bristled brush or non-scratch sponge: Perfect for delicate surfaces like fiberglass, acrylic, and natural stone.
- Grout brush: A narrow brush designed to fit into grout lines. It makes deep cleaning much easier.
- Spray bottle: Useful for applying homemade cleaning solutions evenly.
- Microfiber cloths or soft towels: For wiping down surfaces and drying the floor after rinsing. This prevents water spots.
- Rubber gloves: Protect your hands from cleaning chemicals.
- Old toothbrush: Excellent for reaching small, tight spots and detailed grout work.
Recommended Cleaning Solutions:
- White Vinegar: A natural acid, great for cutting through soap scum, hard water stains, and killing mold. Mix with water for general use.
- Baking Soda: A mild abrasive. Good for scrubbing away grime and stains. Use as a paste with water or vinegar.
- Dish Soap: Gentle yet effective for light cleaning, especially on delicate surfaces. Mix with warm water.
- Hydrogen Peroxide: A mild bleach alternative. Good for killing mold and brightening grout. Use carefully.
- Commercial Bathroom Cleaner: Choose products specific to your shower floor material. Read labels carefully.
- Stone Cleaner: For natural stone floors, always use a pH-neutral cleaner to avoid damage.
Always test any new cleaning solution on a small, hidden area first. This ensures it does not harm your shower floor. Using the right combination of tools and cleaners protects your investment. It also gives you a sparkling clean shower floor with less effort.
Regular Maintenance for a Sparkling Shower Floor
Keeping your shower floor clean does not have to be a big chore. Regular maintenance prevents heavy buildup. This means less effort for deep cleaning. Consistency is key here.
After every shower, take a minute to rinse the floor. Use a handheld shower head or a cup of water. This washes away loose hair and soap residue before it dries and sticks. A quick rinse makes a big difference. You can also wipe down the floor with a squeegee or a microfiber cloth. This removes excess moisture. Removing water helps prevent soap scum and hard water stains from forming. It also reduces the chances of mold and mildew growth.
Once a week, give your shower floor a quick scrub. You do not need to do a full deep clean every time. A light cleaning with a diluted all-purpose cleaner or a simple spray of vinegar solution will suffice. Use a soft brush or sponge. Focus on areas where soap scum tends to gather. This weekly wipe-down stops grime from accumulating. It keeps your shower looking fresh. Learn more general tips on how to clean bottom of shower effectively.
Good ventilation is also vital. Always run your exhaust fan during and after showering. Leave the bathroom door open if possible. This helps dry out the shower area faster. Less moisture means less mold and mildew. Consider using a shower spray after each use, designed to prevent soap scum. These sprays are often “leave-on” products that do not require rinsing. By adding these simple habits to your routine, you can maintain a clean shower floor with minimal effort.
Common Mistakes to Avoid When Cleaning Your Shower Floor
Cleaning a shower floor seems simple. However, some common mistakes can make the job harder or even damage your floor. Knowing what to avoid saves you time and prevents problems.
One major mistake is using the wrong cleaner for your floor material. Harsh chemicals, like bleach or abrasive scrubbers, can damage delicate surfaces. For example, vinegar is great for tile but can etch natural stone like marble. Always check your shower floor material before picking a cleaner. If you are unsure, use a mild, pH-neutral cleaner. Test any new product in a hidden spot first.
Another error is not giving cleaners enough time to work. Many people spray a cleaner and immediately start scrubbing. Cleaners need time to break down soap scum and grime. Let the solution sit for 10-15 minutes, or as directed on the product label. This makes scrubbing much easier and more effective. You do less work for better results.
Ignoring ventilation is also a common oversight. Cleaning products often have strong fumes. Lack of air flow can make your bathroom uncomfortable and unhealthy. Always open a window or run the exhaust fan while cleaning. This helps clear the air and speeds up drying. Not rinsing thoroughly is another pitfall. Leaving cleaning product residue on the floor can attract more dirt. It can also create slippery surfaces. Always rinse your shower floor completely with clean water after cleaning. Make sure all bubbles and product are gone. Avoid these mistakes for a safer, more effective clean.
When to Call a Professional Cleaner
Most shower floor cleaning jobs are manageable with DIY methods. However, some situations warrant calling a professional cleaner. Knowing when to get expert help saves you time, effort, and potential damage to your property.
If you face severe mold growth, beyond surface level, a professional is a good idea. Extensive mold can be hard to remove completely. It can also pose health risks if not handled correctly. Professionals have specialized tools and stronger, safer products for deep mold remediation. They can ensure all mold spores are gone, preventing regrowth.
Deep-set stains that do not respond to any DIY methods are another reason. These might be rust stains, deep hard water buildup, or stains from spilled chemicals. Professionals have access to industrial-grade cleaners and techniques. They can often remove stains that home products cannot. This saves you from hours of ineffective scrubbing.
If your shower floor is made of a very delicate or expensive material, consider professional help. Natural stone like unsealed marble or antique tile can be easily damaged. An expert knows the right products and methods. They ensure your floor is cleaned without etching or scratching. If you lack the time or physical ability for a thorough cleaning, a professional service is a practical solution. They can do the job efficiently and effectively, giving you peace of mind and a sparkling clean shower floor.
FAQ Section
How often should I clean my shower floor?
You should rinse your shower floor after every use to wash away loose debris and soap residue. A light cleaning with a mild cleaner is good once a week. A deep clean, tackling tough stains and grout, is recommended once a month or quarterly. Regular maintenance prevents heavy buildup.
What is the best natural cleaner for shower floors?
White vinegar is an excellent natural cleaner. Mix equal parts white vinegar and water for general cleaning. For tough soap scum or mold, use undiluted vinegar. Baking soda, used as a paste with water, works well for scrubbing stains and brightening grout. These are safe and effective.
Can I use bleach on my shower floor?
You can use bleach on ceramic tile and grout floors, but dilute it. Mix 1 cup of bleach with 1 gallon of water. Do not use bleach on natural stone, fiberglass, or plastic surfaces as it can cause damage or discoloration. Never mix bleach with other cleaners like vinegar; it creates dangerous fumes.
How do I remove black mold from shower grout?
For black mold in grout, spray undiluted white vinegar directly onto the mold. Let it sit for at least an hour. Scrub with a stiff grout brush. For stubborn mold, make a paste of baking soda and hydrogen peroxide. Apply it, let it sit, then scrub and rinse thoroughly. Good ventilation is key.
How can I prevent soap scum buildup?
To prevent soap scum, rinse your shower floor thoroughly after each use. Use a squeegee or wipe down the floor to remove excess water. Consider switching to liquid body wash instead of bar soap, as liquid soap produces less scum. Using a daily shower spray also helps to prevent accumulation.
Is it safe to use a steam cleaner on my shower floor?
Yes, steam cleaners are generally safe and effective for most shower floor materials, including tile, grout, and fiberglass. Steam helps loosen dirt, soap scum, and kill mold and mildew without chemicals. Always check your manufacturer’s guidelines for specific material recommendations.
Conclusion
A clean shower floor brings a fresh feel to your entire bathroom. We have explored simple yet effective ways to clean shower floor surfaces, from handling everyday soap scum to tackling stubborn mold. You now have the knowledge to clean different materials like tile, fiberglass, and natural stone without causing damage. Regular rinsing and weekly light cleaning make a significant difference. Using the right tools and cleaning solutions, whether natural or commercial, ensures a sparkling outcome. Remember to avoid common mistakes, such as using the wrong cleaner or neglecting proper ventilation. Your shower floor deserves consistent care.
By following these tips, you can maintain a hygienic and appealing shower space. A clean shower floor enhances your home’s comfort and prevents issues like mold growth. Make shower floor cleaning a regular part of your home routine. You will enjoy a brighter, cleaner bathroom every day. Start today, and see the transformation for yourself!
- shower cleaning
- bathroom floor
- mold removal
- soap scum
- hard water stains