· Bathroom Cleaning · 13 min read
How To Clean Shower Head
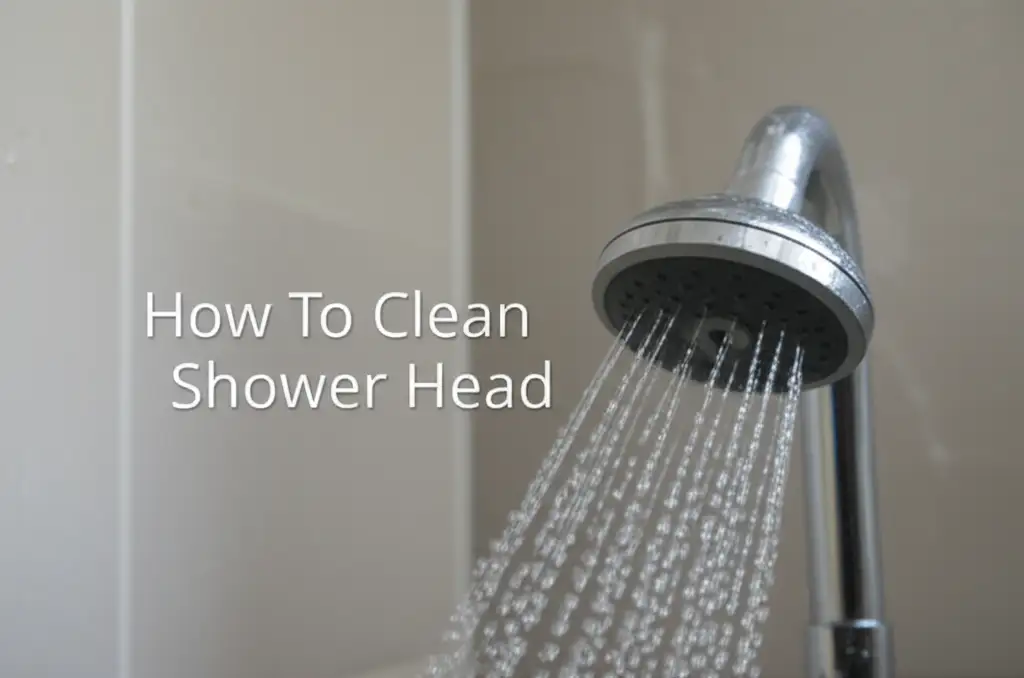
Transform Your Shower: How To Clean Your Shower Head
My morning shower is a vital part of my routine. Nothing feels worse than stepping into a weak, sputtering stream of water. I often notice this happens when my shower head gets dirty. A dirty shower head affects water pressure and can even spread germs.
Cleaning your shower head is a simple task. It restores full water flow. It also improves your showering experience significantly. This guide shows you effective ways to clean your shower head. We will cover common issues like hard water and limescale.
Takeaway:
- Restore Water Flow: Regular cleaning removes mineral buildup and improves pressure.
- Use Simple Supplies: White vinegar and baking soda are powerful cleaning agents.
- Choose Your Method: Soak, scrub, or deep clean based on the level of dirt.
- Protect Your Fixtures: Understand materials to prevent damage.
- Maintain Regularly: Prevent future buildup with consistent care.
To clean a shower head, soak it in white vinegar or a vinegar-baking soda solution for several hours or overnight. For stubborn buildup, gently scrub the nozzles with a brush or toothpick. Rinse the head thoroughly to remove any residue.
Why Your Shower Head Needs Regular Cleaning
Many people overlook the importance of a clean shower head. I used to think a shower head just sprayed water. Then I learned how much mineral buildup can accumulate inside. This buildup comes from hard water.
Hard water contains minerals like calcium and magnesium. These minerals leave deposits on surfaces. Your shower head nozzles are no exception. These deposits block water flow. This blockage reduces water pressure. It also creates uneven spray patterns. Sometimes, water sprays in all directions.
A dirty shower head can also harbor bacteria and mold. Warm, moist environments are perfect for germ growth. You might be showering in water contaminated by these elements. Regular cleaning prevents these issues. It ensures a healthier, more refreshing shower.
Cleaning extends the life of your shower head. Mineral buildup can corrode internal parts over time. This corrosion leads to damage or leaks. A clean shower head works more efficiently. It gives you a consistent, powerful stream every time you step into the shower. This simple maintenance saves you money in the long run.
Gathering Your Cleaning Arsenal
Before you start cleaning, you need the right tools. You probably have most of these items at home already. Having everything ready makes the cleaning process smooth. I always gather my supplies first.
Essential Supplies
- White Vinegar: This is your primary weapon against mineral deposits. Its acidic nature breaks down limescale. You can learn more about how to clean a shower head with vinegar.
- Baking Soda: It acts as a gentle abrasive. It also helps neutralize odors.
- Plastic Bag: A sturdy plastic bag is perfect for soaking the shower head. Make sure it is big enough to cover the entire head.
- Rubber Band or Twist Tie: This holds the bag securely in place.
- Old Toothbrush or Small Brush: Use this for scrubbing stubborn areas. A soft-bristled brush is best.
- Microfiber Cloth: Ideal for wiping and polishing. It leaves no streaks.
- Toothpick or Pin: For clearing individual clogged nozzles.
- Pliers or Wrench (optional): You might need these for removing a detachable shower head. Use a cloth to protect the finish.
Safety First
Always protect yourself during cleaning. Some cleaning agents can irritate skin or eyes. Wear rubber gloves to protect your hands. Ensure good ventilation in the bathroom. Open a window or turn on the fan. This helps disperse any strong odors from vinegar. Never mix vinegar with bleach. This creates dangerous chlorine gas. Always work safely and carefully.
The Powerful Vinegar Soak Method
The vinegar soak is the most popular and effective way to clean a shower head. It requires minimal effort. The vinegar does most of the work for you. I find this method incredibly satisfying.
Step-by-Step Soaking
- Prepare the Solution: Pour plain white vinegar into a plastic bag. You need enough vinegar to fully submerge the shower head. You can add a tablespoon or two of baking soda to the vinegar for extra cleaning power. This creates a fizzing reaction that helps loosen grime.
- Attach the Bag: Place the plastic bag over your shower head. Submerge the entire head in the vinegar solution. Use a rubber band or twist tie to secure the bag around the neck of the shower head. Make sure it is tight so the bag does not slip off.
- Soak Overnight: Let the shower head soak for several hours. For heavily crusted shower heads, leave it overnight. The longer it soaks, the better the vinegar breaks down mineral deposits.
- Remove and Scrub: Take off the bag. Remove the shower head. Use an old toothbrush or small brush to scrub away any loosened mineral deposits. Pay close attention to the nozzles. You can use a toothpick or pin to poke into each individual nozzle. This clears out any remaining clogs.
- Rinse Thoroughly: Turn on the hot water to flush out the shower head. Let the water run for a few minutes. This removes any remaining vinegar and dislodged debris. Wipe the exterior with a microfiber cloth for a sparkling finish.
This method is especially effective for cleaning shower heads from limescale and hard water stains. It works well on most materials, but be careful with certain finishes like brass or gold. Test in an inconspicuous area first.
Tackling Stubborn Limescale and Hard Water Stains
Hard water is a common problem in many homes. It leaves behind ugly white, chalky deposits. These are limescale and hard water stains. They can really diminish your shower’s performance. I have dealt with these many times.
Limescale is calcium carbonate buildup. It forms when hard water evaporates. Over time, it hardens and becomes difficult to remove. This buildup chokes the water flow. It can also look unsightly. You will often see it around the nozzles and on the shower head’s surface.
Advanced Cleaning for Tough Buildup
- Direct Application: For very thick limescale, you might need a stronger approach. Instead of just soaking, create a paste. Mix baking soda with a little vinegar or water. Apply this paste directly to the affected areas. Let it sit for 30 minutes to an hour. The abrasive nature of baking soda helps lift the deposits.
- Scrubbing Aids: After soaking or applying paste, use a stiff brush. A nylon scrub brush works well. For very stubborn spots, a non-scratch scouring pad can be used. Be gentle, especially on plated finishes. This physical action dislodges the loosened minerals.
- Dismantling (If Possible): Some shower heads can be easily unscrewed. If your shower head is detachable, remove it. You can then soak the entire head in a bucket of vinegar. This allows for a deeper and more thorough cleaning. Soak for several hours, or even overnight, for severe buildup.
- Use a Specialty Cleaner (Last Resort): If vinegar and baking soda do not work, consider a commercial limescale remover. Always read the product label carefully. Ensure it is safe for your shower head’s material. Always use these products in a well-ventilated area. This is usually only necessary for extreme cases of hard water stains on shower heads.
Remember to rinse thoroughly after any of these methods. Residual cleaner can cause damage or leave a film. Regular cleaning prevents limescale from becoming a major issue.
Cleaning Without Vinegar: Alternative Methods
While vinegar is excellent, some people prefer not to use it. Maybe they dislike the smell. Or perhaps they have a shower head material that reacts poorly to acid. Don’t worry, you have other options. I have tried these when vinegar was not available.
Baking Soda Paste Method
- Make a Paste: Mix baking soda with a small amount of water. Create a thick paste. It should be similar to toothpaste in consistency.
- Apply to Shower Head: Spread this paste directly onto the affected areas of the shower head. Focus on the nozzles and any visible buildup.
- Let it Sit: Allow the paste to sit for at least 30 minutes. For tougher stains, let it sit for an hour or more.
- Scrub and Rinse: Use an old toothbrush or a small brush to scrub the paste. The baking soda acts as a mild abrasive. It helps lift grime and minerals. Rinse the shower head thoroughly with warm water.
Lemon Juice Method
Lemon juice is another natural acid. It works similarly to vinegar but has a fresher scent.
- Prepare Solution: Squeeze fresh lemon juice into a bowl. You can also use bottled lemon juice.
- Soak or Spray: For a detachable shower head, soak it in the lemon juice. For a fixed head, spray the lemon juice directly onto the head. You can also soak a cloth in lemon juice and wrap it around the shower head, securing it with a rubber band.
- Wait and Rinse: Let the lemon juice sit for 1-2 hours. Then, scrub lightly and rinse thoroughly.
Commercial Cleaners (Use with Caution)
Many commercial cleaning products target hard water and limescale. Always check the label. Make sure the product is safe for your shower head’s finish. Some finishes, like chrome, are quite durable. However, others, like brushed nickel or oil-rubbed bronze, can be sensitive. If you have a chrome shower head, cleaning it is often straightforward. Always follow the manufacturer’s instructions for any commercial cleaner. This helps you avoid damage. For more options on cleaning faucet heads without vinegar, many of those methods apply here too.
Deep Cleaning a Clogged Shower Head
Sometimes a simple soak isn’t enough. Your shower head might be severely clogged. This often happens with very hard water or if cleaning has been neglected for too long. A deep clean can restore full functionality. I have had to do this when my water flow became a mere trickle.
When to Consider Deep Cleaning
- Uneven Spray: Water shoots out only from a few nozzles.
- Very Low Pressure: Even after soaking, the water flow is weak.
- Visible Blockages: You can see mineral chunks or debris inside the nozzles.
Dismantling and Cleaning
- Remove the Shower Head: This is usually the first step for a deep clean. Most shower heads unscrew counter-clockwise from the shower arm. You might need pliers or a wrench for stubborn connections. Wrap the connection with a cloth to protect the finish.
- Disassemble (If Possible): Some shower heads can be further disassembled. Look for screws or clips that hold the faceplate or internal components. Refer to your shower head’s manual if you have it. Take photos as you disassemble. This helps with reassembly.
- Soak Components: Place all individual components into a bowl of white vinegar. Let them soak for several hours or overnight. This allows the vinegar to penetrate deep into every crevice. For extremely stubborn clogs, consider a commercial cleaner designed for internal parts, always checking compatibility. If you are specifically dealing with clogged shower heads, this step is critical.
- Scrub and Poke: After soaking, use an old toothbrush, pipe cleaner, or small bottle brush to scrub each component. Pay special attention to the internal passages. Use a toothpick or needle to clear out every single nozzle on the faceplate. This removes any remaining mineral deposits or debris.
- Rinse Thoroughly: Rinse all parts under strong running water. Ensure all vinegar and dislodged particles are gone.
- Reassemble: Put the shower head back together carefully. Make sure all gaskets and seals are correctly in place. Tighten the shower head onto the arm. Hand-tighten first, then use pliers with a cloth for a final snug turn. Do not overtighten.
- Test: Turn on the water and check for leaks. Enjoy your restored, powerful spray.
Maintaining Your Shower Head for Lasting Cleanliness
Cleaning your shower head deeply is great, but regular maintenance is key. It prevents severe buildup. This means less frequent deep cleaning. I believe prevention is always better than cure when it comes to household chores.
Simple Steps for Ongoing Care
- Weekly Wipe-Down: After each shower, or at least weekly, wipe the shower head. Use a microfiber cloth. This removes surface water spots. It also prevents mineral deposits from forming. A quick wipe takes seconds.
- Monthly Quick Soak: Once a month, perform a mini-soak. Fill a plastic bag with equal parts white vinegar and water. Secure it around the shower head. Let it soak for 30-60 minutes. Then remove the bag and run the water. This proactive step prevents significant buildup.
- Clean Nozzles: If your shower head has rubber nozzles, flex them regularly. Many modern shower heads have flexible silicone nozzles. You can simply rub your thumb across them. This dislodges any mineral buildup in the tiny holes.
- Consider a Water Filter: If you have very hard water, a shower head filter can help. These filters reduce mineral content in the water. This significantly slows down the rate of limescale buildup. It also improves water quality for your skin and hair.
- Address Issues Early: If you notice a single nozzle spraying strangely, address it immediately. Don’t wait until the entire shower head is clogged. A quick poke with a toothpick can solve it.
Consistency is vital. Small, regular efforts keep your shower head working like new. This extends its lifespan. It also ensures you always enjoy a strong, invigorating shower.
Frequently Asked Questions About Cleaning Shower Heads
How often should I clean my shower head?
You should clean your shower head monthly for basic maintenance. If you live in an area with very hard water, clean it every two weeks. A deep clean might be necessary every few months. Regular quick cleans prevent major buildup.
Can I clean a shower head without removing it?
Yes, you can clean a shower head without removing it. The plastic bag method with vinegar is ideal for this. Secure a bag of vinegar around the shower head. Let it soak for several hours or overnight. Then scrub and rinse.
Is vinegar safe for all shower head finishes?
Vinegar is safe for most common shower head finishes, like chrome, stainless steel, and plastic. However, avoid prolonged exposure on sensitive finishes. These include brass, gold, or oil-rubbed bronze. Always test vinegar on an inconspicuous area first.
What if my shower head is still clogged after cleaning?
If your shower head remains clogged after cleaning, you might need to disassemble it. Remove the shower head from the arm. Then, take apart its components. Soak individual parts in vinegar. Use a small brush or pin to clear deep-seated debris.
Can I use bleach to clean my shower head?
I do not recommend using bleach to clean your shower head. Bleach can damage certain finishes. It can also corrode internal components. More importantly, never mix bleach with vinegar. This creates dangerous chlorine gas. Stick to safer, effective methods like vinegar or baking soda.
Conclusion
Cleaning your shower head is a simple task with big rewards. It brings back strong water pressure. It removes unsightly mineral buildup. It also ensures a healthier shower environment. I have seen firsthand how much difference a clean shower head makes.
You now have the knowledge and tools. You can use the powerful vinegar soak method. You can tackle tough limescale. You also know alternatives if you prefer not to use vinegar. Regular maintenance keeps your shower head in top condition. This small effort vastly improves your daily routine. Take the first step today. Enjoy a cleaner, more invigorating shower experience. Your shower head, and your skin, will thank you.
- shower head cleaning
- hard water stains
- limescale removal
- bathroom maintenance
- clogged shower head
- cleaning tips