· Home Maintenance · 9 min read
How To Clean Swamp Cooler
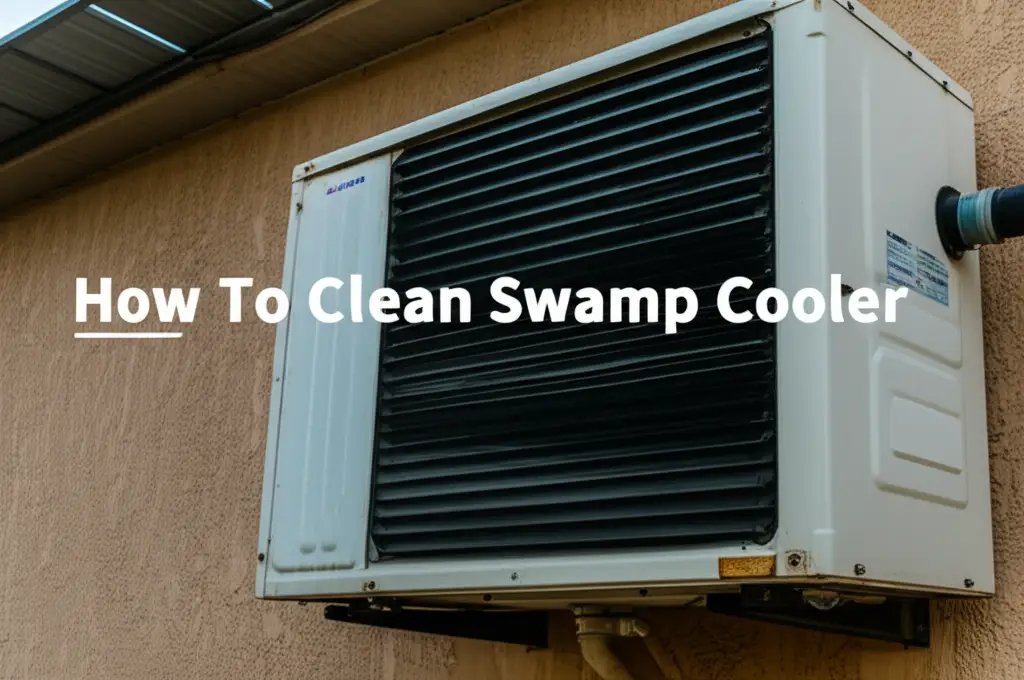
Clean Your Swamp Cooler for Better Air Quality
Is your home feeling warm, even with the cooler running? A dirty swamp cooler often causes this problem. Regular cleaning makes a big difference. I remember the first time I cleaned mine; the air felt so much fresher. This simple task can greatly improve your home’s comfort.
A well-maintained swamp cooler provides efficient and clean cooling. Dust, mineral deposits, and algae build up over time. This buildup reduces cooling efficiency and air quality. This comprehensive guide shows you exactly how to clean your swamp cooler. You will learn about preparing your unit, cleaning all components, and maintaining it for the best performance. Let’s make your cooler run like new and enjoy clean, crisp air.
Takeaway:
- Always disconnect power before starting any cleaning or maintenance.
- Drain and scrub the water reservoir to remove buildup and prevent growth.
- Clean or replace cooler pads for efficient airflow and evaporation.
- Inspect and clear the water pump and distribution lines for clogs.
- Perform seasonal cleaning for optimal performance, efficiency, and air quality.
Concise Answer:
To clean a swamp cooler, first unplug it and drain all old water. Remove and either clean or replace the cooling pads. Scrub the water pan thoroughly to remove mineral buildup, dirt, and algae. Clean the water pump and water distribution tubes to ensure proper flow. Reassemble the unit and refill with fresh water for improved performance.
Why Cleaning Your Swamp Cooler Matters for Performance
Have you ever wondered why your cooler does not cool like it used to? A dirty swamp cooler struggles to cool air effectively. Dust, dirt, and mineral deposits build up over time. This accumulation blocks airflow through the pads and reduces the rate of water evaporation. When air cannot flow freely or water cannot evaporate properly, your cooler’s performance drops significantly. A clean cooler cools your home better and more consistently.
A dirty cooler also impacts your indoor air quality. Stagnant water and accumulated debris create a breeding ground for mold, mildew, and bacteria. When the cooler runs, these contaminants become airborne. They then circulate throughout your home. Cleaning prevents the circulation of these harmful particles. This provides cleaner, healthier air for your family, reducing potential allergens and respiratory irritants. I always prioritize cleaning for better air, especially during allergy season.
Regular cleaning saves you money in the long run. A clean cooler runs more efficiently. It does not need to work as hard to achieve the desired cooling effect. This means it uses less electricity to cool your space, leading to lower energy bills for you. Furthermore, routine cleaning extends the life of your entire unit. It prevents premature wear and tear on components like the pump and motor, helping you avoid costly repairs or the need for early replacement. Think of cleaning as a smart investment in your home’s comfort and your wallet.
Gather Tools and Ensure Safety Before Cleaning Your Swamp Cooler
Before you begin to clean your swamp cooler, gather all necessary tools. Having everything ready saves time and makes the process smooth. You will need a large bucket or a wet/dry vacuum for draining water. A stiff brush and a soft cloth are essential for scrubbing surfaces. Have some mild dish soap or a specialized evaporative cooler cleaner ready. White vinegar is also excellent for descaling tough mineral deposits and killing mold. A garden hose with a spray nozzle will be very helpful for rinsing.
Safety is paramount when working with electrical appliances and water. Always disconnect the power to your swamp cooler. Unplug the unit from the wall outlet. If your cooler is hardwired, locate the circuit breaker that controls its power and turn it off completely. This critical step prevents any risk of electric shock during the cleaning process. Never skip this safety measure.
Wear appropriate protective gear to ensure your personal safety. Gloves protect your hands from dirt, grime, and cleaning solutions. Safety glasses shield your eyes from splashes of water, cleaning agents, and dislodged debris. You might also consider wearing a dust mask. This protects your lungs from inhaling airborne dust, mold spores, and other particles that can be released during cleaning. Being prepared for a somewhat messy job with the right gear ensures a safe and effective clean. I always make sure to have my gloves and glasses on before I touch anything inside the cooler.
- Essential Tools Checklist:
- Large bucket or wet/dry vacuum
- Stiff brush (for scrubbing tough grime)
- Soft cloth or sponge (for general wiping)
- Mild dish soap or specialized evaporative cooler cleaner
- White vinegar (effective for descaling and mold)
- Garden hose with a strong spray nozzle
- Small brush or pipe cleaners (for narrow tubes)
- Crucial Safety Measures:
- Always disconnect power: Unplug the cooler or turn off the dedicated circuit breaker.
- Wear protective gloves: Shield your hands from dirt, chemicals, and sharp edges.
- Wear safety glasses: Protect your eyes from splashes and flying debris.
- Consider a dust mask: Safeguard your respiratory system from airborne particles.
Drain Your Swamp Cooler and Begin Cleaning
The very first step in cleaning your swamp cooler is to completely drain all the old water from its reservoir. This water often contains accumulated dirt, mineral deposits, and potentially algae or bacteria. Locate the drain plug at the bottom of your swamp cooler’s water pan. This plug is usually a rubber stopper or a threaded cap. Remove the plug carefully. Allow all the water to flow out into a large bucket or directly onto a suitable outdoor drain area. If your unit has a drain hose attachment, connect it to direct the water precisely.
Once the bulk of the water has drained, look inside the reservoir. You will likely see residual mineral buildup, sludge, dirt, and possibly green or black algae clinging to the bottom and sides. These deposits reduce your cooler’s efficiency. Use your wet/dry vacuum to suck up any remaining standing water, loose debris, or thick sludge. This step is important because it makes the subsequent scrubbing much easier and more effective. It also prevents dirt from simply spreading around.
Next, give the entire interior of the reservoir a good initial rinse. Use a garden hose to spray down the bottom, sides, and any internal components you can reach easily. The strong spray helps to dislodge loose dirt, smaller pieces of sludge, and any surface grime. This initial rinse removes the easiest-to-clean debris. It prepares the surface for a deeper, more thorough scrubbing. This ensures that your cleaning solutions can work directly on the stubborn buildup rather than just floating on top of dirt.
Clean or Replace Swamp Cooler Pads for Efficiency
Cooler pads are the heart of your swamp cooler’s cooling process. They are where water evaporates, leading to the cooling effect. Over time, these pads get heavily clogged with dust, airborne dirt, and especially mineral deposits from the water. Begin by gently removing the pads from their frames. They often slide out of designated slots or are held in place by simple clips. Handle them with care as they can become fragile when wet or old.
Inspect the condition of your pads closely. If they are heavily soiled, appear brittle, have significant calcified mineral buildup that cannot be rinsed off, or show signs of mold growth, it is best to replace them. Heavily clogged pads restrict airflow and water distribution, severely reducing cooling capacity. New pads significantly improve both airflow and the unit’s cooling capacity. You can find replacement pads at most hardware stores or online. They are a relatively inexpensive part but vital for peak performance. Consider how to clean air cooler honeycomb pads if your unit uses that specific type, as their cleaning method might differ slightly from traditional pads. how to clean air cooler honeycomb pads
If your pads are still in good condition, you can clean them. Lay them on a flat, clean surface. Use a garden hose to rinse them thoroughly. Spray water through them from both sides, allowing the water to carry away loose dirt and mineral deposits. For stubborn buildup, you can soak them in a large tub with water and a small amount of white vinegar. Let them soak for a few hours. Rinse them again until the water runs clear. Make sure they are completely dry before putting them back into the cooler. Clean pads mean better air quality, improved airflow, and more efficient cooling for your home. You will notice a big difference.
Deep Clean the Swamp Cooler Reservoir and Internal Parts
With the pads removed, it is time to deep clean the swamp cooler’s main reservoir. This is where most of the water sits, accumulating dirt and minerals. Mix a powerful cleaning solution in your bucket. Combine warm water with a generous amount of mild dish soap. For persistent mineral deposits, limescale, or visible algae and mold, add white vinegar to your solution. Vinegar is a natural descaler and disinfectant; it works very well at breaking down tough mineral scale. It also helps to eliminate unpleasant odors and combat mold growth. You can learn more about how to clean mold with vinegar if you have significant issues. how to clean mold with vinegar
Dip your stiff brush into the cleaning solution. Systematically scrub the entire interior surface of the reservoir. Pay close attention to corners, crevices, and any textured areas where dirt and buildup tend to collect. Apply firm pressure to remove all slime, dirt, and hard mineral scale. Continue scrubbing until the surface feels smooth and appears clean. Rinse the reservoir thoroughly with your garden hose several times to remove all cleaning solution and loosened debris.
Next, focus on the water pump. This small device is responsible for circulating water to the cooling pads. Carefully detach the water pump from its mounting. Use a small brush or an old toothbrush to clean any debris, hair, or mineral buildup from the pump’s intake screen and impeller area. Ensure the impeller, the rotating part, spins freely. Rinse the pump under running water. Clean the water distribution tubes as well. These tubes have small holes that deliver water evenly across the pads. Use a small bottle brush or a pipe cleaner to clear any clogs within these holes. Ensure water can flow freely through all openings. This ensures even water distribution for optimal cooling and prevents dry spots on the pads. Maintaining the quality of water in your cooler is key to preventing buildup. Just like your home’s main water filter, keeping the water entering your cooler clean helps reduce mineral deposits. how to clean water filter
- swamp cooler cleaning
- evaporative cooler maintenance
- air cooler upkeep
- clean cooler pads
- seasonal cooler care
- home cooling
- air quality