· Home Cleaning · 13 min read
How To Clean Table Fan
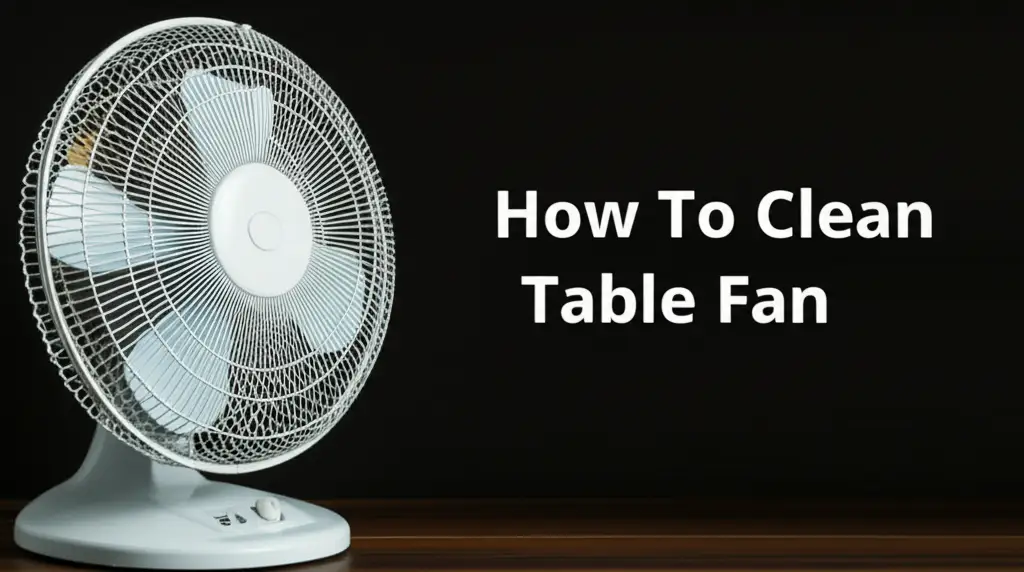
Reclaim Fresh Air: How To Clean Your Table Fan Effectively
Does your table fan push around stale, dusty air instead of cool, refreshing breezes? Over time, dust and grime build up on fan blades and grilles. This reduces efficiency and can spread allergens in your home. Keeping your table fan clean is important for both performance and health. This guide provides a simple, step-by-step approach to properly clean your table fan. You will learn about essential tools, safety measures, disassembly, and deep cleaning techniques. We will also cover reassembly and maintenance tips to ensure your fan runs like new.
Takeaway:
- Always disconnect your fan from power before starting.
- Gather necessary cleaning tools like screwdrivers, cloths, and mild soap.
- Carefully disassemble the fan parts for thorough cleaning.
- Wash removable components and wipe down fixed parts.
- Allow all parts to dry completely before reassembling.
- Perform regular dusting to keep your fan performing well.
How to clean a table fan? To clean a table fan, first unplug it. Then, disassemble the fan by removing the front grille, blade nut, and blades. Wash the blades and grilles with soapy water, and wipe the motor housing and base with a damp cloth. Let all parts dry before reassembling.
Why Cleaning Your Table Fan Matters for Health and Efficiency
Have you ever wondered why your fan seems less powerful over time? Dust is often the main culprit. A dirty table fan does not just look bad; it also performs poorly. Dust acts like a blanket on the blades, stopping them from moving air well. This means your fan works harder but delivers less cool air.
A fan full of dust and grime can become a health hazard. Each time you turn it on, it can blow small dust particles and allergens into the air. This is bad news for anyone with allergies or breathing issues. Keeping your fan clean helps you breathe easier. It also makes your home feel much fresher. I always notice a difference in air quality after I clean my own fan.
Cleaning your table fan also extends its life. When dust piles up, it can block the motor’s vents. This makes the motor overheat and work harder, leading to faster wear and tear. Regular cleaning prevents this stress on the motor. It helps your fan run smoothly for many years. A clean fan uses less electricity because it operates more efficiently. This saves you money on your energy bills. Regular cleaning ensures your fan operates at its best. It pushes fresh air and saves energy for you. For broader cleaning insights on how dust affects various appliances, check our guide on how to clean dust off fan.
Essential Tools and Safety First for Fan Cleaning
Before you begin cleaning your table fan, gathering the right tools is important. You want to make sure you have everything ready. This will make the cleaning process smooth and easy. Simple household items are usually all you need. You do not need any special or expensive cleaning solutions.
Your cleaning arsenal should include a Phillips head screwdriver, a soft cloth, and a sponge. You will also need a small brush, like an old toothbrush, for tight spots. Mild dish soap and a bucket of water are necessary for washing parts. Having a dry towel or paper towels on hand for drying is also helpful. These tools will help you reach every dusty corner. They allow for a complete and thorough clean.
Safety is the most important step before you start any cleaning. Always unplug your table fan from the power outlet. This prevents any risk of electric shock. Never clean your fan while it is connected to power. Water and electricity do not mix. If your fan has a remote control, remove the batteries. This ensures the fan does not accidentally turn on. Let the fan cool down if it has been running for a long time. You want to avoid touching warm parts. Working safely protects you and your appliance. It makes the cleaning process stress-free.
Step-by-Step Guide to Disassembling Your Table Fan
Disassembling your table fan properly is the first physical step to a deep clean. This process lets you access all the dusty parts. Many people skip this step, but it is important. You cannot truly clean a fan without taking it apart. Do not worry; most table fans are designed for easy disassembly.
Start with the front grille. This is usually held in place by clips or small screws. Look for clips around the edge of the grille and gently unlatch them. If there are screws, use your Phillips head screwdriver to remove them. Place these screws in a small bowl so you do not lose them. Once the screws or clips are off, carefully pull the front grille away. It should come off easily.
Next, you will see the fan blade and a cap or nut holding it. This is usually a plastic cap that twists off. Turn it counter-clockwise to loosen it. Some models might have a small screw holding the cap in place. Once the cap or nut is removed, the fan blade should slide straight off its shaft. Now you can remove the rear grille. This grille is often secured by clips or screws as well. Remove these fasteners, and the rear grille will come off. You will now have the blades and both grilles separated from the main motor unit. This allows you to wash these parts thoroughly.
Deep Cleaning the Fan Blades and Grilles
With the fan parts disassembled, you can now give them a proper wash. This is where most of the dust and grime will be. I find this part very satisfying, watching all the dirt wash away. Cleaning these parts makes a big difference in how your fan performs.
Take the fan blades and both grilles. You can wash these items in a sink or a bucket. Fill it with warm water and add a few drops of mild dish soap. Submerge the blades and grilles in the soapy water. Let them soak for a few minutes. This helps to loosen stubborn dust and grease. Use a soft sponge or cloth to wipe down each part. For tight spots on the grilles, an old toothbrush works wonders. Scrub gently to remove all visible dirt. Make sure to get into all the nooks and crannies. Rinse each part thoroughly under clean running water. Remove all soap residue.
For parts that cannot be submerged, like the motor housing, use a damp cloth. Wring out the cloth very well. You want it just damp, not dripping wet. Carefully wipe down the outside of the motor housing and the base of the fan. Be careful around any electrical openings. Use a dry cloth to immediately dry any damp areas. You can also use a small brush to gently dust inside the motor vents, but avoid using water here. Ensuring all parts are dry is critical before reassembly. For similar cleaning approaches on other fans, consider reading our guides on how to clean window fan or how to clean box fan, which share common principles for component cleaning.
Cleaning the Fan Motor Housing and Base
After washing the removable parts, it is time to clean the main body of the fan. This includes the motor housing and the base. These parts collect dust too, even if they are not directly exposed to the air stream. Keeping them clean helps your fan look good and operate efficiently. Remember, water should not touch electrical components.
First, focus on the motor housing. This is the part that holds the motor and controls. Do not use water or wet cloths directly on the motor or any exposed wires. Instead, use a dry micro-fiber cloth. You can also use a soft brush or a can of compressed air. Gently blow or brush away any dust from the motor vents and housing exterior. Compressed air is excellent for reaching small crevices. If there are stubborn spots, slightly dampen a corner of your cloth with rubbing alcohol. Wipe very carefully and then dry immediately. Ensure no liquid gets into the motor itself. This step is similar to cleaning other electronic fans, like learning how to clean computer fan, where careful attention to electronics is key.
Next, clean the fan base and stand. These parts are usually plastic or metal. They can be wiped down with a slightly damp cloth. Use a mild all-purpose cleaner if there are sticky spots or grime. Spray the cleaner onto your cloth, not directly onto the fan. Wipe down the entire base and stand. Pay attention to the grooves or seams where dust can settle. Once clean, use a dry cloth to polish the base. This removes any streaks and leaves a shiny finish. A clean base prevents dust from re-depositing quickly. It also makes your fan look brand new.
Reassembling Your Table Fan and Final Checks
Now that all your table fan parts are sparkling clean and dry, it is time to put everything back together. Reassembly is usually the reverse of disassembly. Take your time and follow the steps carefully. You want to make sure every part is in its correct place. This ensures the fan works safely and properly after cleaning.
Start by attaching the rear grille. Align it properly on the motor housing and secure it with its clips or screws. Make sure it sits flush and is firm. Then, slide the fan blade back onto the shaft. It should fit snugly. Turn the blade cap or nut clockwise onto the shaft to tighten it. Do not overtighten; just make it secure. The blade should be firmly in place but still able to spin freely by hand. A loose blade can cause vibration or noise.
Finally, attach the front grille. Align it with the rear grille and the fan body. Snap the clips into place or insert and tighten the screws. Double-check all fasteners. Make sure they are secure. Once the fan is fully assembled, give it a quick visual inspection. Ensure there are no loose parts or gaps. Plug the fan back into a power outlet. Turn it on at a low setting first. Listen for any unusual noises. Check that the blades spin smoothly and the fan oscillates if it has that feature. If everything sounds and looks good, you have successfully cleaned and reassembled your table fan.
Maintaining Your Table Fan for Lasting Cleanliness
Cleaning your table fan is not a one-time event. To keep it running efficiently and looking good, regular maintenance is important. A little bit of care often can save you a big cleaning job later. I make it a habit to wipe down my fan every few weeks. This simple routine prevents dust buildup.
The easiest way to maintain your fan is through regular dusting. Every week or two, use a microfiber cloth or a duster to wipe the outside of the grilles and the fan base. This removes surface dust before it can become embedded. You can also use a vacuum cleaner with a brush attachment to gently suck dust from the grilles. Do this while the fan is unplugged. This light dusting prevents heavy buildup and keeps the air circulating freely. It also means you will not need to perform a full deep clean as often.
Knowing when to perform a deep clean is also important. If you use your fan daily, a deep clean, which involves disassembly, might be needed every three to six months. If you use it less often, once a year might be enough. Signs that a deep clean is needed include visible dust inside the grilles, reduced airflow, or unusual noises. If you notice dust bunnies clinging to the blades through the grille, it is definitely time for a thorough cleaning. Staying on top of maintenance saves you time and effort in the long run. It ensures your table fan always provides fresh, clean air. For general fan maintenance tips that apply to other fan types, you might find our article on how to clean ceiling fan helpful.
FAQs About Cleaning Your Table Fan
How often should I clean my table fan? The frequency depends on usage and environment. For daily use or dusty homes, aim for a light dusting weekly and a deep clean every 3-6 months. If you use your fan less often, a deep clean once a year is usually sufficient. Regular quick cleans prevent major dust buildup.
Can I put fan blades in the dishwasher? It is generally not recommended to put fan blades in a dishwasher. The high heat can warp plastic parts. Dishwashers can also be too harsh for some finishes. Handwashing with mild soap and water is safer and ensures the parts retain their shape and integrity.
What cleaning products should I avoid using on my table fan? Avoid harsh chemicals, abrasive cleaners, or strong solvents. These can damage plastic, paint, or electronic components. Stick to mild dish soap mixed with water. For stubborn grime, a small amount of rubbing alcohol on a cloth is usually safe for plastic surfaces, but test a hidden spot first.
What if my fan smells burnt after cleaning? If your fan smells burnt after cleaning, immediately unplug it. This could indicate an electrical issue or moisture inside the motor. Do not use it again. Allow more drying time, especially if you used water near the motor. If the smell persists, seek professional repair.
Can I clean the fan motor with water? No, you must never clean the fan motor with water. Water can cause short circuits and permanent damage to electrical components. Use only a dry cloth, soft brush, or compressed air to remove dust from the motor housing and vents. Ensure the fan is unplugged during this process.
My fan feels wobbly after reassembly. What went wrong? A wobbly fan after reassembly usually means the blades or grilles are not properly secured. Check that the blade cap/nut is tight enough and that the blades are fully pushed onto the shaft. Ensure the front and rear grilles are aligned and all clips/screws are fastened. Double-check all connections.
Conclusion
Keeping your table fan clean is a simple yet powerful way to improve your home environment. We have covered every step, from gathering tools and ensuring safety to disassembling, deep cleaning, and reassembling your fan. You now know how to clean table fan blades, grilles, and motors effectively. Regular cleaning helps your fan push truly fresh air, free from dust and allergens. It also extends the life of your appliance and improves its energy efficiency.
By following these simple steps, you ensure your table fan works its best. A clean fan provides a cooler, more comfortable living space. Make cleaning your table fan a regular part of your home maintenance routine. You will notice the difference in air quality and fan performance. Enjoy the fresh, clean breeze your table fan delivers!
- table fan cleaning
- fan maintenance
- dust removal
- appliance care
- clean electric fan
- improve air quality

