· Floor Cleaning · 14 min read
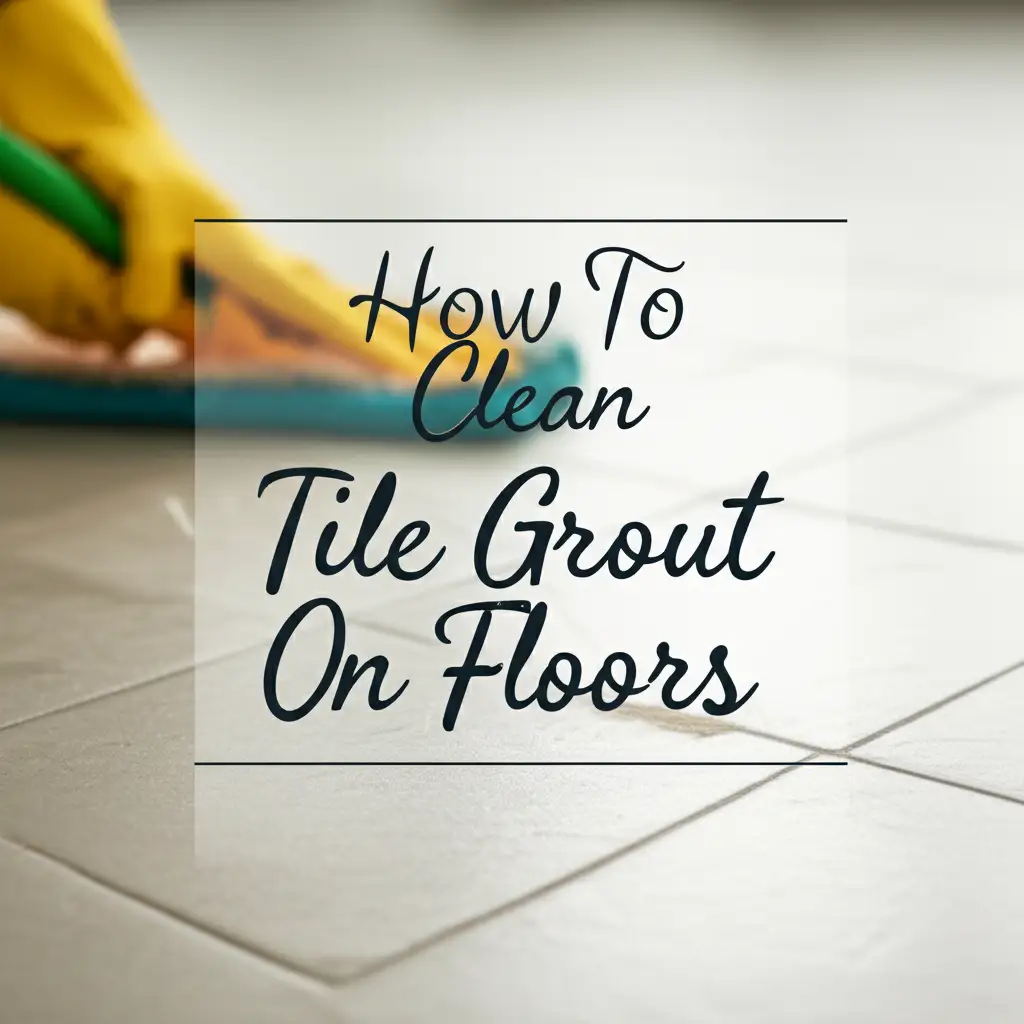
How To Clean Tile Grout On Floors
Revitalize Your Floors: How to Clean Tile Grout Effectively
Dirty grout makes beautiful tile floors look old. Grout lines trap dirt, grime, and mold. This problem occurs often in kitchens and bathrooms. Learning how to clean tile grout on floors is simple. This guide provides clear steps and effective solutions. I will show you how to restore your grout’s original color. We will cover natural options, commercial products, and prevention tips. Get ready to make your tiled floors shine again.
Takeaway: Restore Your Grout’s Shine
- Assess Grout Type: Know if your grout is sealed or unsealed. This affects cleaning product choices.
- Gather Tools: Have brushes, buckets, and cleaners ready before you start.
- Start Gentle: Try natural cleaners first like baking soda or vinegar.
- Scrub Thoroughly: Use a stiff brush to work cleaning solutions into the grout lines.
- Rinse Well: Always rinse away all cleaning residue completely.
- Prevent Future Dirt: Regular maintenance and sealing keep grout cleaner longer.
To clean tile grout on floors, first sweep away loose debris. Apply a suitable cleaner, such as a baking soda paste or a commercial product, directly to the grout lines. Let it sit, then scrub with a stiff brush. Rinse thoroughly with clean water, drying the area to prevent new dirt adhesion.
Understanding Grout and Why It Gets Dirty
Grout is a porous material. It fills the spaces between tiles. This material absorbs spills and dirt easily. Over time, these absorbed elements make grout look dull or discolored. Common issues include dirt accumulation, mold, and mildew growth.
Tiles themselves are often easy to clean. Grout poses the real challenge. Its textured surface provides many tiny spots for grime to stick. Everyday activities add to the problem. Foot traffic brings in dirt from outside. Kitchen spills leave food residues. Bathroom humidity creates a perfect environment for mold.
Different types of grout exist. Cement-based grout is common and very porous. Epoxy grout is less common in homes. It resists stains and water much better. Natural stone tiles require special care. Cleaning methods that work for ceramic tile might harm stone. Always know your tile and grout type before cleaning. For example, how to clean natural stone tile and grout involves specific products.
Grout starts clean but loses its color quickly. It often turns gray or black. Sometimes, mold or mildew appear as dark spots. This happens especially in damp areas like showers or near sinks. Regular mopping may clean tiles but often pushes dirt into the grout lines. This makes the problem worse over time. Proper cleaning techniques focus directly on the grout to lift out these trapped particles.
Gathering Your Grout Cleaning Supplies
You need the right tools to clean tile grout effectively. Having everything ready saves time. It makes the cleaning process smoother. You probably own many of these items already.
First, you need a good brush. A stiff-bristled brush works best. You can use a dedicated grout brush. An old toothbrush also works for small areas. A larger deck brush helps for extensive floor areas. Avoid metal brushes, as they can scratch tile or damage grout.
Next, gather your cleaning solutions. Common household items can make powerful cleaners. Baking soda and white vinegar are popular choices. Hydrogen peroxide also works well for many stains. For tougher jobs, you might need a commercial grout cleaner. Always check if the cleaner is safe for your tile type. Some chemicals can harm natural stone.
You will also need buckets. One bucket holds your cleaning solution. Another bucket holds clean rinse water. Sponges or micro fiber cloths are useful for wiping away residue. A vacuum cleaner or broom helps remove loose dirt before you start. Safety gear is important too. Wear gloves to protect your hands from chemicals. Goggles shield your eyes from splashes.
Consider having an old towel or two. These help dry the floor after rinsing. A knee pad can make the work more comfortable. Cleaning grout often requires kneeling. Having these supplies ready improves your efficiency. It helps you get the best results when you clean tile grout on floors.
Preparation is Key: Steps Before You Clean
Proper preparation makes grout cleaning easier. It helps you achieve better results. Skipping these steps can spread dirt or make the cleaning less effective. I always start with a clean slate.
Begin by removing all furniture from the tiled area. This gives you full access to the floor. Next, sweep or vacuum the entire floor surface. You want to remove loose dirt, dust, and debris. This step prevents dirt from turning into muddy streaks during cleaning. If you skip this, your cleaning solution will mix with loose dirt. This can create a bigger mess.
After sweeping, consider mopping the floor with plain water. This pre-wets the grout lines. Pre-wetting helps the cleaning solution penetrate better. It also prevents harsh cleaners from drying too quickly. Some experts even recommend using hot water for this initial rinse. Hot water helps loosen surface dirt. It prepares the grout for deeper cleaning.
Identify any specific problem areas. Look for very dark spots or mold growth. These areas might need extra attention later. They may require a stronger cleaning solution or more scrubbing time. Knowing where the worst spots are helps you plan your attack.
Finally, protect surrounding areas if needed. If you use a strong chemical cleaner, ventilate the room well. Open windows or use fans. Place old towels or plastic sheets near walls or baseboards if you worry about splashes. Taking these steps ensures a safe and effective cleaning process. This preparation saves you effort in the long run.
Effective Cleaning Methods for Tile Grout
Cleaning tile grout on floors can use various methods. Each method has its strengths. I will explain the most effective options. Always test any cleaner in an inconspicuous spot first. This checks for discoloration or damage.
Natural Solutions for Grout
Many people prefer natural cleaners. They are often safer for homes with pets or children. Baking soda and vinegar are powerful allies. To use baking soda, make a thick paste with water. Apply this paste directly to the grout lines. Let it sit for 10-15 minutes. Then, spray with white vinegar. The mixture will fizz. This reaction helps lift stains. Scrub with a stiff brush. Rinse thoroughly with clean water afterwards. You can also clean with vinegar and baking soda for many other household tasks.
Hydrogen peroxide is another natural option. It works well on mold and mildew. Apply undiluted hydrogen peroxide directly to the grout. Let it sit for 10 minutes. Then scrub and rinse. For tough stains, you can mix baking soda with hydrogen peroxide to form a paste. This mixture offers strong cleaning power.
Commercial Grout Cleaners
Commercial cleaners are available for tough jobs. These products are designed to penetrate grout. They often contain stronger chemicals. Always read the label carefully before using. Ensure the product is safe for your specific tile and grout type. Some commercial cleaners are acid-based. They can etch natural stone or unsealed grout. Follow the instructions for application and dwell time. Use a grout brush to scrub the treated lines. After scrubbing, rinse the area completely. Do not leave any cleaner residue behind.
Steam Cleaning Grout
Steam cleaning offers a chemical-free way to clean grout. A steam cleaner uses hot vapor. This vapor loosens dirt and grime from the grout. It also kills mold and bacteria. Point the steam nozzle directly at the grout lines. Move it slowly along the lines. Use a small brush attachment if your steamer has one. This method is effective for maintaining clean grout. It is also good for deep cleaning. Steam cleaning requires no harsh chemicals. This makes it safe for many surfaces and environments. Always dry the floor after steam cleaning to prevent new dirt from settling.
Each method helps clean tile grout on floors. Choose the method that best fits your needs and the type of dirt you face.
Tackling Stubborn Stains and Black Grout
Sometimes, regular cleaning is not enough. Grout can develop stubborn stains. It can even turn black from mold or severe dirt. These issues need more focused treatment. I have specific strategies for these tough problems.
Black grout often means mold or mildew. This is common in damp areas like bathrooms. A strong bleach solution can kill mold. Mix one part bleach with one part water. Apply this mixture directly to the black grout. Let it sit for a few minutes. Make sure the area is well-ventilated. Scrub the grout thoroughly with a stiff brush. Rinse the area completely with clean water. Be careful when using bleach near colored grout. It can fade the color. For information on how to clean grout that has turned black, refer to this guide: how to clean grout that has turned black.
For stubborn food or grease stains, try a degreaser. Apply a small amount of household degreaser. Allow it to sit for a few minutes. Then scrub the stain with a grout brush. Rinse the area completely. Always check the degreaser label for tile and grout safety. Some strong degreasers might damage certain grout types.
Deeply embedded dirt or rust stains also pose a challenge. A commercial grout stain remover might be necessary here. These products contain stronger agents. They are designed to lift very tough stains. Follow the manufacturer’s instructions exactly. Use gloves and good ventilation. Apply the product, let it sit, and then scrub. Rinse the area multiple times to remove all residue.
Another option for very dark or discolored grout is a grout colorant. This is not a cleaning method. It is a way to restore the color. Grout colorants are like a stain for your grout. They cover existing discoloration. This gives your grout a fresh, new look. It also seals the grout, making it more resistant to future stains. This is a good option if your grout is permanently stained. It provides a long-lasting solution when traditional cleaning fails.
Rinsing and Finishing Touches
After scrubbing your grout, proper rinsing is crucial. Skipping this step can leave behind cleaning residues. These residues attract new dirt faster. They can also leave a cloudy film on your tiles. I always emphasize a thorough rinse.
First, fill a clean bucket with fresh water. Use a clean sponge or mop. Wipe down the entire cleaned area. Dip the sponge or mop in the clean water. Wring it out well. Wipe the grout lines and tiles to remove all cleaner residue. Rinse your sponge or mop frequently. Change the rinse water often. You want to avoid spreading dirty water back onto your clean floors.
For larger areas, a wet/dry vacuum can be very useful. It sucks up dirty water quickly. This speeds up the drying process. If you do not have one, use clean towels. Wipe down the floor until it feels dry. Do not let water sit on the grout for too long. Excessive moisture can promote mold growth.
Once the floor is clean and dry, consider sealing the grout. Grout sealer creates a protective barrier. This barrier repels water, dirt, and stains. It makes future cleaning much easier. Grout should be completely dry before applying a sealer. This often means waiting 24 to 72 hours after cleaning. Different types of sealers exist. Penetrating sealers soak into the grout. Topical sealers form a layer on top. Choose a sealer appropriate for your grout type. Apply it according to the product instructions.
Re-sealing grout is not a one-time task. Most sealers need reapplication every 1-3 years. This depends on traffic and the sealer type. Regularly sealed grout stays cleaner longer. It also protects the grout from wear and tear. These finishing touches ensure your hard work lasts. They keep your tiled floors looking fresh and clean.
Maintaining Clean Grout: Prevention Strategies
Maintaining clean grout is simpler than deep cleaning it. Prevention is key. Regular care saves you time and effort in the long run. I follow a few simple rules to keep grout looking good.
First, clean spills immediately. Accidents happen. Food, drinks, or dirt tracked inside can stain grout quickly. Wipe up spills as soon as they occur. Use a damp cloth or paper towel. This prevents stains from setting into the porous grout. Timely cleanup makes a big difference.
Second, sweep or vacuum your tile floors regularly. Daily or every other day is ideal. This removes loose dirt and grit. It stops these particles from getting ground into the grout lines. Fine dust and debris can scratch tiles. They also dull grout over time. A clean surface helps keep the grout clean too.
Third, mop your tile floors weekly with a mild cleaner. Avoid harsh, oil-based, or soap-based cleaners. These can leave a residue on the tiles and in the grout. This residue attracts dirt. Use a pH-neutral cleaner. Diluted white vinegar is often effective for routine mopping. For porcelain tile, use specific methods to prevent streaks. For example, how to clean porcelain tile floors without streaks provides helpful tips. Always rinse the floor well after mopping. Change your mop water often.
Fourth, consider re-sealing your grout periodically. As mentioned, sealer wears off over time. Regular reapplication creates a barrier. This barrier makes grout less absorbent. It repels water and dirt. The frequency depends on floor traffic. High-traffic areas might need sealing annually. Less-used areas might only need it every few years.
Finally, place doormats at all entrances. Mats trap dirt from shoes. This reduces the amount of dirt brought onto your tile floors. This simple step can greatly reduce dirt accumulation in grout. By following these prevention strategies, you extend the time between deep grout cleanings. You keep your tile grout looking fresh with less effort.
Frequently Asked Questions
What is the best homemade cleaner for tile grout?
A baking soda paste mixed with water is a top choice. Apply it to grout lines. Then spray with white vinegar. This combination creates a fizzing action. It lifts dirt and stains effectively. Scrub with a stiff brush and rinse thoroughly.
Can I use bleach on colored grout?
Using bleach on colored grout is risky. Bleach can cause the grout color to fade. It may leave splotchy areas. For colored grout, test a small, hidden spot first. Or, choose oxygen bleach or a hydrogen peroxide solution instead. These are gentler options.
How often should I clean my tile grout?
Regular maintenance is key. Mop your tile floors weekly. Address spills immediately. Deep clean your grout every few months. High-traffic areas or damp environments may need more frequent deep cleaning. Sealing helps extend the time between deep cleans.
Why does my grout turn black?
Grout often turns black due to mold, mildew, or extreme dirt accumulation. This happens in moist areas like bathrooms. Porous grout traps moisture and organic matter. This creates an ideal environment for mold growth. Proper ventilation and immediate drying help prevent this.
Is steam cleaning effective for grout?
Yes, steam cleaning is very effective for grout. Hot steam loosens dirt, grime, and mold. It does this without harsh chemicals. It also sanitizes the surface. Use a steam cleaner with a brush attachment for best results. Always dry the grout after steaming to prevent new dirt from settling.
Should I seal my grout after cleaning?
Yes, sealing grout after cleaning is highly recommended. Grout sealer creates a protective barrier. This barrier repels water, dirt, and stains. It makes future cleaning much easier. Ensure your grout is completely dry before applying the sealer for best adhesion.
Conclusion
Cleaning tile grout on floors can transform your home. It makes tired, dirty floors look new again. We explored many ways to achieve this. From simple baking soda and vinegar to powerful commercial cleaners, options exist for every type of dirt. Remember that preparing your floors is crucial. Proper scrubbing techniques make a big difference. Thorough rinsing removes all residues.
I emphasize the importance of prevention. Regular sweeping, immediate spill cleanup, and routine mopping keep grout cleaner longer. Sealing your grout creates a vital protective barrier. This barrier stops dirt and moisture from sinking in. It extends the life of your grout. It also makes future cleaning simpler. Taking these steps ensures your efforts last.
Your floors are an important part of your home’s appearance. Clean grout enhances their beauty. Do not let dirty lines detract from your space. Take action today. Implement these tips. Your floors will thank you. Start your journey to pristine floors now. Get ready to enjoy the renewed look of your tile and grout.
- grout cleaning
- tile floors
- floor maintenance
- deep cleaning
- DIY cleaning
- stain removal
- home cleaning tips