· Painting Guide · 12 min read
How To Clean Walls Before Painting
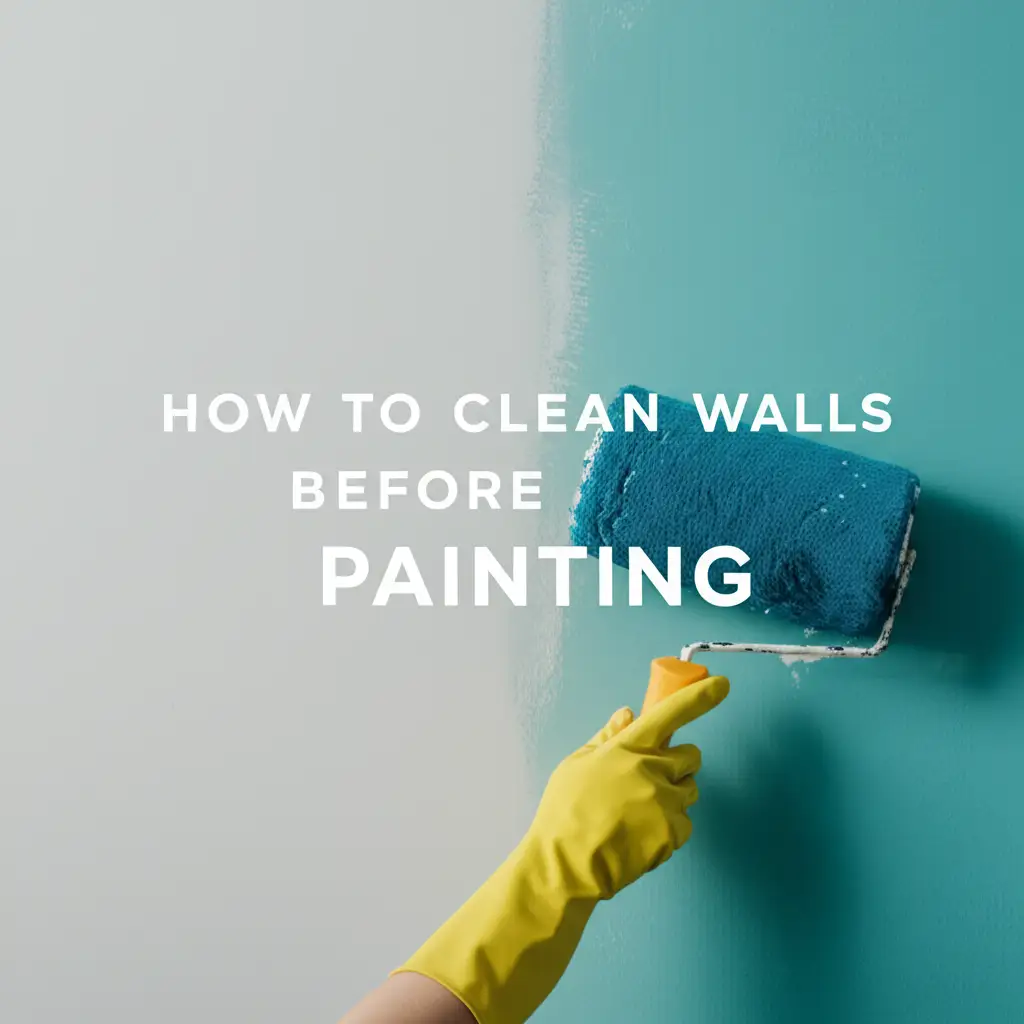
Prepare Your Walls: How To Clean Walls Before Painting
Painting your walls brings a fresh look to any room. You might feel excited to pick up a brush and start. But wait! There is a crucial step before applying that first coat. I learned this the hard way: skipping wall cleaning leads to big problems.
A proper cleaning of walls before painting makes all the difference. It ensures paint sticks well and looks smooth. Dirt, grease, and dust can prevent good adhesion. This guide shows you exactly how to clean walls before painting. We will cover necessary tools, the best cleaning solutions, and simple steps for success.
Takeaway:
- Clean walls ensure paint adheres properly and lasts longer.
- Gather the right tools and cleaning solutions before you start.
- Always dust walls thoroughly before washing them.
- Rinse cleaned walls well and allow them to dry completely.
- Treat stubborn stains like grease or mold with specific cleaners.
Cleaning walls before painting creates a clean, smooth surface. This allows new paint to bond strongly. This prevents future issues like peeling or bubbling. This simple step guarantees a beautiful, long-lasting finish for your painting project.
Why Cleaning Walls Matters Before Painting
A fresh coat of paint looks great on walls. Many people overlook cleaning before painting. This mistake can ruin your painting project. Paint does not stick well to dirty surfaces.
Dust, grime, and grease prevent proper paint adhesion. Over time, these particles make paint chip or peel. A clean surface helps the paint bond strongly. This ensures a durable and smooth finish. You get the best result when you take this step.
Imagine painting over a dusty bookshelf. The paint would likely flake off quickly. Walls are no different; they collect unseen dirt. Cleaning them extends the life of your paint job. It also makes the new paint look vibrant and even. This small effort saves you bigger problems later.
Gather Your Tools: Essential Supplies for Wall Cleaning
You need the right tools to clean walls properly. Having everything ready saves time and hassle. I always lay out my supplies before I begin. This way, I do not stop halfway through.
Here is a list of what you will need:
- Drop cloths or old sheets: These protect your floors and furniture from water and dirt. Spread them out carefully.
- Buckets: You will need two buckets. One holds your cleaning solution, and the other holds clean rinse water.
- Sponges or soft cloths: Choose non-abrasive materials. They clean effectively without damaging your walls. Microfiber cloths work very well.
- Mop with a removable head: A sponge mop or a flat-head mop can help reach high spots. This makes cleaning large areas easier. Consider how a mop can help clean walls.
- Rubber gloves: Protect your hands from cleaning solutions. Some cleaners can irritate skin.
- Safety glasses: Protect your eyes from splashes, especially when cleaning ceilings.
- Dust cloth or vacuum with brush attachment: For removing loose dirt before washing.
- Painter’s tape: Use this to mask off trim or other areas you do not want to get wet.
Having these items ready makes the cleaning process smooth. You will be prepared for every step. This organization helps you clean more efficiently.
Pre-Cleaning Steps: Preparing the Room and Walls
Before you start washing, prepare the room. This makes the cleaning process safer and more efficient. I always follow these steps first. They protect my belongings and give me clear access to the walls.
First, remove all furniture from the room if possible. If you cannot move large items, push them to the center of the room. Cover them completely with drop cloths or plastic sheeting. This protects them from dust and splashes. Also, remove all wall hangings, pictures, and decorations. Take down light switch and outlet covers as well.
Next, protect your floors. Lay down drop cloths or old sheets over the entire floor area. This catches any drips or spills. It saves you from extra floor cleaning later. Use painter’s tape to secure the edges of the drop cloths. This prevents them from slipping.
Then, dust your walls thoroughly. Dust acts as a barrier, trapping dirt. Use a soft-bristled brush on a vacuum cleaner or a duster with an extendable handle. Start from the top of the wall and work your way down. This removes loose dirt and cobwebs. I find this step crucial for effective cleaning. This is like getting the rough stuff off before you scrub.
Finally, inspect your walls for any damage. Patch any holes or cracks with spackling paste. Allow the paste to dry completely. Sand these patched areas smooth. This creates a uniform surface for painting. Proper preparation ensures a better paint finish.
Choosing the Right Cleaning Solution for Your Walls
Selecting the correct cleaning solution is vital. Different wall types and dirt levels require different approaches. Using the wrong cleaner can damage your paint or leave residue. I always consider the wall type before mixing my solution.
For lightly soiled walls, a simple mild detergent works well. Mix a small amount of dish soap with warm water in one of your buckets. This solution effectively removes everyday dust and light grime. It is gentle and usually does not harm existing paint. This method is good for general upkeep.
For greasy or heavily soiled walls, you need a stronger solution. Tri-Sodium Phosphate (TSP) is a powerful cleaner for these jobs. Follow the product instructions carefully as TSP is a strong chemical. Always wear gloves and eye protection when using TSP. This cleaner cuts through grease and grime effectively. Using TSP helps you clean thoroughly without removing existing paint, as long as you follow directions carefully. You can learn more about methods for cleaning walls without removing paint.
For walls with mildew or mold, a bleach solution is necessary. Mix one part bleach with three parts water. Apply this mixture carefully to the affected areas. Allow it to sit for a few minutes before scrubbing. Ensure the room is well-ventilated when using bleach. This kills mold spores and cleans the surface.
Always test your chosen solution on an inconspicuous area first. This ensures it does not damage or discolor your current wall paint. Apply a small amount and let it dry. If there are no adverse effects, proceed with cleaning the entire wall. This simple test prevents big mistakes.
Step-by-Step Guide: How to Clean Walls Effectively
Cleaning walls properly is a step-by-step process. Following these steps ensures a thorough clean. I break it down to make it simple and clear. This method helps achieve the best surface for painting.
- Prepare your cleaning solution: Fill one bucket with your chosen cleaning solution. Fill the second bucket with plain, clean water for rinsing.
- Start from the top: Begin cleaning at the top of the wall. Work your way down in sections. This prevents dirty water from dripping onto already clean areas.
- Clean in small sections: Dip your sponge or cloth into the cleaning solution. Wring out excess liquid. The sponge should be damp, not dripping wet. Clean a small section of the wall. Work in gentle, circular motions.
- Rinse immediately: Dip a clean sponge or cloth into the plain water bucket. Wring it out well. Wipe down the cleaned section to remove any soap residue. Rinsing is important; it prevents streaks and ensures good paint adhesion. If you are aiming for streak-free painted walls, proper rinsing is key.
- Change water often: Both your cleaning solution and rinse water will get dirty quickly. Change them frequently to avoid spreading dirt. Dirty water leaves streaks and grime.
- Overlap sections: As you move to the next section, slightly overlap with the previously cleaned area. This ensures no spots are missed.
- Address corners and edges: Use a smaller sponge or cloth for corners and edges. Pay attention to areas around windows and doors. These spots often collect more dirt.
Repeat these steps for all walls. Take your time. A careful cleaning job makes a big difference in the final paint result. This process ensures your walls are truly ready for their new coat.
Tackling Stubborn Stains and Problem Areas
Some wall areas have more than just dust. Stubborn stains need special attention. Ignoring them means they will show through new paint. I learned to identify these common issues and treat them before painting.
Grease and Oil Stains: Kitchen walls often have grease buildup. Use a degreasing cleaner or TSP solution for these spots. Apply the solution directly to the stain. Let it sit for a few minutes. Then, gently scrub with a sponge. Rinse thoroughly afterwards. This breaks down the oily residue effectively.
Scuff Marks and Crayon: Kids often leave marks on walls. For scuff marks on walls, a magic eraser sponge works wonders. Lightly wet the eraser and gently rub the mark. For crayon, a damp cloth with baking soda paste can help. Apply the paste, let it sit, then wipe clean. These methods often remove various marks off painted walls without damage.
Mold and Mildew: Mold indicates moisture issues. You must address the moisture source first. Then, treat the mold. Use a solution of one part bleach to three parts water. Apply it to the moldy area. Let it sit for 10-15 minutes. Scrub with a stiff brush. Rinse the area completely. Ensure proper ventilation. If you are dealing with significant mold, especially in areas like basements, refer to specific guidance on cleaning mold off basement walls.
Smoke Stains: Walls in homes with smokers often have yellow or brownish stains. These stains are tough. A strong TSP solution or a specialized smoke stain remover is needed. Apply the cleaner, scrub well, and rinse multiple times. You can find more specific advice for cleaning yellow walls from smoke or even candle smoke off walls. Smoke residue can bleed through new paint if not removed. You might also need a stain-blocking primer for heavy smoke damage.
Always test these stronger solutions in an inconspicuous spot. Make sure they do not damage your existing paint. Treating these problem areas ensures a clean, uniform surface for your new paint.
Drying and Final Inspection: The Crucial Last Steps
After cleaning, drying is a critical step. Do not rush this part. Walls must be completely dry before painting. Painting over damp surfaces causes major problems.
Dampness can trap moisture under the new paint. This leads to blistering, peeling, or bubbling. It also encourages mold growth. The paint will not adhere properly. Give your walls ample time to dry.
The drying time depends on humidity levels and air circulation. In general, allow at least 24 hours for walls to dry. Use fans to increase air circulation in the room. Open windows to help moisture escape. You want the walls to feel completely dry to the touch. There should be no cool spots or dampness.
Once the walls are dry, perform a final inspection. Look closely at every section. Check for any missed spots or lingering stains. Feel the surface for any rough patches. If you find any, re-clean those areas or sand them smooth.
Also, check for any cleaning solution residue. Sometimes, streaks appear once the wall is dry. If you see streaks, wipe the area again with a clean, damp cloth. Then, let it dry again. This final check ensures your walls are perfectly prepared. They are now ready for a beautiful, lasting paint job.
FAQ Section
Do I really need to wash walls before painting?
Yes, cleaning walls before painting is essential. Dust, grease, and grime accumulate on surfaces. These prevent new paint from sticking properly. Cleaning ensures strong paint adhesion. It leads to a smoother, more durable finish. Skipping this step can cause paint to peel or chip later.
What is the best cleaner for walls before painting?
The best cleaner depends on the wall’s condition. For general dirt, use mild dish soap and warm water. For grease or heavy grime, TSP (Tri-Sodium Phosphate) is highly effective. For mold, a bleach and water solution works well. Always test the cleaner in an inconspicuous area first.
How long do walls need to dry after washing before painting?
Walls need to dry completely before painting. This usually takes at least 24 hours. Drying time varies based on humidity and air circulation. Use fans or open windows to speed up drying. Painting damp walls can cause paint to peel or blister.
Can I just use water to clean walls before painting?
Using only water might be sufficient for very lightly dusted walls. However, water alone does not remove grease, fingerprints, or stubborn stains. For a proper, lasting paint job, a cleaning solution is necessary. It ensures all hidden residues are gone.
What if my walls look clean already? Do I still need to wash them?
Even if walls appear clean, they often have unseen dust, oils, or residue. These invisible layers prevent proper paint adhesion. A quick wipe down with a mild cleaner is always recommended. This guarantees a clean, prepared surface for your new paint. It helps the new paint last longer.
What should I do about mold spots before painting?
Treat mold spots with a bleach and water solution (1 part bleach to 3 parts water). Apply, let sit, then scrub and rinse. Ensure the room is well-ventilated. Address the moisture source causing the mold first. If you don’t, the mold will return.
Conclusion
Cleaning walls before painting might seem like an extra step. Trust me, it is a non-negotiable part of any successful painting project. I have seen firsthand how much difference it makes. A clean surface provides the perfect canvas. It ensures your paint job looks professional and lasts for years.
We covered everything: why cleaning matters, what tools you need, and how to tackle stubborn stains. We walked through the step-by-step process, from dusting to rinsing. Remember to allow ample drying time. This careful preparation guarantees strong paint adhesion. It prevents common issues like peeling or bubbling.
So, gather your supplies, follow these simple steps, and give your walls the clean start they deserve. You are not just applying new paint; you are creating a lasting transformation. Are you ready to prepare your walls for their beautiful new look? Start cleaning today for a flawless finish tomorrow.
- wall cleaning
- paint preparation
- home painting
- surface prep
- DIY painting
- wall cleaner