· Home Cleaning · 14 min read
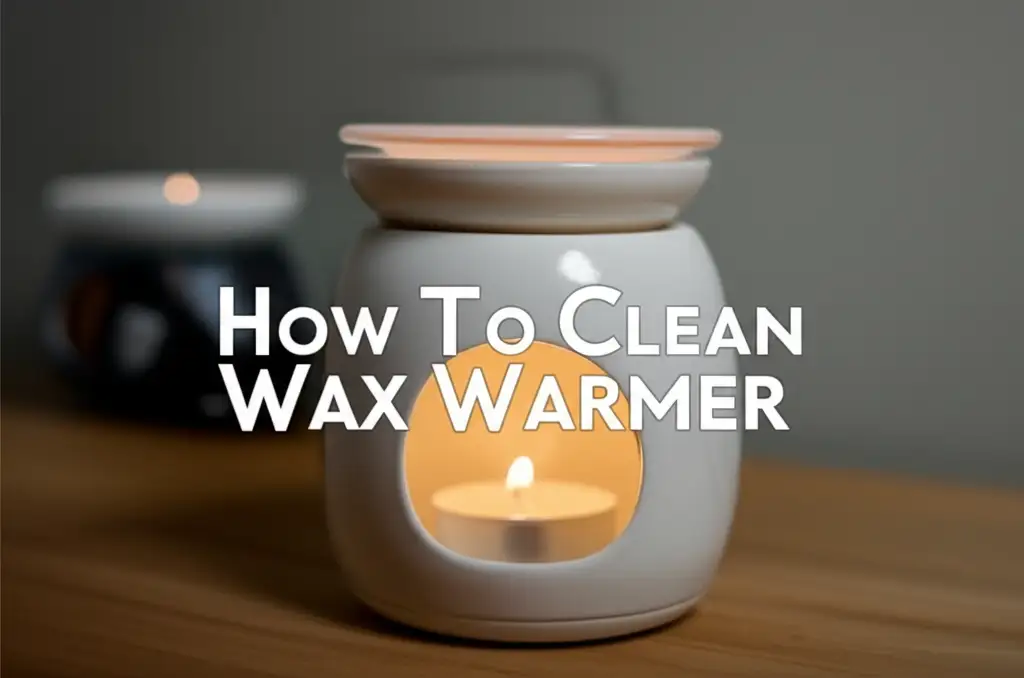
How To Clean Wax Warmer
Clean Your Wax Warmer: A Simple Guide
Your wax warmer fills your home with lovely scents. But over time, old wax builds up. This residue can make new scents smell weak or even unpleasant. Learning how to clean a wax warmer keeps your space smelling fresh. It also helps your warmer work better and last longer.
This guide will show you simple ways to remove old wax. We will cover popular methods like freezing and heating. You will also learn about essential tools and tips for regular care. Let’s get your wax warmer sparkling clean again.
Takeaway
- Regular cleaning improves scent quality.
- The freezing method makes wax easy to pop out.
- The heating method quickly softens wax for wiping.
- Rubbing alcohol removes stubborn residue.
- Proper maintenance extends your warmer’s life.
To clean a wax warmer, first ensure it is off and cool. Then, choose a method: freeze the dish for 10-15 minutes to pop out solid wax, or heat it for a few minutes until wax softens, then wipe it out with cotton balls. Finally, wipe any residue with a soft cloth.
Why Regular Wax Warmer Cleaning Is Important
Keeping your wax warmer clean goes beyond just looking nice. A clean warmer works better and lasts longer. You want your home to smell good. A dirty warmer can stop that.
Maintaining Scent Quality
Old wax holds onto previous scents. When you add new wax, the old smell can mix in. This creates an unclear or muddled fragrance. A clean dish lets you enjoy the true scent of your new wax melt. This ensures your home always smells its best.
Extending Warmer Lifespan
Wax residue can build up over time. This buildup can make your warmer less efficient. It might even damage heating elements. Regular cleaning prevents this wear and tear. It helps your warmer last longer. This saves you money in the long run.
Preventing Residue Buildup
Ignoring wax buildup makes cleaning harder later. Hardened layers of wax are tough to remove. They might require more effort or stronger cleaners. Cleaning often keeps the task simple. It stops heavy, stubborn residue from forming. This makes maintenance a quick job. For tips on how to handle accidental spills outside the warmer, you can learn about how to clean spilled candle wax effectively.
Essential Tools for Cleaning Your Wax Warmer
You do not need many special tools to clean your wax warmer. Most items you might already have at home. Having the right supplies makes the job much easier. Get everything ready before you start cleaning.
- Cotton Balls or Paper Towels: These are perfect for wiping up melted or softened wax. They absorb the wax without scratching surfaces. Use several to ensure thorough removal.
- Soft Cloth or Microfiber Towel: This is for the final wipe-down. It helps remove any lingering residue or streaks. A soft cloth prevents scratches on the warmer’s surface.
- Plastic Scraper or Butter Knife: Sometimes, a small, non-abrasive tool helps lift stubborn wax. Use it gently to avoid damaging the warmer. A plastic scraper is safer than metal.
- Rubbing Alcohol (Isopropyl Alcohol): This works wonders for removing greasy wax residue. It dissolves wax effectively. Use it sparingly on a cloth.
- Cotton Swabs: These are great for cleaning small crevices. They can reach tight spots where wax might hide. Use them with rubbing alcohol for precision cleaning.
- Freezer: For the “freezing method,” your freezer is key. It hardens the wax quickly. This allows the wax to pop out easily.
- Warm Water (Optional): Some warmers allow for washing their removable dish. Always check your warmer’s instructions first. Water can help remove final residues after wax is gone.
These tools make the task simple and efficient. You can choose the best method for your specific warmer. Having these items ready speeds up the cleaning process.
The Freezing Method: Effortless Wax Removal
The freezing method is one of the easiest ways to remove wax from your warmer. It is simple, clean, and requires almost no scraping. This method works by making the wax brittle. Once brittle, the wax just pops out.
Here is how to use the freezing method:
- Unplug and Cool: First, make sure your wax warmer is completely off. If it was recently on, let it cool down fully. Safety is important when cleaning any appliance.
- Remove the Dish: If your wax warmer has a removable dish, take it out. This makes it easier to handle. Place the dish directly into your freezer.
- Place in Freezer: Put the wax-filled dish into your freezer. Let it sit there for about 10 to 15 minutes. The cold temperature will make the wax shrink and harden. This shrinkage helps it detach from the dish.
- Pop Out the Wax: After 10-15 minutes, remove the dish from the freezer. The wax should now be hard and separate from the dish. You might see a small gap between the wax and the dish. Gently press on one side of the wax. It should pop out in a solid piece. If it does not pop out easily, leave it in the freezer for a few more minutes.
- Wipe Clean: Once the wax is out, wipe the dish with a soft cloth or paper towel. This removes any small bits of wax or residue. Your dish should now be clean and ready for new wax. This method is also useful if you get wax on glass surfaces, as you can learn about how to clean wax off glass using similar principles.
This method is great because it causes no mess. It is also safe for most types of warmers. You avoid using heat or harsh chemicals on the dish itself. This keeps your warmer looking new.
The Heating Method: Quick Wax Release
The heating method is another popular way to clean your wax warmer. It works quickly by softening the wax. This allows you to easily wipe it away. This method is ideal when you want to change scents without waiting for the freezer.
Here is how to use the heating method:
- Turn On Briefly: Make sure your warmer has hardened wax in the dish. Turn your wax warmer on for just a few minutes. Typically, 2-5 minutes is enough. The goal is to soften the wax, not to melt it completely.
- Test the Wax: After a few minutes, turn the warmer off. Gently test the wax with a cotton ball or paper towel. The wax should be soft enough to slide around. It should not be fully liquid. If it is still hard, turn the warmer on for another minute.
- Wipe Away Wax: Once the wax is soft, use several cotton balls or folded paper towels. Place them directly into the dish. The cotton will absorb the softened wax quickly. Gently wipe the wax out of the dish. You might need to use a few cotton balls to get all the wax.
- Final Clean: After removing the bulk of the wax, wipe the dish clean with a fresh paper towel or a soft cloth. This removes any oily residue. Your warmer dish should now be spotless.
- Safety First: Be careful when handling the warmer dish after heating. It can be warm. Always ensure the warmer is unplugged before doing any thorough cleaning. This method is similar to how you might clean wax from other items, like learning about how to clean candle wax off glass by softening it.
The heating method is fast and efficient. It is perfect for those who change scents often. Always ensure you do not let the wax get too hot, as this can make it messier to clean.
Using Rubbing Alcohol for Stubborn Residue
Sometimes, even after removing the main wax, a thin, greasy film or stubborn bits remain. This residue can dull your warmer’s appearance. It can also affect the purity of your next scent. Rubbing alcohol is an excellent solution for these lingering issues.
Here is how to use rubbing alcohol effectively:
- Remove Bulk Wax First: Always use the freezing or heating method to remove the large piece of wax first. Rubbing alcohol is for the final, detailed clean, not for bulk removal. It works best on thin films or small specks.
- Apply to a Cloth: Pour a small amount of rubbing alcohol onto a clean, soft cloth or a cotton ball. Do not pour alcohol directly into the warmer dish. A damp cloth is all you need.
- Wipe the Dish: Gently wipe the inside of the wax warmer dish with the alcohol-dampened cloth. You will see the greasy residue dissolve and transfer to the cloth. For tight corners or crevices, use a cotton swab dipped in alcohol. This allows for precise cleaning.
- Dry Thoroughly: After wiping with alcohol, use a dry, clean cloth to wipe the dish again. This removes any alcohol residue and ensures the dish is dry. A dry dish is ready for new wax.
- Check for Compatibility: While rubbing alcohol is generally safe for ceramic and glass warmer dishes, it is wise to test it on an inconspicuous area first. This ensures it does not damage or discolor the material. Rubbing alcohol is a strong solvent. It breaks down the oils and waxes effectively. It leaves no sticky feel. This method helps your warmer look brand new. It ensures the next wax melt delivers its full, pure fragrance. You might use rubbing alcohol in other specific cleaning scenarios, such as when learning how to clean wax out of Airpods, where precision and dissolving power are needed.
Cleaning Different Types of Wax Warmers
Wax warmers come in various designs and types. While the core cleaning methods remain similar, some specific considerations apply. Understanding these can help you clean your particular warmer safely and effectively.
Electric Plug-In Warmers
Most electric warmers have a removable dish. This makes cleaning very easy. You can use either the freezing or heating method on the dish. Always unplug the warmer before you start cleaning. Never submerge the electrical base in water. For the base itself, use a damp cloth to wipe away dust. Make sure it is completely dry before plugging it back in.
Tealight Warmers
Tealight warmers use a candle to melt the wax. Their wax dish is usually removable. This allows for easy cleaning using the freezing or heating method. Be careful with heat-stained areas on the base. You might not remove them completely. Ensure the warmer base is cool before handling. Do not use abrasive cleaners on the outside.
Paraffin Wax Warmers
Paraffin wax warmers are often larger and used for hand or foot treatments. These warmers usually hold a lot of wax. Cleaning them needs a slightly different approach.
- Melt All Wax: Turn the warmer on and let all the paraffin wax melt. This takes some time.
- Pour Out Wax: Carefully pour the melted wax into a disposable container. Do not pour it down the drain; it will clog pipes. Let the container cool and harden the wax, then throw it away.
- Wipe Interior: While the warmer is still warm (but not hot), wipe the interior with paper towels. Get as much residue as possible.
- Final Clean: Use a soft cloth dampened with a little mineral oil or rubbing alcohol for the final clean. This removes any remaining greasy film. Dry thoroughly before storage or reuse.
No matter the type, always refer to your specific warmer’s manual. Some materials might require special care. For general guidance on appliance cleanliness, you can also look into advice on topics like how to clean a bottle warmer, which shares principles of careful cleaning for electrical items.
Tips for Preventing Wax Buildup and Easy Maintenance
Keeping your wax warmer clean does not have to be a big chore. With a few simple habits, you can prevent heavy wax buildup. This makes future cleaning much faster and easier. Regular maintenance extends the life of your warmer. It also ensures you always get the best scent experience.
- Do Not Overfill: Filling the dish too high can cause spills. It also means more wax to clean out later. Check your warmer’s fill line or aim for about half to two-thirds full. This prevents mess and makes wax removal simpler.
- Clean Regularly: Do not wait until your warmer has a thick layer of old wax. Clean it every time you change scents. Or, clean it at least once a week if you use the same scent for a long time. Frequent cleaning keeps the job quick and easy.
- Use Wax Warmer Liners: These are disposable cups that sit inside your warmer dish. You place the wax melt directly into the liner. When you want to change scents, simply remove the liner and discard it. This keeps your warmer dish completely clean. It is a fantastic option for zero-mess cleaning.
- Rotate Wax Melts: Instead of constantly adding new wax on top of old, let the current wax melt fully diffuse its scent. Then, remove the old wax before adding a new one. This prevents layers of different waxes.
- Store Properly: When not in use for an extended period, clean your warmer thoroughly. Store it in a dust-free area. This keeps it ready for its next use.
- Inspect Often: Take a moment to look at your warmer’s dish and base regularly. Catching small spills or residue early prevents them from becoming bigger problems. Addressing issues promptly ensures proper function. This practice helps maintain other household items too; for instance, you might find tips on how to clean under a refrigerator useful for general appliance maintenance.
By following these simple tips, you will keep your wax warmer in excellent condition. This ensures it always provides a delightful fragrance for your home. Easy maintenance means more enjoyment and less cleaning time for you.
FAQ Section
How often should I clean my wax warmer?
You should clean your wax warmer every time you change scents. If you use the same scent for a long time, clean it at least once a week. Regular cleaning prevents stubborn buildup. It also keeps your fragrance pure and strong.
Can I use water to clean my wax warmer?
For most electric warmers, you should not use water directly on the heating element or electrical parts. The removable dish, if it’s ceramic or glass, can sometimes be washed with warm, soapy water after removing the bulk of the wax. Always check your warmer’s specific instructions first. Ensure it is completely dry before use.
What if wax spills on the outside of the warmer?
If wax spills on the outside of your warmer, let it cool and harden. Then, gently scrape it off with a plastic scraper or your fingernail. For any residue, wipe with a soft cloth dampened with rubbing alcohol. Be careful not to get alcohol on decorative finishes if they are sensitive.
Is it safe to put my wax warmer dish in the freezer?
Yes, it is generally safe to put the removable ceramic or glass dish from your wax warmer in the freezer. The cold temperature makes the wax brittle and shrink, allowing it to pop out easily. This method is safe and effective for most warmer types.
Can I clean a wax warmer without turning it on?
Yes, you can clean a wax warmer without turning it on by using the freezing method. Simply place the removable wax dish into the freezer for 10-15 minutes. The wax will harden and pop out as a solid piece. This is a mess-free and safe way to clean.
What is the best way to clean a Scentsy warmer?
Scentsy warmers typically have a removable dish. The best way to clean a Scentsy warmer is usually the freezing method or the heating method (using cotton balls). Freeze the dish to pop out the wax, or turn it on briefly to soften the wax for easy wiping. Always unplug the warmer before cleaning the base.
Conclusion
Keeping your wax warmer clean is simple. It ensures your home always smells wonderful. You have learned different methods to clean your wax warmer. The freezing method offers a quick, mess-free solution. The heating method provides a fast way to soften and wipe away wax. Using rubbing alcohol helps tackle any leftover, stubborn residue.
Remember to choose the best method for your warmer and wax type. Regular cleaning maintains scent quality. It also extends the life of your appliance. Make cleaning a routine part of your home fragrance experience. A well-maintained warmer gives you the best aroma. Enjoy your clean, fresh-smelling home.
- wax warmer cleaning
- how to clean
- home fragrance
- appliance maintenance
- cleaning tips